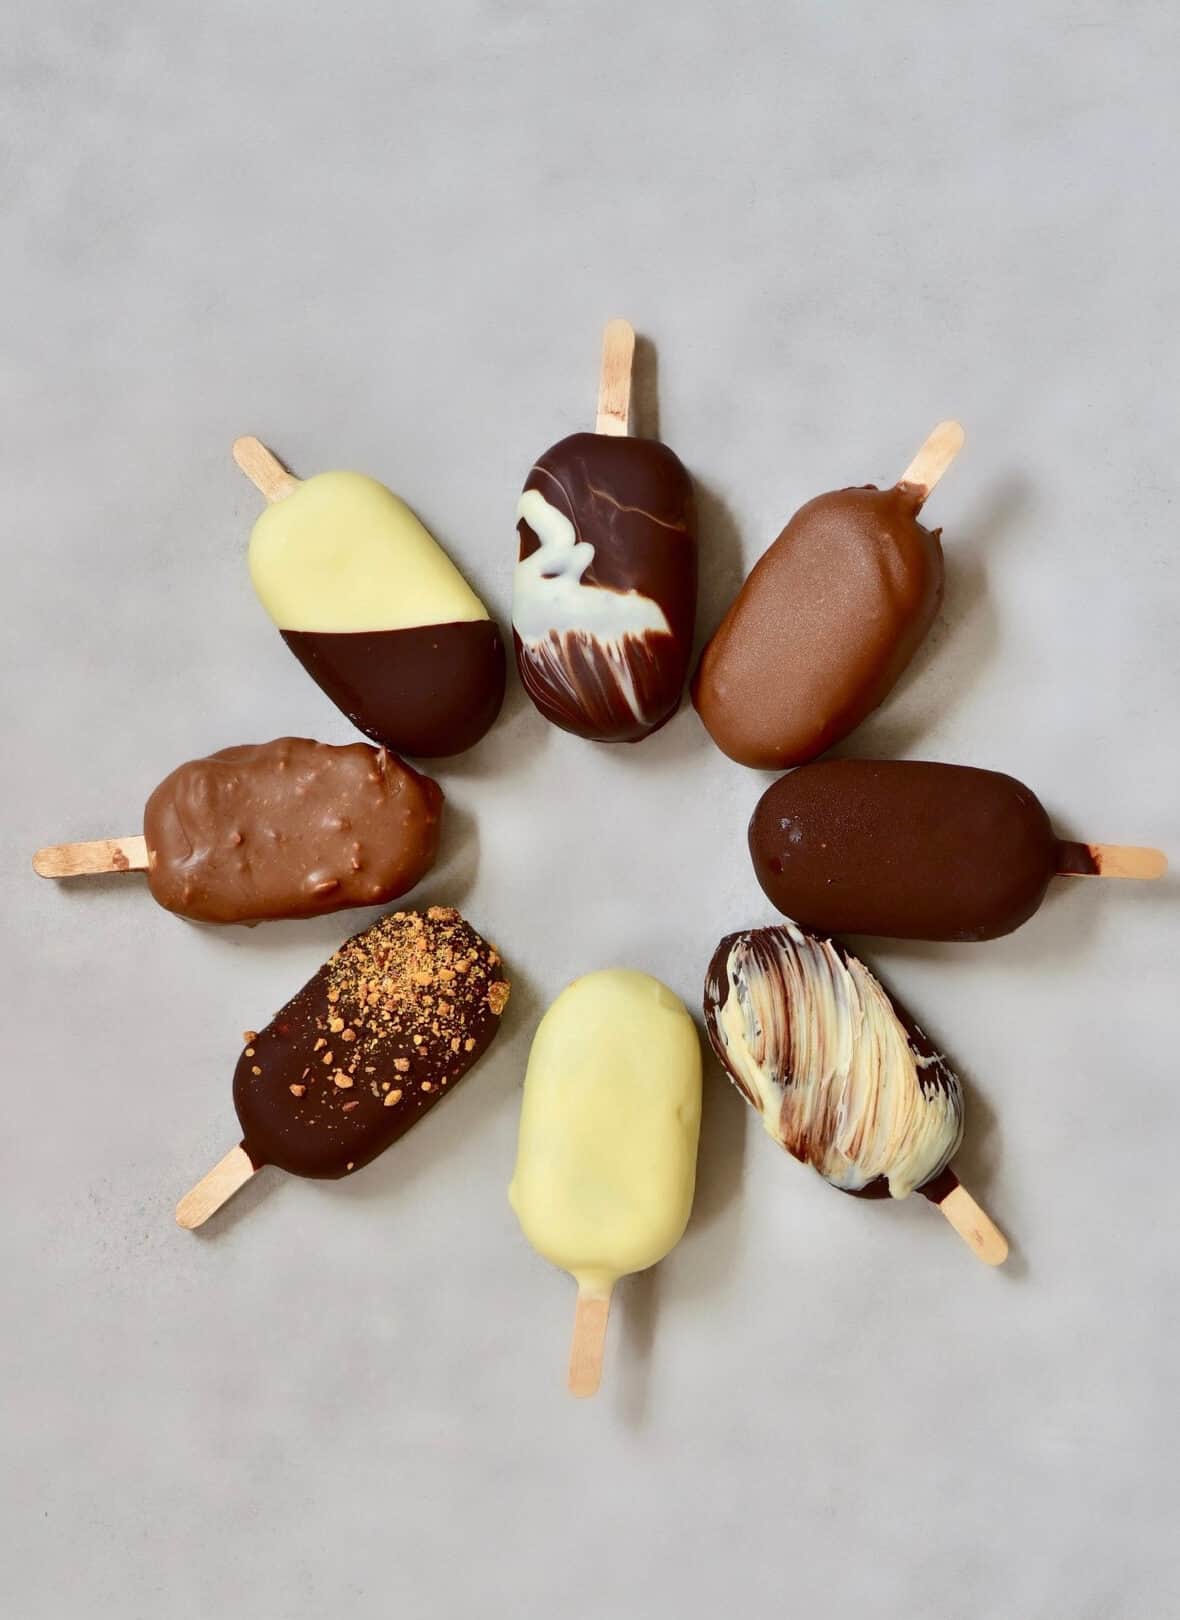
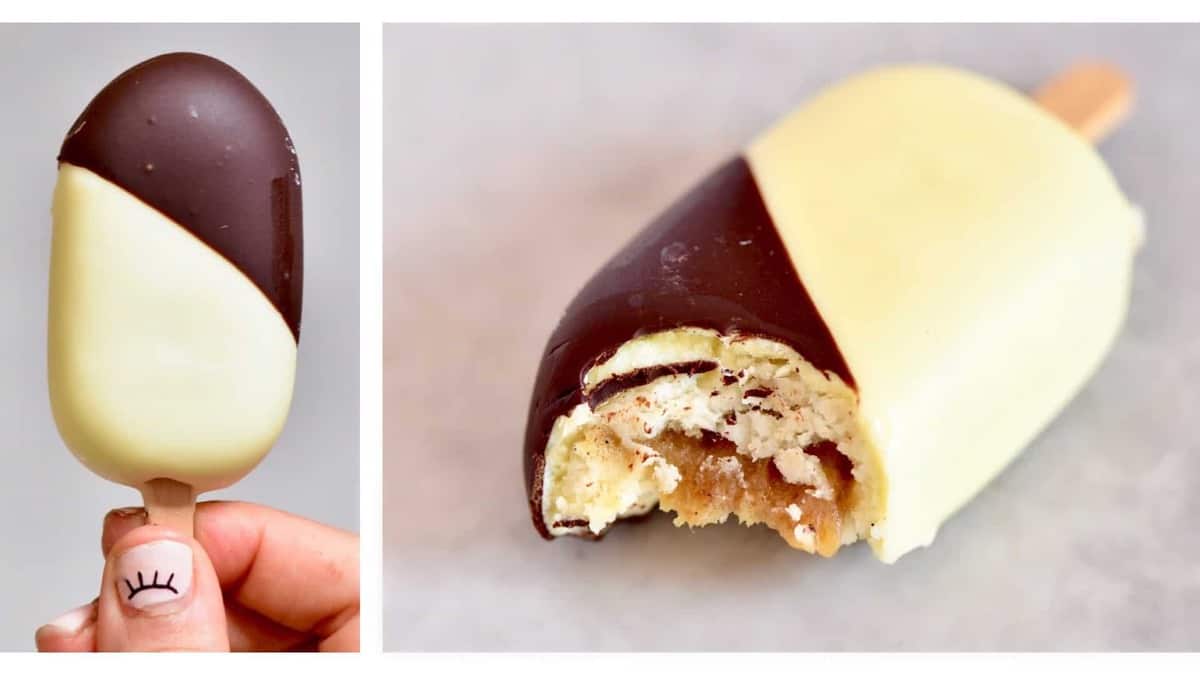
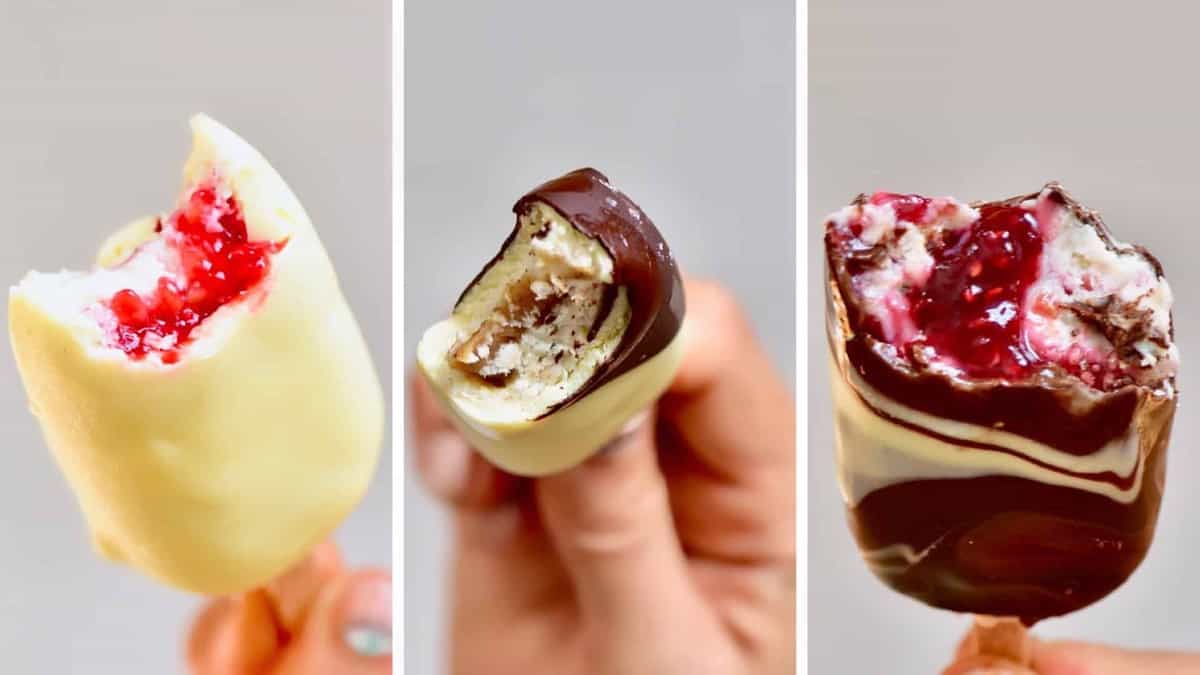
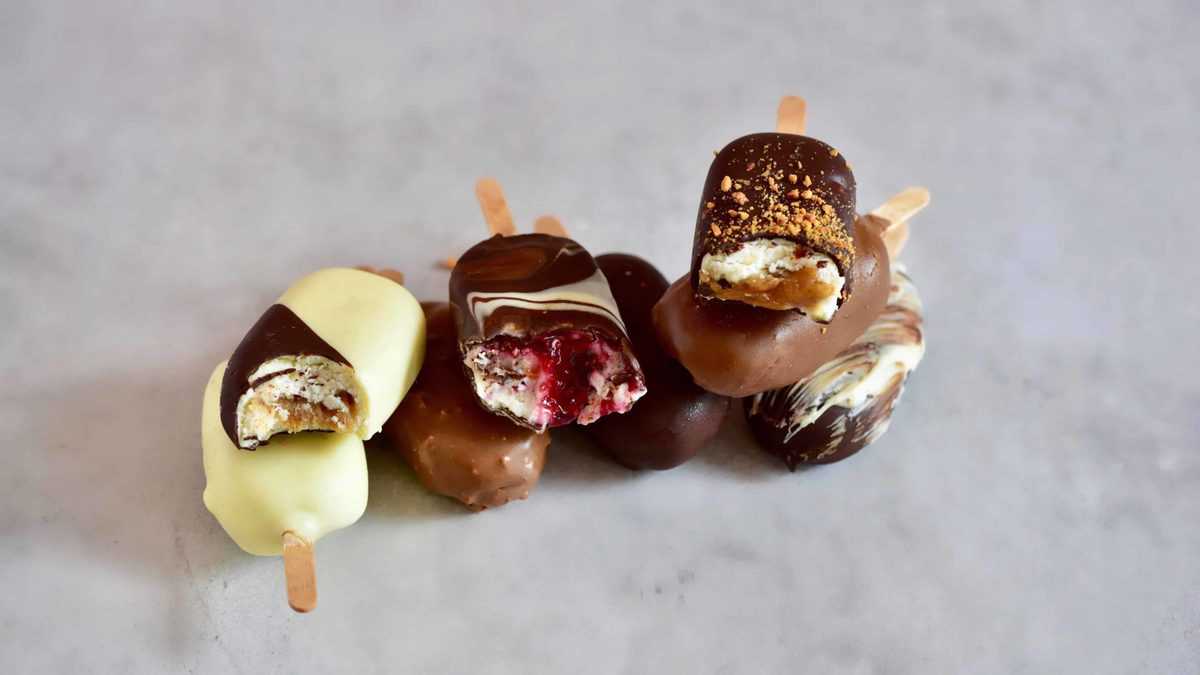
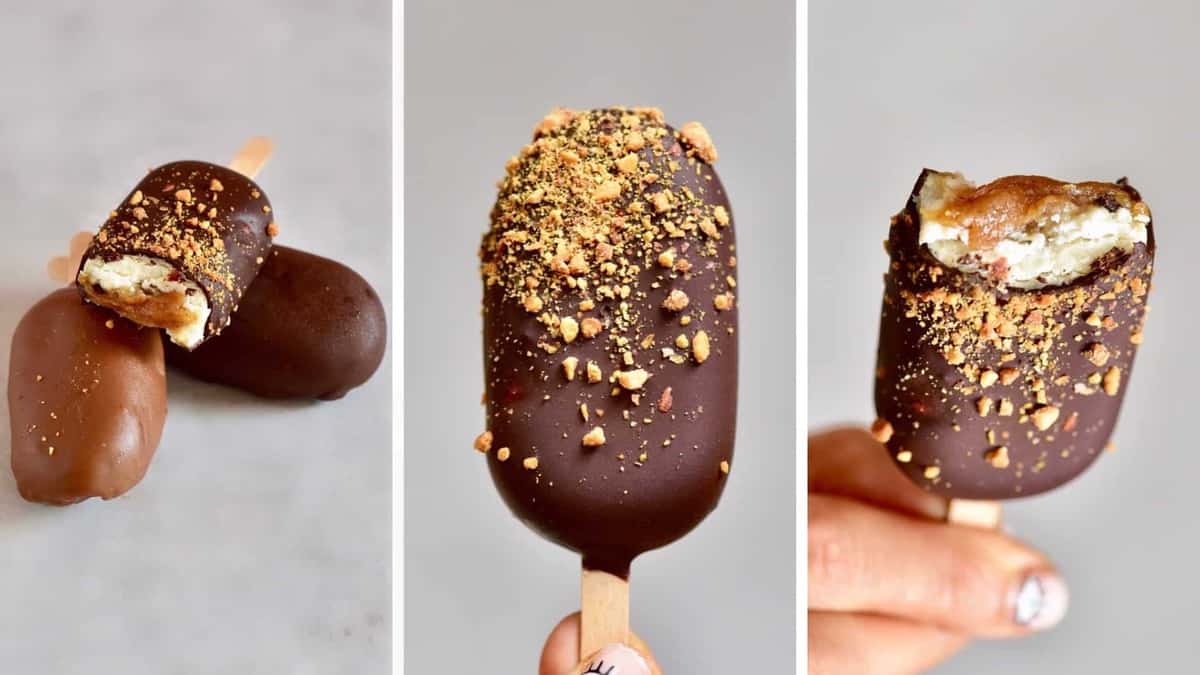
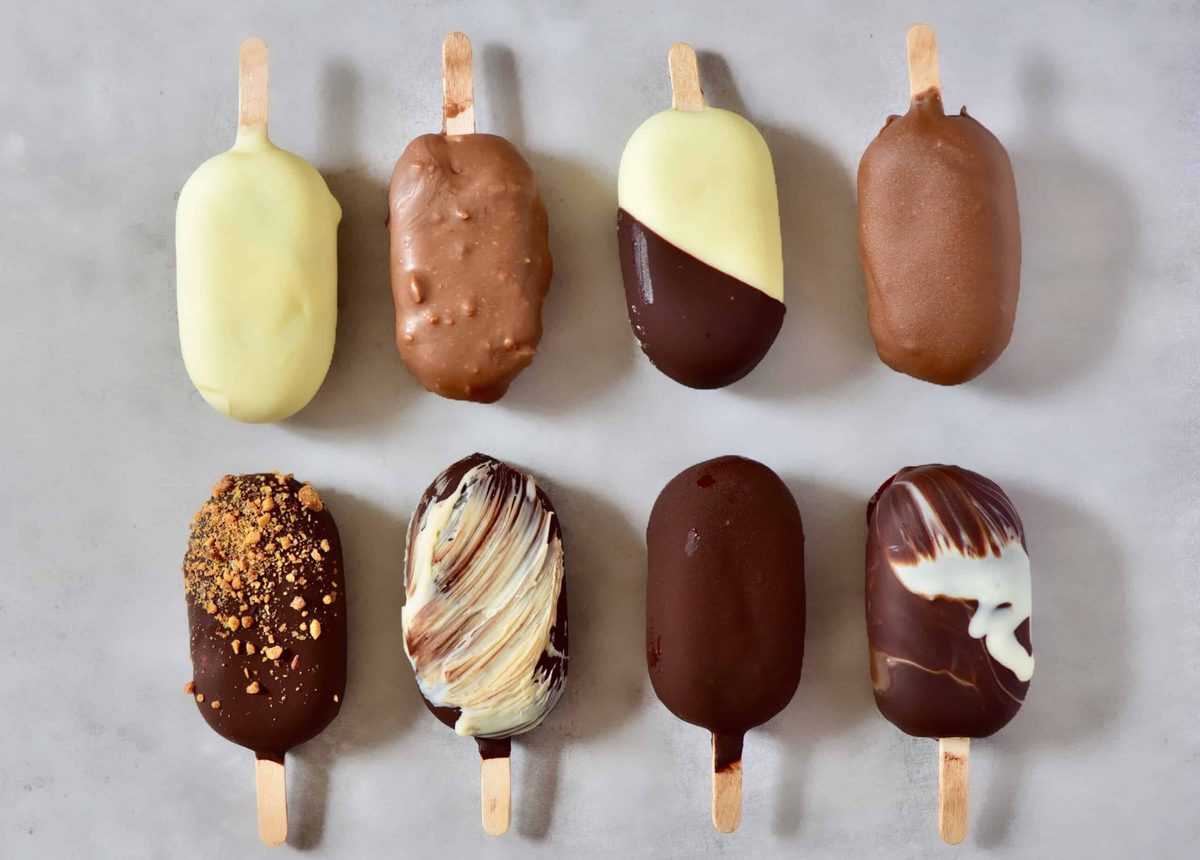
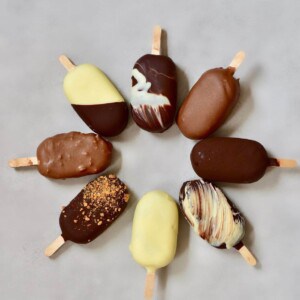
The sun’s out, which means my ice-cream cravings are at 200%… So only a bit more than when it’s any other type of weather. Good thing I basically always have a stash of these vegan magnum ice cream-inspired bars. I’ve already got recipes for Rainbow ice lollies, 100% fruit Smoothie Ice lollies, and Pistachio Avocado Ice-cream if you’re in the mood for another frozen dessert recipe. Still, when you’re craving some chocolate and something a bit more decadent, then these vegan salted caramel OR raspberry chia jam magnum style ice-cream bars hit the spot! Plant-based ice cream definitely doesn’t have to give up any flavour or employability. And learning how to make vegan ice cream is super simple. In fact, I have to admit that these are the best vegan ice creams that I’ve had (including shop-bought!) With a Cashew nut and coconut yogurt ice-cream base, and a Medjool date caramel or raspberry & chia ‘jam’ filling. These stuffed ice creams are 100% dairy-free, with refined sugar-free fillings, and 100% Vegan, to hit all the cravings and veganize magnum ice cream bars in an affordable and delicious way. Plus, the ‘salted’ caramel layer is so much healthier than your standard one, as it’s made from a mixture of Medjool dates ( for a delicious sweetness) and tahini paste, which you know I love to add to everything! Also, not to oversell these, but when you’re making this vegan ice cream recipe for yourself – you can add as much “filling” to the ice cream ratio as you want! Especially if you’re feeling particularly cheeky. I’ve found that I prefer constructing them, so the filling is more in the middle of the ice-creams, but another great way is to fill up the molds 3/4 with the ice-cream mix and then simply pour the filling to the top of the mold and level out evenly. In terms of chocolate coating, I’ve included the recipes for my suggestions, but you really can mix things up depending on what your favorites are. Tip* When it comes to the refined sugar-free raspberry chia jam filling, it is just as easy to swap these out with other berries like strawberry or blueberry- Yummy!
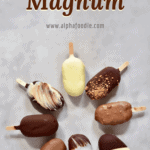
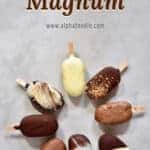
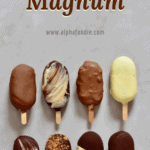
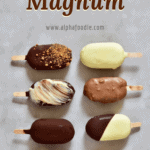
Vegan Magnum Ice-Cream Recipes
Ingredients
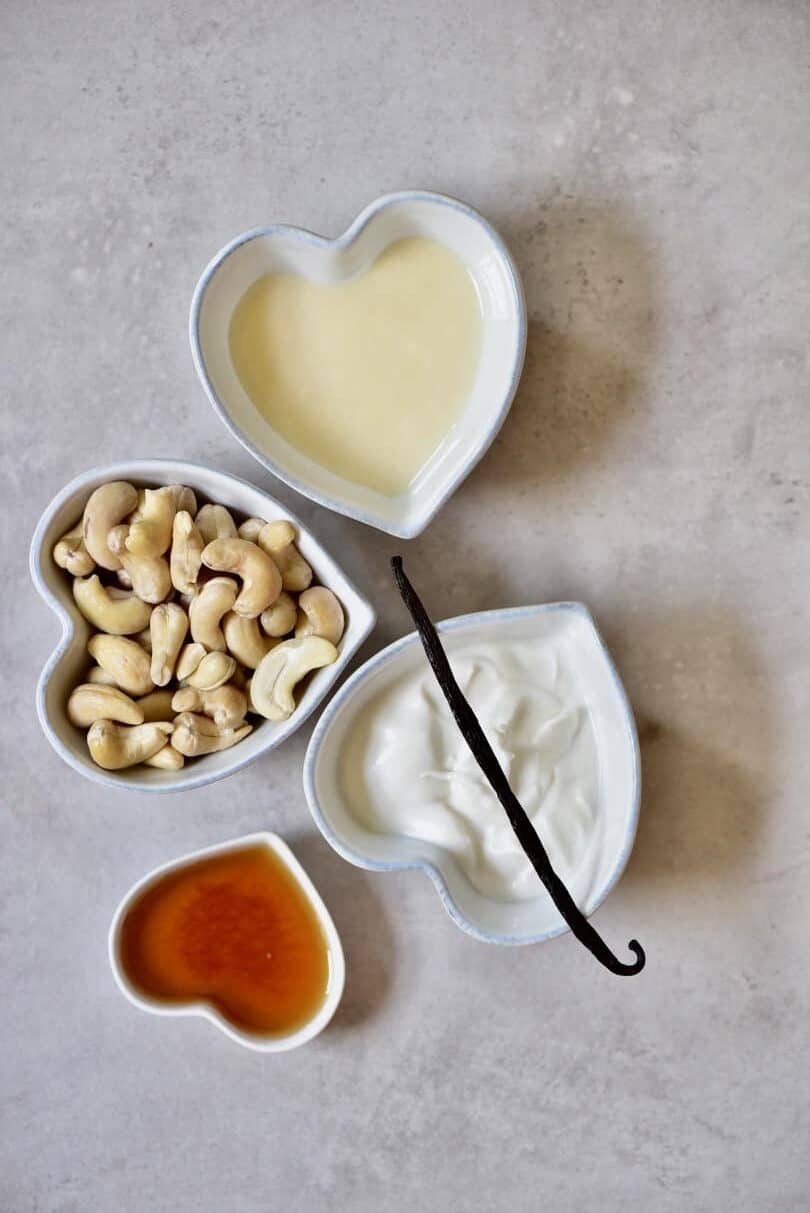
For the vegan vanilla ice-cream base
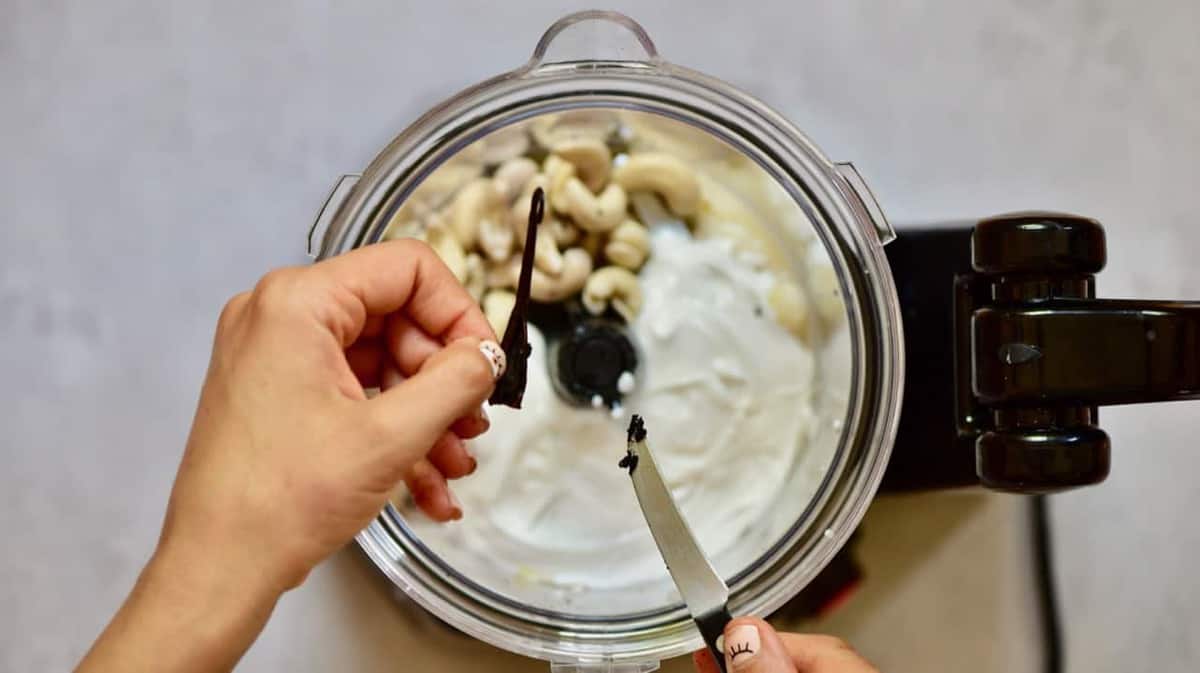
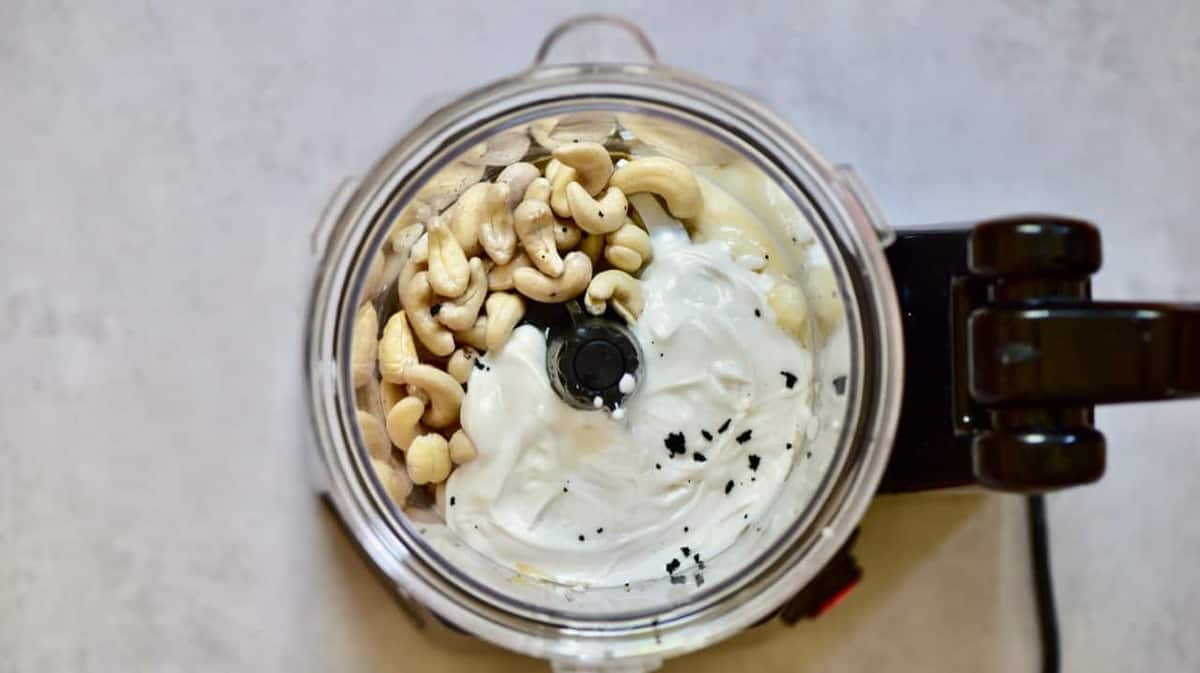
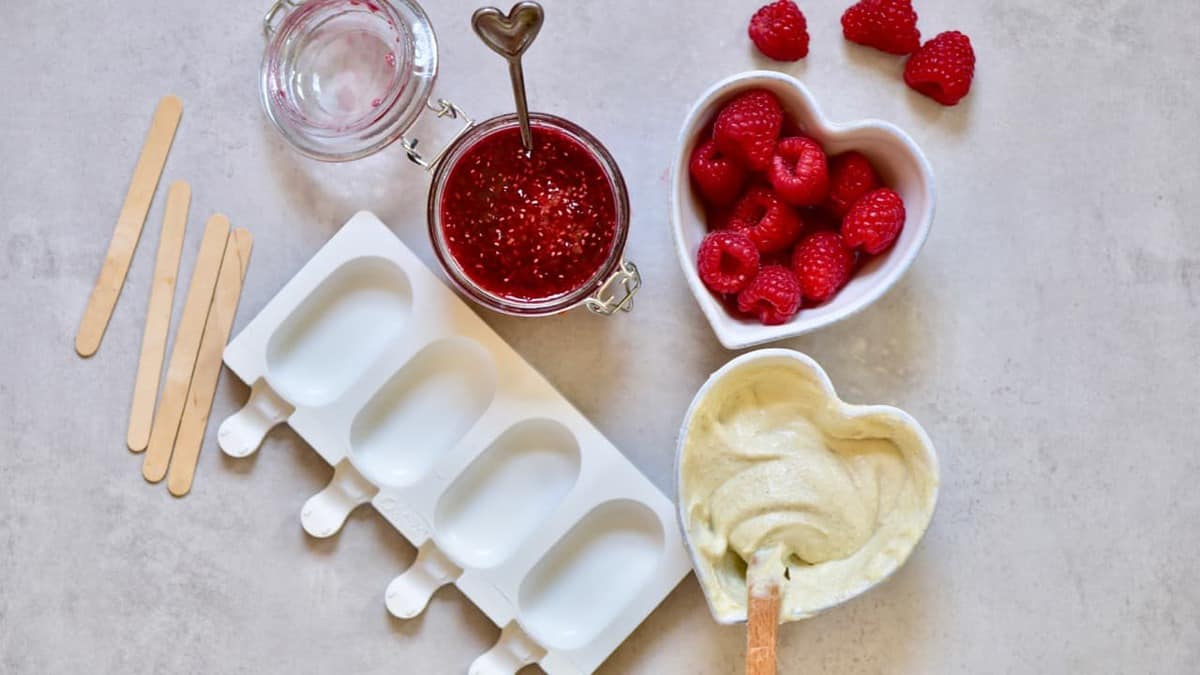
1 cup cashews (presoaked overnight – or for at least six hours)1/2 cup coconut butter2 tBsp maple syrup1/2 cup coconut yogurt1 vanilla bean
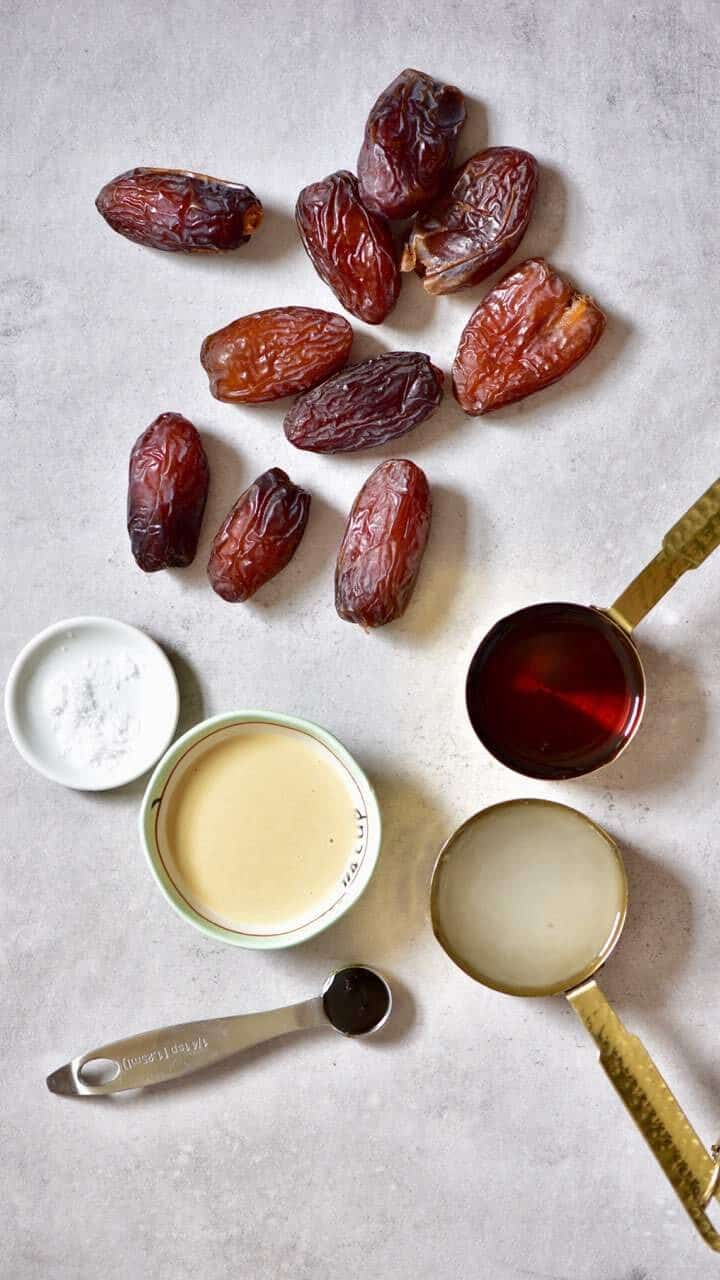
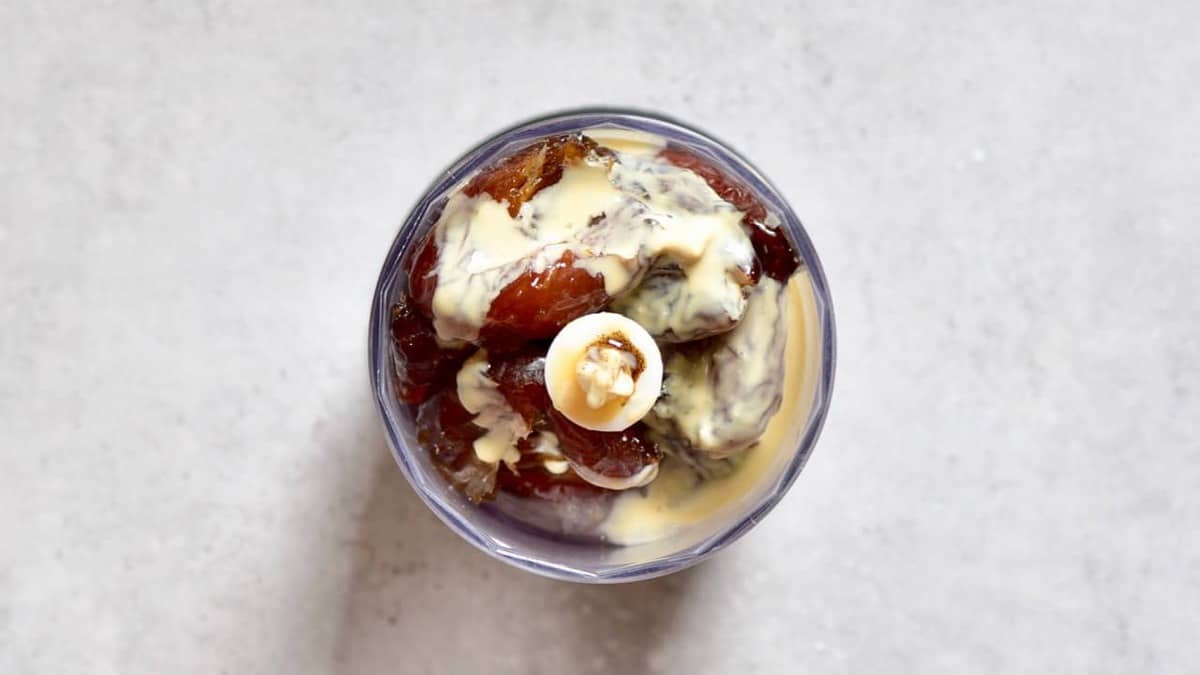
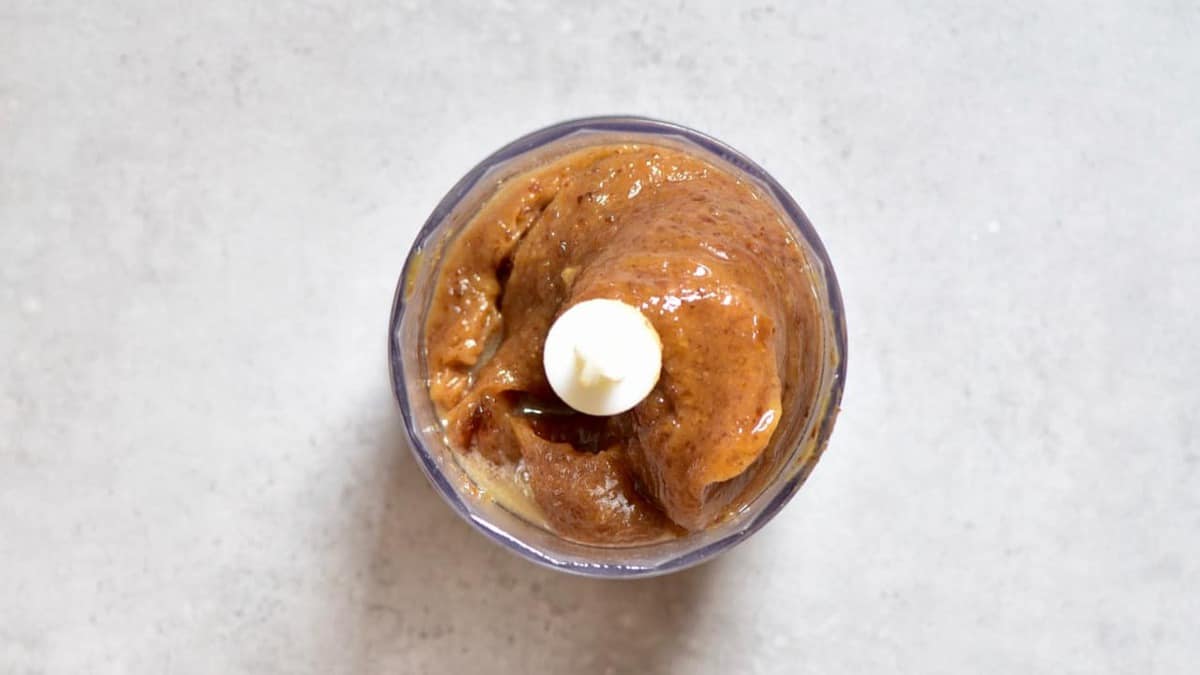
For the caramel filling
10 pitted Medjool dates pinch of salt2 tbsp tahini (or almond butter or peanut butter)1 Tablespoon coconut oil (optional)1 tbsp maple syrupA bit of water (if not blending)
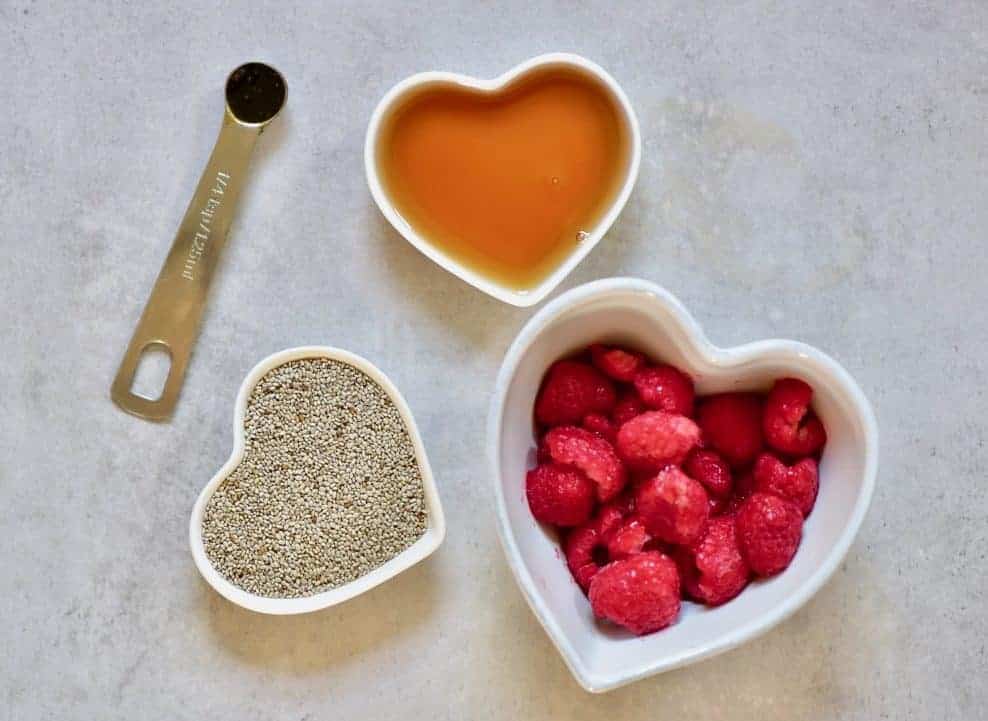
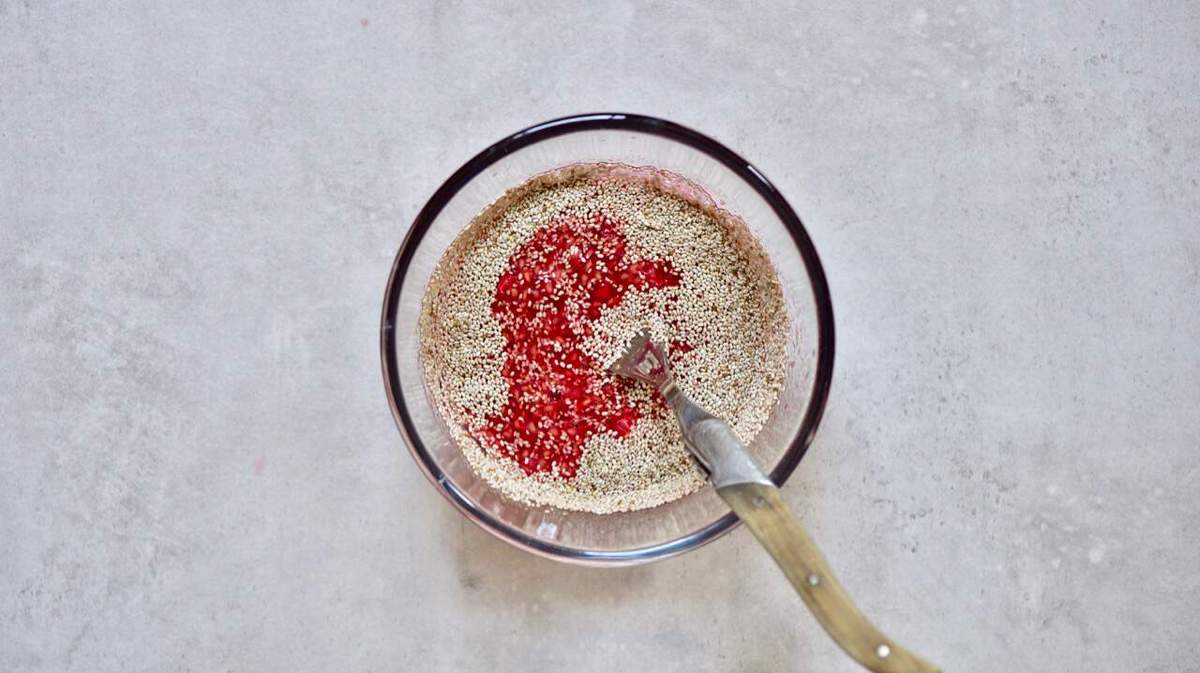
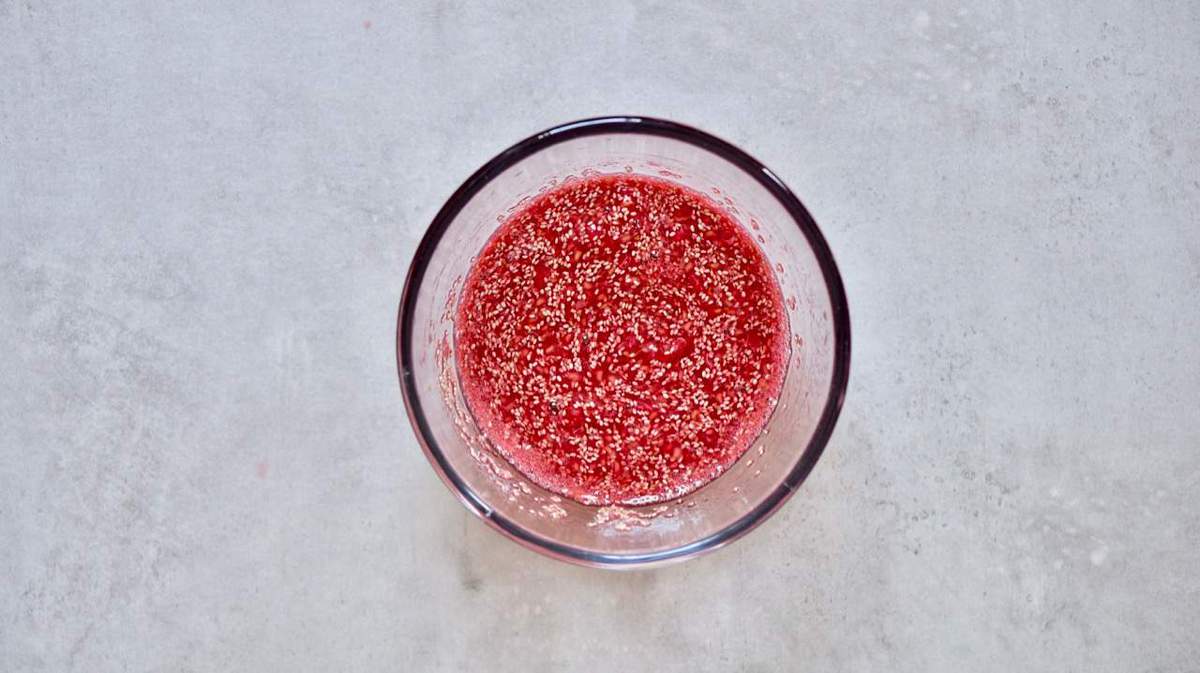
For the raspberry chia filling
1 cup raspberries1/4 tsp vanilla extract2 tBsp maple syrup2 tBsp chia seeds
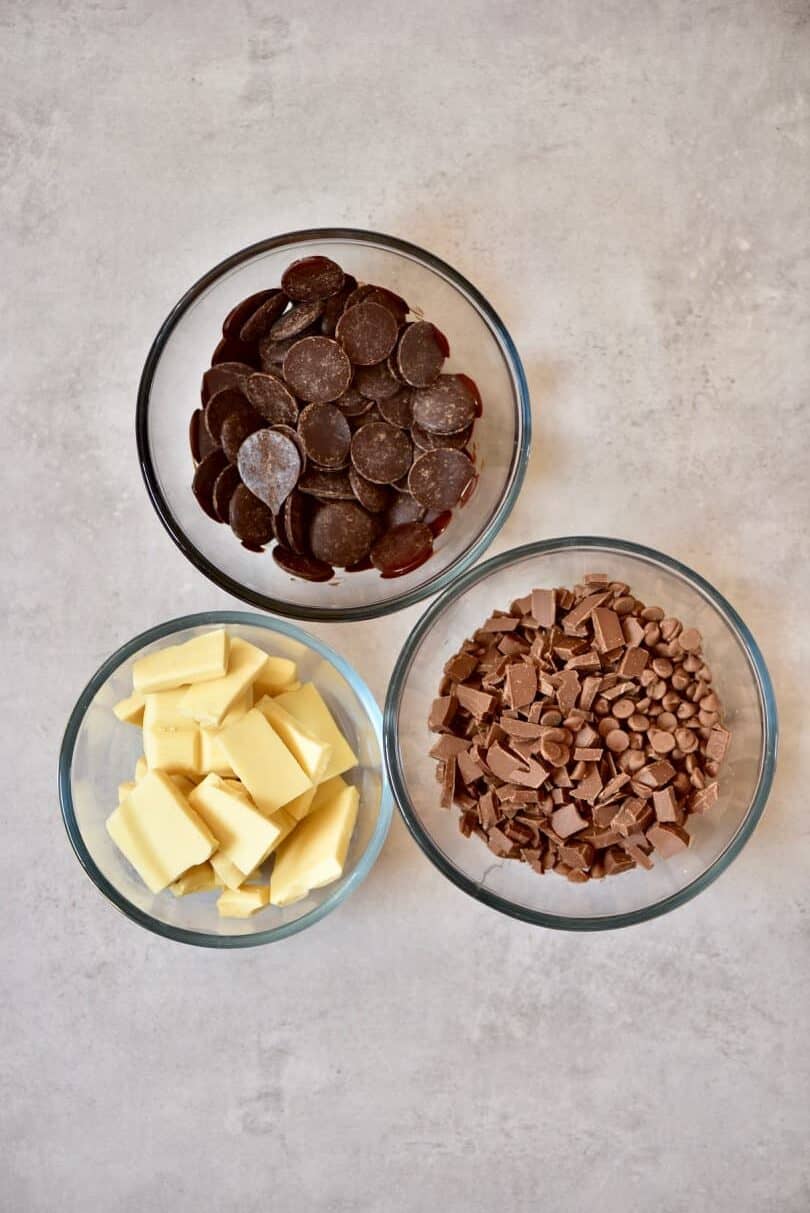
For the chocolate coating
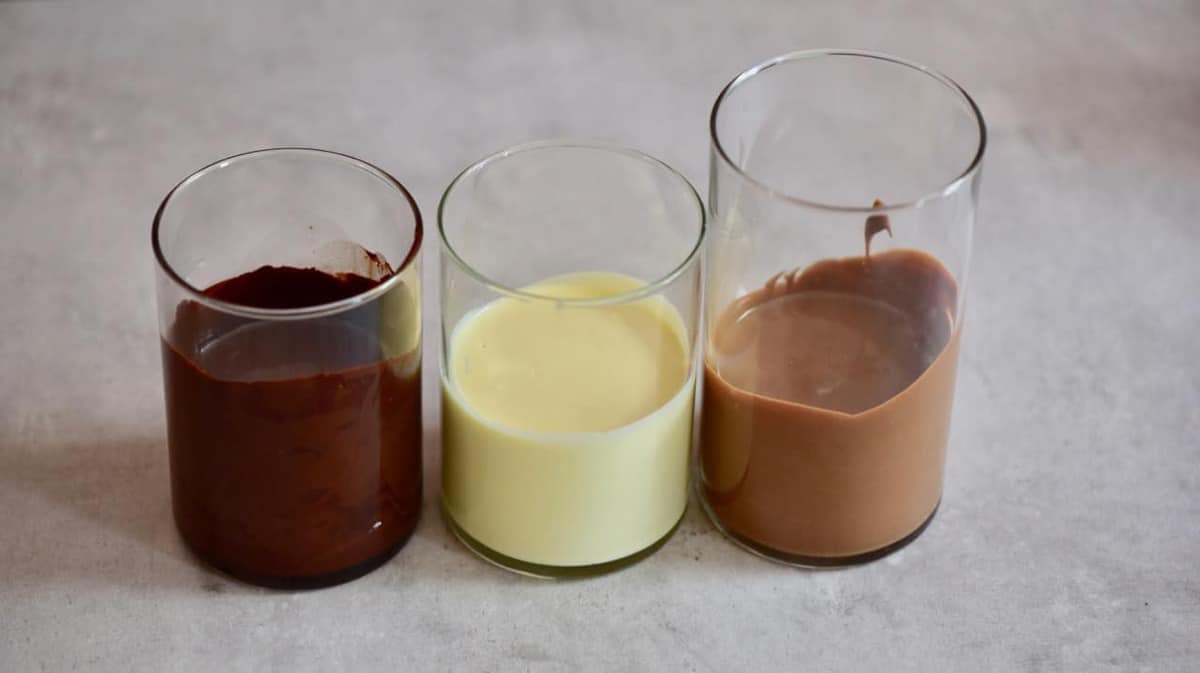
dark or milk or white chocolate (or all 3 of them) from your favourite dairy-free brand. You could also make your own raw vegan chocolate using raw cacao powder, cacao butter and a natural sweetener of your choice.
The How-To
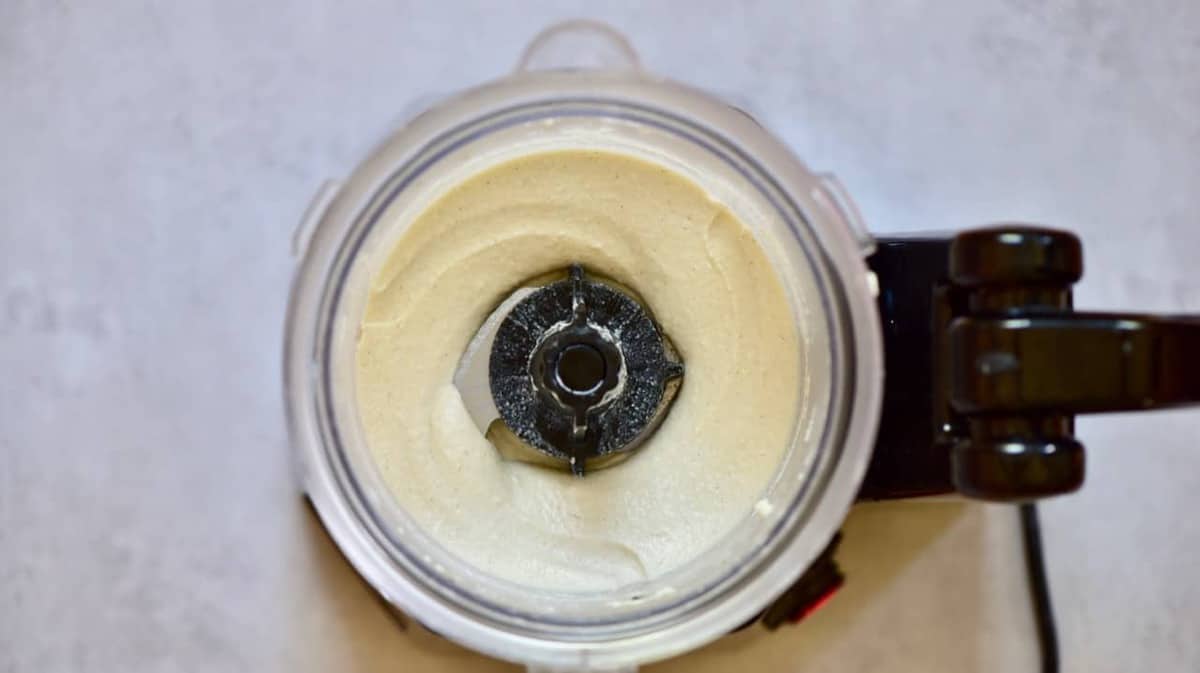
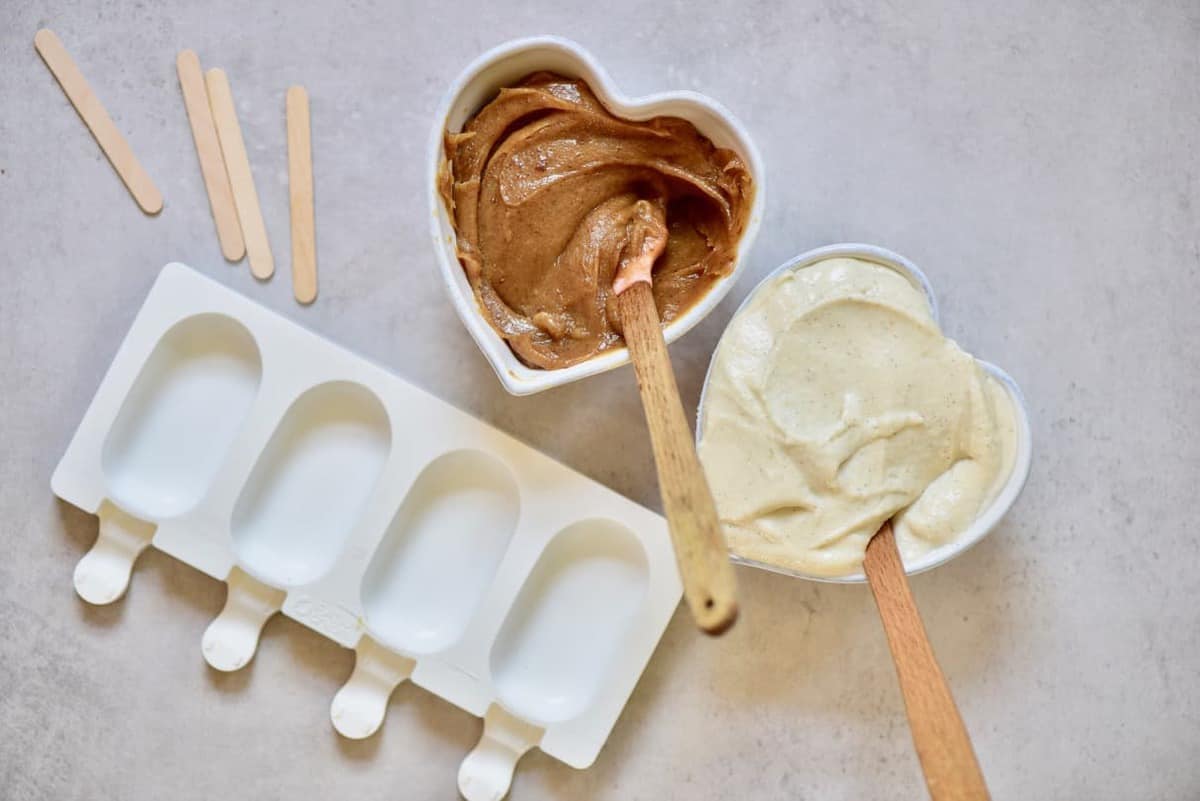
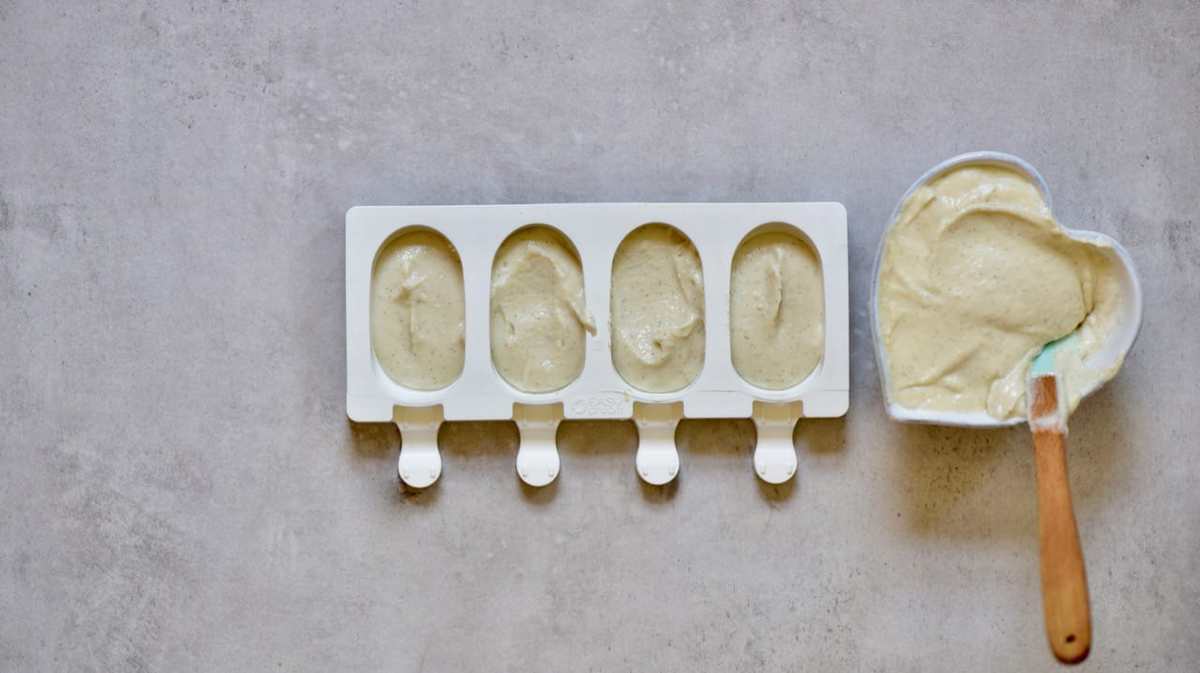
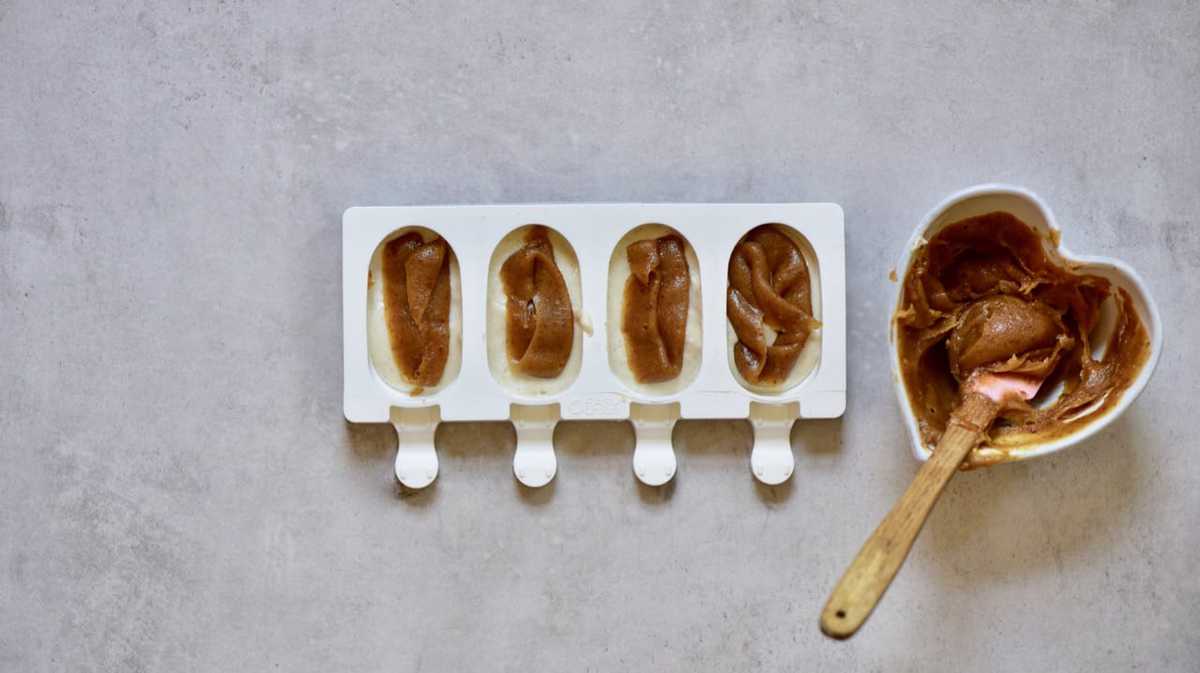
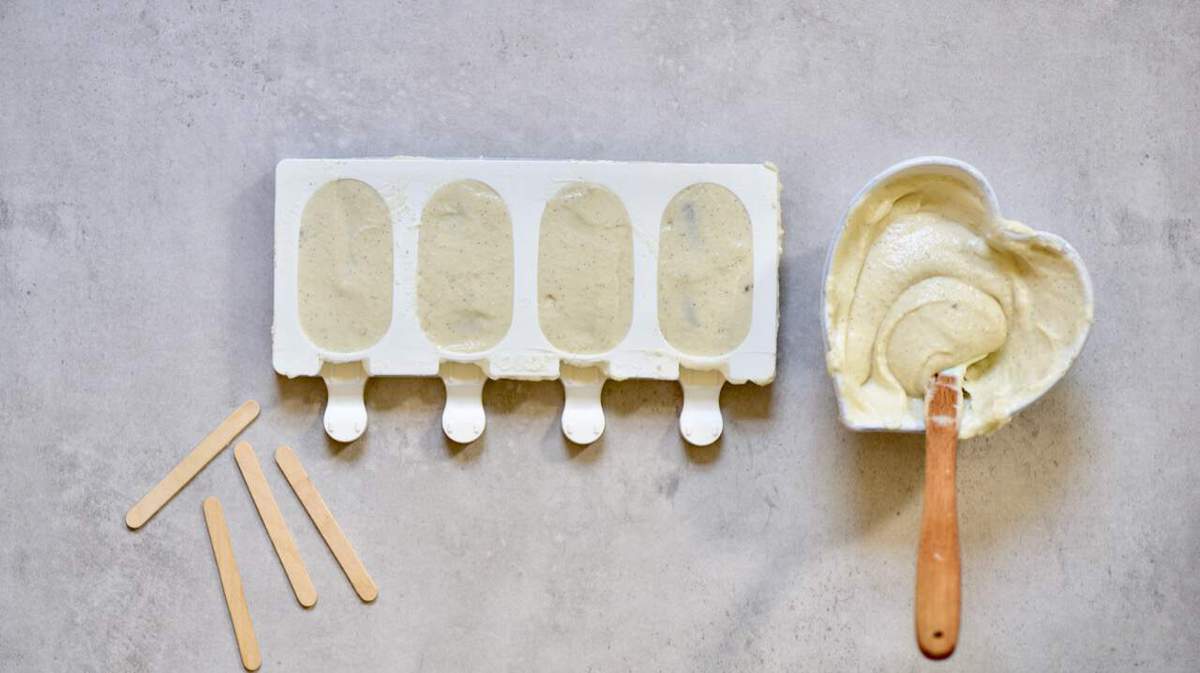
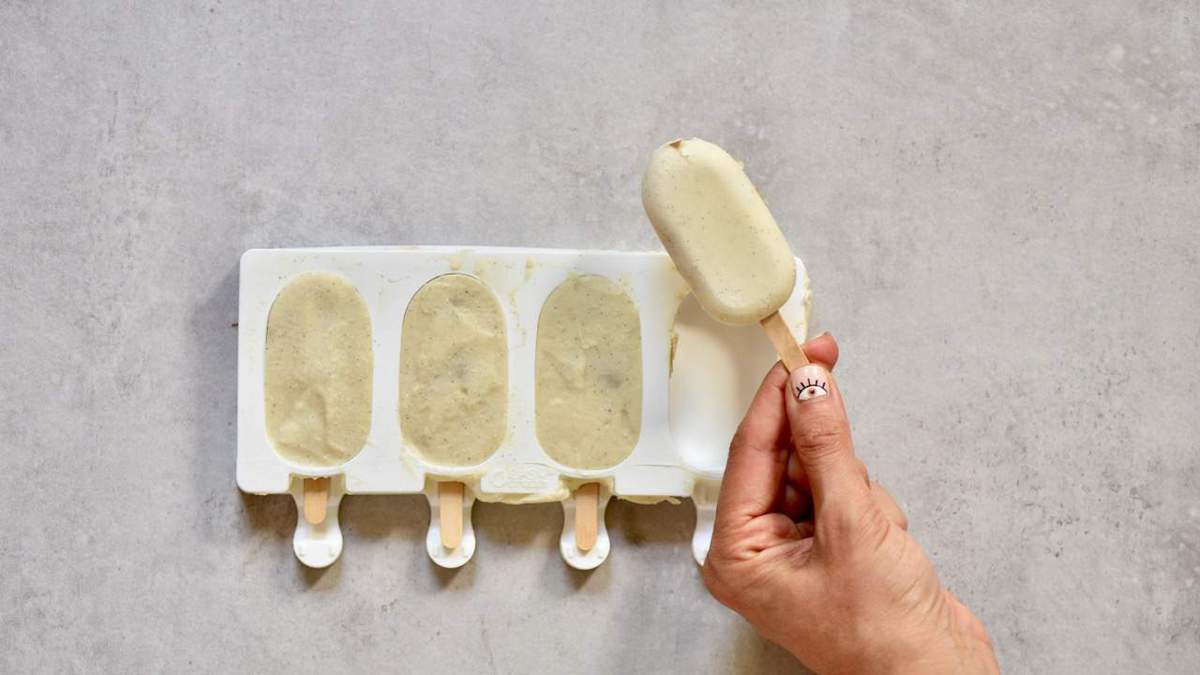
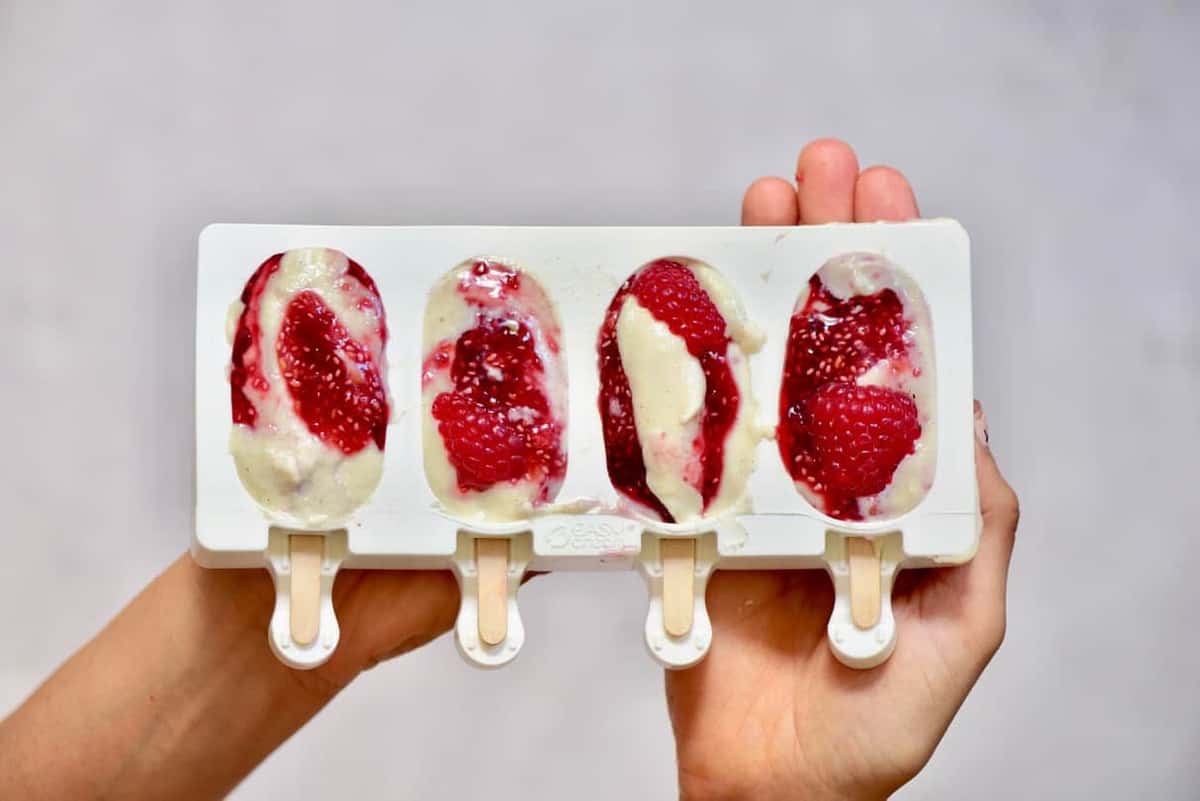
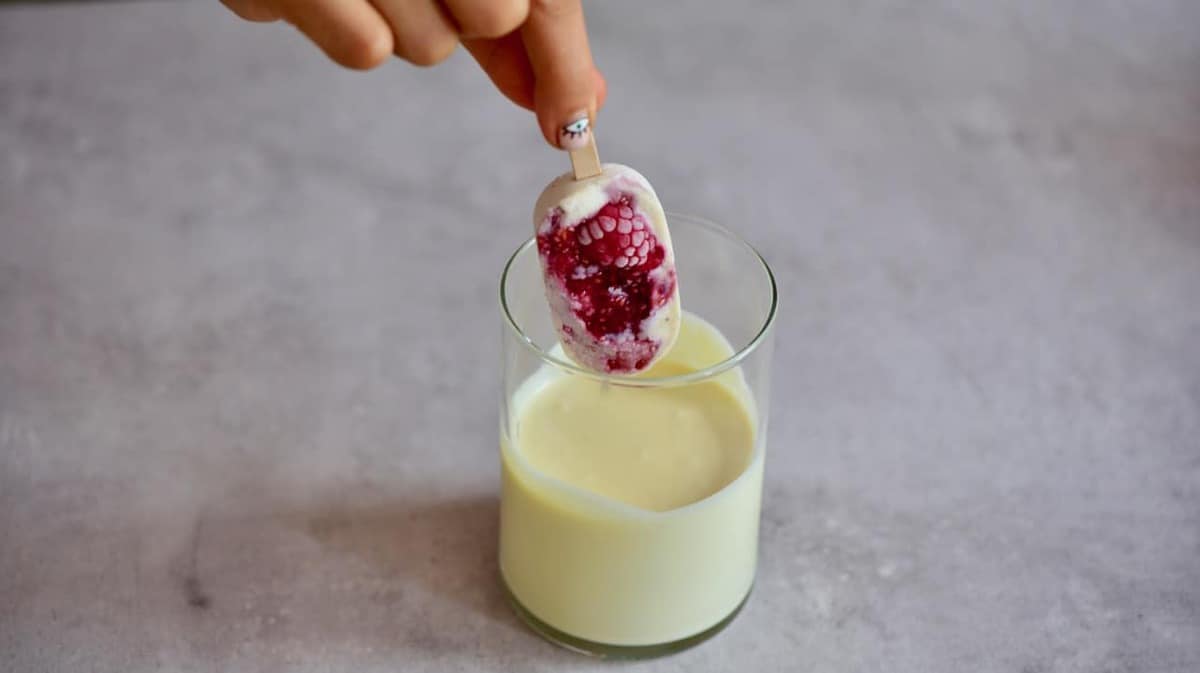
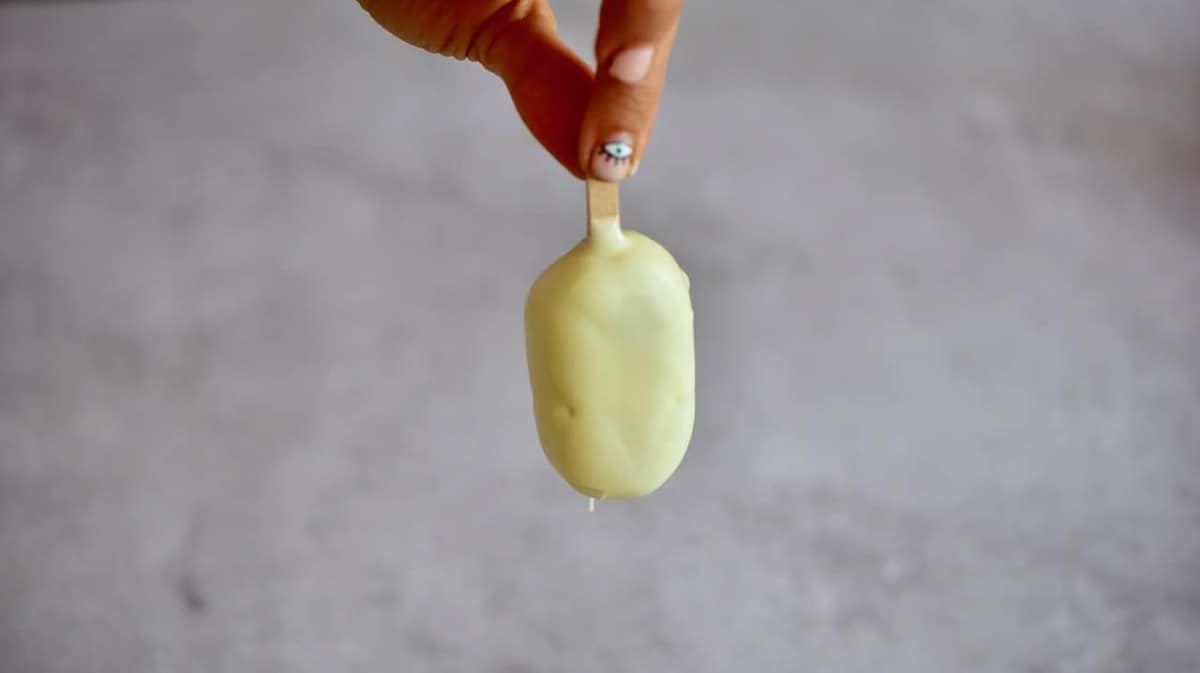
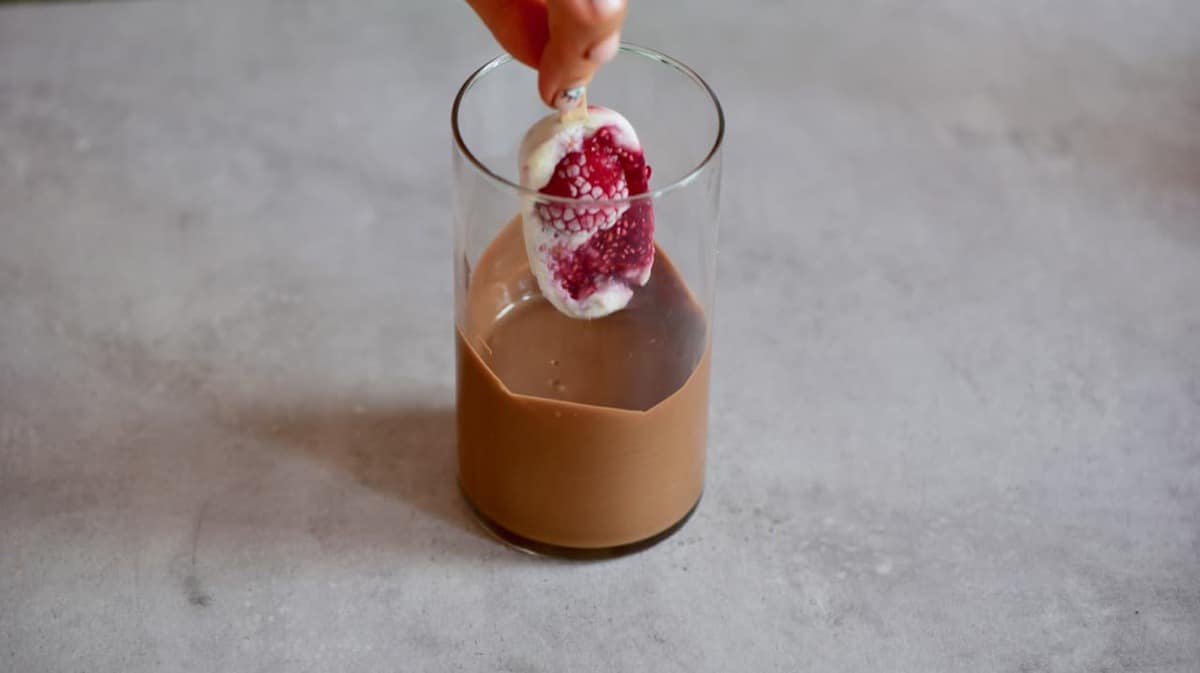
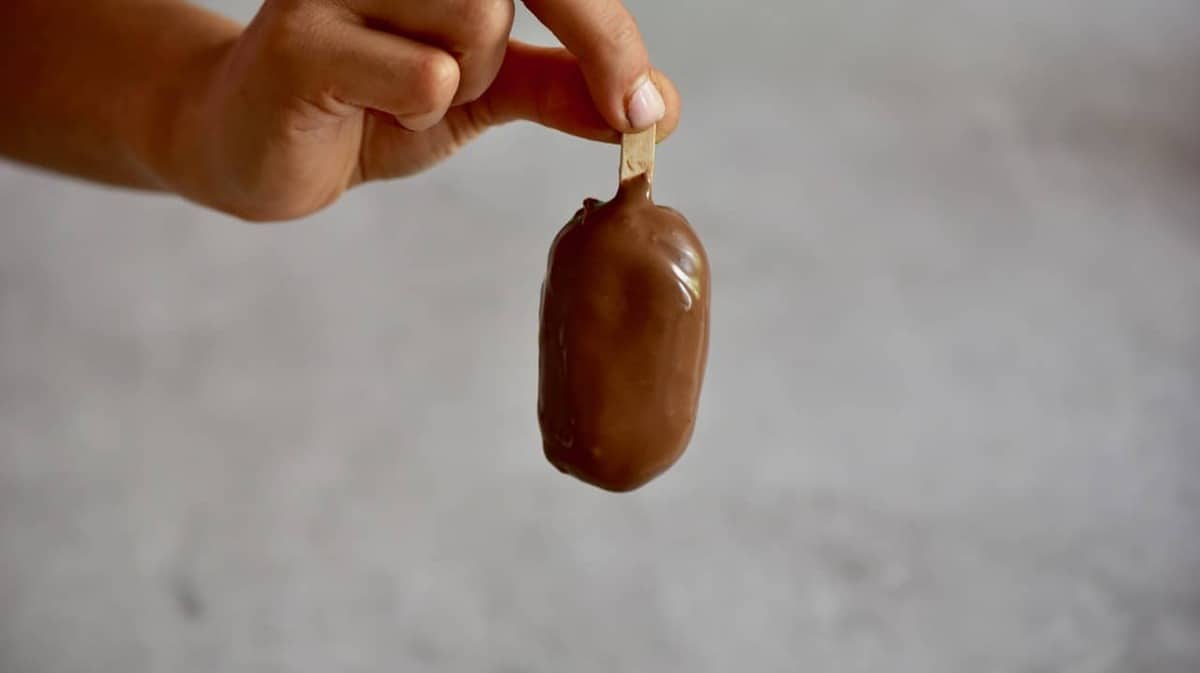
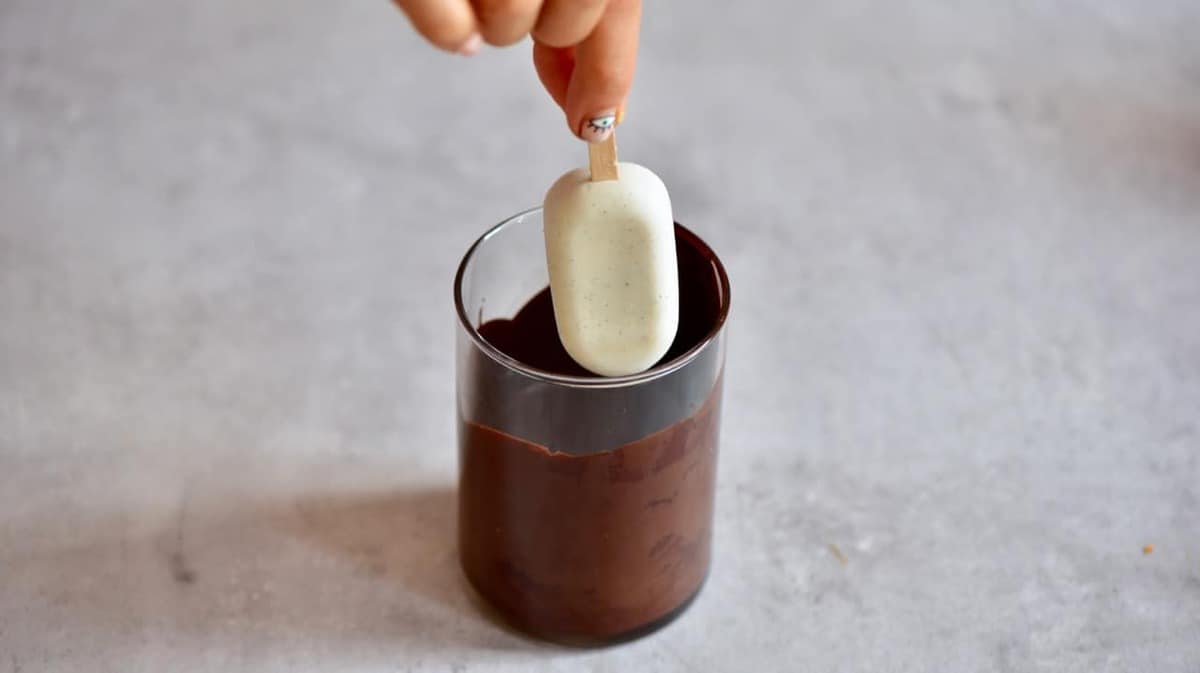
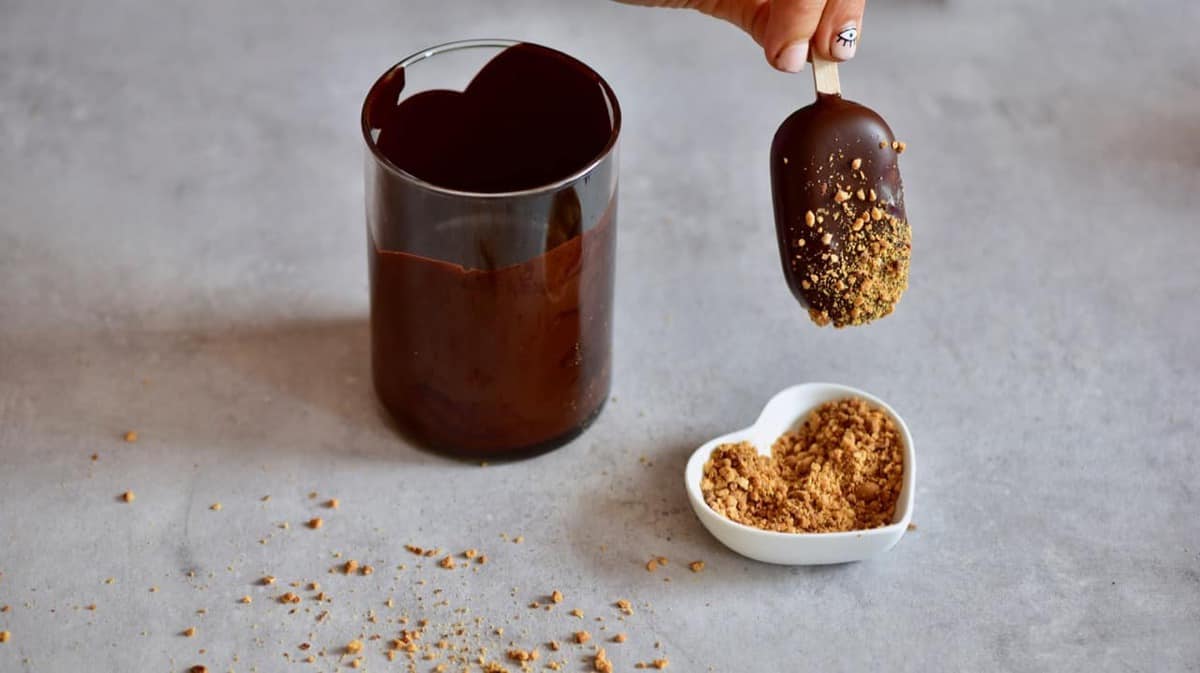
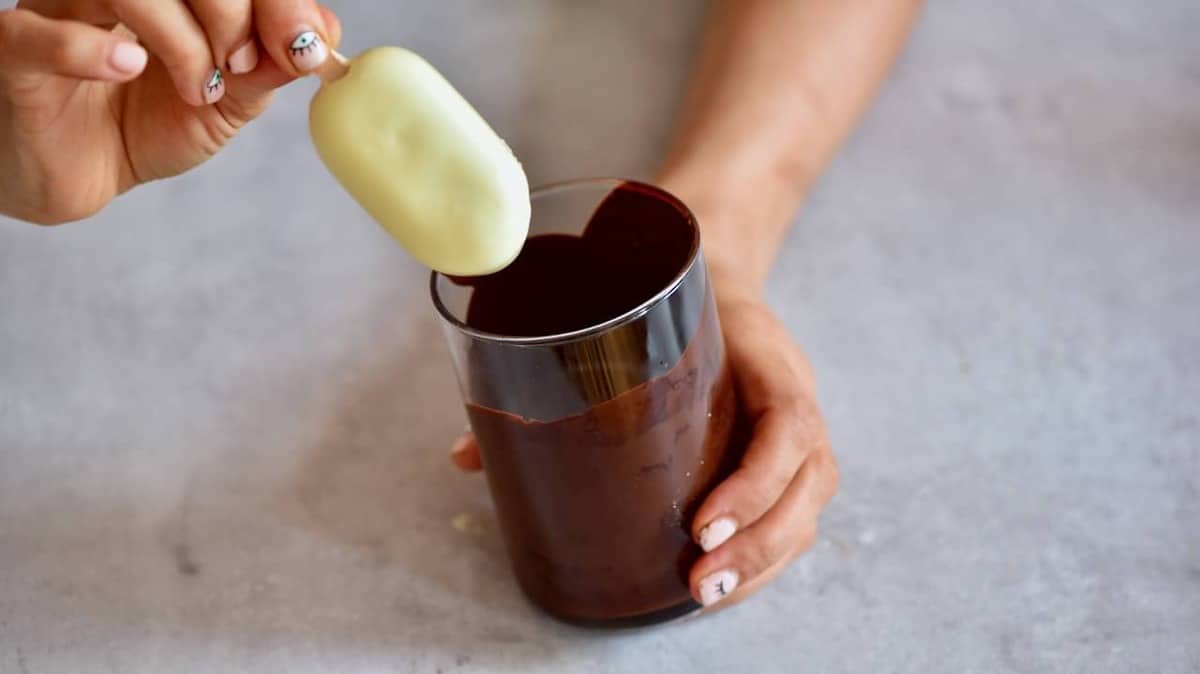
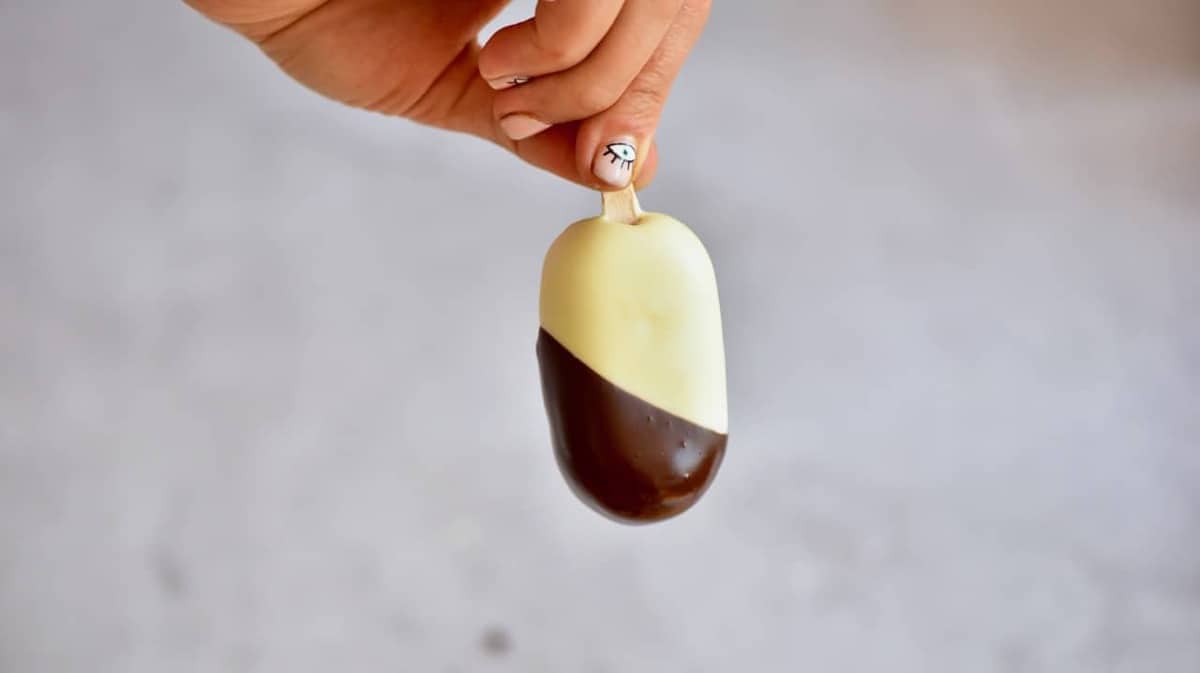
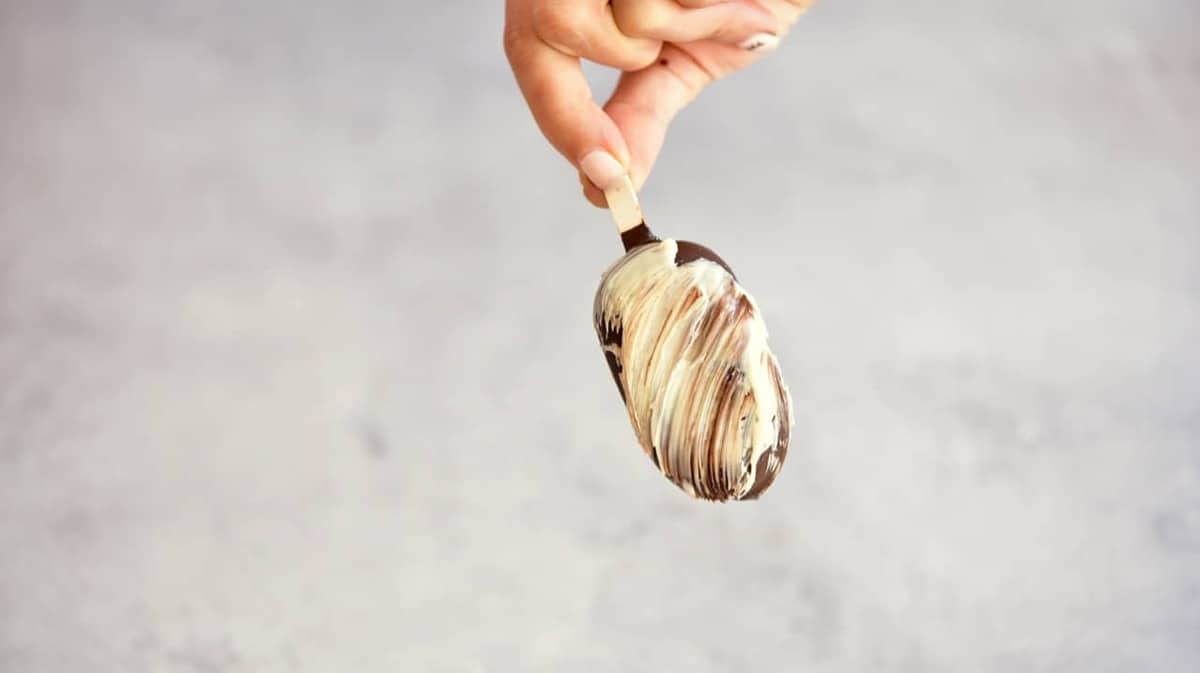
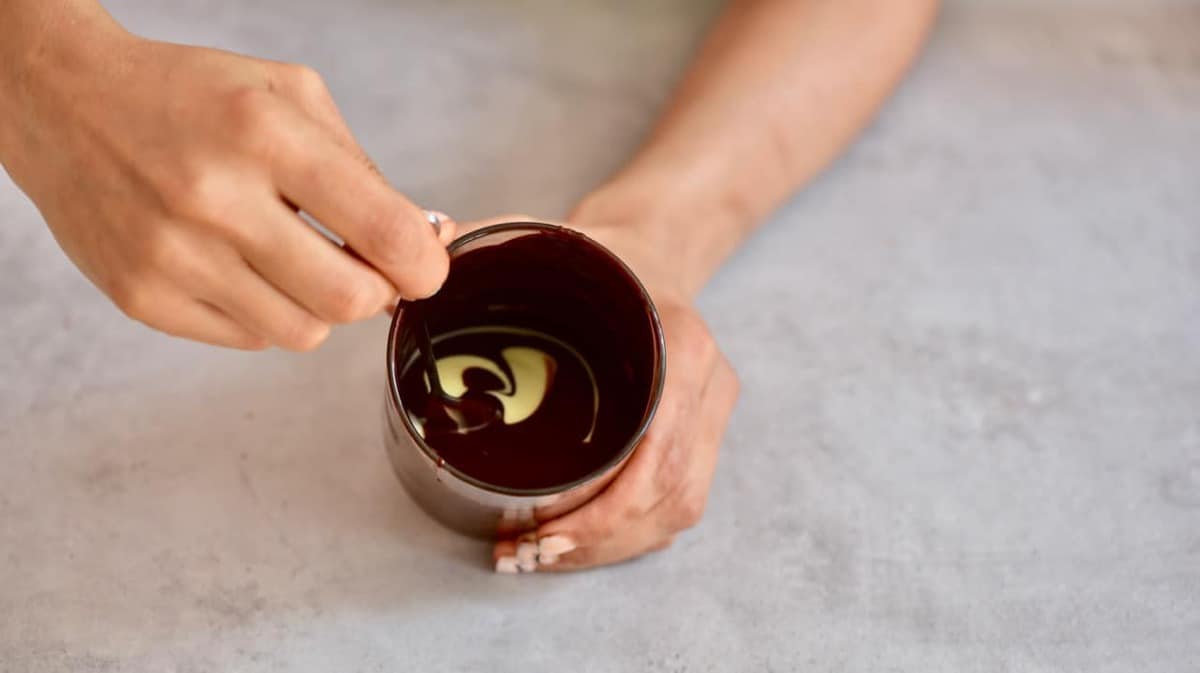
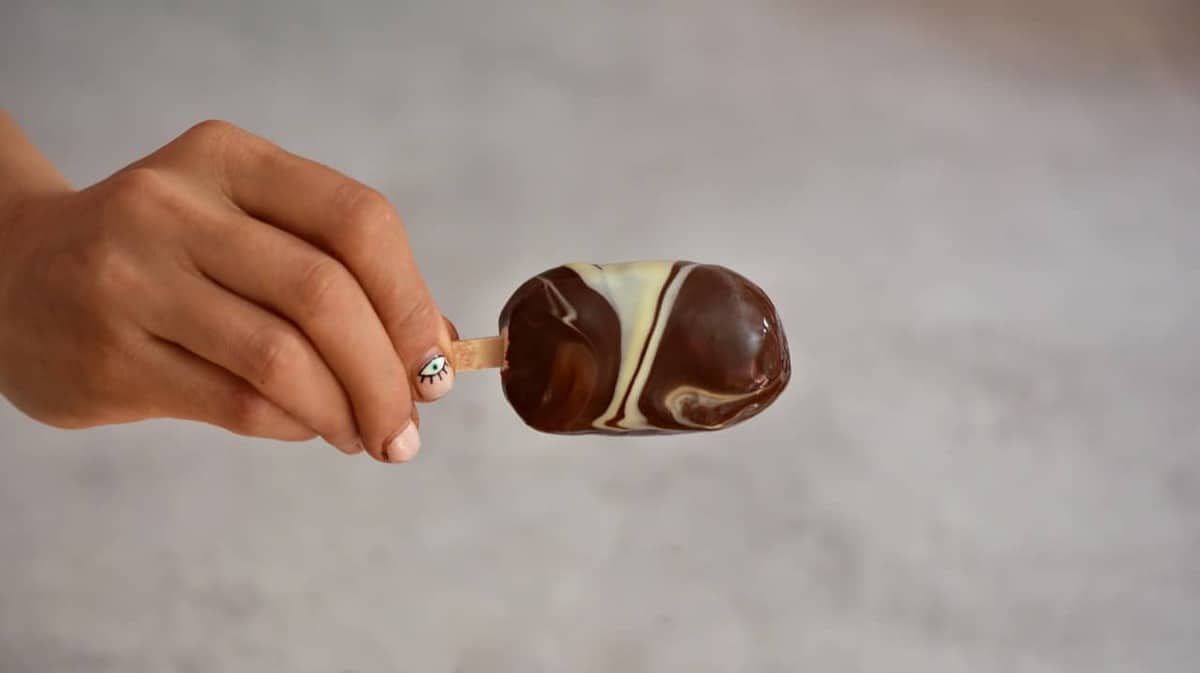
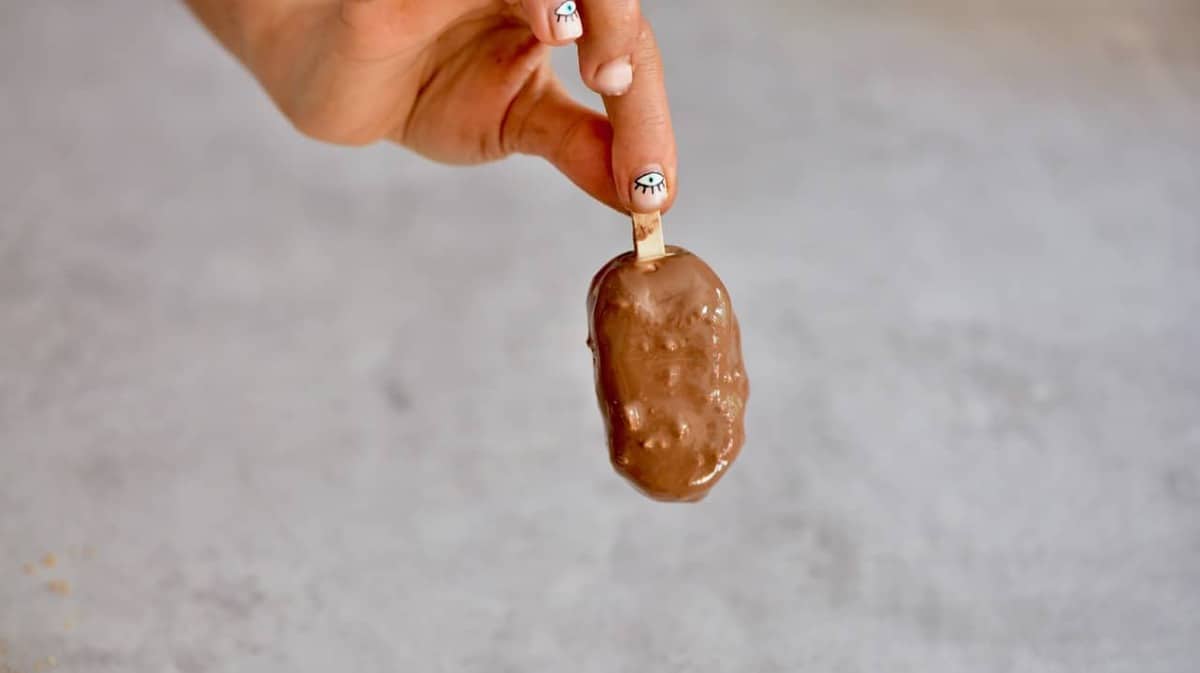
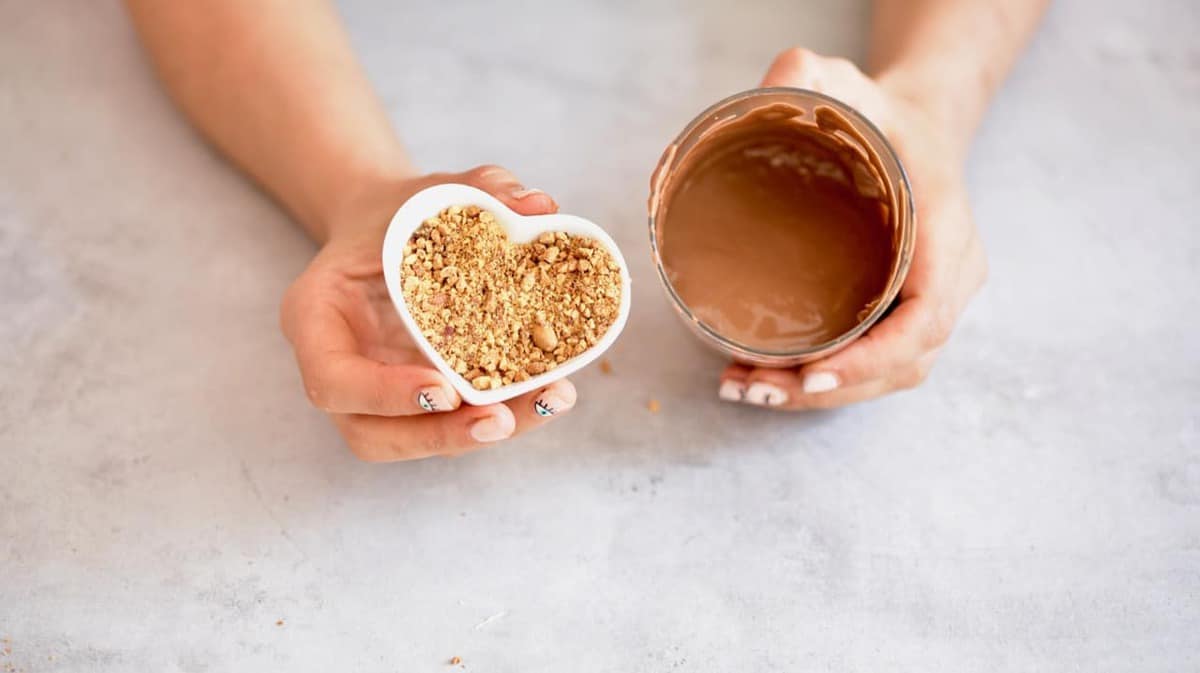
To make the caramel filling, it is as simple as blending all of the ingredients to a smooth consistency. Tip* If the dates are hard then simply soak them in some boiling water for a few minutes to soften. To make the raspberry chia jam filling, mash the raspberries together with the vanilla extract and maple syrup. Then add the chia seeds and stir well. Set aside, to allow the chia seeds to absorb some of the liquid and thicken. Store in a glass container in the fridge. To make the vanilla dairy-free ice cream base, make sure you are using cashews that have soaked in water for at least 6 hours. Mix all the ingredients in a high-speed blender/food processor until you obtain a smooth homogeneous mixture. To make the caramel ice cream, first pour some vanilla base into the ice lolly silicone mold. Then add a bit of caramel to the middle. Cover it with more of the vanilla base. Insert the ice cream sticks and freeze (best overnight). To make the raspberry chia ice cream, first pour some vanilla base into the ice lolly silicone mould, then add some of the raspberry chia jam. You can also just add a few fresh raspberries, cut in two. Insert the ice cream sticks and freeze (best overnight). Melt your choice of chocolate. For my ice creams, I am using all three types – dark, milk, and white. It’s best to melt it on a double boiler, but you can also do it quicker in the microwave. Take the ice creams from the freezer and dip them quickly into the melted chocolate. The chocolate coating should harden very quickly, and you can then lay down the ice cream on a plate or baking paper while you prepare the rest. Keep the ice creams in the freezer until you are ready to enjoy them. You can achieve different effects by: -sprinkling some crushed peanuts on top of the ice cream as soon as you take it out of the chocolate.– mixing some crushed peanuts in the melted chocolate and then dipping the ice cream.– dipping the ice cream first in, say, white chocolate, then in the dark only halfway through.– using a brush or a fork to make some strokes with different chocolate from the one you dipped the ice cream into.– mixing white and dark chocolate (make sure not to stir too much) and then dipping the ice cream in the mixture, for a marbled effect. Voila – your ice-creams are ready to eat. Simply store in the freezer, in an airtight container. If you give these a go, then let me know what you thought, in the comments below. Also, feel free to tag me in your creations @Alphafoodie.