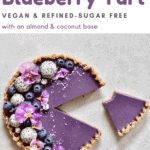
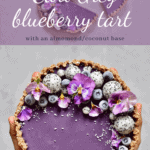
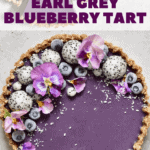
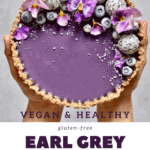
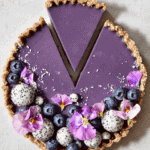
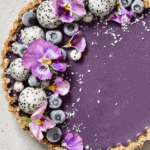
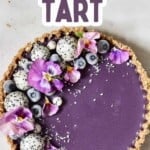
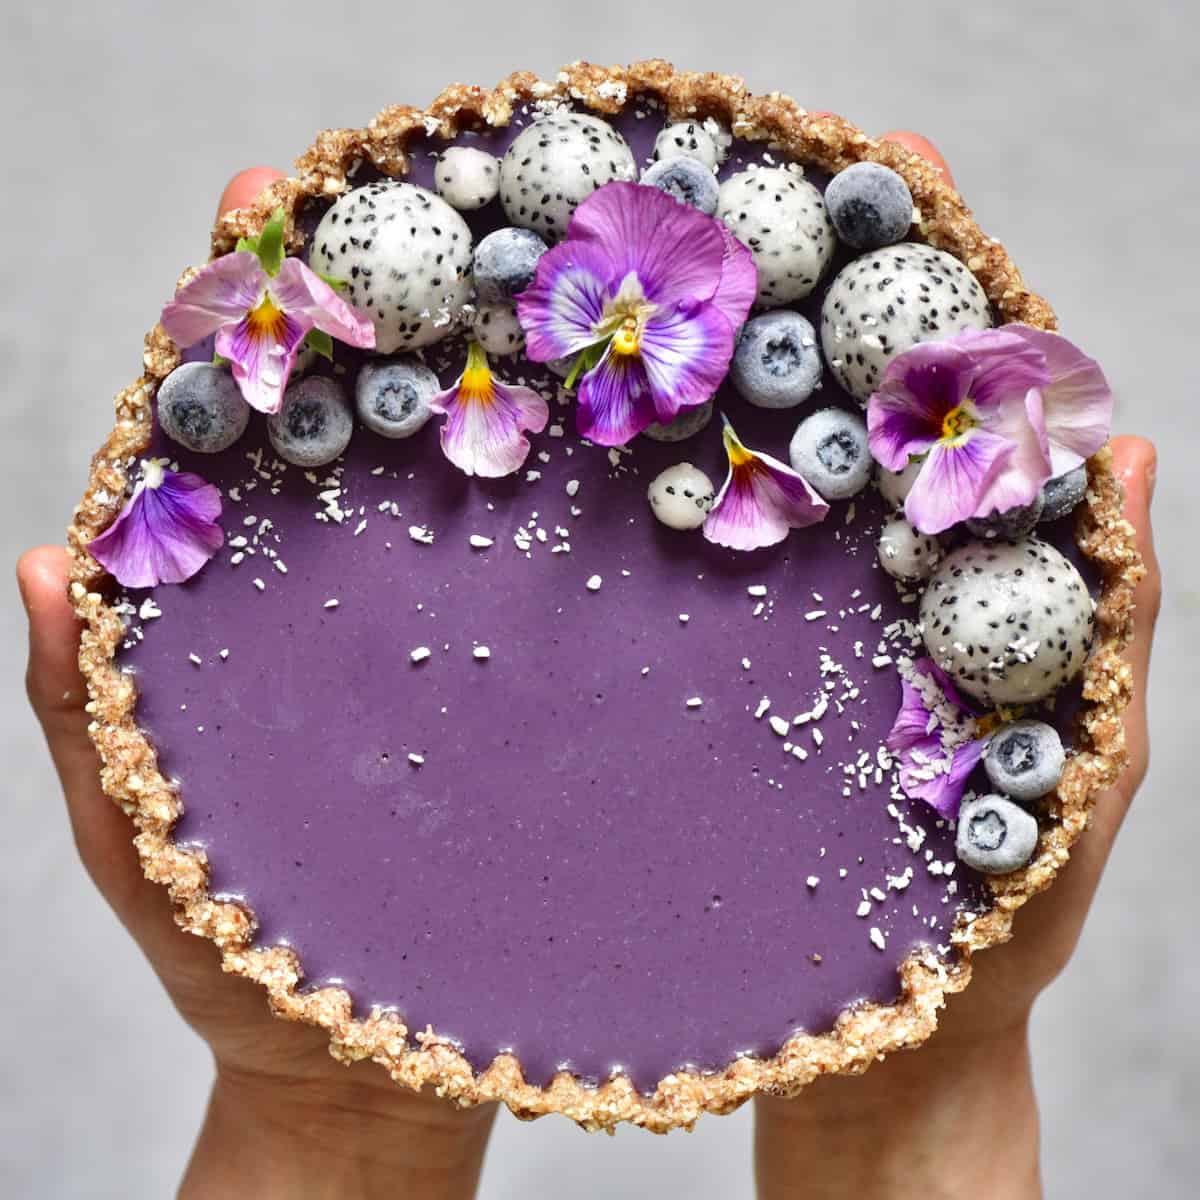
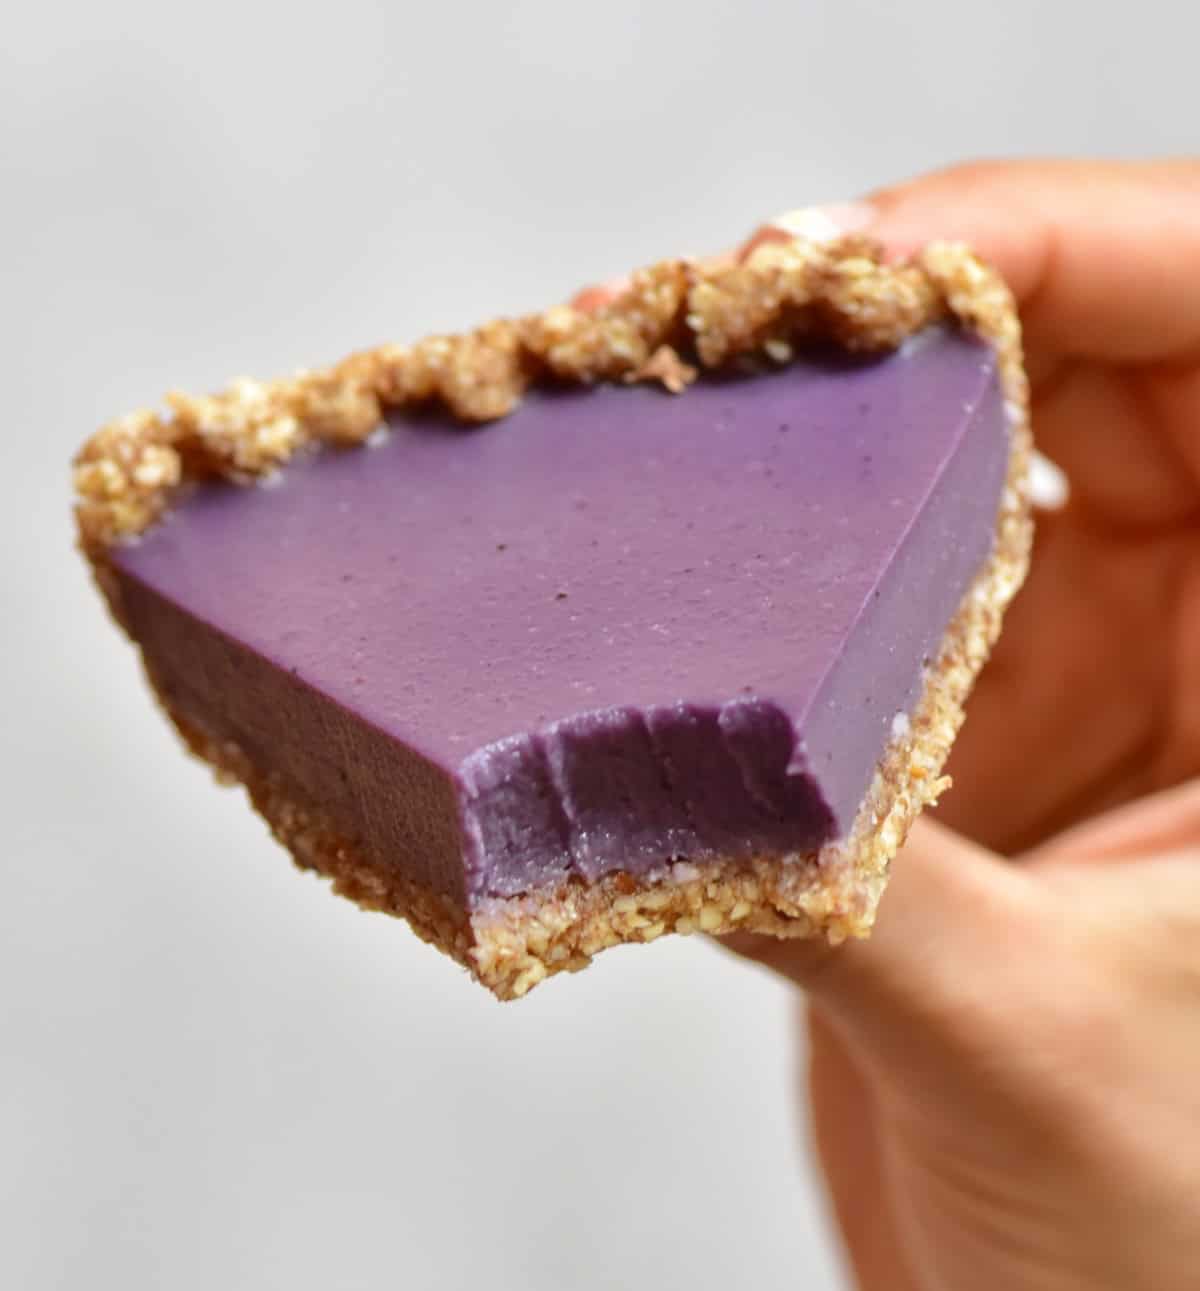
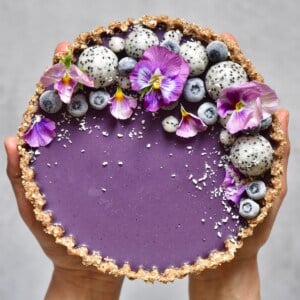
If you’re looking for a low-effort dessert certain to impress, look no further than my Earl Grey Blueberry Tart. Made without ever having to turn on your oven, the fresh tartness of the blueberries and the citrusy tang of Earl Grey tea make for a truly unique tart made in just 25 minutes of prep time. Plus, it’s completely dairy-free but still has a rich, creamy, and fruity filling—you’d never guess it was vegan.
Watch how I make it
Step by step instructions
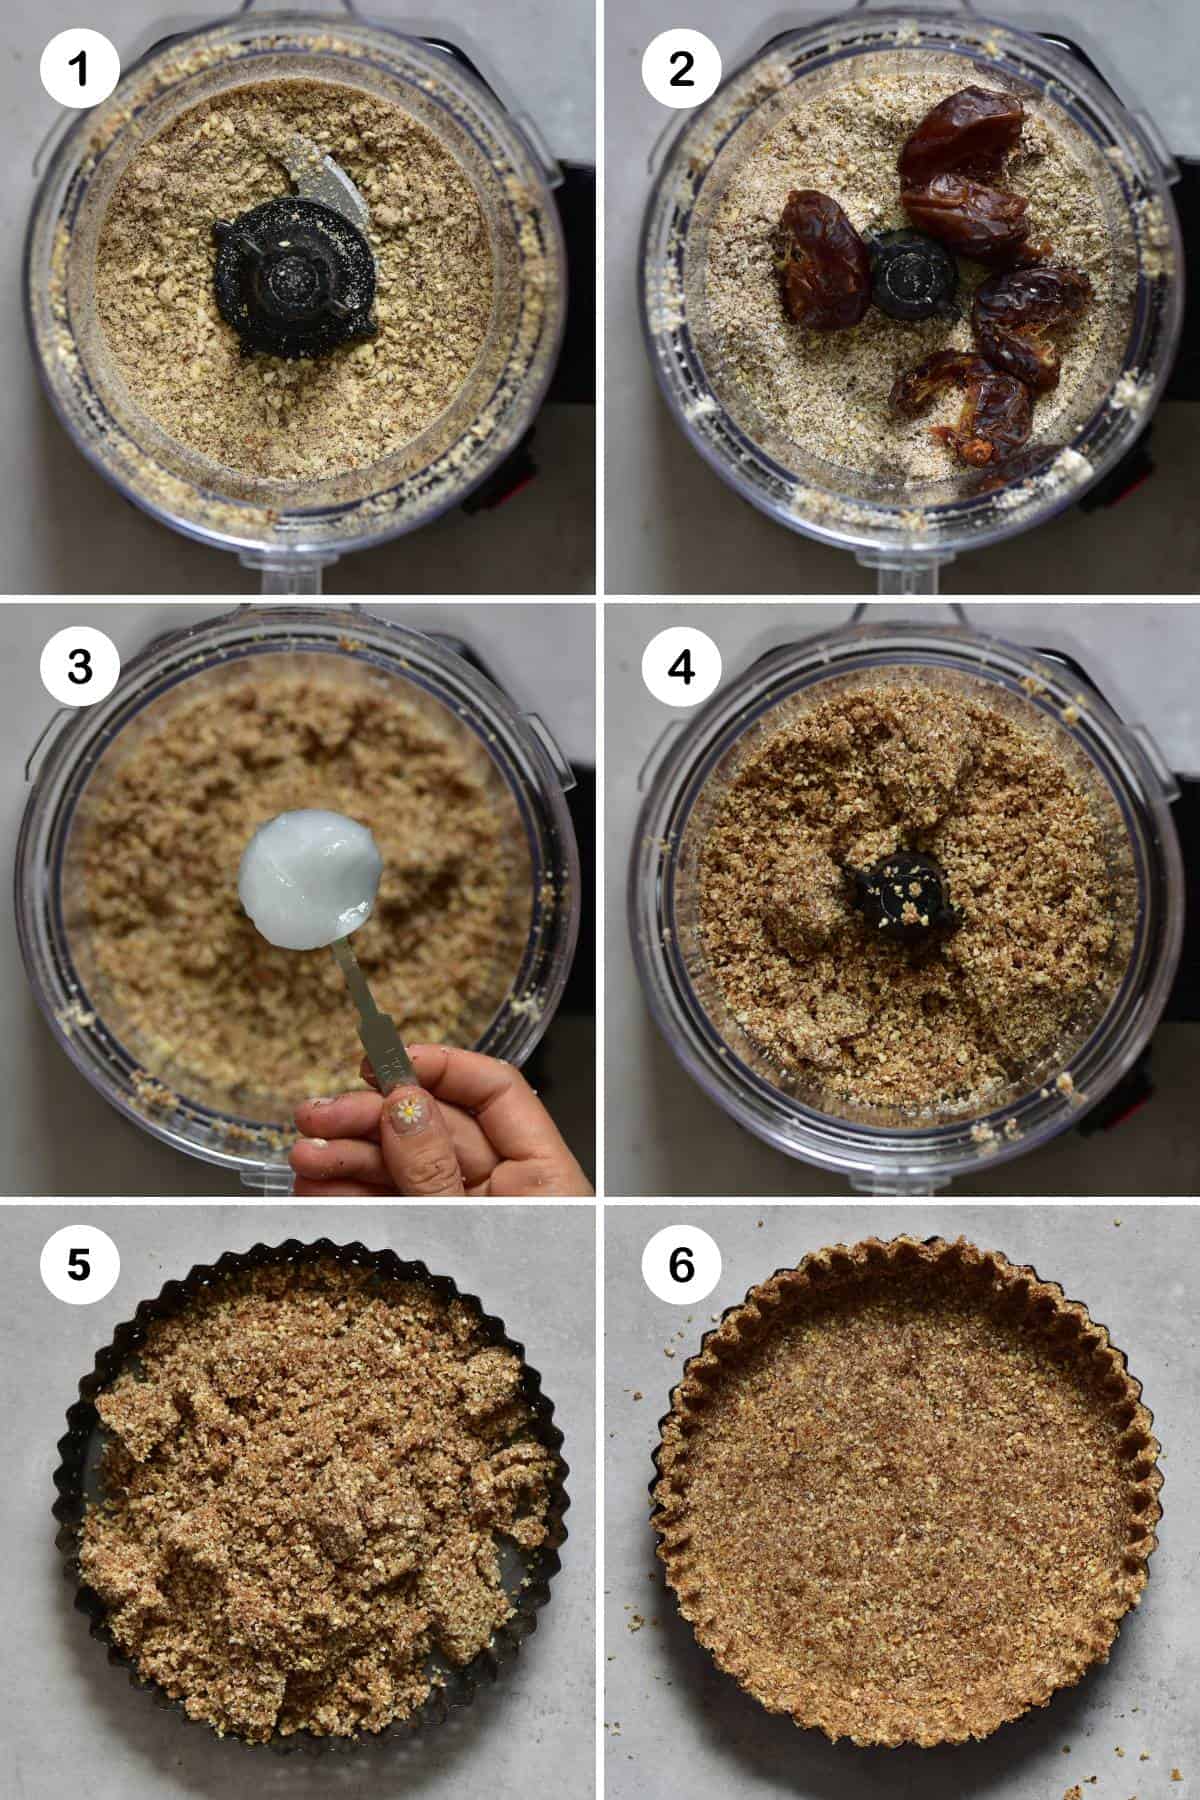
Prepare The Crust: Add the almonds to a food processor and blitz until they form a crumb consistency. Then, add the dates, shredded coconut and salt and continue to blitz until it forms a sticky mixture. If it’s not sticky enough, add a tablespoon of coconut oil and blitz until the crumb comes together.
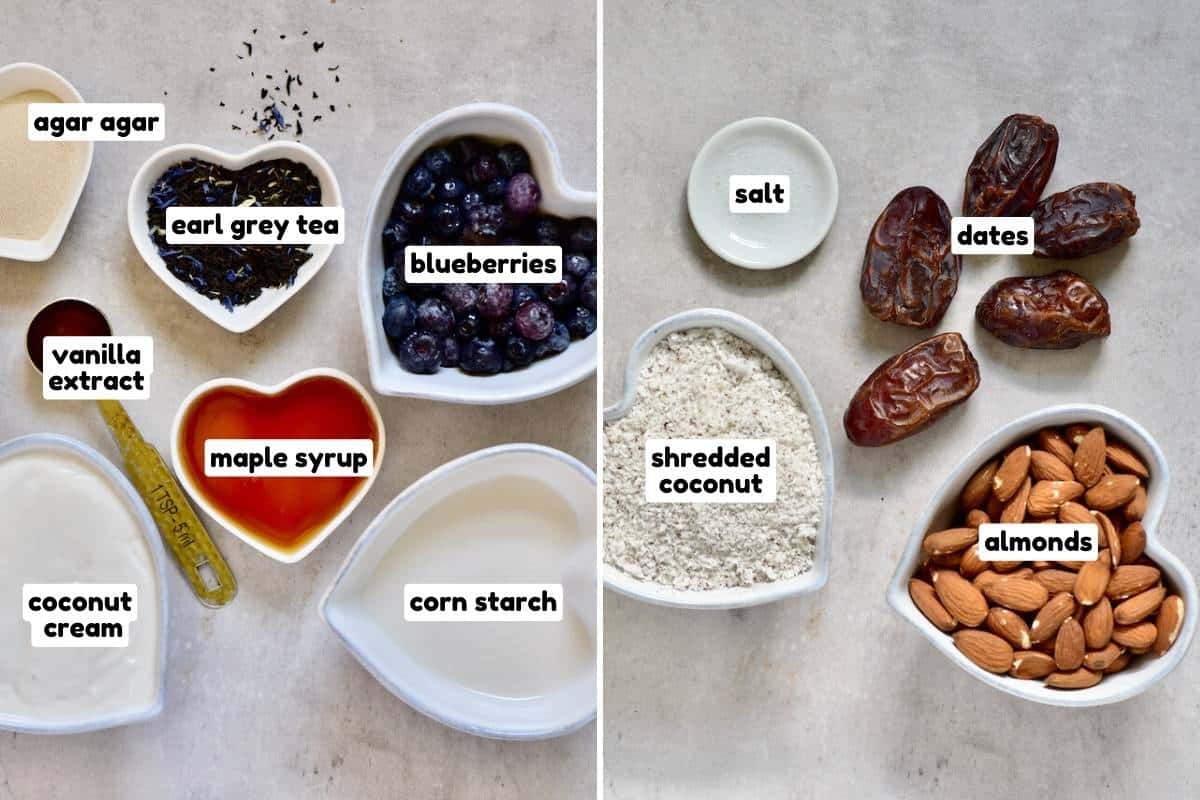
Almonds: Unsalted, unroasted. Shredded Coconut: You can also use any leftover coconut meal you might have. Dates: Medjool dates or your favorite sort. Salt Coconut Oil (optional)
For The Filling:
Coconut Cream: You can use canned or make your own—opt for the full-fat option for the perfect creamy filling. Blueberries: Both frozen and fresh work, but the color will change slightly depending on which you use. Earl Grey Tea: I used a tea blend with blue Cornflower. This isn’t necessary but will affect the color. You can use your favorite Earl Grey tea. Maple Syrup Cornstarch Vanilla Extract Agar-Agar: This is a vegan-friendly alternative to gelatine.
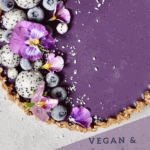
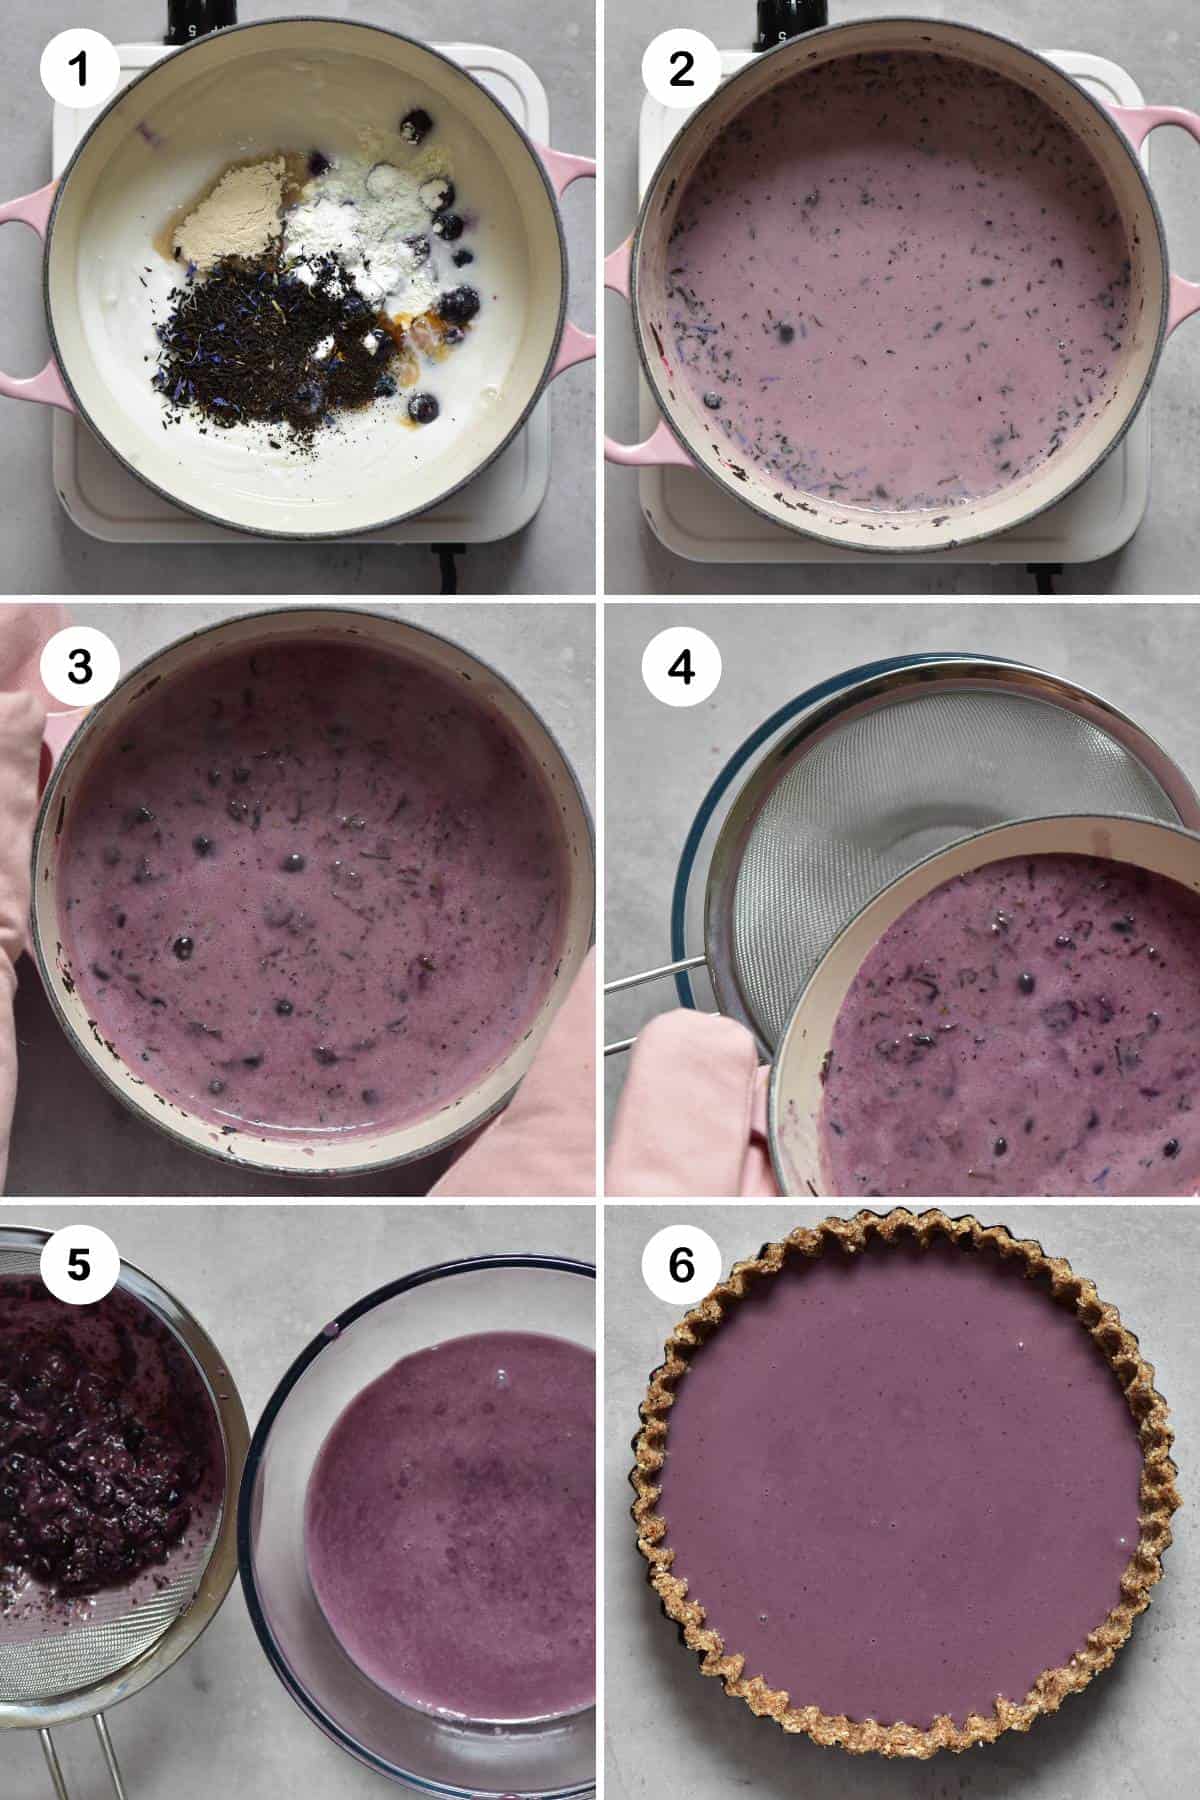
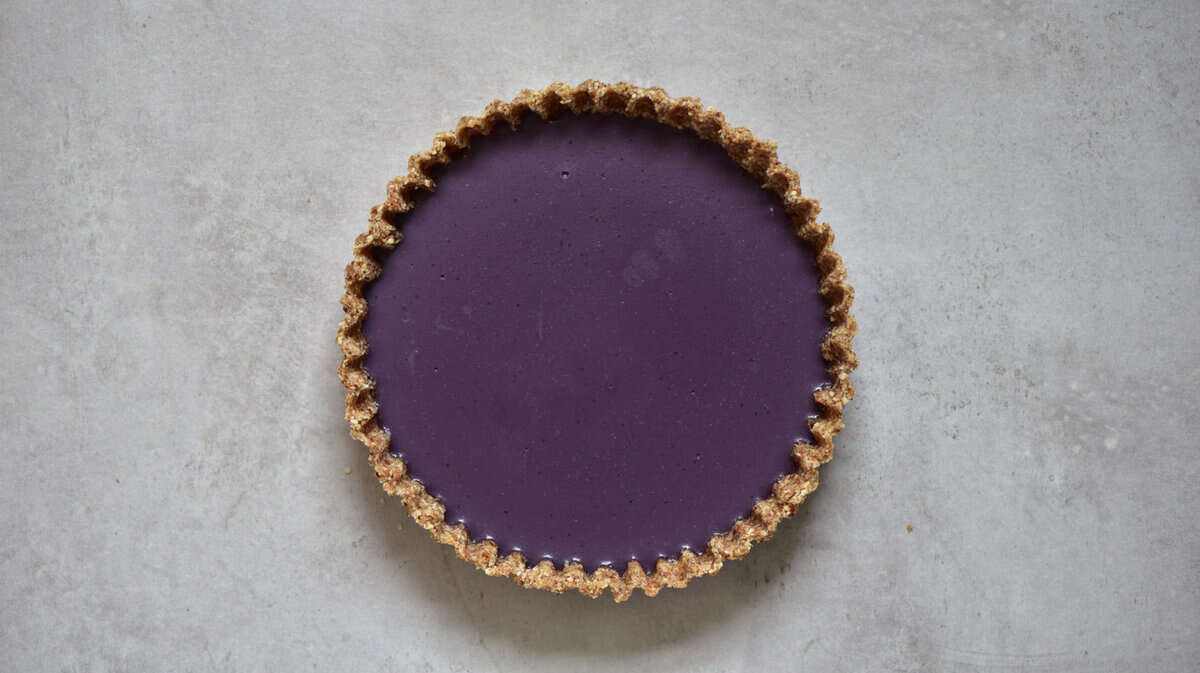
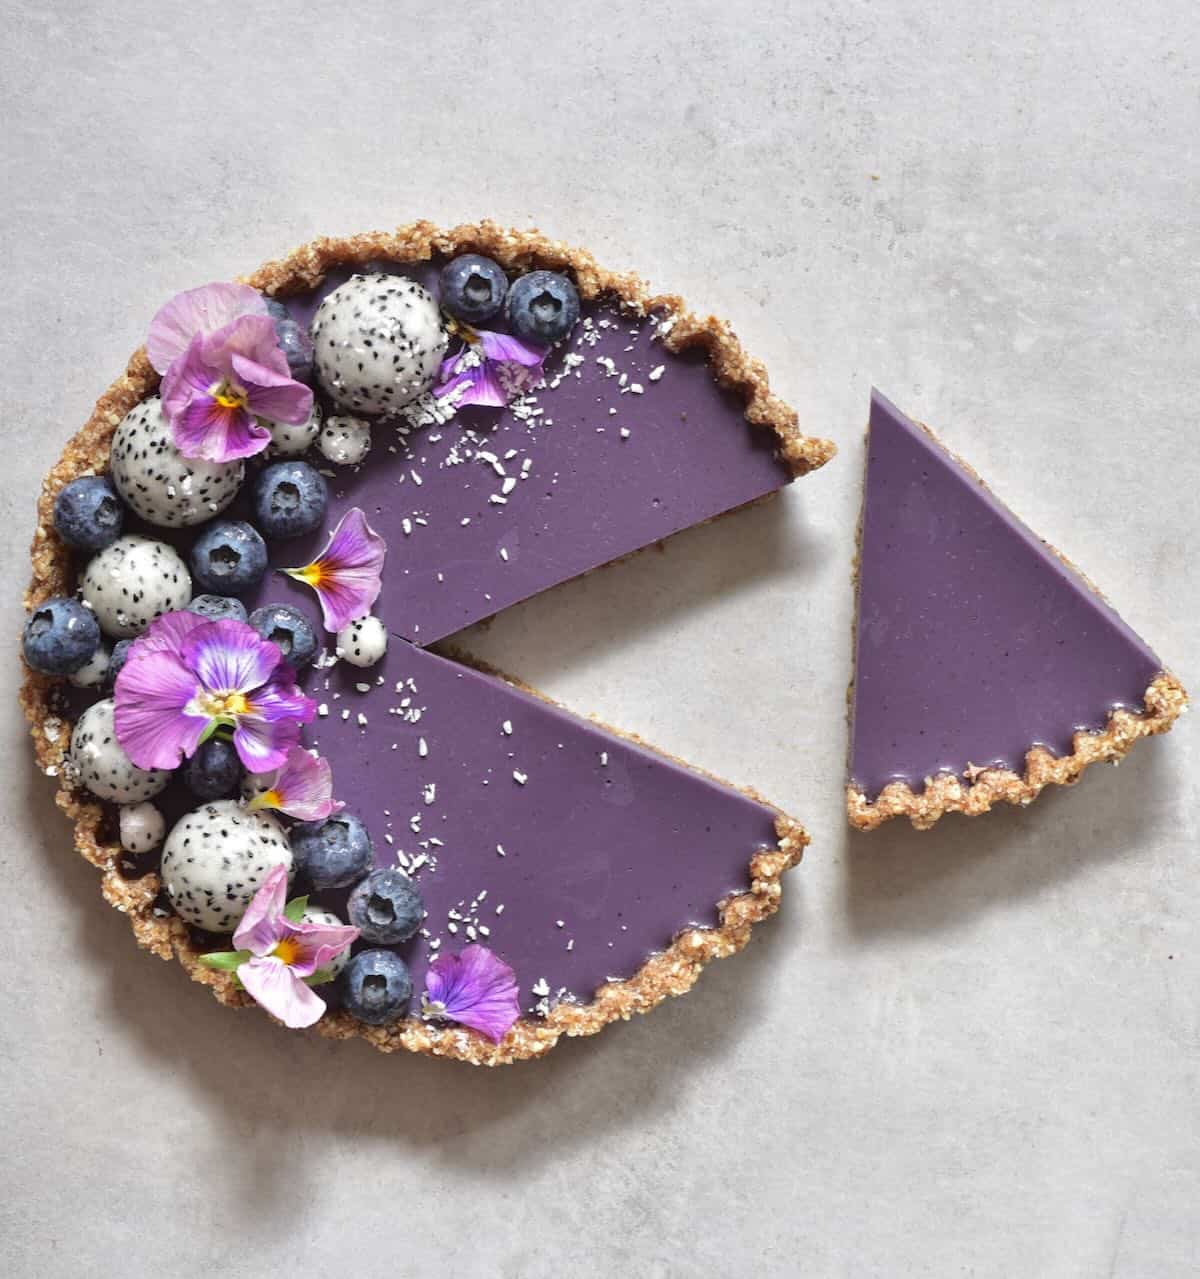
Pour out the mixture into an 8-inch tart pan (20cm). Using the back of a spatula or clean hands, spread out the crust evenly across the tin, pressing into the ridges until the entire surface is covered. Leave in the fridge to chill. Make The Filling: Heat the coconut cream in a saucepan over medium heat. Stir until smooth, then add the maple syrup, vanilla extract, agar-agar, cornstarch, Earl Grey tea, and blueberries. Use a spoon or fork to mash the blueberries into the coconut cream so they release their juice. Bring the mixture to a slow boil and cook for a few minutes until the mix has thickened, stirring continuously. Then, remove from the heat and pour through a sieve to remove any lumps. Finally, pour the filling over the crust and leave to cool completely. Chill: Transfer the cooled tart to the fridge and leave until completely set. I recommend leaving it overnight. As the tart sets and the filling cools, the color of the no-bake tart will deepen and, when it’s ready to serve, will be a gorgeous dark purple color! Decorate The Tart: Once the no-bake blueberry filling has set, decorate before serving. Top with more fresh berries, dragon fruit balls, shredded coconut, and edible flowers, or experiment with your favorite toppings!
How to serve & store
For a decadent dessert, enjoy this no-bake tart on its own or alongside more fresh fruit, a scoop of vegan ice cream, or a generous serving of Coconut Whipped Cream. Any leftovers can be stored in an airtight container in the fridge for up to five days. Unfortunately, this tart is not freezer-friendly because thawing will affect the texture.
Recipe notes
Using The Right Tart Tins: Use tart tins with removable bottoms for easy extraction of the tart when you’re ready to serve. To transform into mini tartlets: Follow the same method, just use smaller individual tartlet cases rather than one larger tart tin. Customize The Crust: For a nut-free option, swap out the almonds for sunflower seeds or use graham crackers – use a vegan variety to keep the recipe completely vegan-friendly. Extra Toppings: Make a blueberry sauce or compote to serve – simmer fresh blueberry in a little fresh lemon juice (and lemon zest, if you like) and sweetener for a few minutes until it thickens.
If you try this no-bake blueberry tart recipe, let me know how it goes in the comments below. I’d appreciate a recipe card rating and would love to see your recipe recreations – tag me on Instagram @Alphafoodie!
