Even several years on, how to make homemade yogurt remains one of my favorite simple homemade “hacks.” It’s easy to prepare and affordable. Plus it requires just two ingredients (yay, no chemicals, no preservatives, and no added sugar!) and minimal prep time and effort. Best of all, it’s super versatile. And it can be made with as little as a saucepan and blanket or even in an Instant Pot or slow cooker. Once you’ve made your first batch, you can also use it as a “starter” for your next one. This means you’ll rarely run out of yogurt again! And if the plentiful Google searches for youghert, yougart, youfurt, yougurt, yoghurt, and yogurt, are anything to go by, everyone is as obsessed with this ingredient as I am! (And thank goodness for Google autocorrect!)
Is yogurt good for you?
Plain yogurt is high in protein, calcium, and several other vitamins (including B vitamins) and minerals (such as phosphorus, potassium, and magnesium). Plus, it contains an abundance of probiotics/live cultures which have great health benefits. More research links gut health to our overall health and well-being. So it’s no surprise that we’re turning towards healthy gut-friendly probiotic foods to keep our bodies happy and boost our immune systems.
Is yogurt a probiotic?
Yes, but no worries if you’re wondering what that even means. Probiotics are live bacteria and yeasts that we consider “friendly”/”good” bacteria. When consumed (either in supplement form or food/drink), probiotics help improve and restore the balance of bacteria in our gut (“gut flora”). This, in turn, can improve gut health and immune health, reduce symptoms of IBS, and potentially even impact heart health and mental health. Yogurt is one of the best natural sources of probiotics, made by fermenting milk with friendly bacteria such as lactic acid bacteria and bifidobacteria. However, not all commercial options contain live bacteria, depending on the processes used to prepare and/or flavor it. However, by learning how to make yogurt at home, you can ensure a healthy yoghurt made with active or live cultures every time. Your gut will thank you. There are several popular sources of probiotics, including kefir, homemade tempeh, easy sauerkraut recipe, kimchi, homemade miso recipe, kombucha, and pickled foods!
Greek yogurt vs. regular yogurt
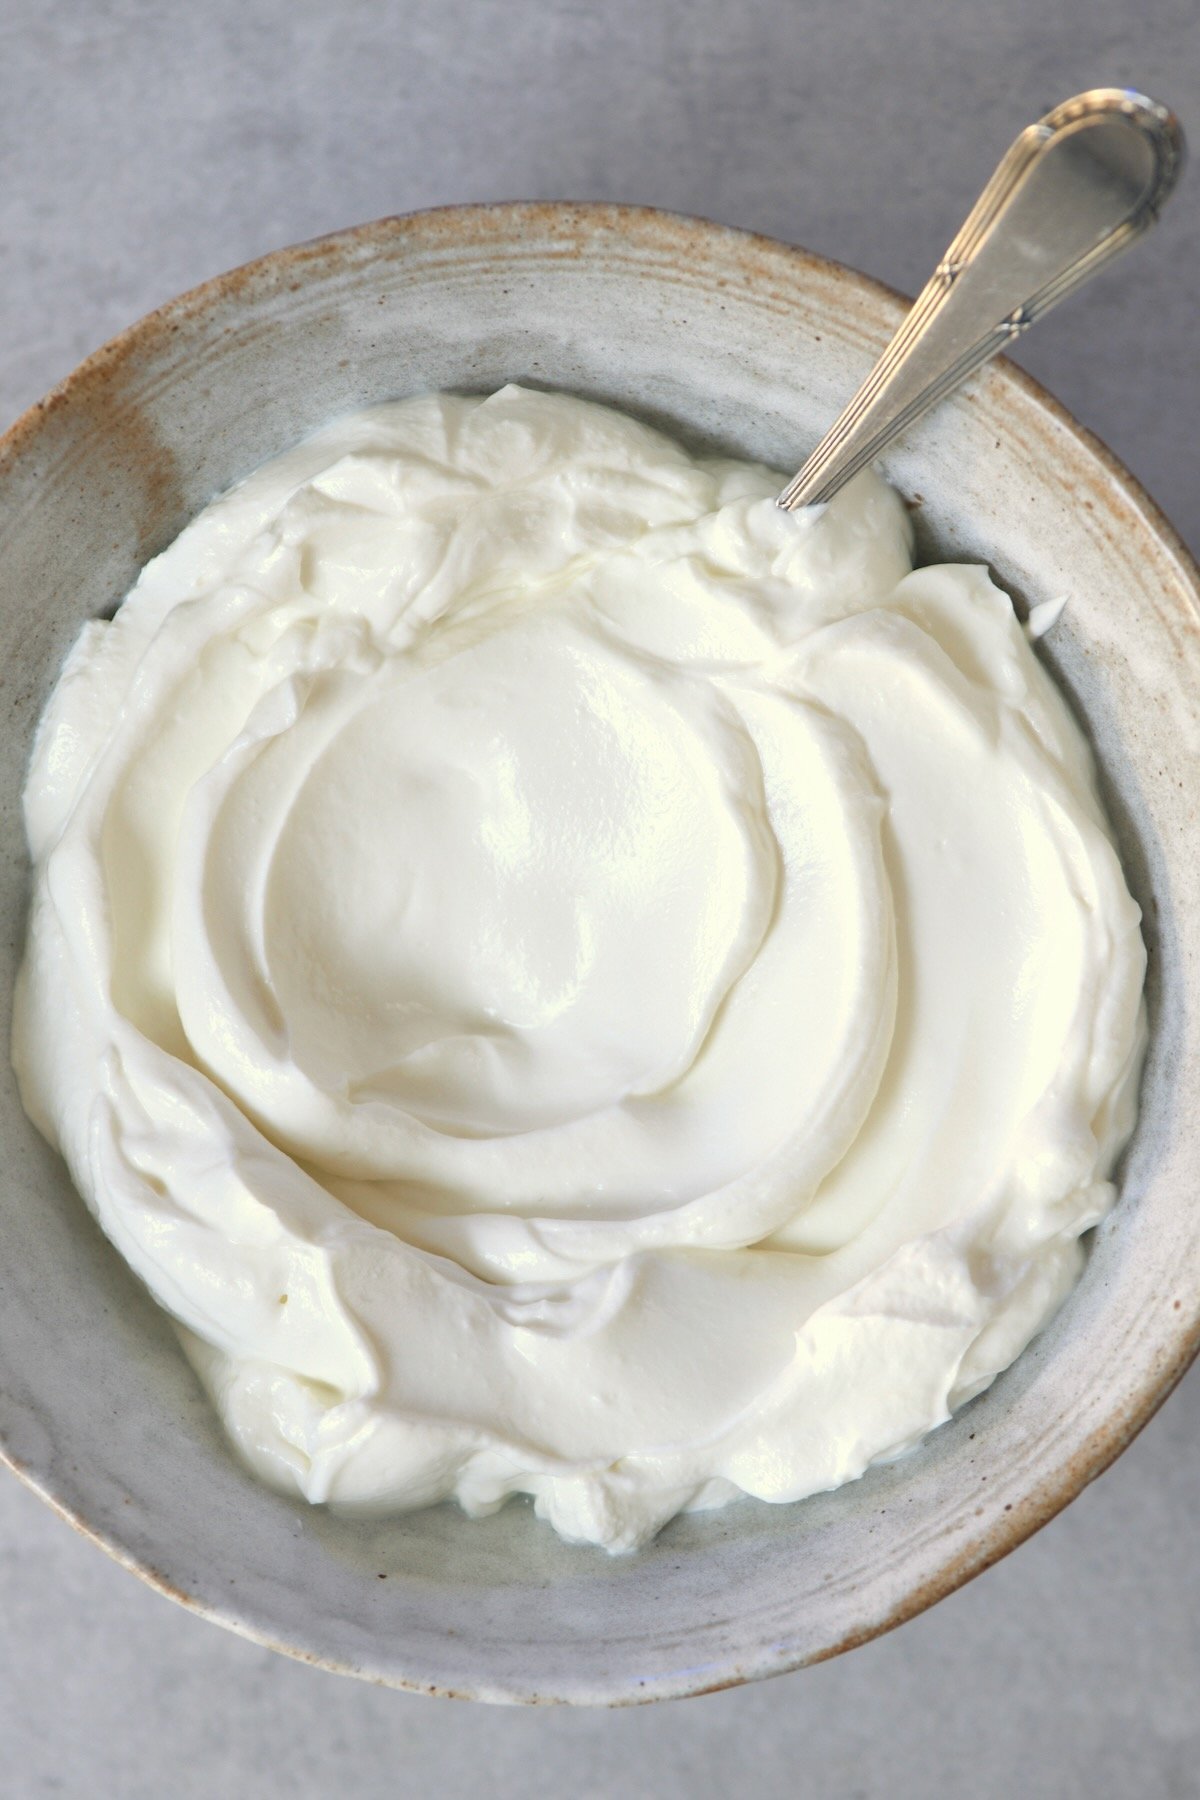
Following the homemade yogurt recipe below, you can choose to prepare either regular yogurt or Greek yogurt with a simple method tweak. Generally, your homemade yogurt results will vary depending on the starter you use and the fermentation duration and process. However, the actual difference between the type of yogurt – regular vs Greek yogurt (called this way in Greece, America, and the UK, but this thick yogurt comes under many names globally) – is much simpler. The latter is simply a thicker, strained version of the former. After fermenting the DIY yogurt, leave it to strain naturally to remove excess liquid whey and create a thick Greek yogurt. Continue to strain it even further, and you’ll eventually end up with homemade Labneh. Straining makes for a higher protein yoghurt. However, it also rids the yoghurt of lactose, the primary carbs source. Therefore, Greek yogurt is your best option if you’re following a low-carb/keto diet.
What is yogurt made of
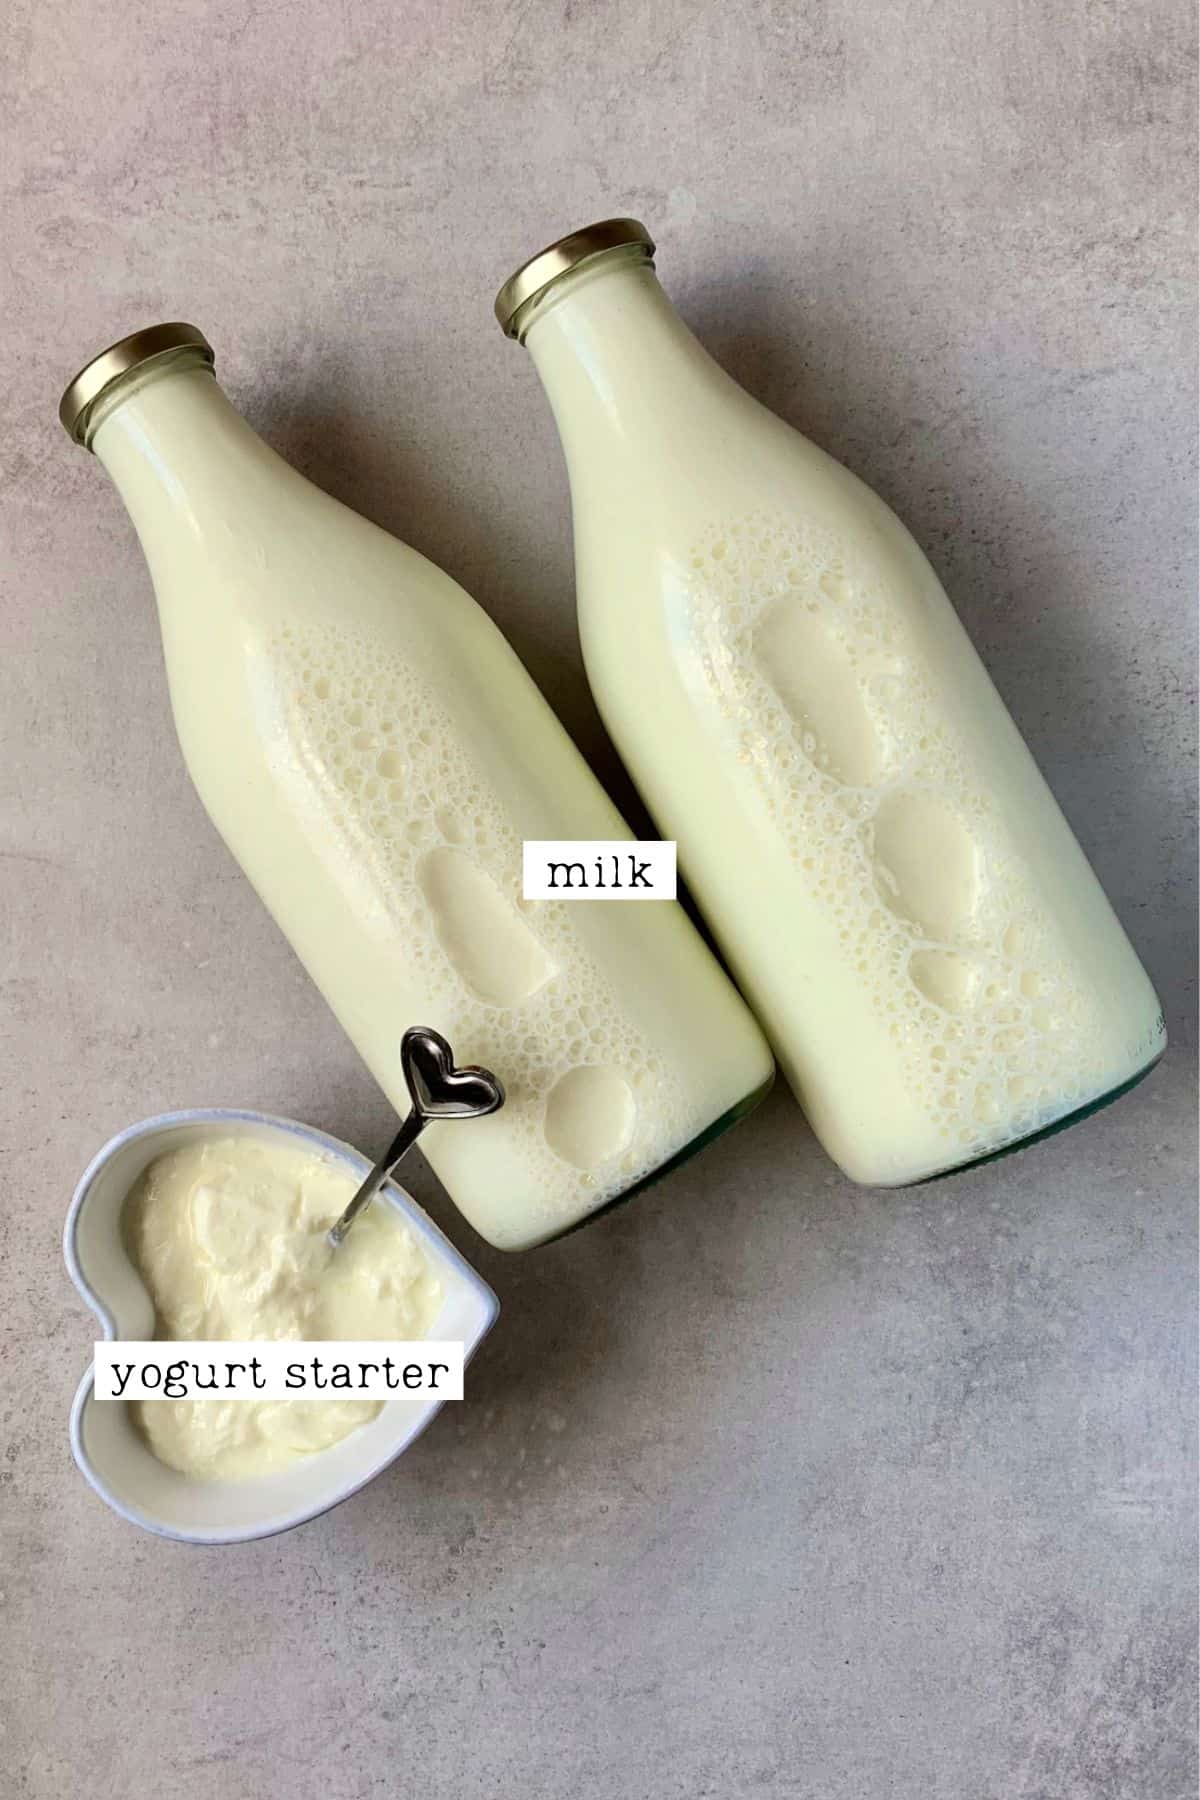
This sugar-free homemade yogurt recipe requires just two yogurt ingredients: You’ll also need non-reactive tools like wooden (not metal) spoons, sterilized jars, a saucepan, and an instant-read thermometer or candy thermometer. If you plan to continue making it over a long period, it may be worth picking up an “heirloom yogurt starter.” Unlike the methods above, this is said to yield unlimited batches of yogurt without weakening over time.
What is yogurt starter and how does it work?
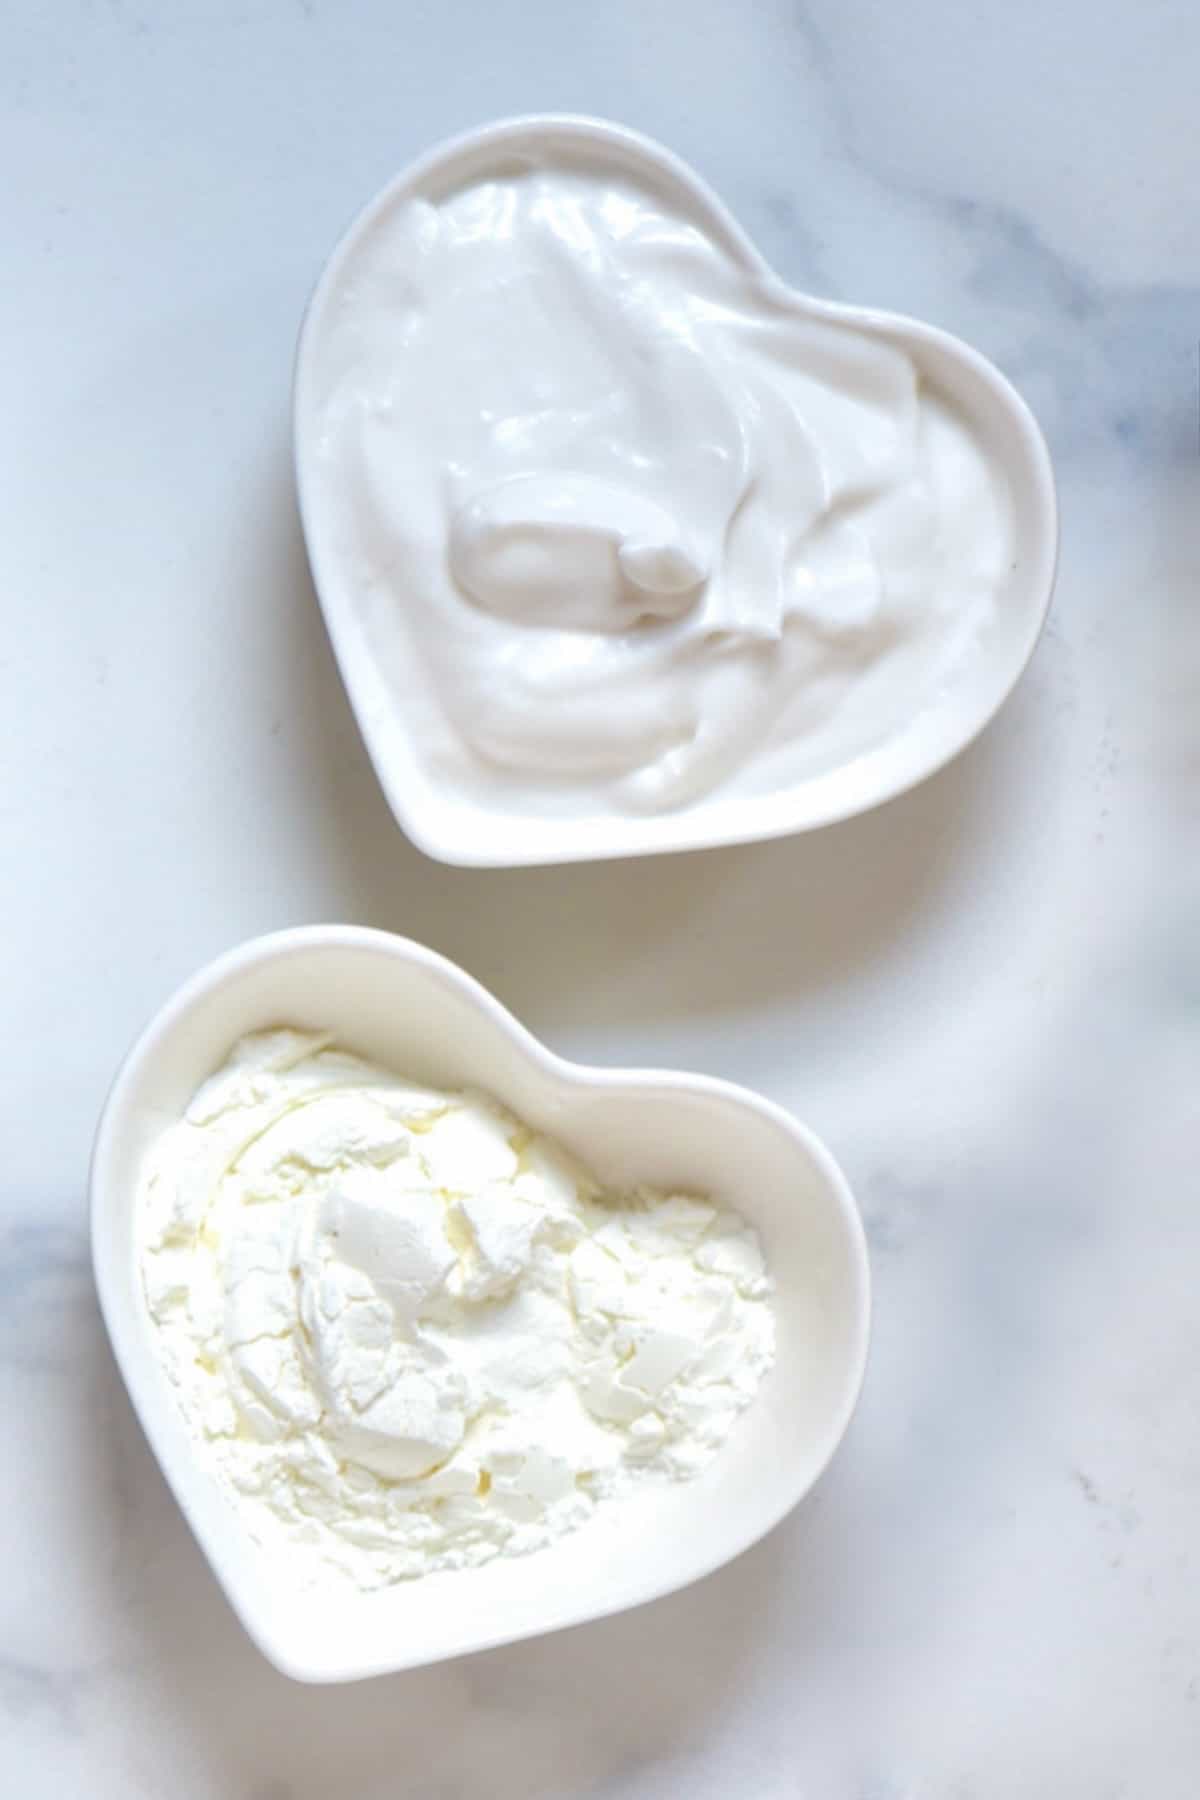
A “starter” is required in most recipes where fermentation is key (such as sourdough, kombucha, etc.). It is a blend of friendly bacteria needed to transform your ingredients. In this case, we need it to convert the lactose in the milk to lactic acid. This thickens and transforms the milk into yogurt. When making yogurt, you can either use probiotic capsules or a “yogurt starter” pack. Alternatively, for an even easier and more accessible option, you can use a few spoonfuls of pre-fermented yogurt (MUST contain live/active cultures!). Once you’ve prepared your first batch of probiotic yogurt, you can save a few spoonfuls to use as the starter for your next batch. Continue to do this until the starter “weakens” and then start from scratch again with a new “starter” – simple!
How to make yogurt from scratch?
Making yogurt at home requires just a few steps.
Step 1: Prepare the Milk Mixture
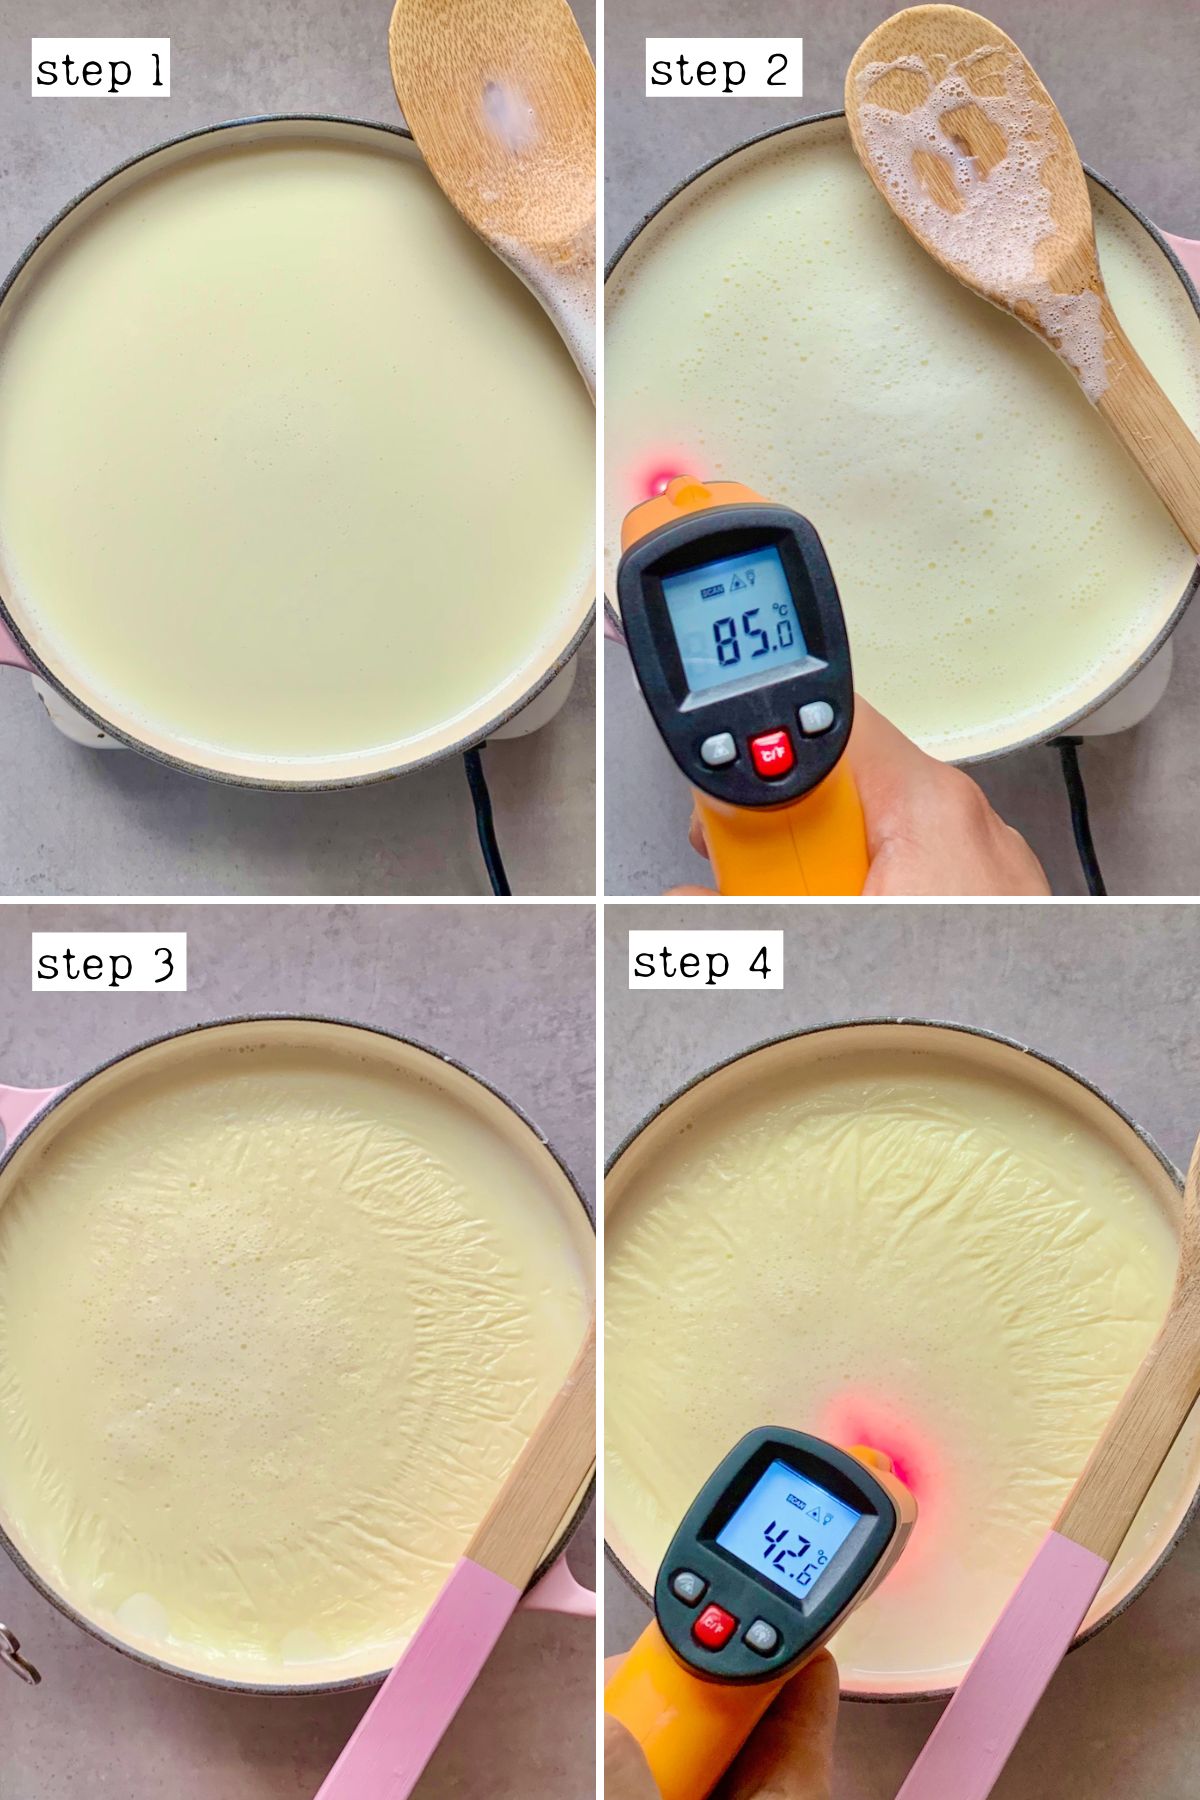
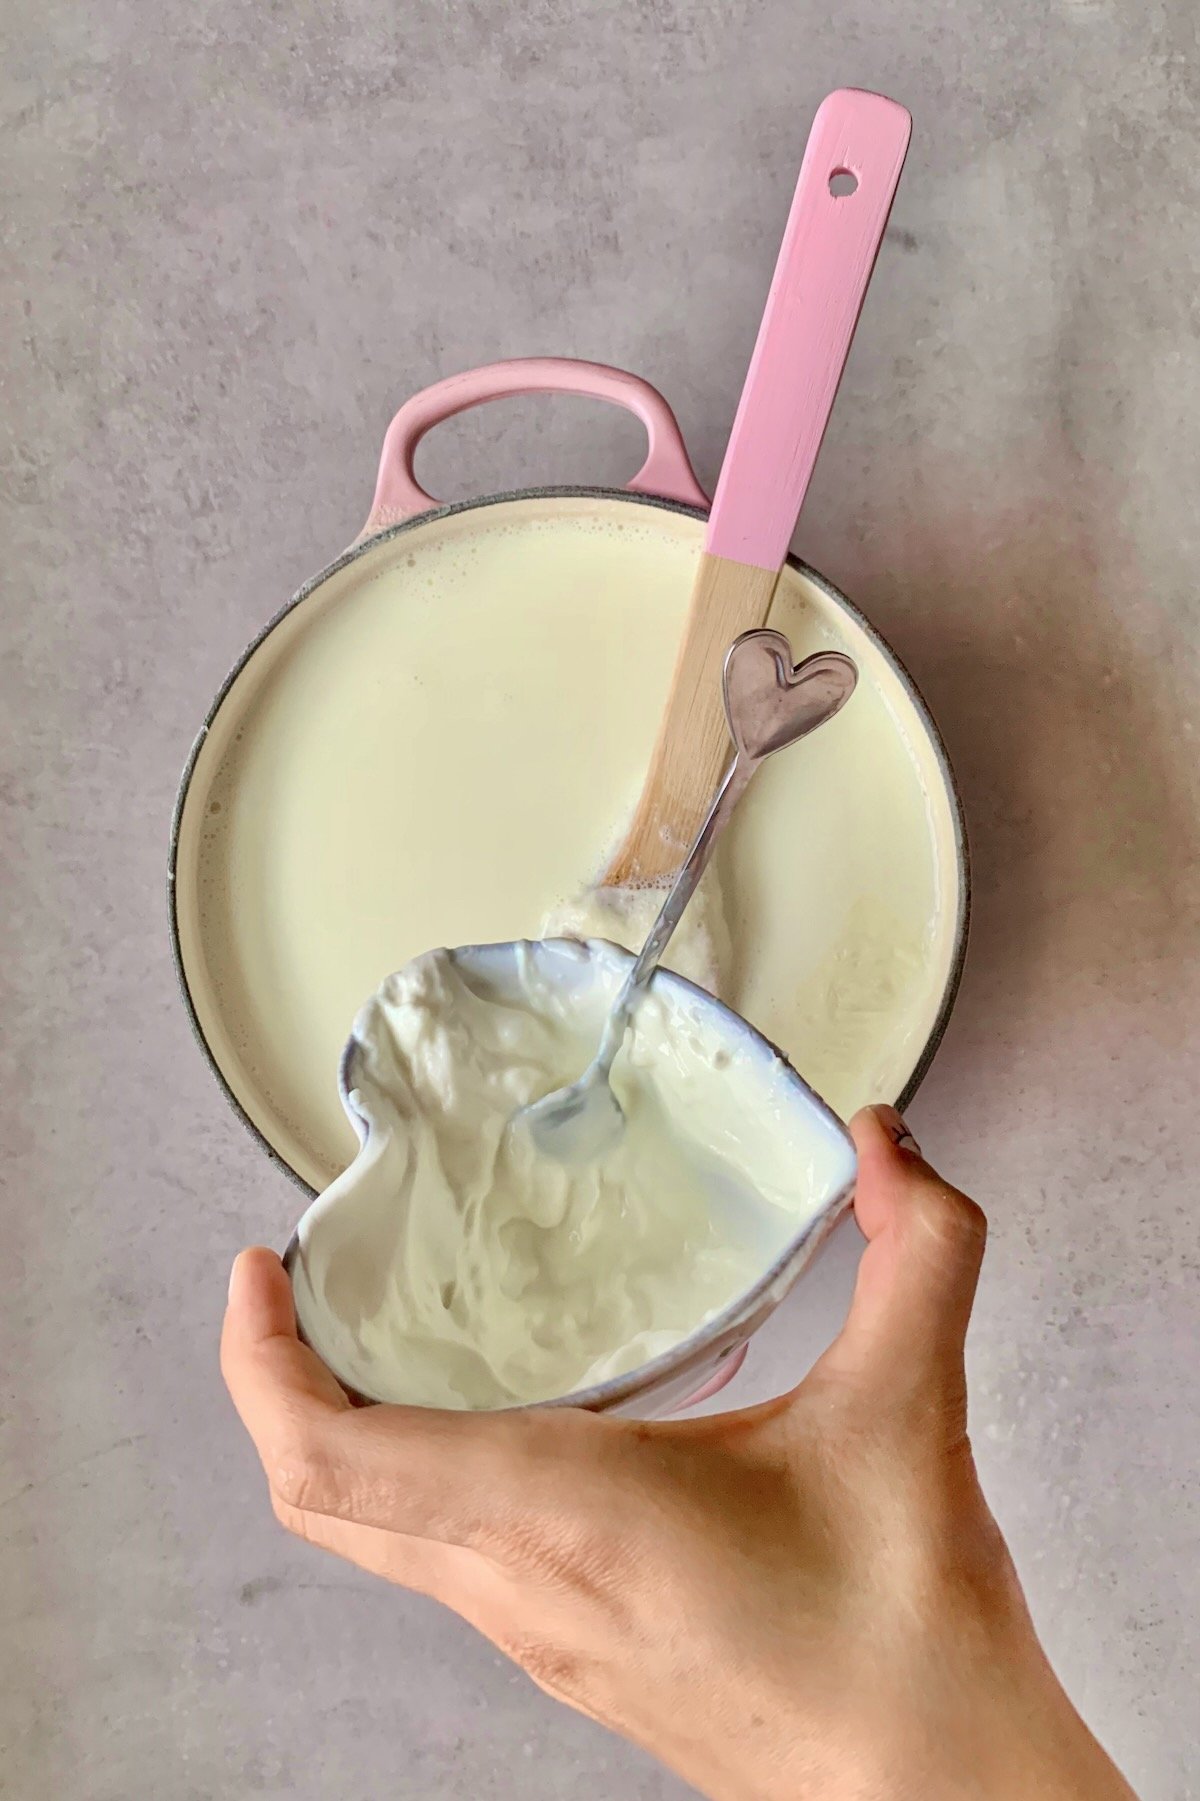
Then, add the milk to your saucepan. Heat the milk over medium heat until it reaches 175-185ºF/80-85ºC. Stir the milk occassionally. If you don’t have a thermometer, switch off the heat right before the milk boils, when small bubbles start to form. Set it aside to cool to 105-115ºF/40-45ºC. This is the optimal temperature for yogurt making that is great for fermentation without killing the starter. Or until you can dip your pinkie into the warm milk for 7 seconds before it hurts. Be careful with this method, though, to avoid burning yourself. It’s necessary to cool the milk, so the live yogurt cultures aren’t killed, so don’t rush this process. Once cooled, combine the yogurt starter or probiotic starter culture with ½ cup of warm milk. Stir it well. Then add that back into the milk mixture. This will temper the starter and help avoid lumps. Transfer the milk mixture to a sterilized glass jar/s.
Step 2: Leave the Yogurt to Ferment
To ferment correctly, the milk mixture needs to be incubated. There are several ways you can do this:
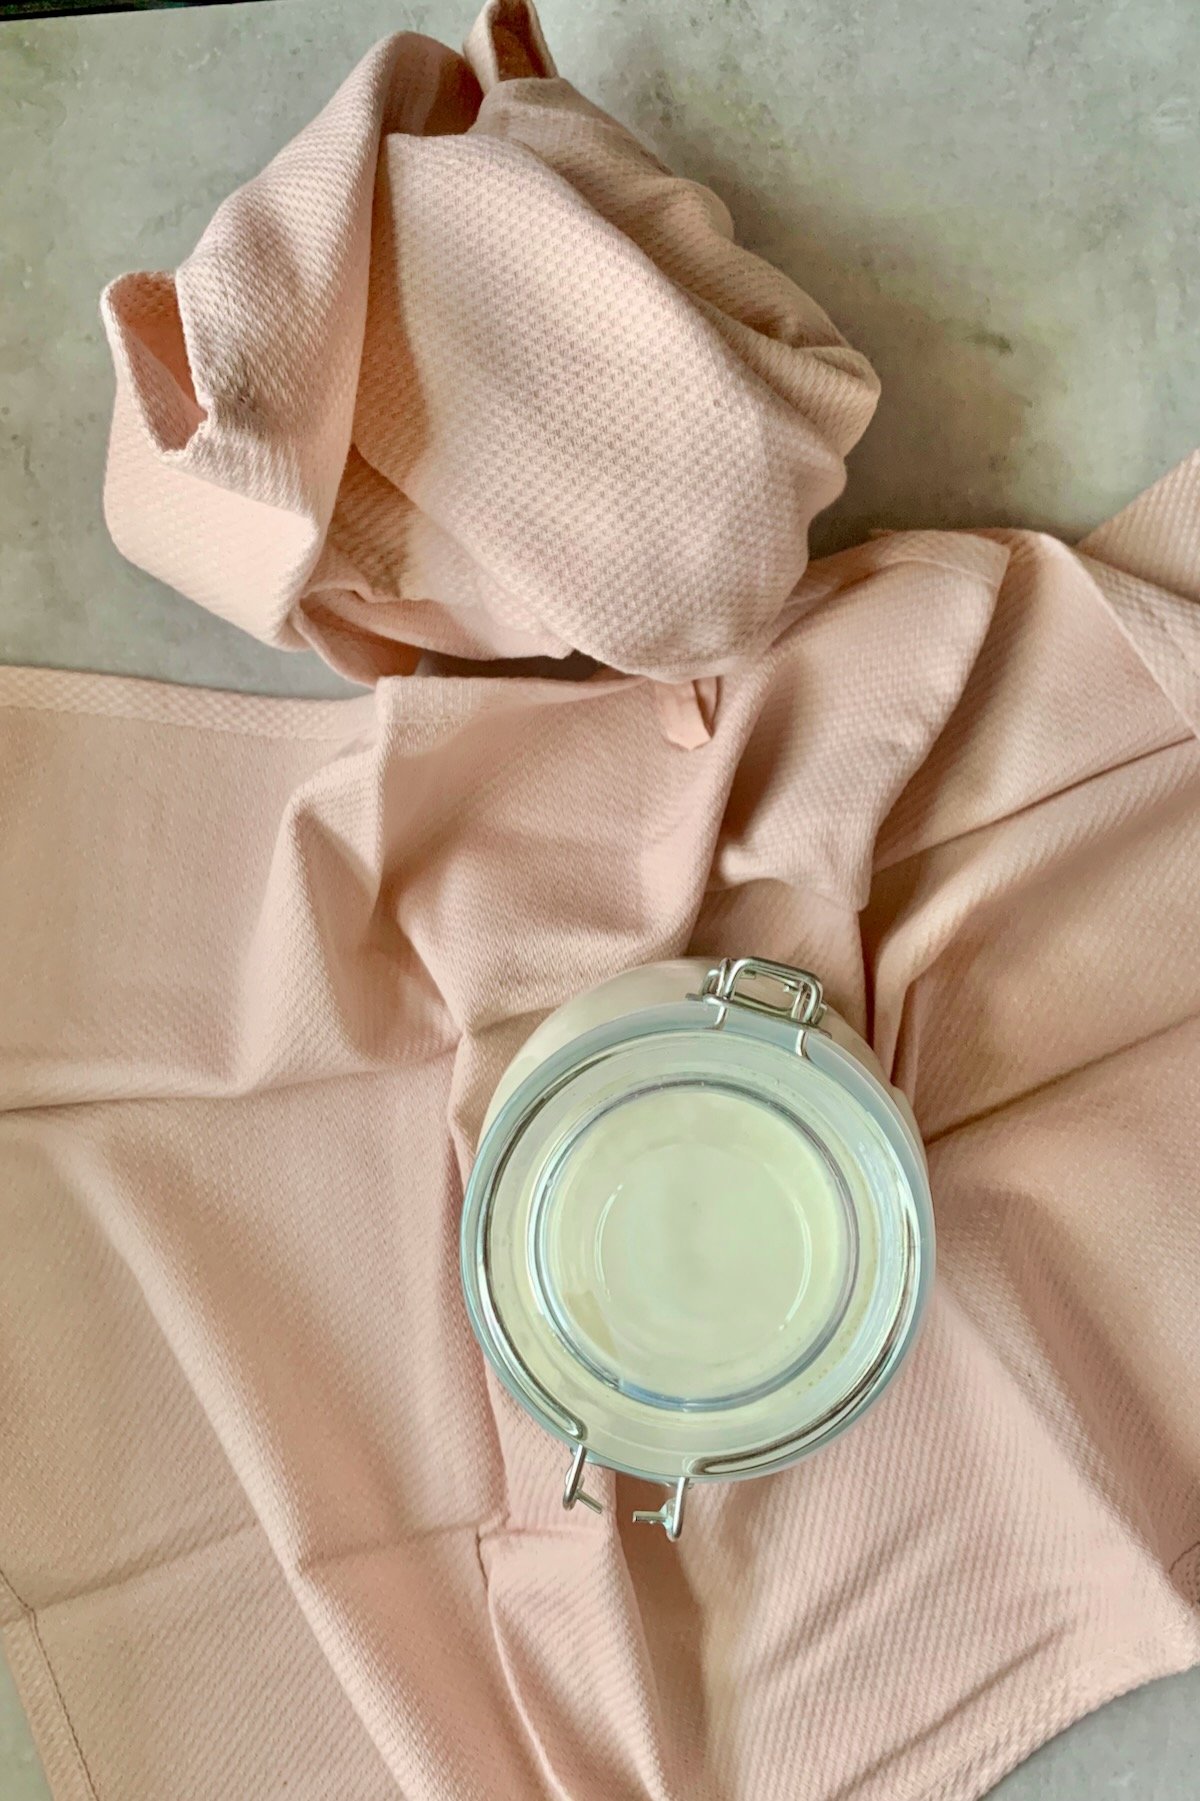
Wrap the jar/s in a warm tea towel or blanket. Keep them in a draft-free, warm place in the kitchen for 6-12 hours. Do the above and store them in a switched-off oven. Leaving the oven light on will add low residual heat that helps the process. Add the cultured milk to your Instant Pot and press the YOGURT button. If it doesn’t display “8:00”, use the + button to set the time. This means it will incubate for 8 hours before auto-switching off. Check on it after 4-5 hours up to 12 hours until it’s ready (note the timer counts up rather than down). Allow it to cool at room temperature before transferring it to the fridge. To use a slow cooker, add the milk to the slow cooker and heat it on HIGH until it reaches the correct temperature. Then, let it drop off to the lower temperature (2-3 hours). Then, combine a cup of the warm milk with your starter before pouring it back into the slow cooker. Next, add the lid to the slow cooker. Wrap it in a big towel or blanket and leave it to incubate for 8-12 hours, undisturbed. If you have a yogurt maker, refer to the instructions that come with it.
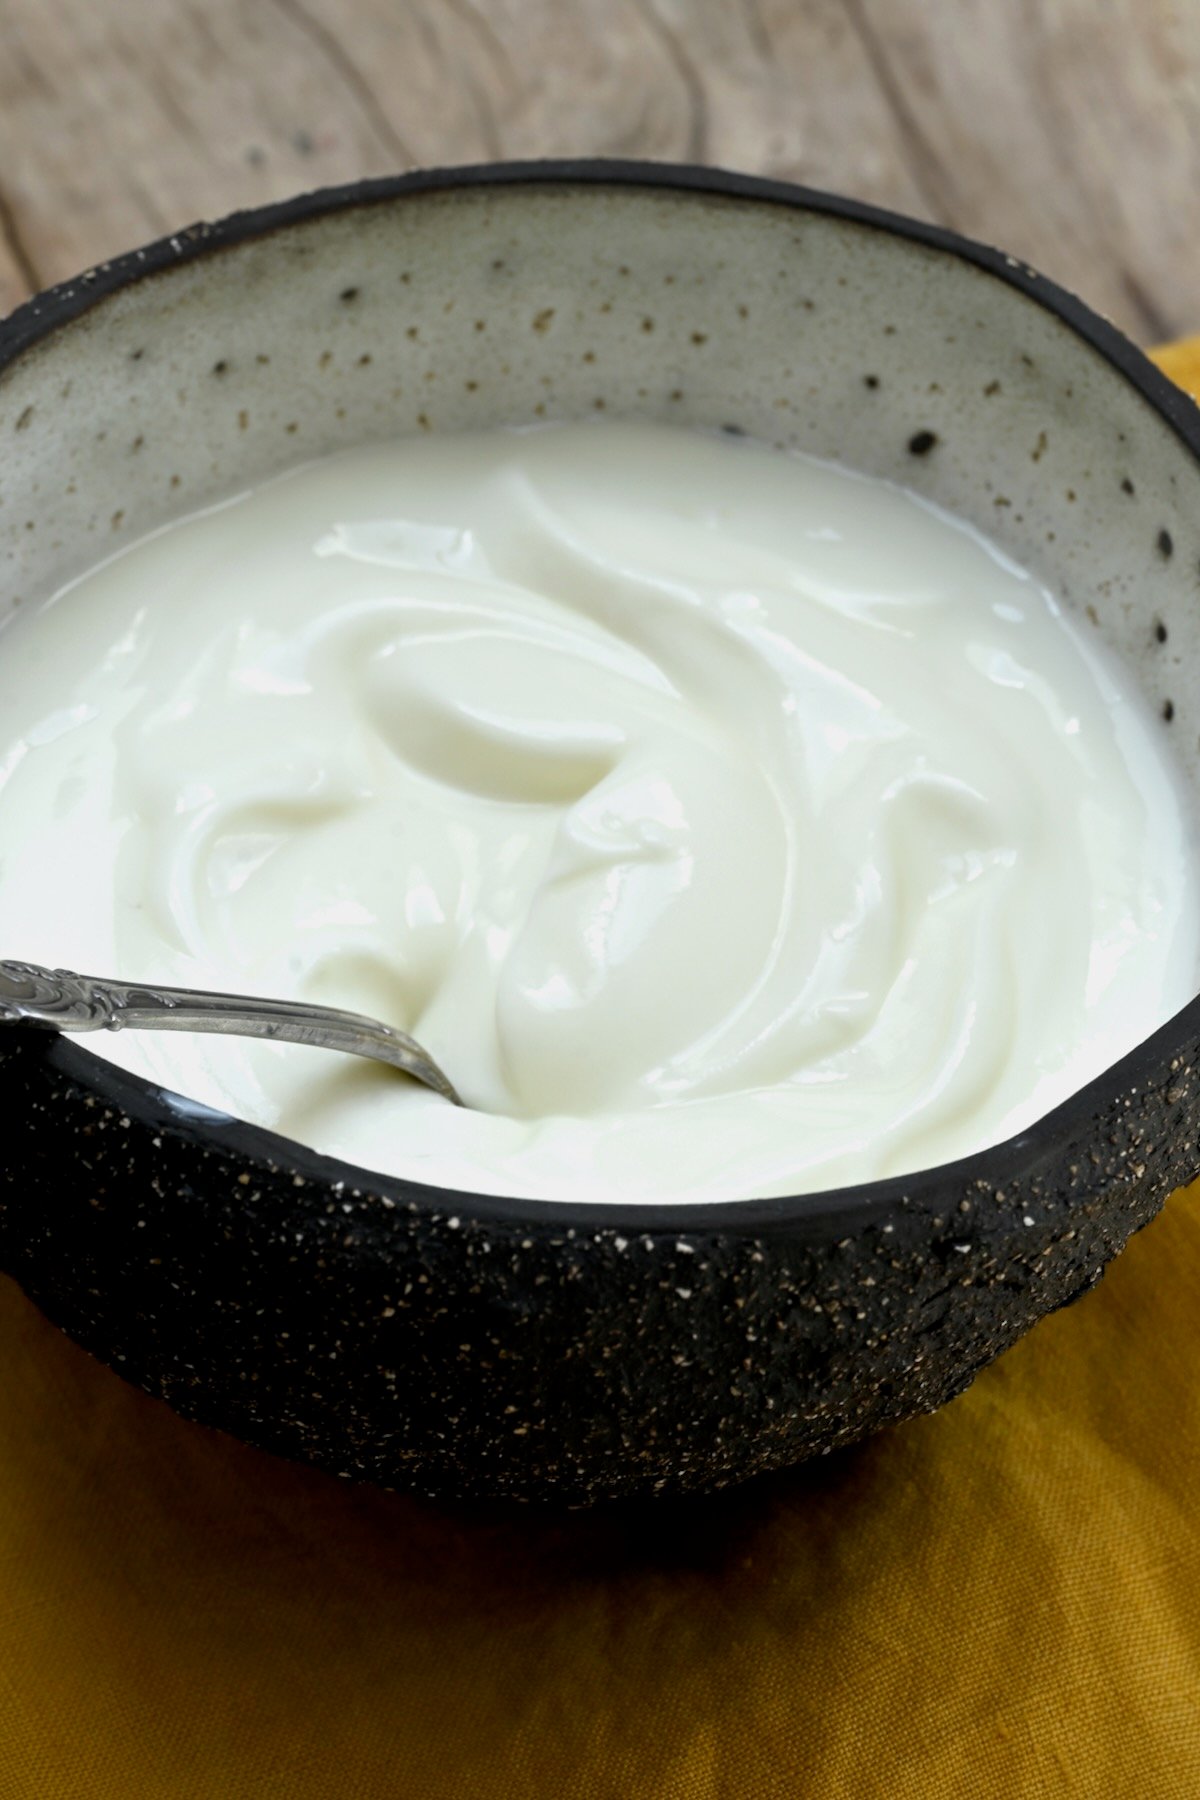
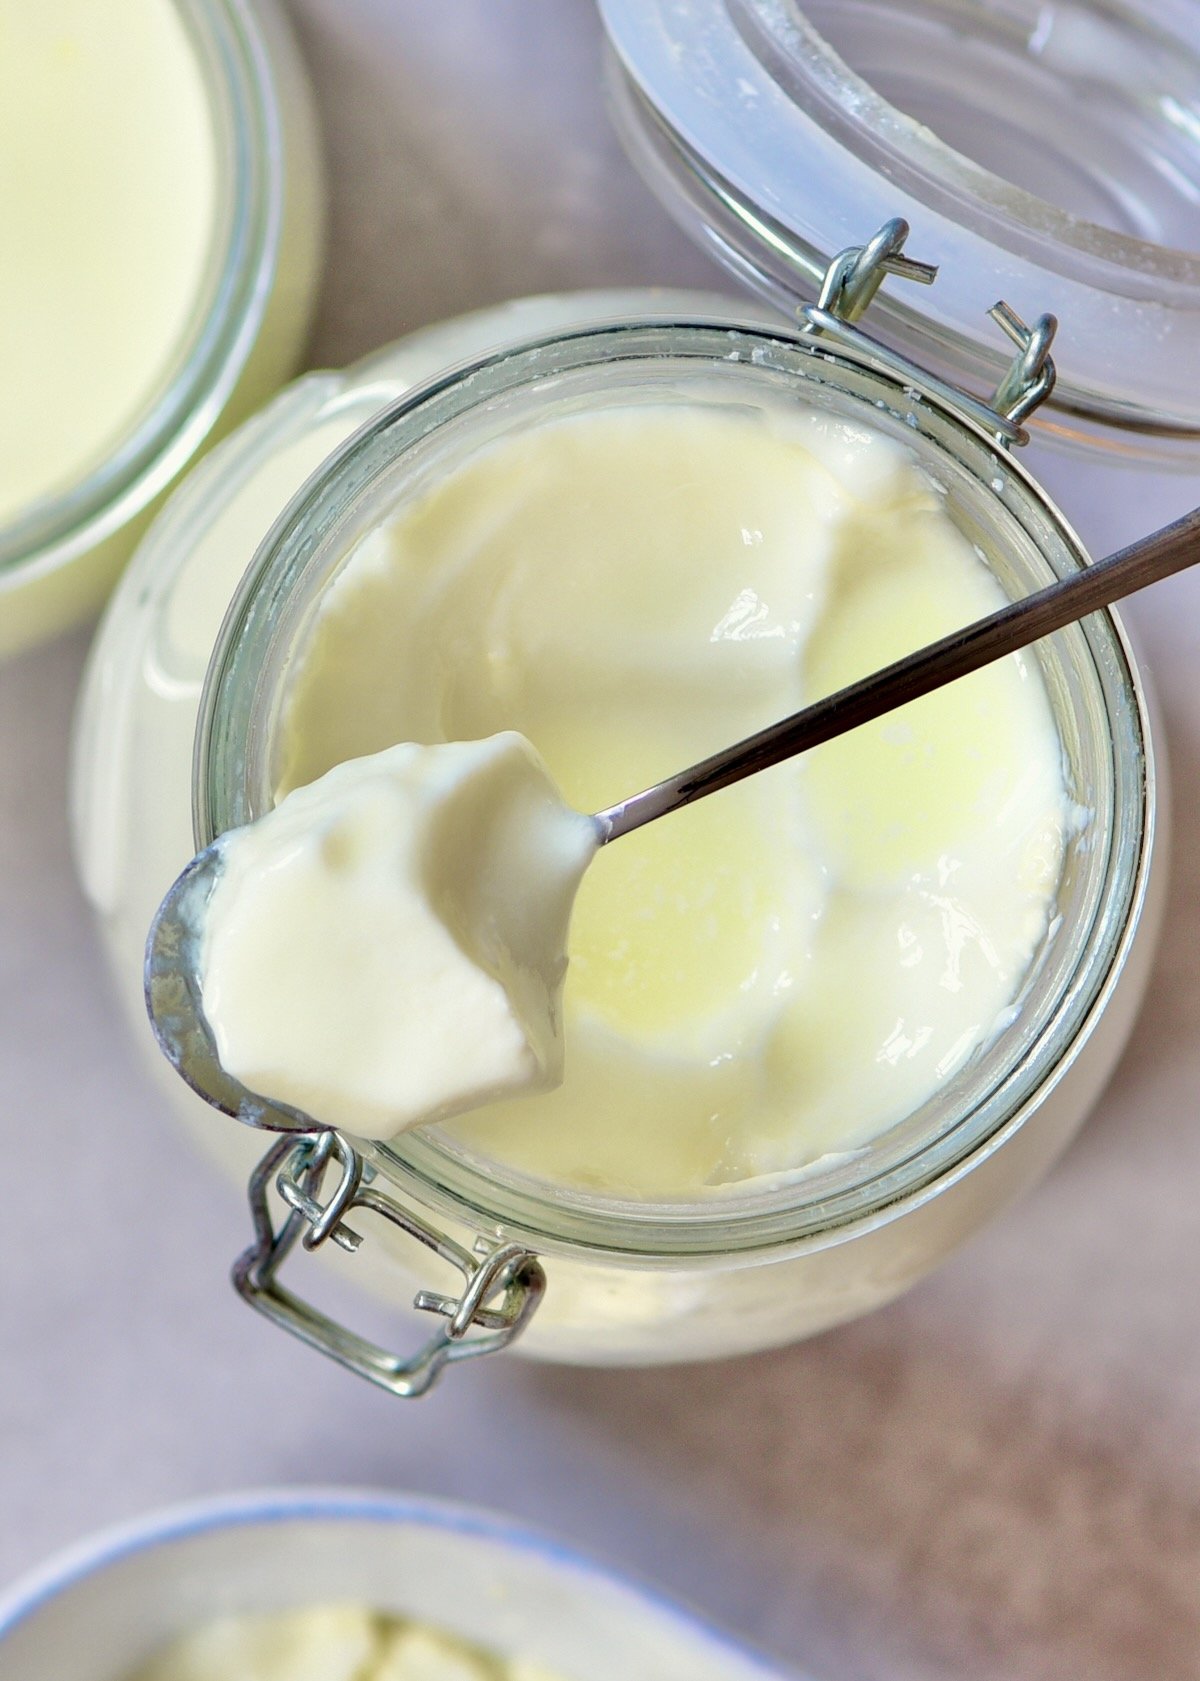
When ready, the yoghurt should have thickened and will be jiggly. Note that the longer you leave the yogurt to ferment, the tangier it will taste. Once the incubation period is over, transfer it to the fridge. Allow it to set for a further 12-24 hours for a thicker plain yogurt. Finally, pour off any whey that may be sitting on the top and enjoy!
Step 3: Strain the Yogurt (Optional)
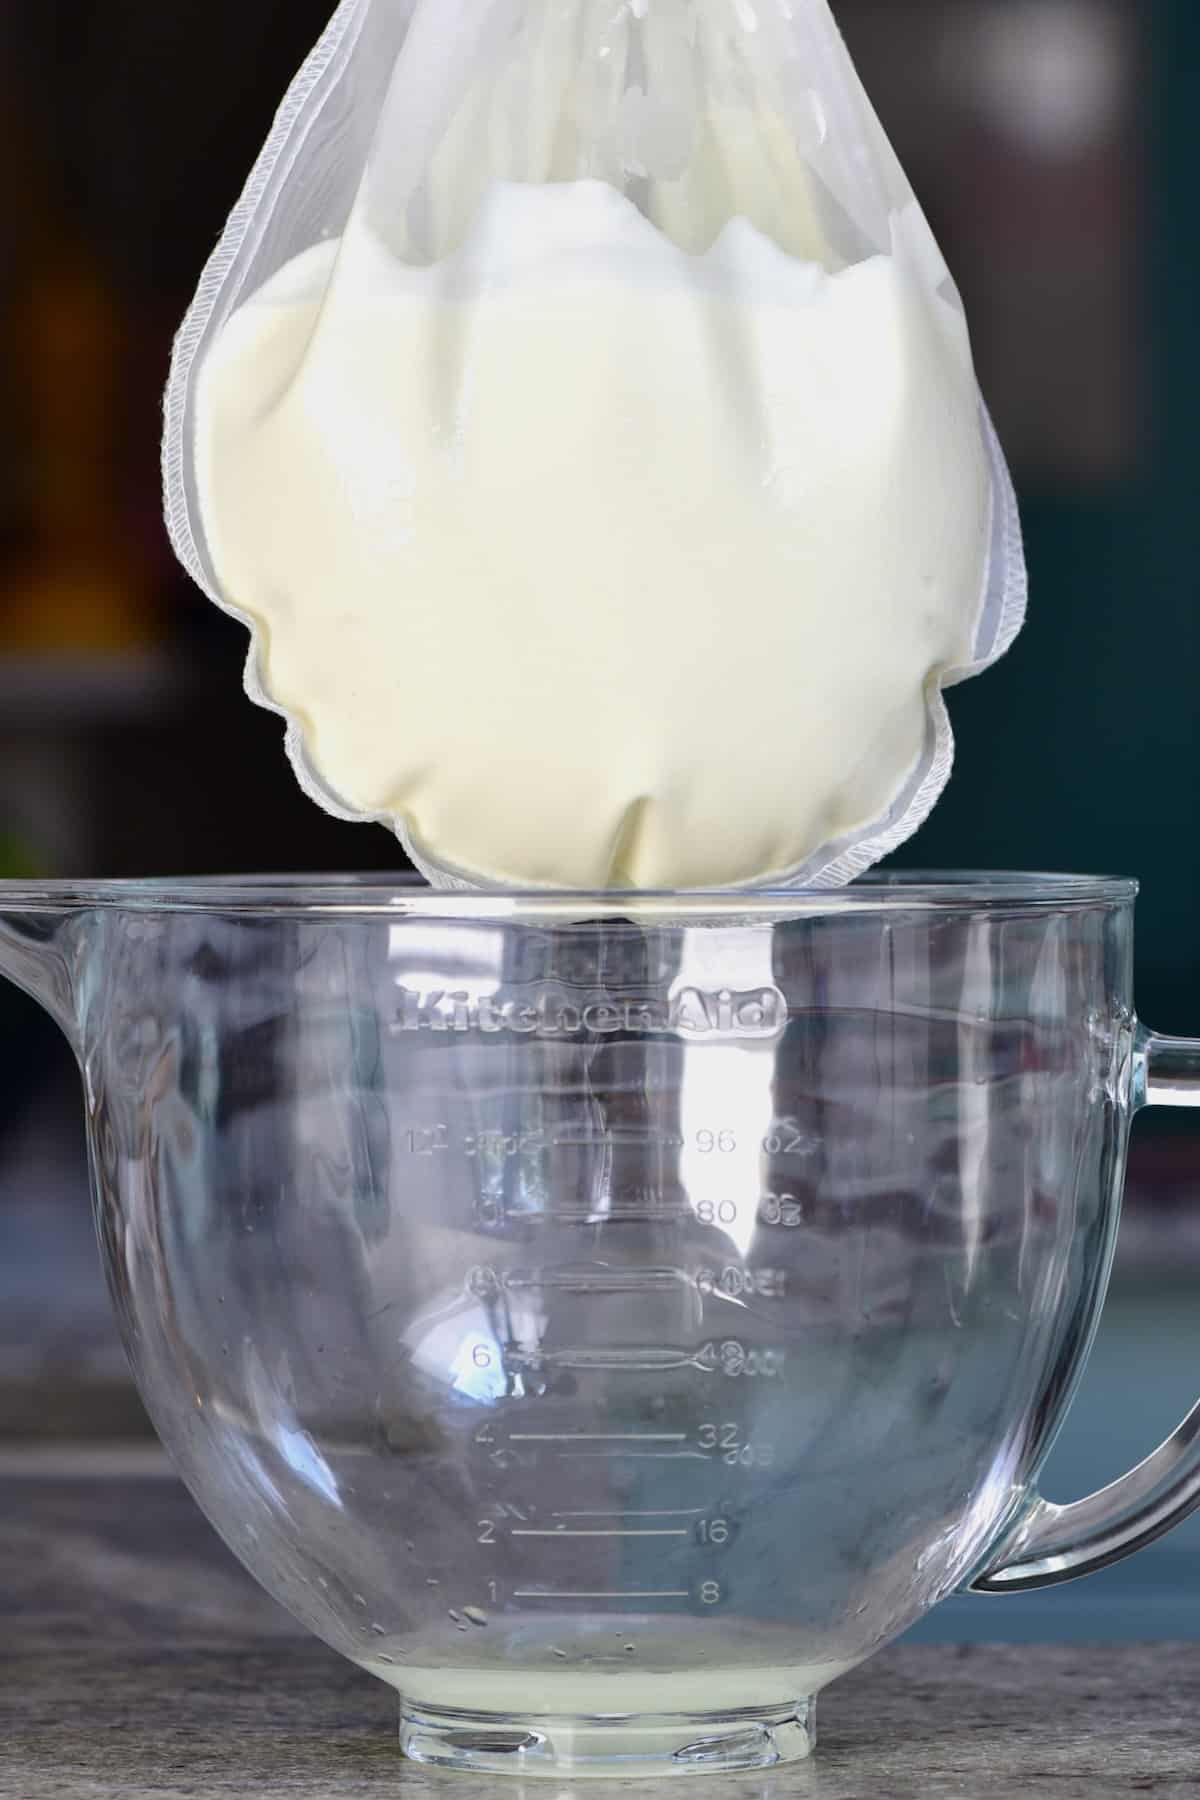
This step is optional. Proceed with it if you want to learn how to make Greek yogurt. Instead of transferring it to the fridge as written above, transfer the yoghurt to a nut milk bag, muslin cloth, or several layers of cheesecloth. Hand that above a bowl (i.e., from your sink faucet, a kitchen cabinet, or by placing it in the rim of a large jar). Leave it to strain to your desired thickness. I recommend assessing it at 3-4 hours, leaving it for longer if desired. There’s no need to discard the strained whey. This is packed with protein and can be used in smoothies, added to baked goods, soups, stocks, stews, etc. Once ready, transfer the homemade Greek yoghurt to a sterilized glass jar and place it in the fridge.
Can you freeze yogurt?
Absolutely. You can freeze the homemade yoghurt for up to a month. But also the thawed frozen yogurt will still work as a starter for your next batch if needed.
More easy DIYs for dairy foods
How To Make Butter (ONE ingredient) How To Make Buttermilk Substitute Super Easy Homemade Cream Cheese Homemade Ricotta Cheese
If you try this homemade natural yogurt recipe, let me know how it goes in the comments below. I’d appreciate a recipe card rating and would love to see your recipe recreations – tag me on Instagram @Alphafoodie!
