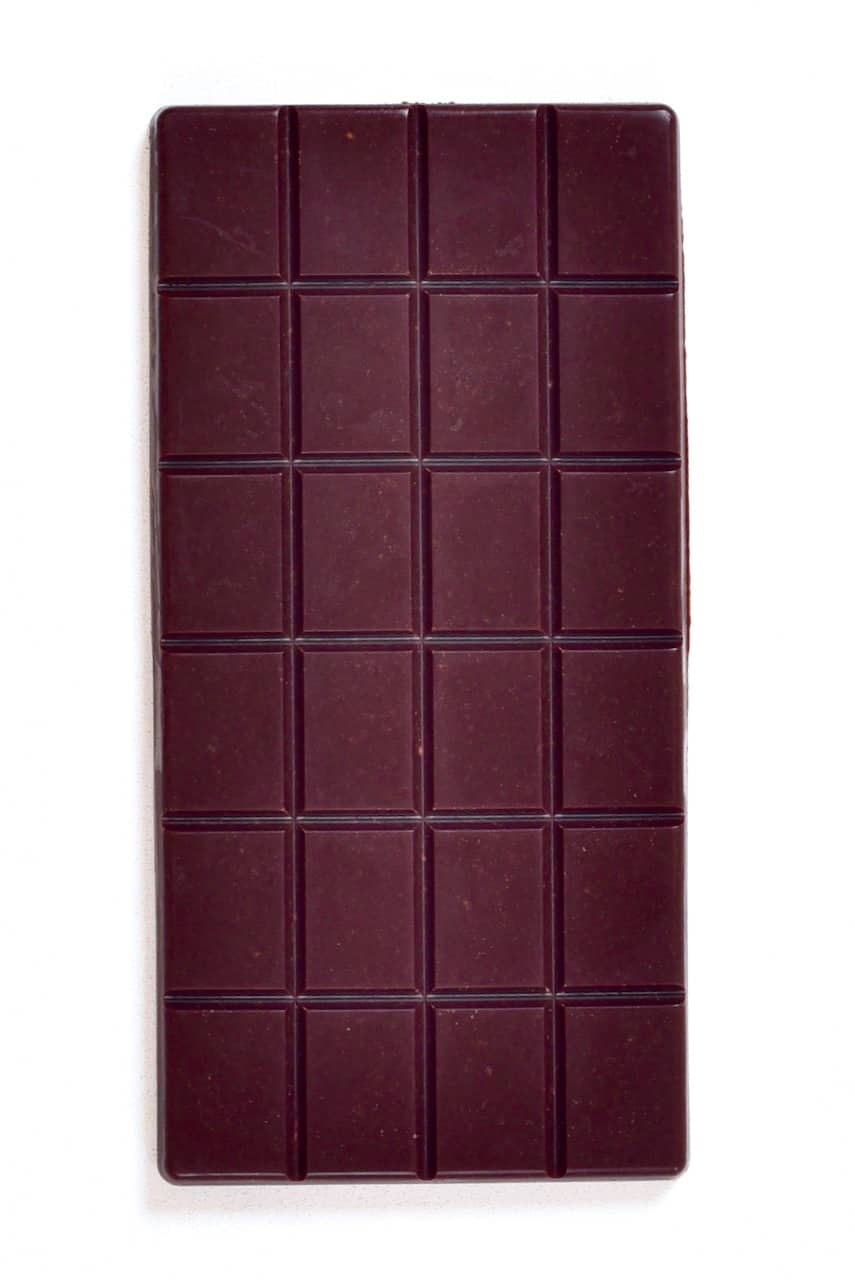
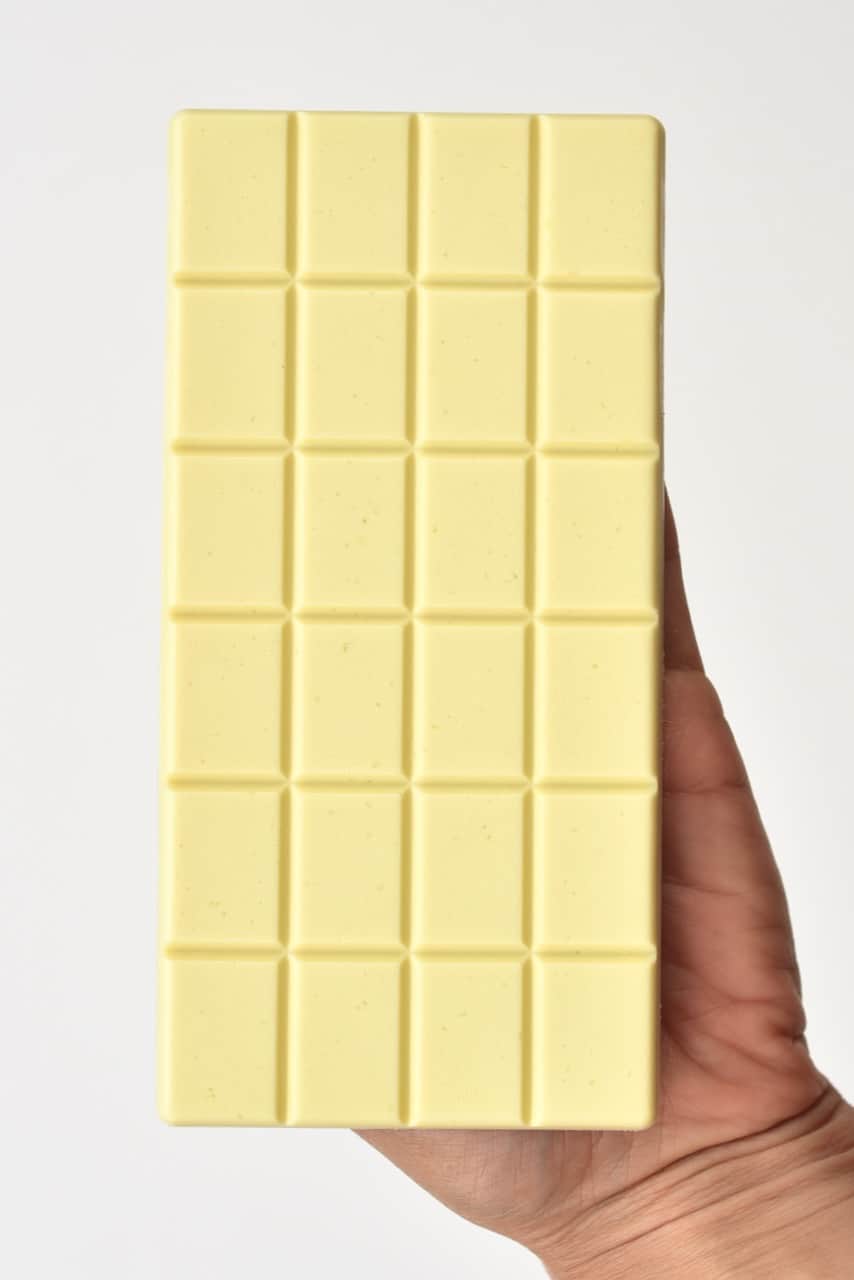
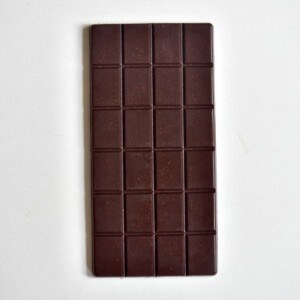
For those deciding to make a homemade chocolate recipe for the first time, dark chocolate is usually the go-to. However, it’s just as simple to make this delicious homemade milk chocolate recipe with just four ingredients and no refined sugars! This homemade chocolate recipe enables you to be 100% in control of the amount of sweetener included, is easily customized and flavored, and healthier than traditional chocolate due to the use of raw, unprocessed cacao butter and powder. Learning how to make chocolate at home is also great for those who love white, milk, and dark chocolate, as the process is almost identical – and incredibly simple to flavor too. In fact, if you’re interested in making white chocolate and sweetened or unsweetened dark chocolate, I have a recipe for that too! In fact, I even have the full method for how to make chocolate from bean to bar; made 100% at home using cocoa beans.
Cacao vs. Cocoa
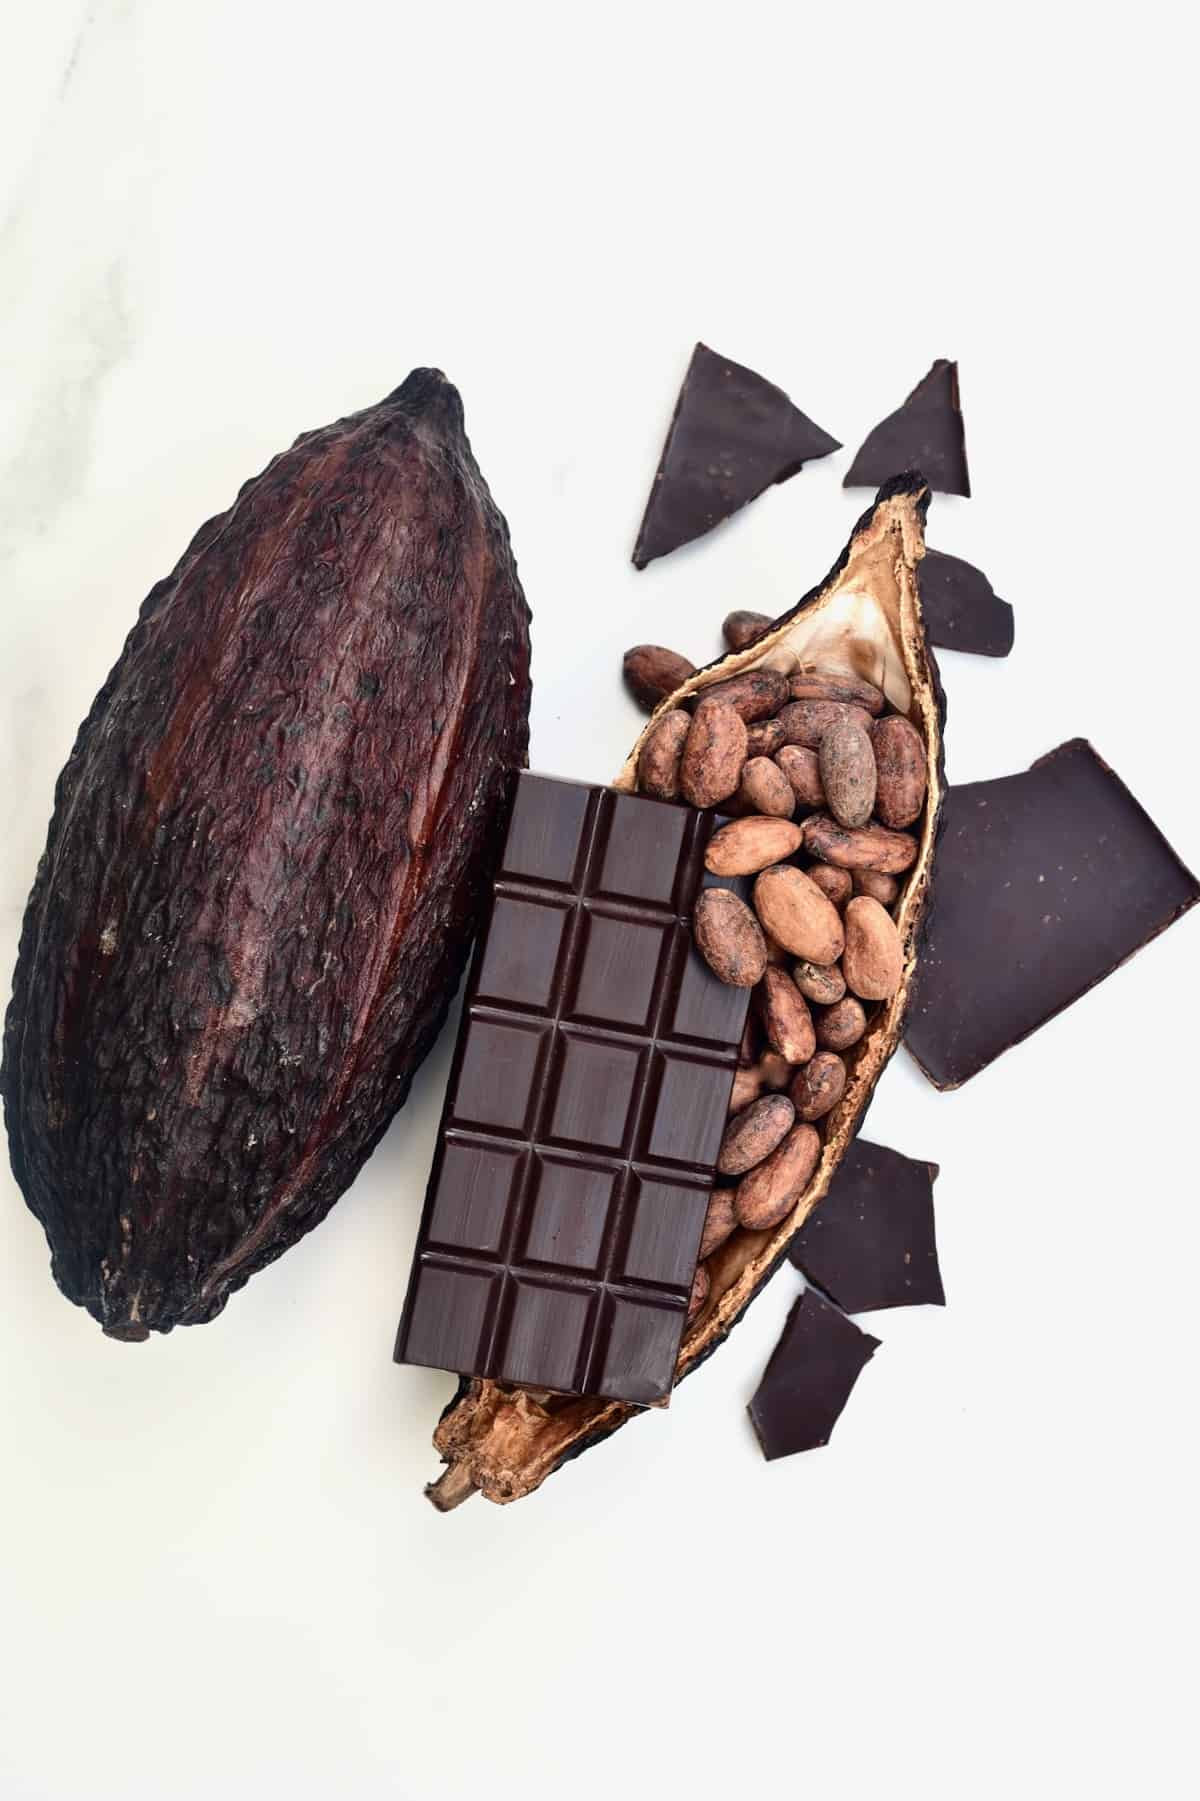
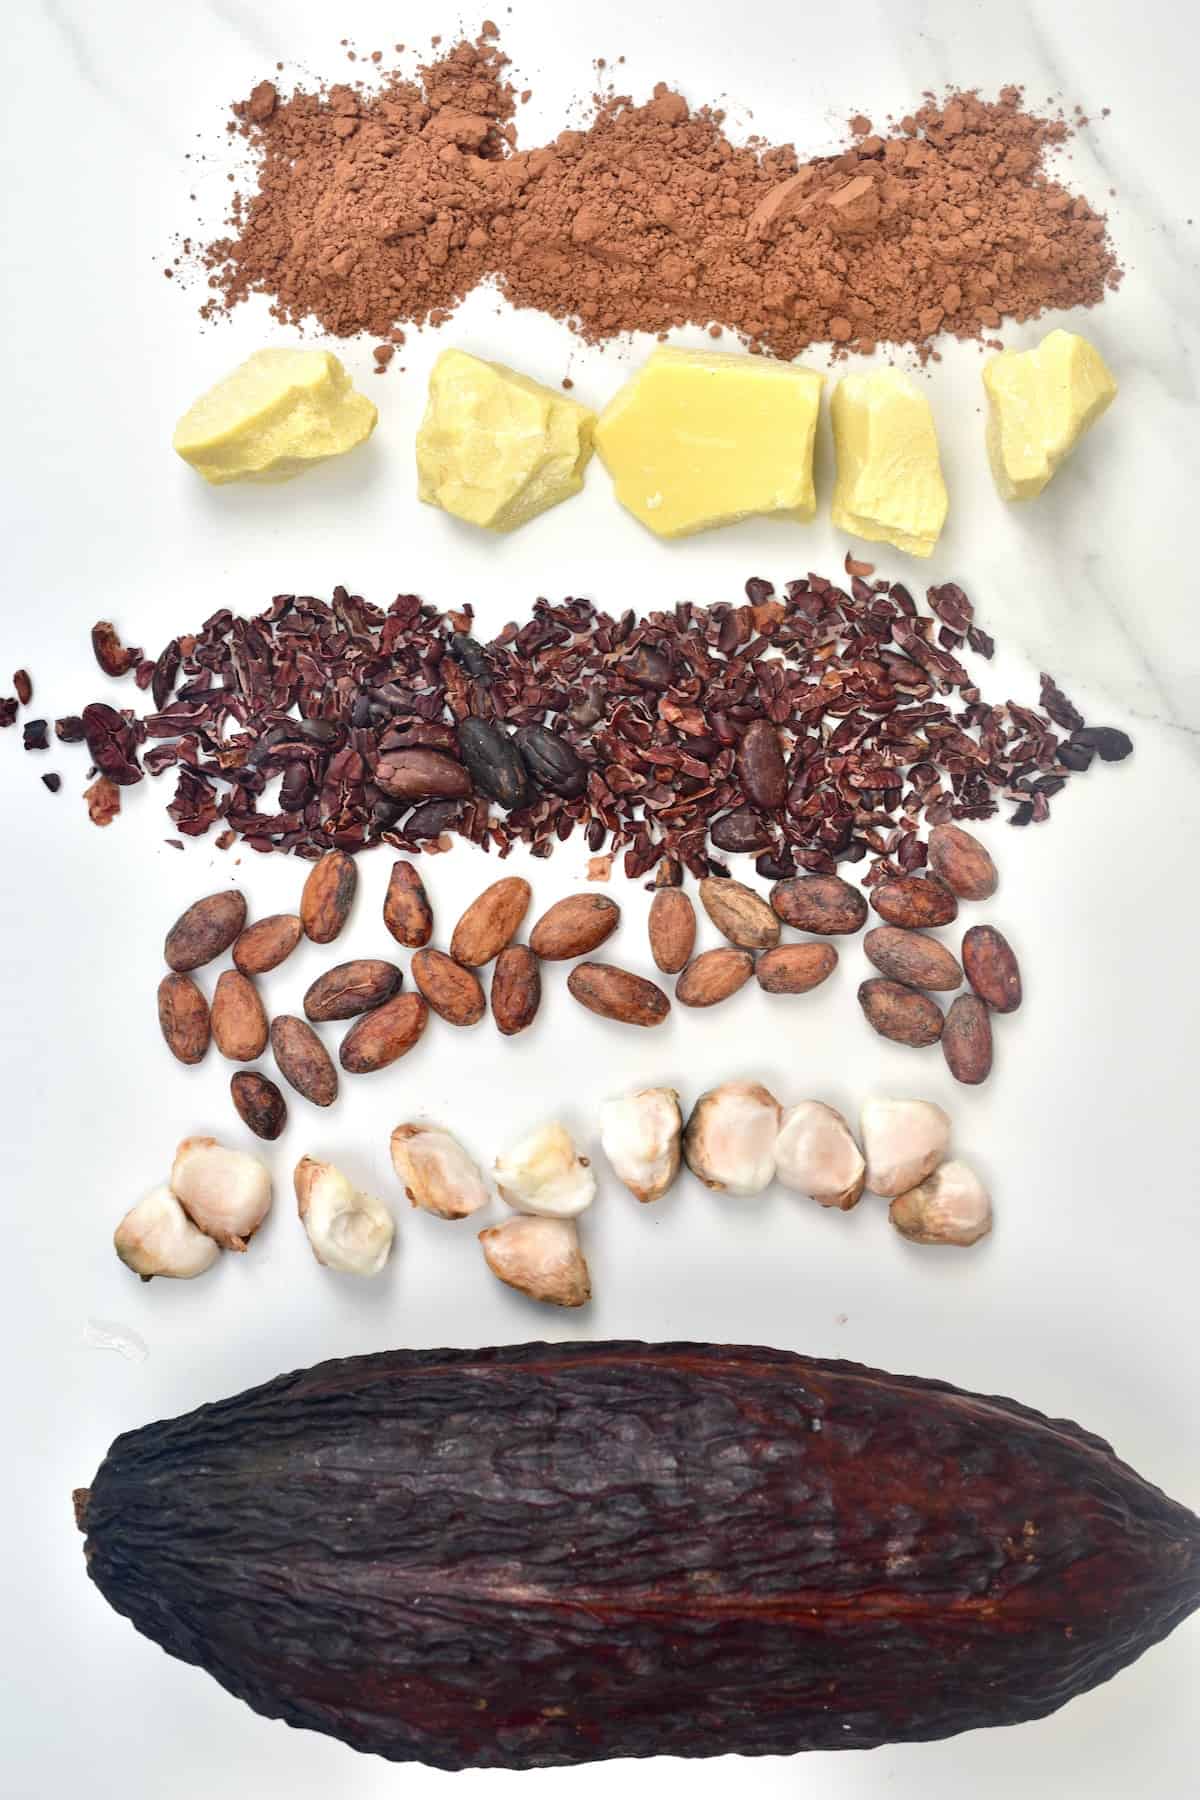
Within this recipe, you can use cacao or cocoa butter and powder within the recipe. I have used cacao, though, for several reasons. I talk about the process of gathering the various individual ingredients from the cocoa pod in my white chocolate post and go through the entire chocolate-making process here. Ultimately cacao refers to products taken from the un-roasted beans – thus the least (minimally) processed option as well as being ‘raw’ compliant for those eating a raw diet. Due to the lack of processing, this is also meant to be the healthiest option (it is more natural). Cacao is actually one of the highest sources of antioxidants in foods, containing protein, fiber, iron, magnesium, as well as a high amount of flavonoids. In comparison, cocoa powder has been heat-treated, which will have reduced some of the nutrition. However, it is still fairly good nutritionally and the more cost-effective option of the two. In terms of flavor, cacao powder is more bitter in flavor but also is a richer ‘chocolate’ flavor. Meanwhile, cocoa powder is slightly more mellow. You can actually make your own cacao powder too!
How To Make Milk Chocolate
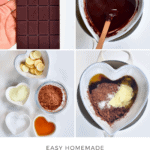
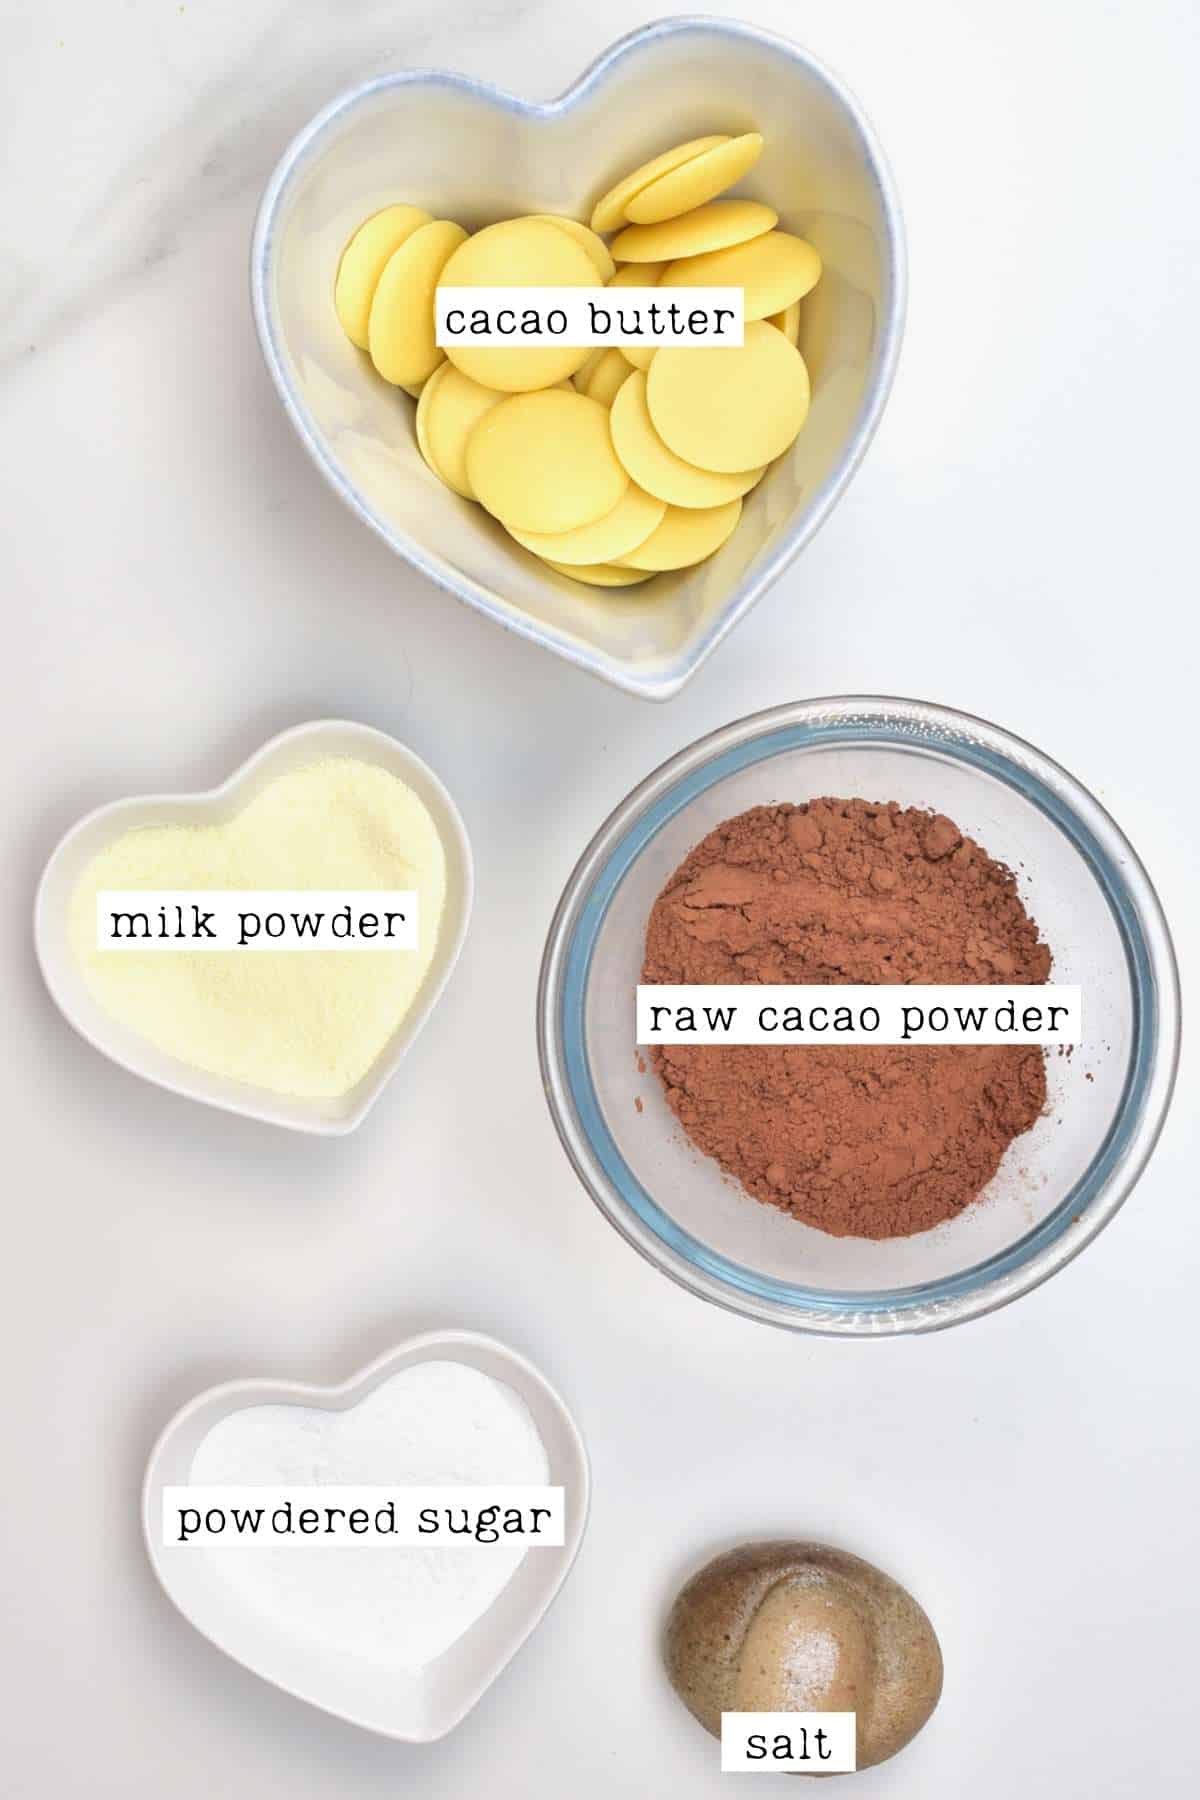
This homemade milk chocolate comprises just 4 ingredients (plus salt) and a few simple steps. The ingredients include:
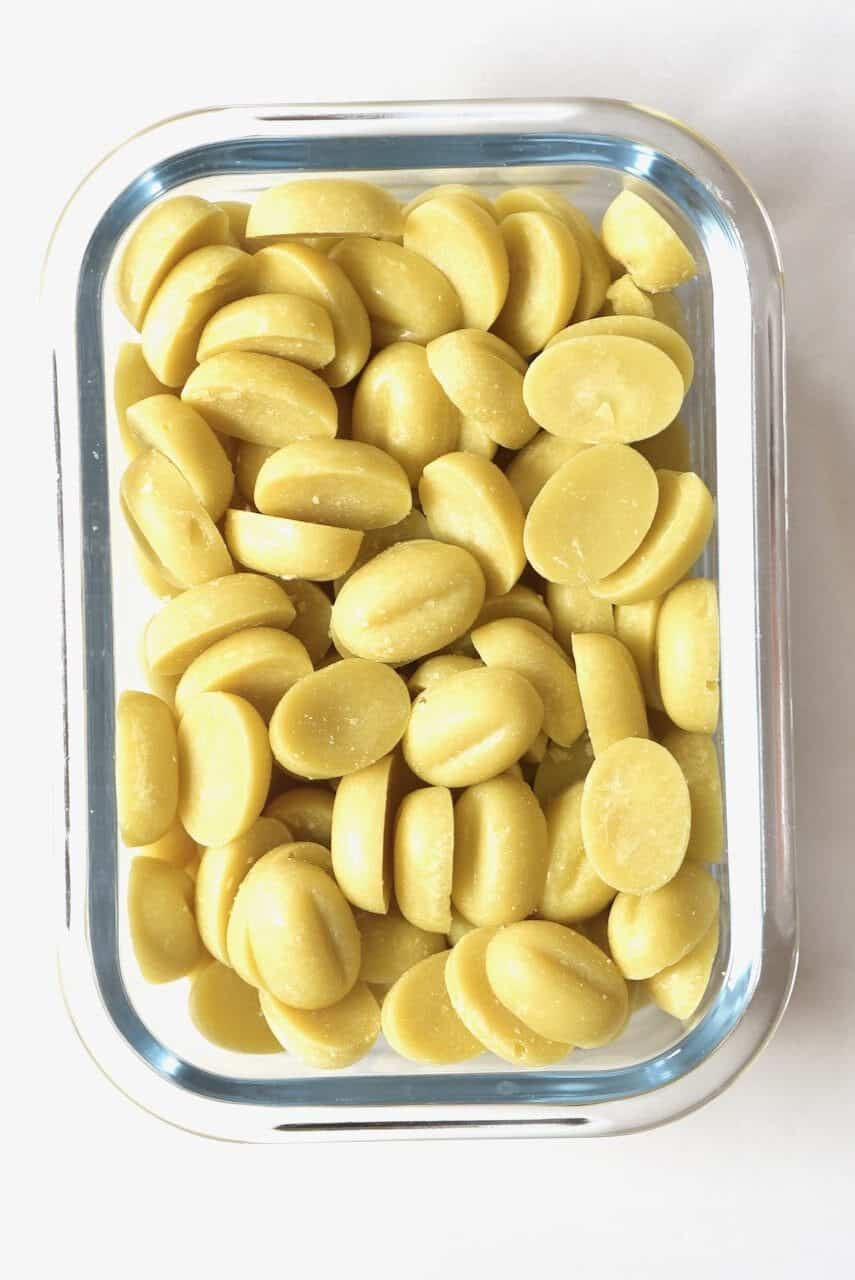
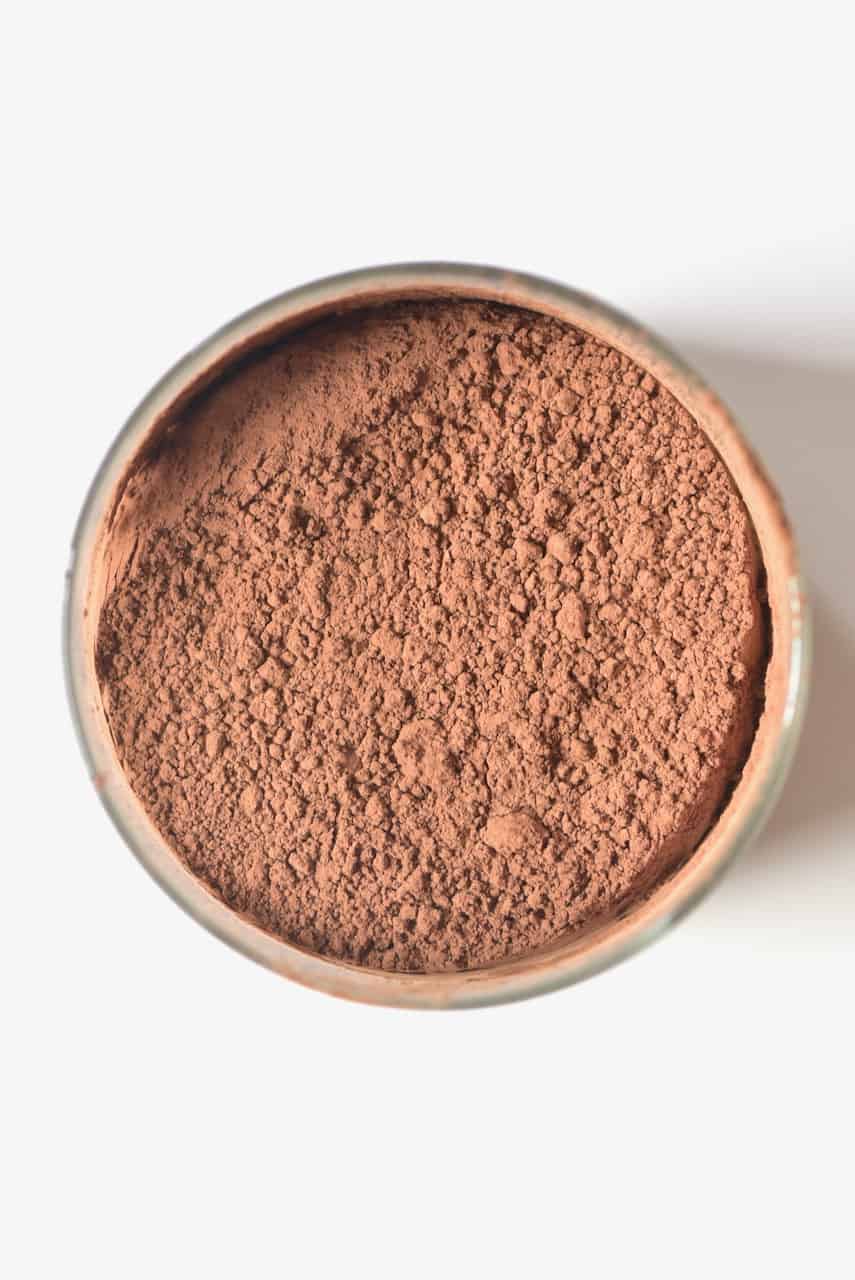
Cacao Butter (or cocoa butter) – Make sure to use food-grade.Dry Milk Powder – or Coconut Milk Powder/soy milk powder for a dairy-free version. Cacao Powder (or cocoa powder) – This is usually very easy to source in stores or online. You can even make it at home!Salt – Just a pinch of salt really enhances the cacao flavor and adds depth to it. (Optional) Sweetener – Use your favorite powdered sugar/sugar-free sweetener: coconut sugar, cane sugar, monk fruit powder, erythritol, etc. AVOID liquid sweetener, though, like maple, as they can cause the chocolate to seize. If you only have granulated sugar, you can make your own powdered sugar.
Also Needed
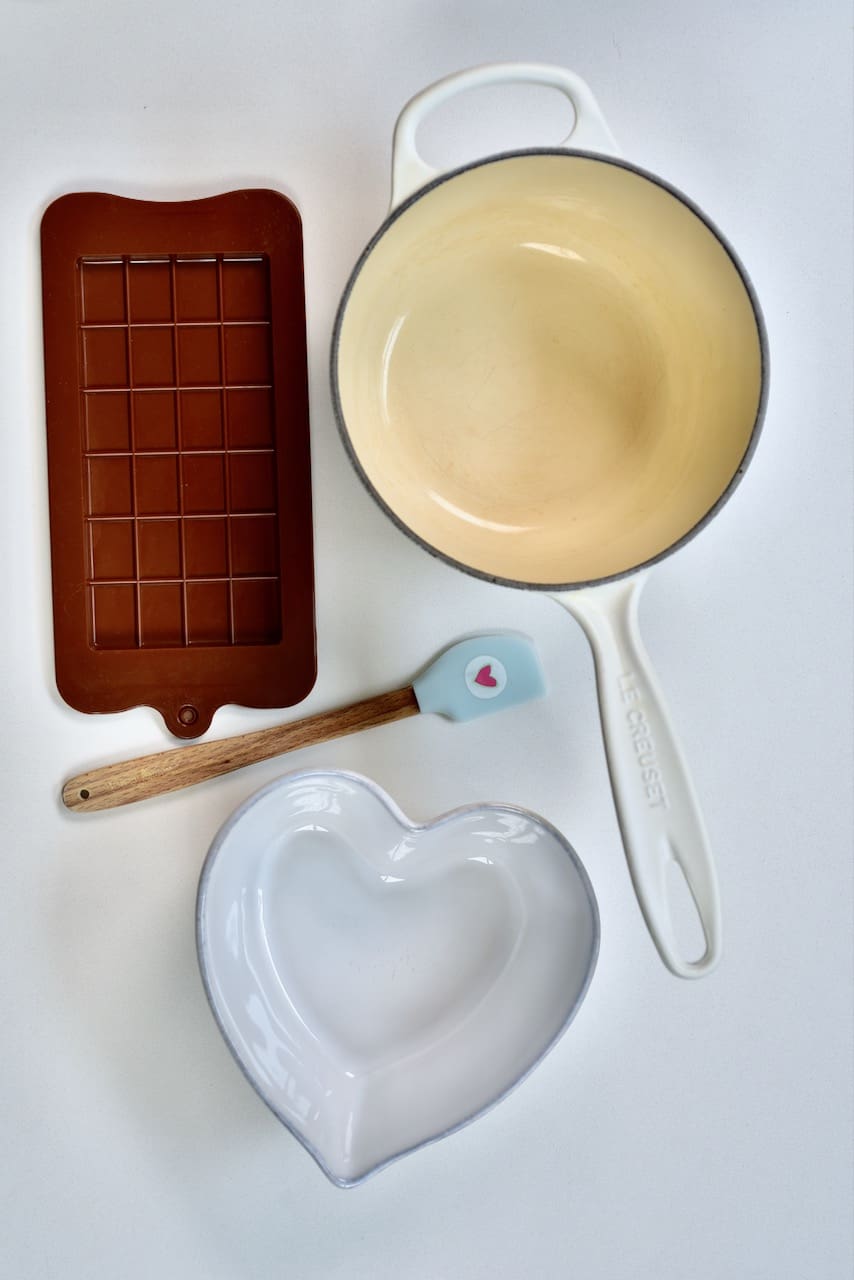
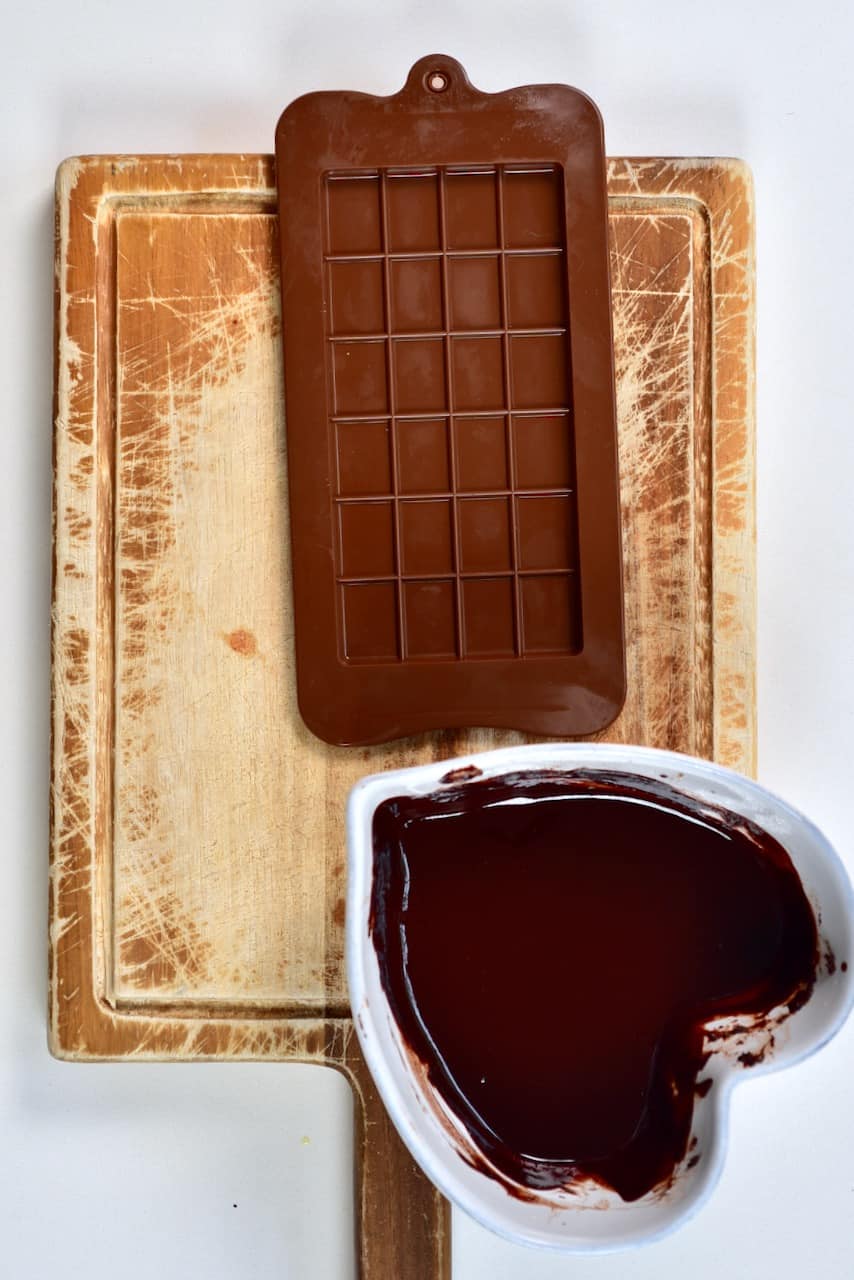
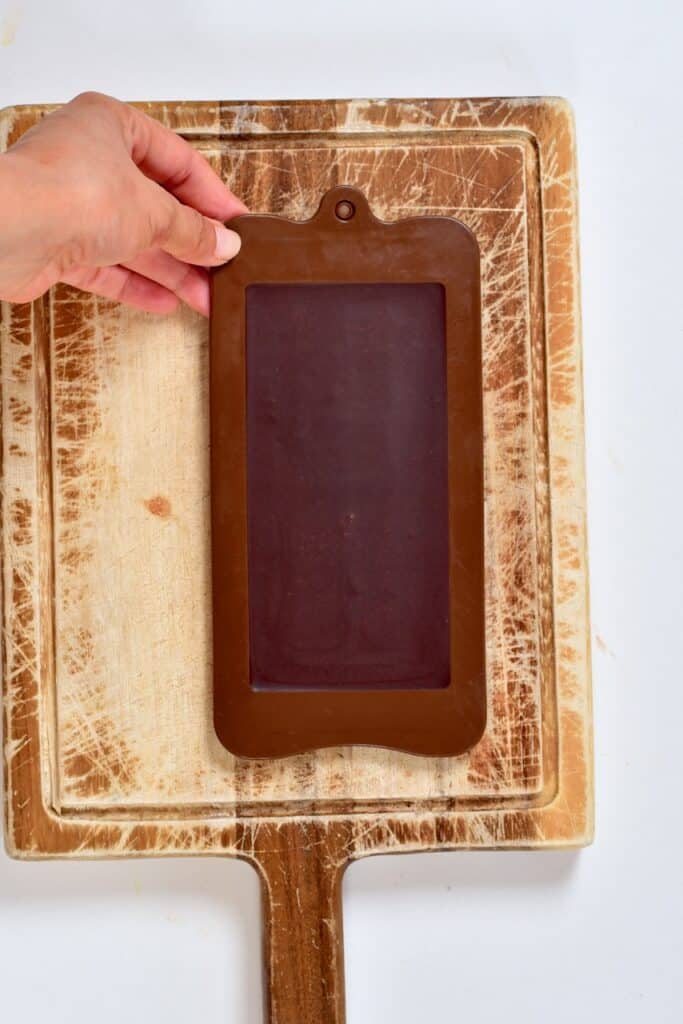
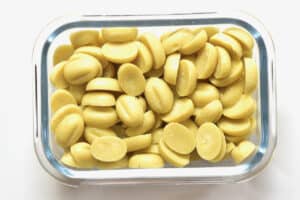
Chocolate mold – I use a 100g silicone chocolate mold. If you want to use a non-flexible mold, then you’ll need to temper the chocolate. You can even get a chocolate chip mold for homemade milk chocolate chips. Double Boiler – You’ll need a small pan with a heat-proof bowl to fit over it.Silicone spatula – Avoid using porous materials like wood which could accidentally get water into the homemade milk chocolate and cause it to seize.
The Method
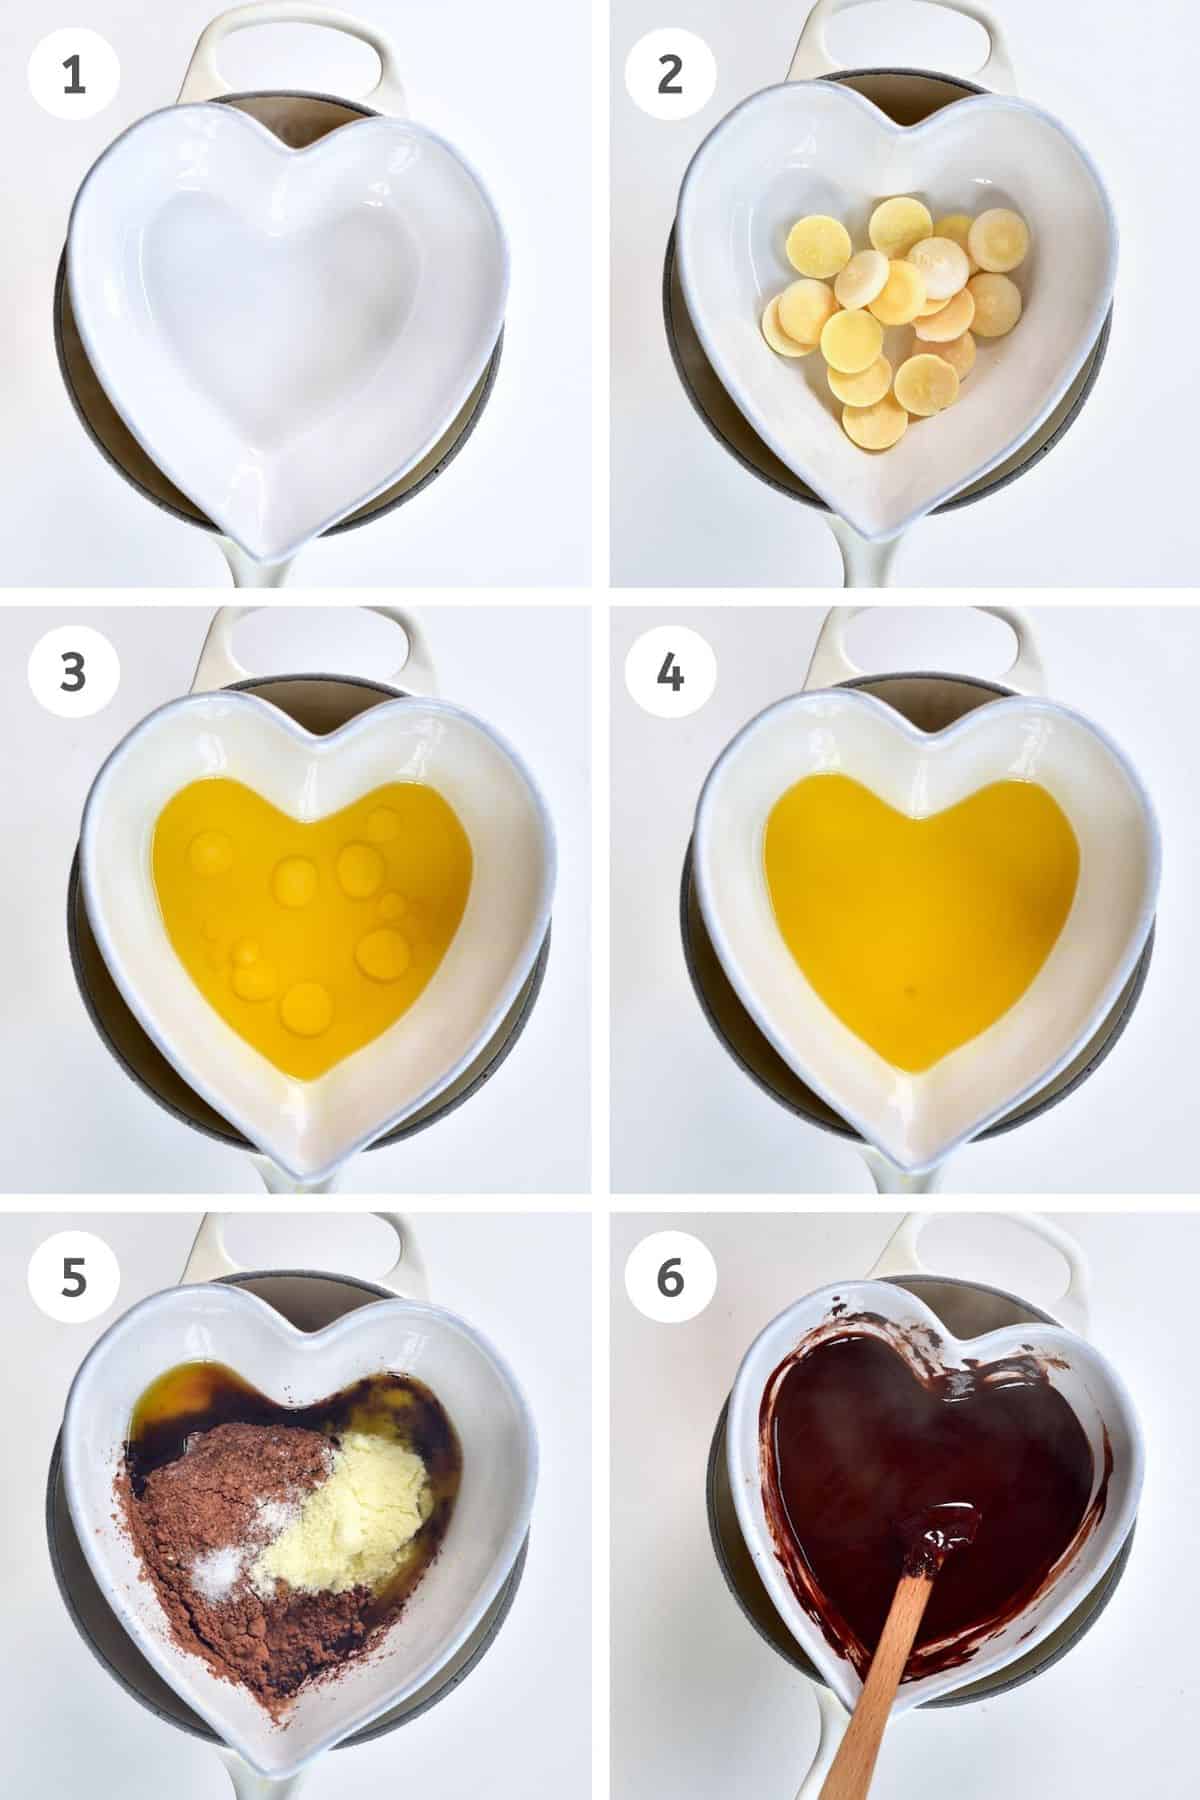
Step 1: Melt the cacao butter
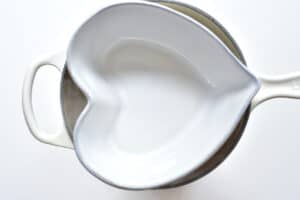
Begin by setting up your double boiler by adding a few inches of water to a medium saucepan and topping with a heat-proof bowl that is slightly larger than the circumference of the pan. Make sure the bottom of the bowl isn’t touching the water. Bring the water to a gentle simmer over medium-low heat. Meanwhile, if you have a large piece of cacao butter, chop it into small, even pieces. This will help it to melt quickly and evenly without scorching. Add the cacao butter to the bowl and whisk or stir gently but often, to reduce the scorching risk.
Step 2: Add the remaining ingredients
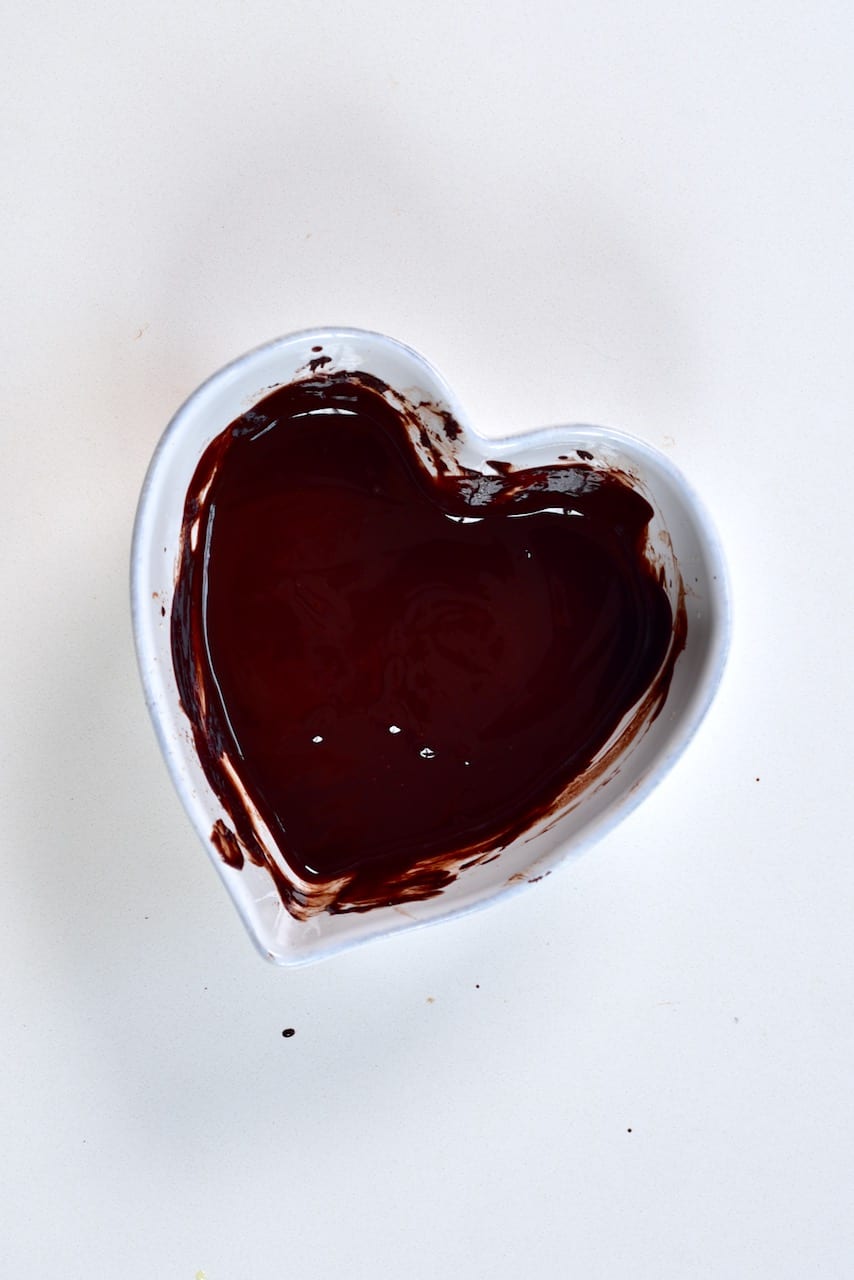
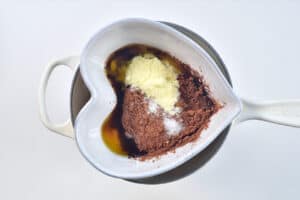
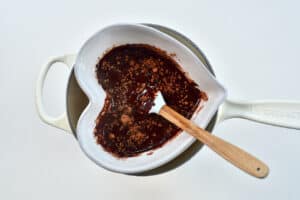
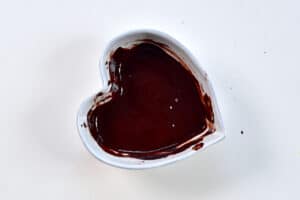
Once completely melted, then sift in the cacao powder and milk powder and stir to combine thoroughly. Add the powdered sweetener of your choice (sifting it in to avoid grittiness), and mix once more until smooth and combined. Turn off the heat and remove the bowl from the pan. Add any additional flavorings at this point once it has been removed from the heat. I.e., vanilla powder, other natural flavor oils, coffee, spices, freeze-dried fruit, etc. Leave to cool for a few minutes, not too much, or else the chocolate will begin to solidify – just enough to cool down slightly. Give one final stir.
(Optional) Step 3: Grind The Chocolate
If you have a chocolate grinder (chocolate melanger), you can let it run for several hours or even overnight, to grind the chocolate. This will grind the particles within the chocolate into tiny tiny microparticles until they are no longer discernible by the human tongue – like commercial chocolate, so you never have to worry about gritty homemade chocolate. You can also do this by hand with a mortar and pestle (just until your arm gets tired) – this won’t work as well as the professional machine, but every little will help for the smoothest of textures.
Step 4: Mold the milk chocolate
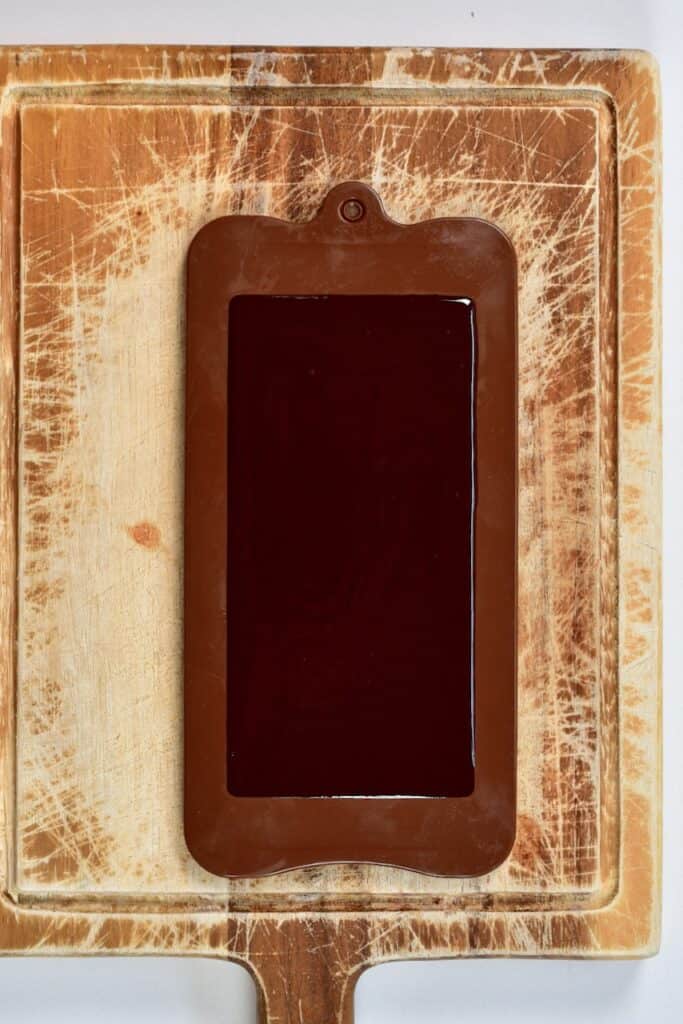
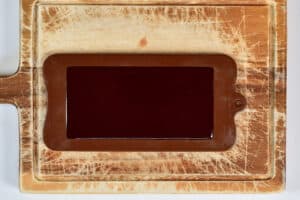
Pour the mixture into the candy mold(s) of your choice and leave it in the freezer to set. This should only take 20-30 minutes and then can be transferred to the fridge (or kept in the freezer).
How to Store
Due to being untempered, this homemade milk chocolate is best stored in the fridge, with a shelf life of two weeks. You can also store the chocolate in the freezer for a few months, likely 3-4 months, although they’ve never lasted longer than a couple of weeks before I’ve eaten it all.
Further Notes & Recipe Variations
You can use coconut oil instead of cocoa butter if preferred. In fact, this can be somewhat easier to work with. However, it won’t be able to be tempered.Make sure to use food-grade cacao butter, as some are sold for cosmetic purposes.Make sure to use unsweetened cocoa, if using cocoa powder, to control the sugar content.Check out my white chocolate post for the best way to flavor homemade chocolate along with several flavor combinations. If you want to make topped chocolate bars, then sprinkle your toppings of choice into the silicone molds before pouring over the melted milk chocolate.I never temper chocolate I’ve made just for snacking at home. However, feel free to temper the chocolate if you’d prefer, as untempered chocolate is more prone to melting easily at room temperature and needs to be stored in the fridge. It also won’t have the signature ‘snap’ of tempered chocolate. Chef’s Note: I originally used maple syrup when sweetening this homemade milk chocolate. However, liquid sweeteners are known for causing the chocolate to seize, so I now don’t recommend this method (it works occasionally but more often than not you’ll end up with a mess!). Stick to dried powdered sugar instead!
Related Recipes & DIYs
How To Make White ChocolateHow To Make Healthy Dark ChocolateHomemade Filled Chocolates (Vegan Chocolate Candy)How To Temper Chocolate (Multiple Methods)Simple Hot Cocoa Recipe (+ Hot Chocolate Bar Ideas)How to make chocolate: From bean to bar!
If you use this method to make milk chocolate, let me know your thoughts and questions in the comments. I’d also really appreciate a recipe rating and would love to see your recreations – just tag @AlphaFoodie.
