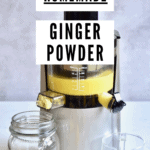
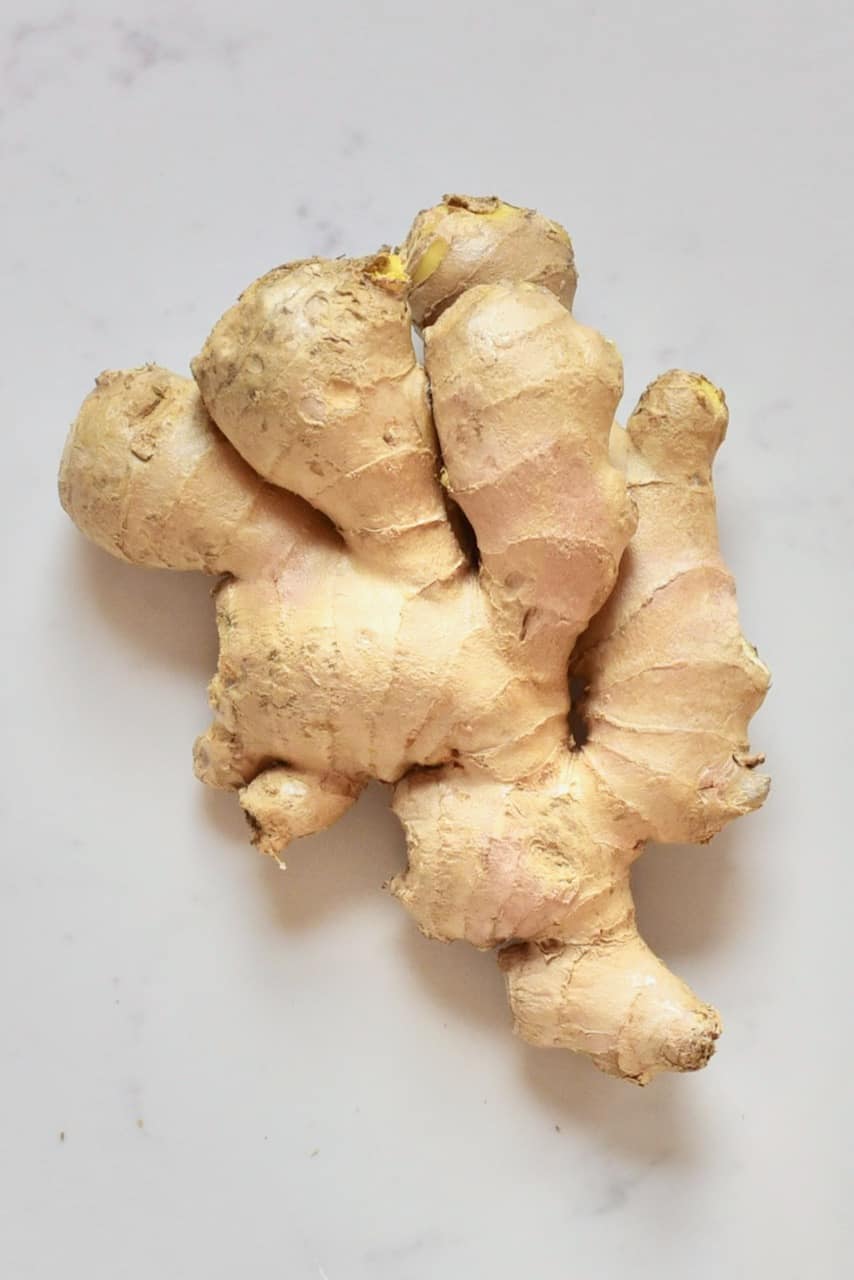
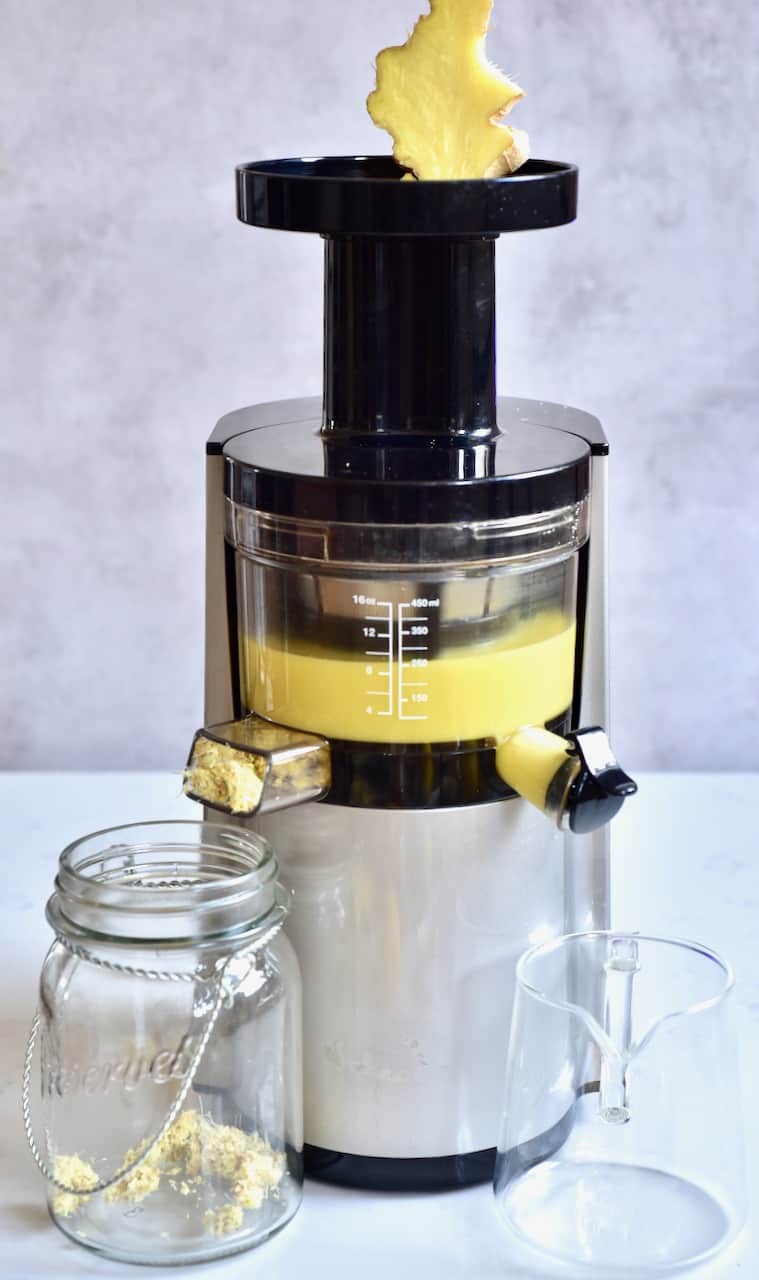
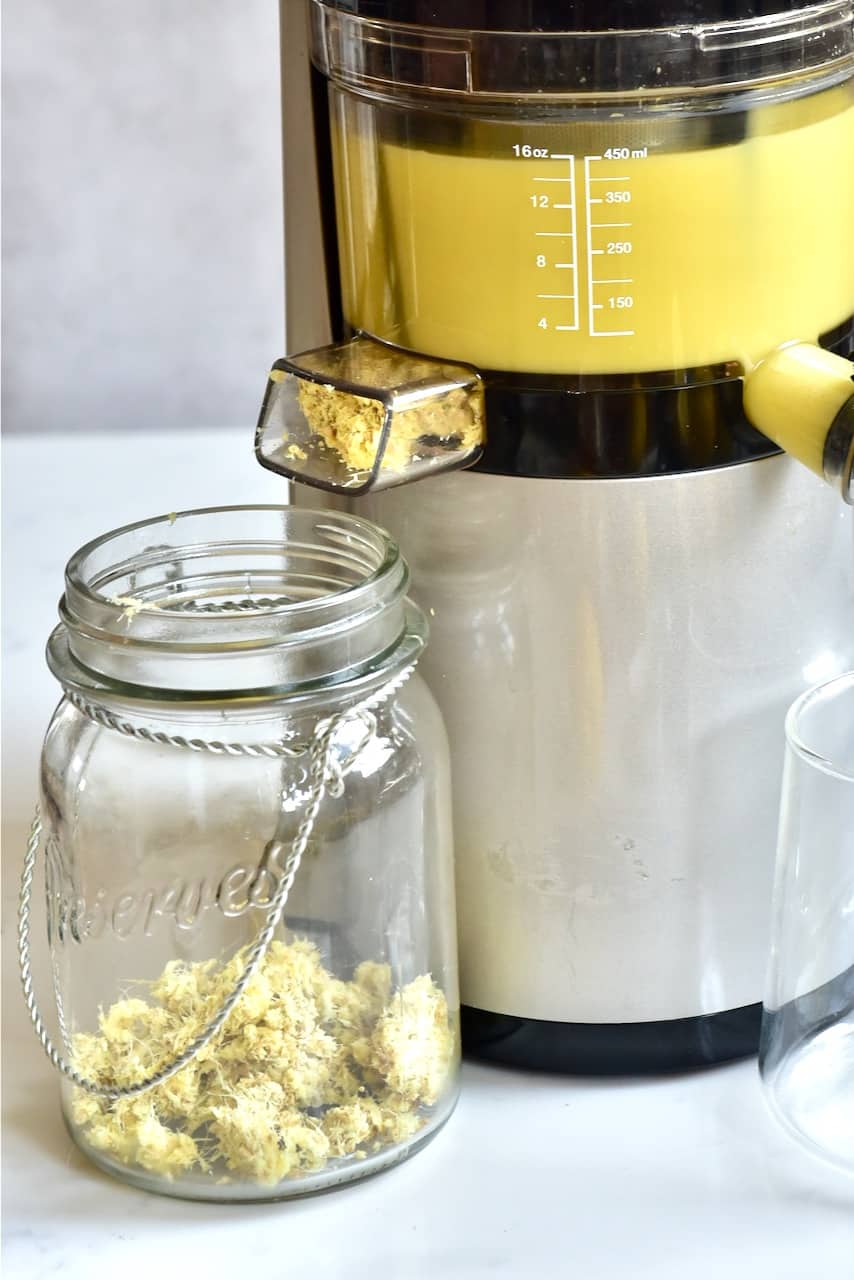
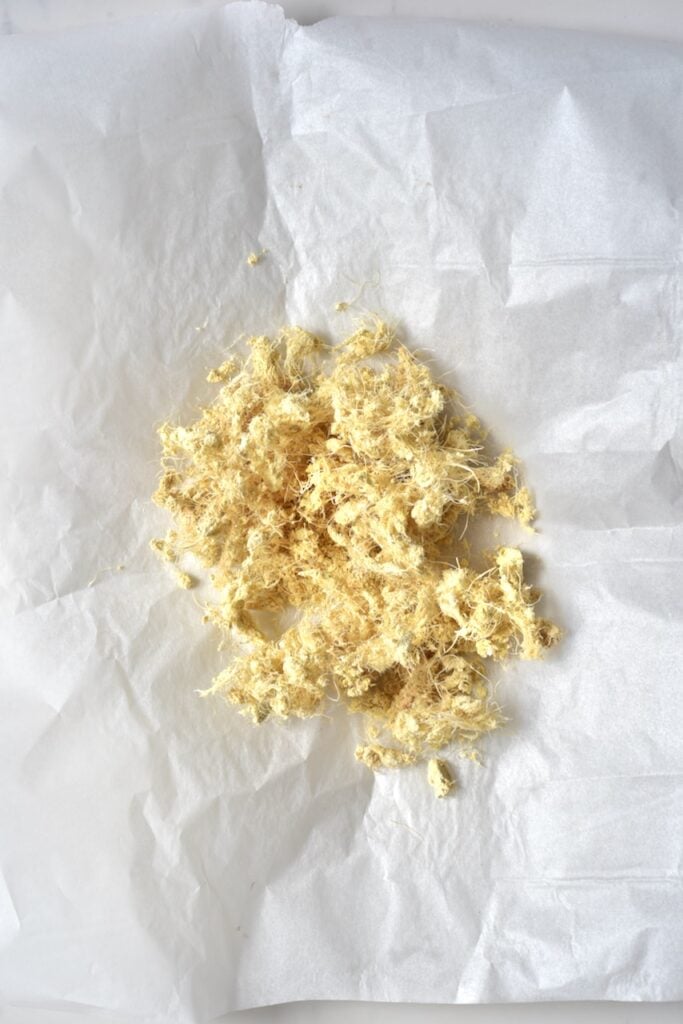
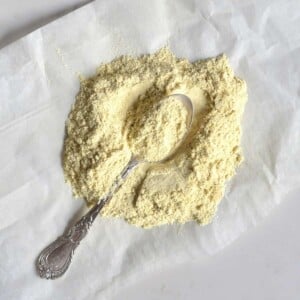
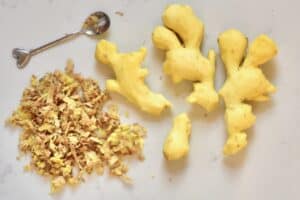
Ginger is all the rage in my apartment at the moment, from making homemade ginger chips to homemade ginger juice, and now this homemade ginger powder. This post takes you through two methods of drying and making ginger powder from fresh ginger and the leftover ginger pulp from juicing. Recently I made a massive batch of Ginger Juice and was left with a big pile of leftover pulp. Now you know how much I try to avoid the unnecessary wasting of any ingredient. So, having already figured out that dehydrating is the key to using leftover nut milk pulp, I thought it would be the perfect answer to ‘what to do with ginger pulp’ too. In fact, following on from my Homemade Turmeric Powder post, I decided that I’d try two methods for making organic ground ginger. The first method uses leftover ginger pulp, and the other one follows the same process as I used with the turmeric – fresh, thinly sliced ginger. I’m happy to say that the results have been amazing! The fragrance, flavor, and general quality of this freshly ground ginger powder is so amazing. I definitely won’t be returning to any grocery store version any time soon. But anyway, give it a try and let me know what you think! The resulting fragrant, spicy ginger powder can be used in place of store-bought ginger powder in a wide variety of recipes such as stir fry, baked goods, in spice blends, and as a general seasoning for fruits and vegetables and tons of dishes. You can also use the powder form to steep homemade ginger powder tea or even use the pulp or dried ‘chips’ for fresh ginger Tea.
How to dry ginger
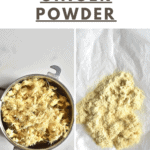
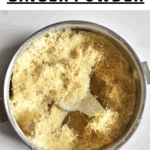
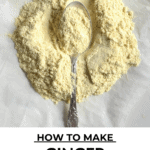
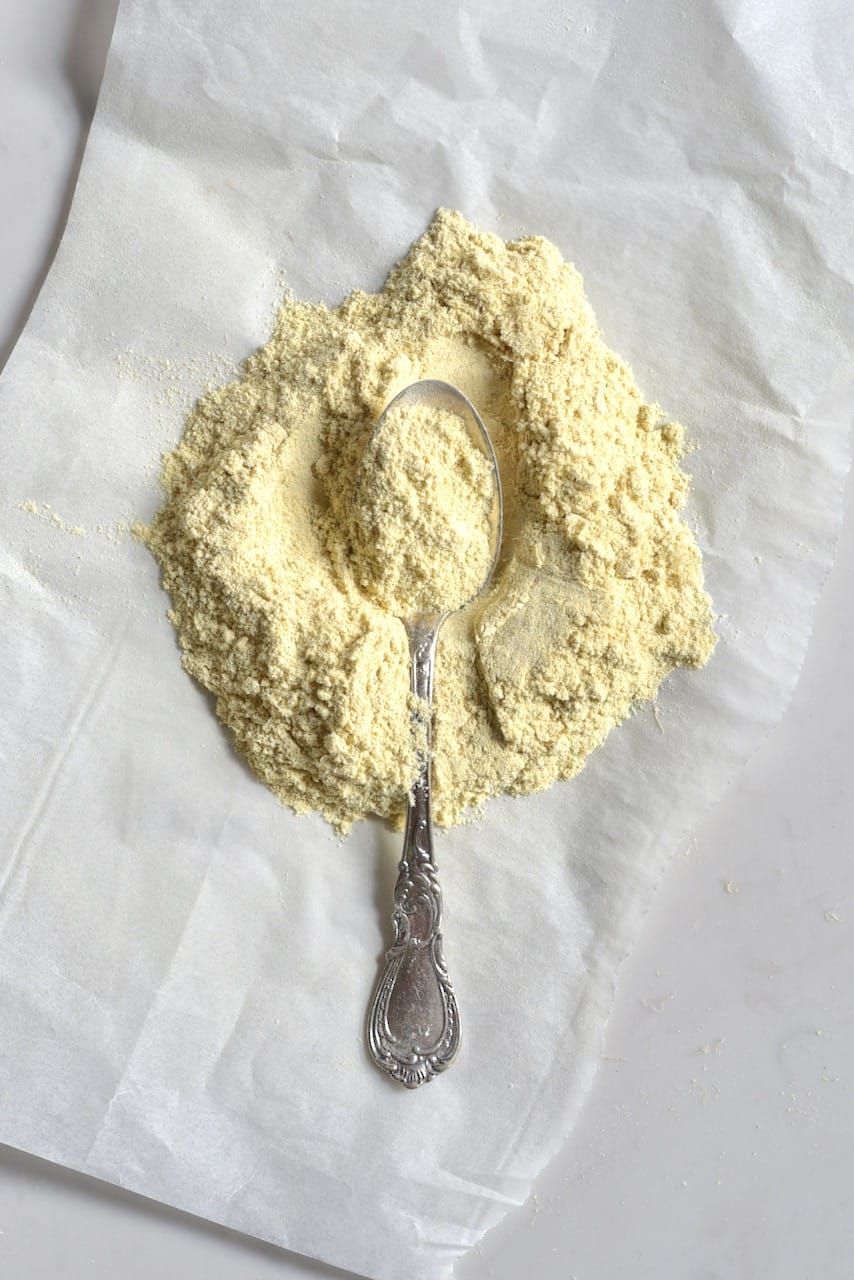
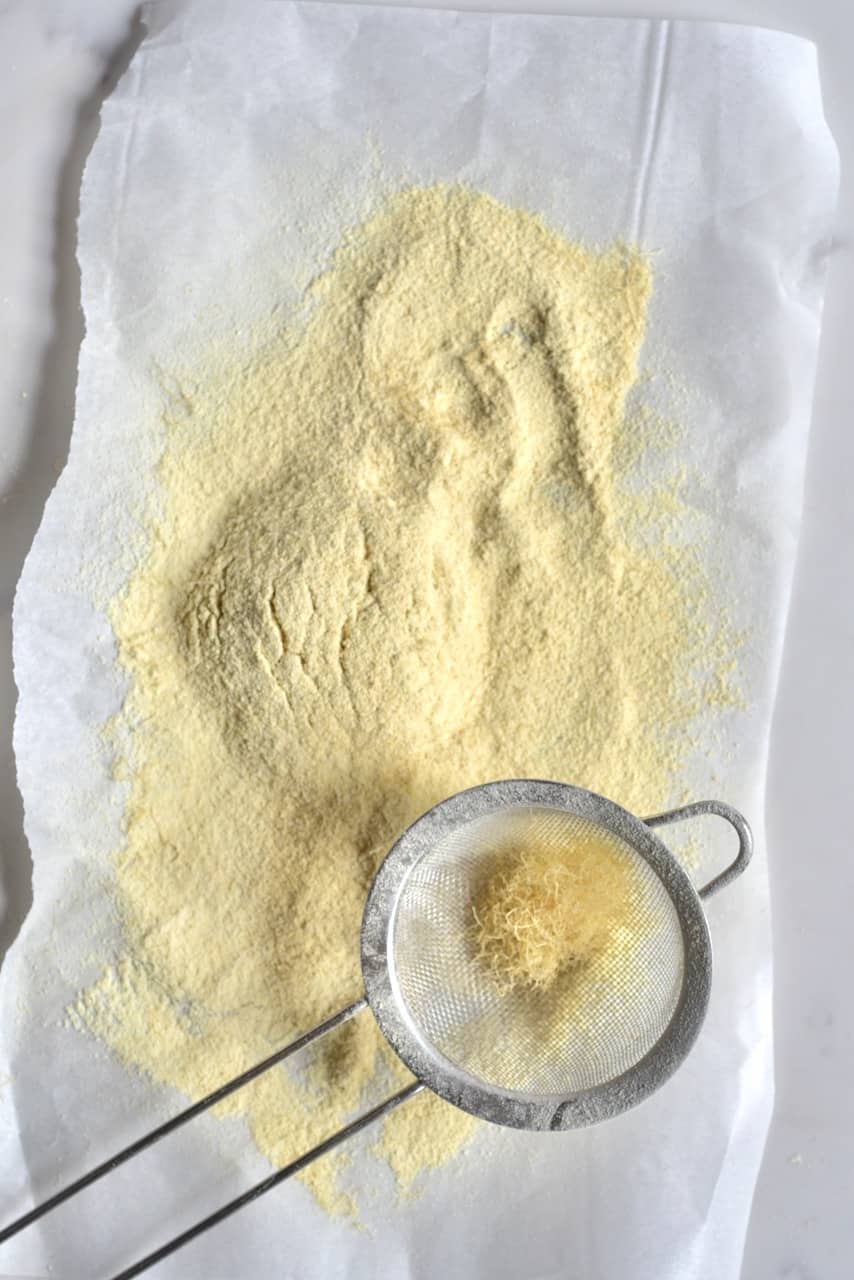
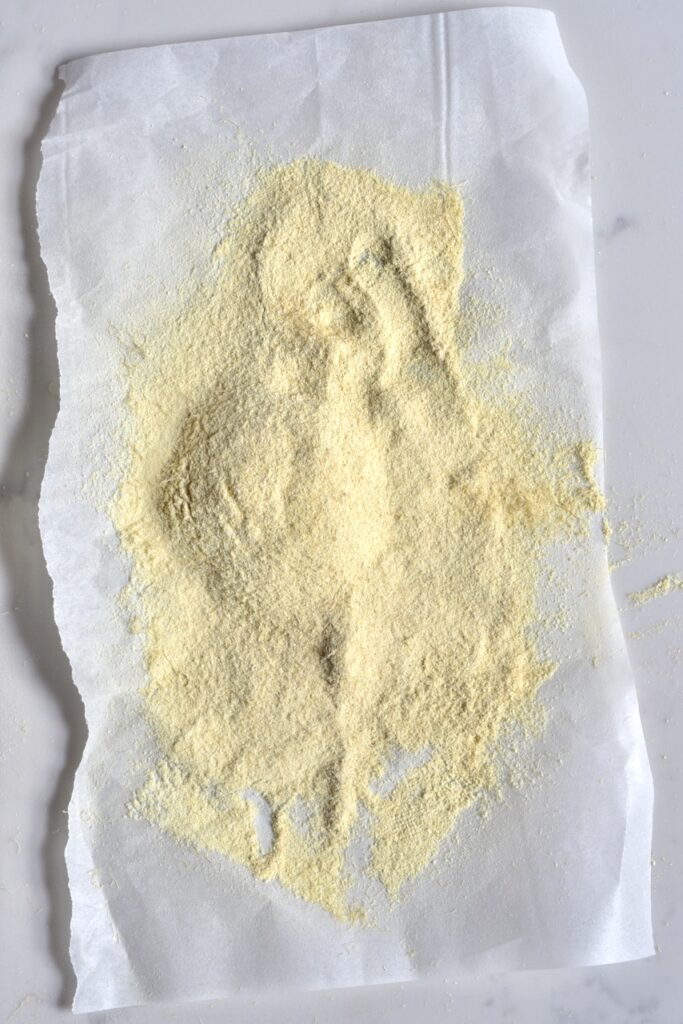
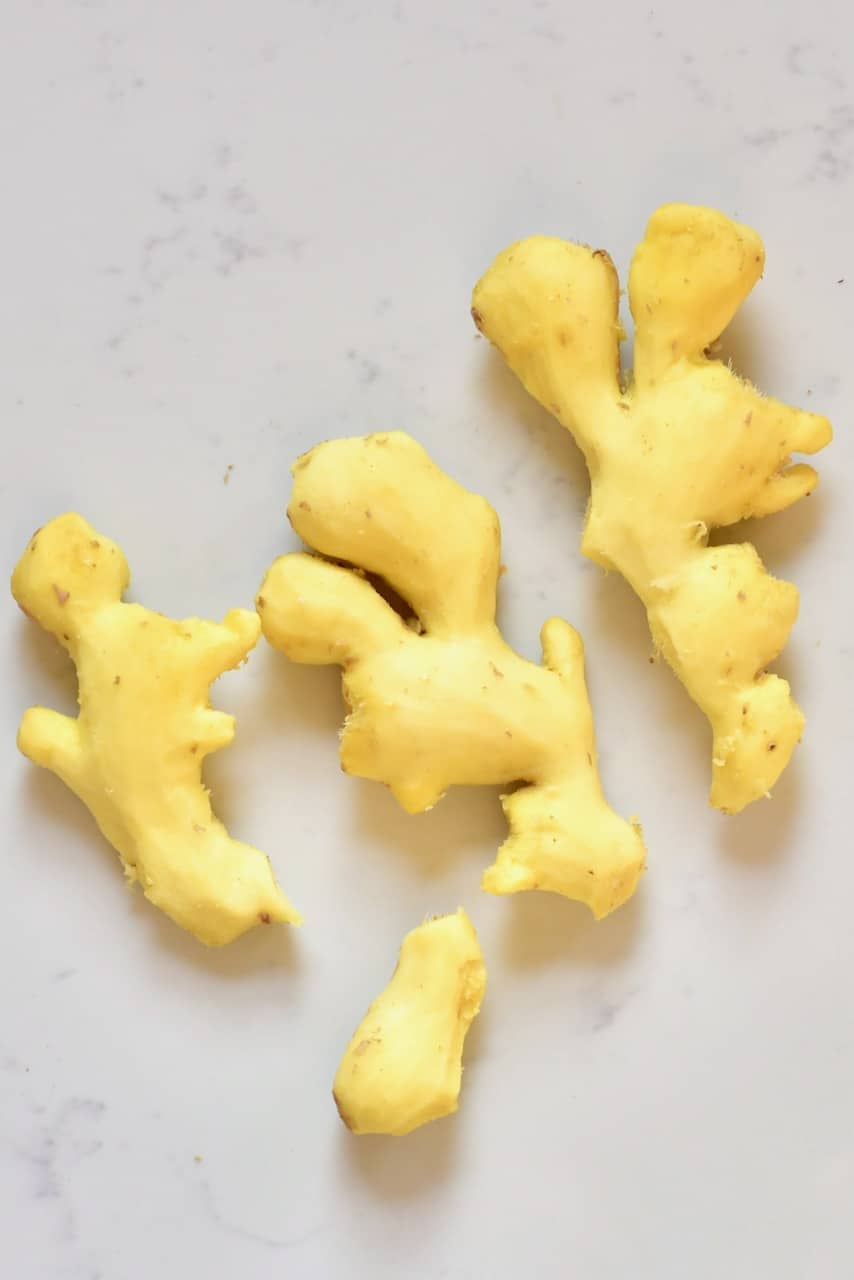
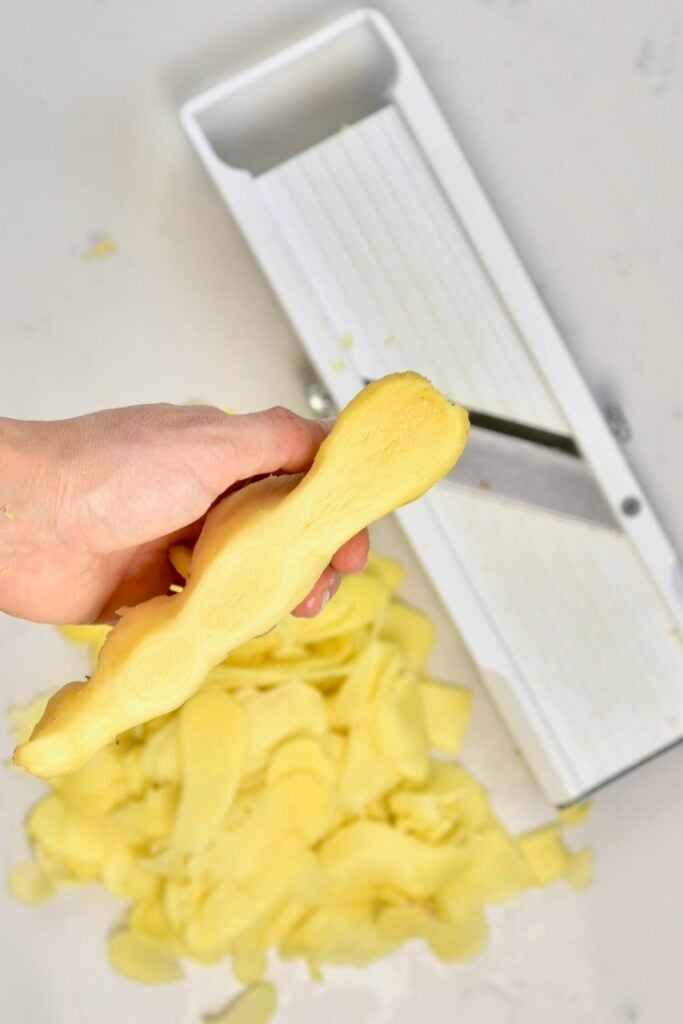
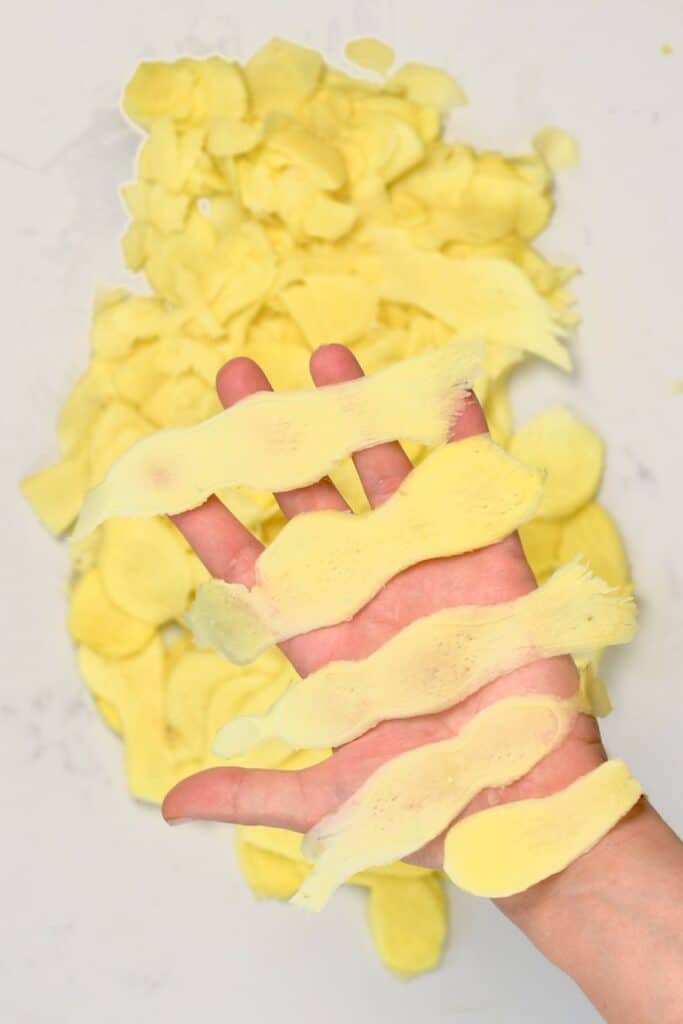
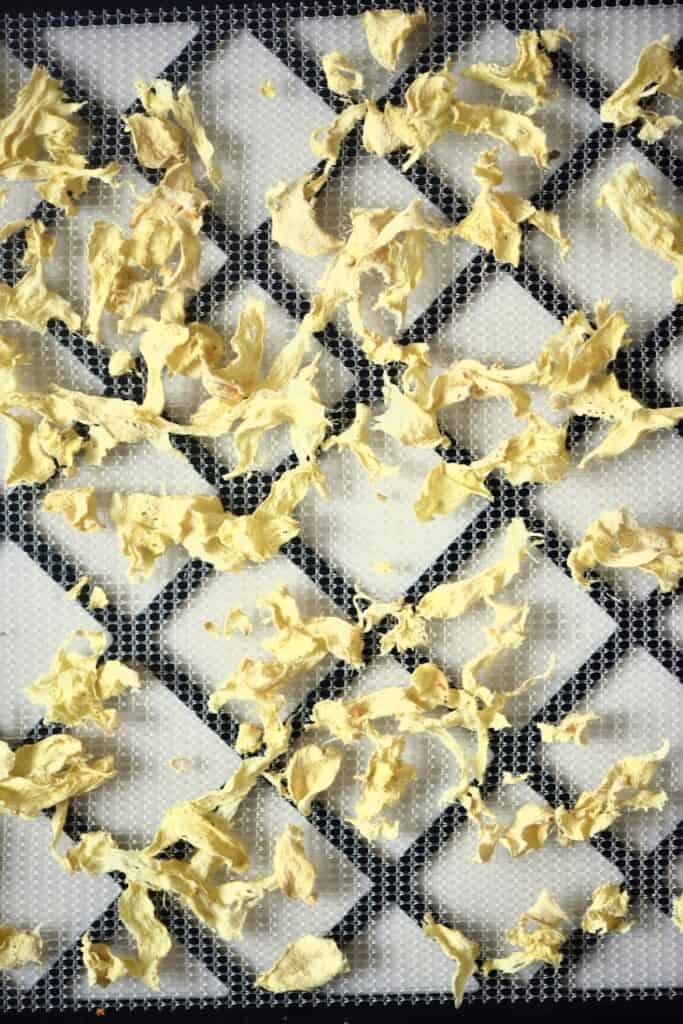
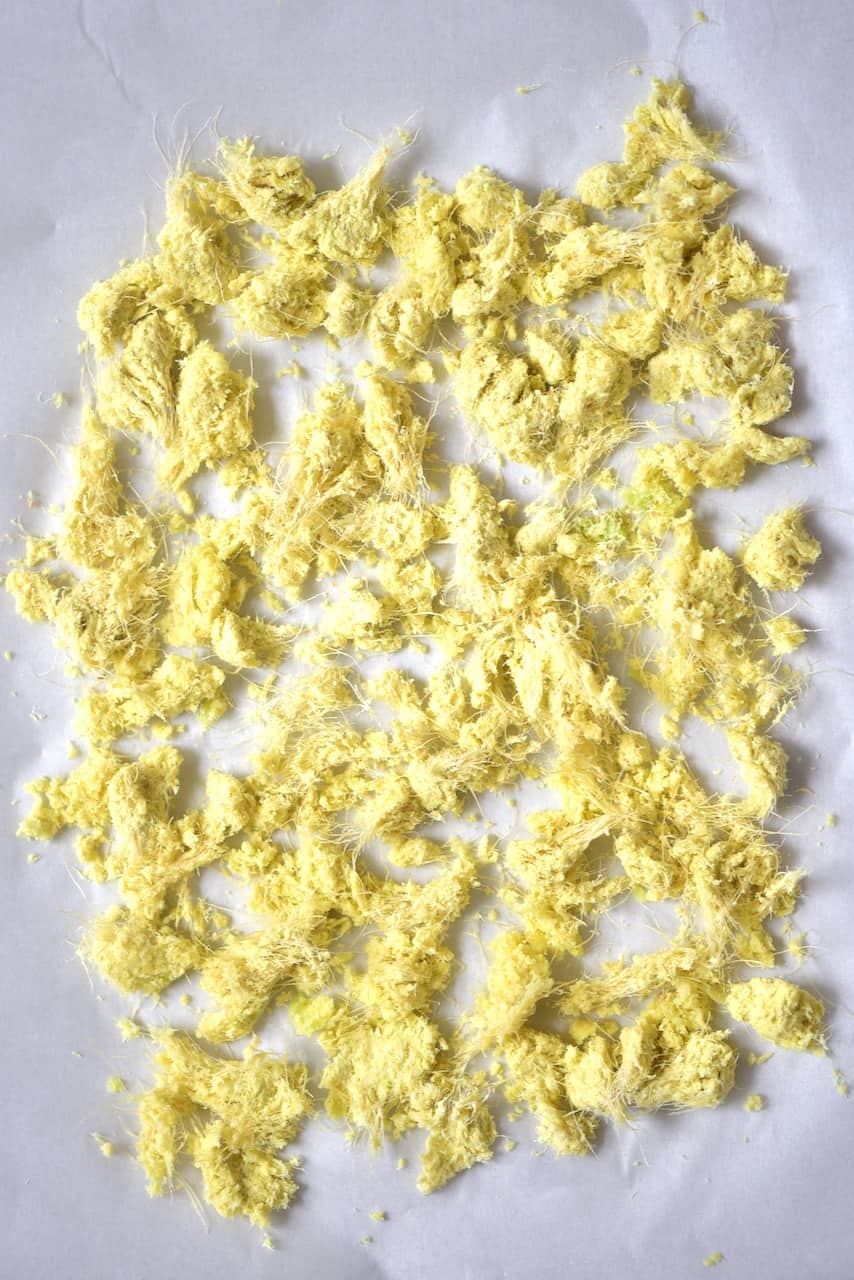
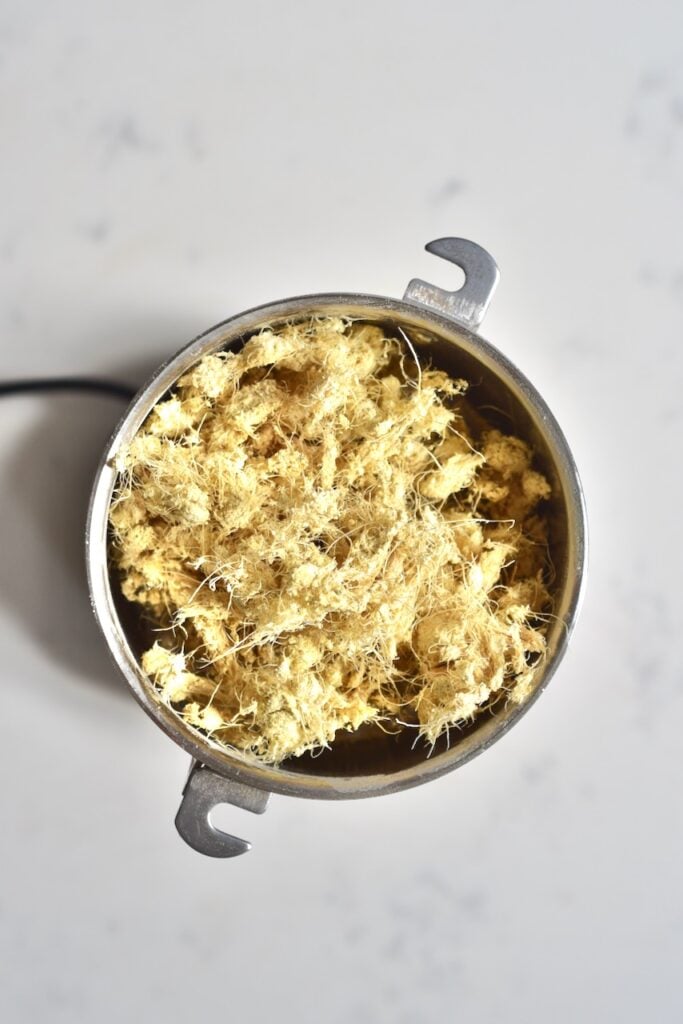
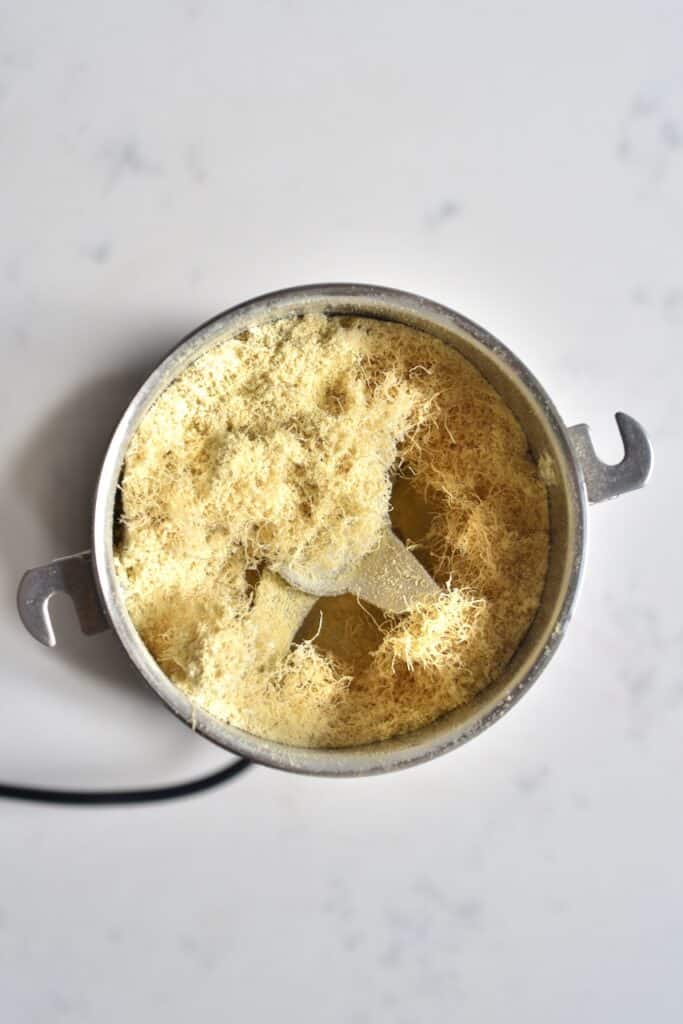
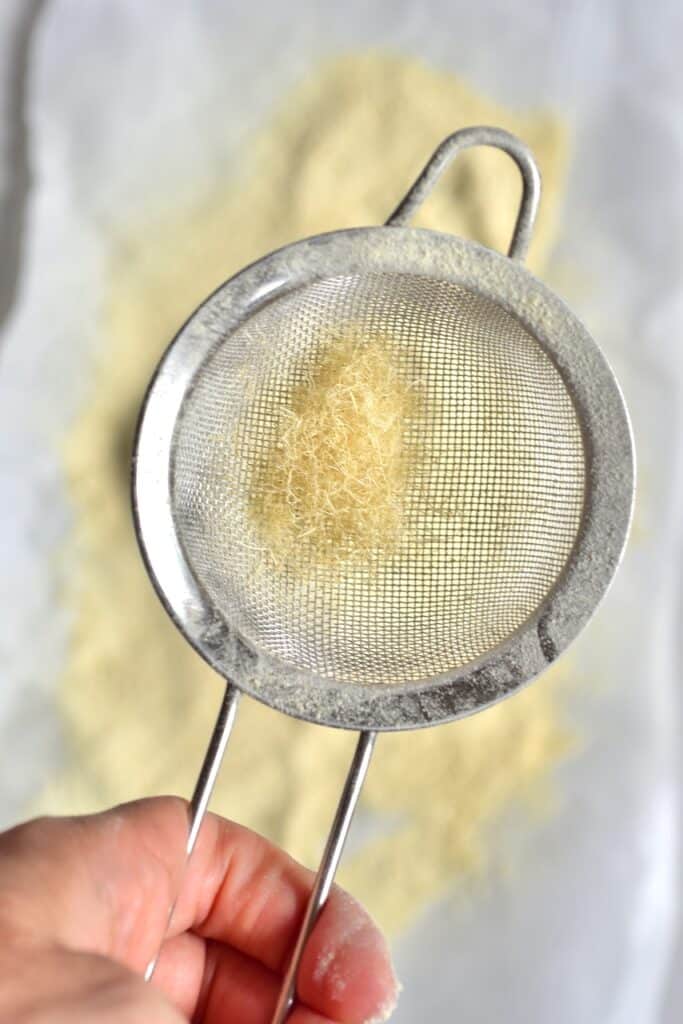
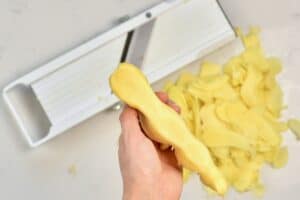
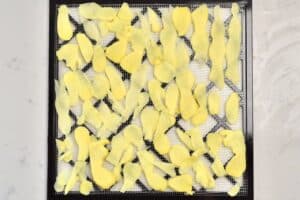
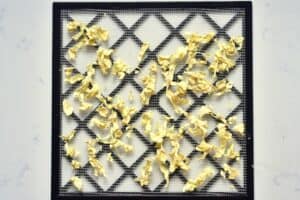
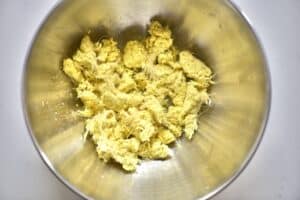
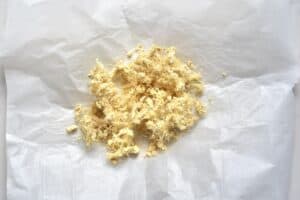
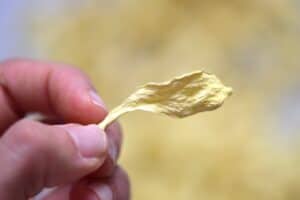
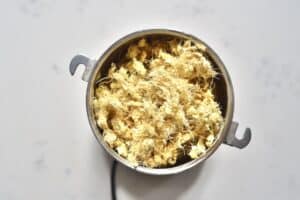
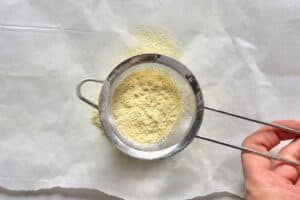
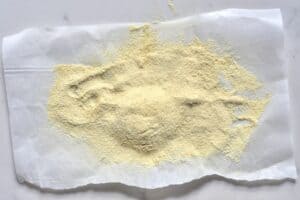
As I mentioned above, this post includes two methods for making ground ginger from ginger root. The first using fresh ginger peels from organic ginger and the second using leftover juice pulp from making juice. I have also included both an oven and a dehydrator method to dry the ginger. Method 1 – Fresh Ginger The first thing you need to do is peel the finger. Using this method, you can peel ginger incredibly quickly, just with a spoon. Next, cut the ginger into very thin slices – the thinner, the better. You can do this with a knife, if that’s all you have available, however, I like to use my mandolin for this. With thin, even strips, you’ll find that the dehydration goes quickly and evenly as the pieces are all uniform. Next, line the thin slices on a baking tray or a dehydrator tray, making sure that the slices don’t overlap at all. To Dry in A Dehydrator: Using a dehydrator is my favorite method as it allows you to thoroughly remove all liquid content without heat-treating the food too much or ‘cooking’ it. This means you’ll likely end up with a higher nutritional value than oven-dried, without having to wait days like the air-dry method. Simple dehydrate at 40ºC/100ºF for about 4-5 hours. To Dry In The Oven: When using an oven, it is best to use the lowest temperature possible to avoid burning/cooking the ginger. Dry at 80ºC/176ºF and needs around 2.5 hours to dry. For best results, place the baking tray on the lowest rack. If your oven doesn’t go as low, then you can crack open the door slightly. This helps the evaporated liquid to escape the oven as well as brings down the overall oven temperature. Check on the ginger every 20 minutes or so, to make sure that it isn’t browning. Depending on your oven and the thickness of your ginger slices, this may take more or less time. Bonus* To Air Dry: I’ve found that this method works best in a dry climate – when sunny. Humidity tends to just make food spoil and get moldy. However, if you live somewhere dry, or have good weather, and have patience, then this method allows you to dry out your ginger without the use of any heat at all. Simply place on a large dish by a sunny window and leave for 3-4 days. Check the progress every day. They may be ready sooner/later, depending on the weather, amount of sunshine, temperature, etc. Bonus* Did you know that you can use a similar method of dehydration to make deliciously flavored ginger chips? Method 2 – Ginger Pulp Needed: leftover pulp from juicing ginger. I like to store all the ginger pulp in the freezer until I’m ready to dry it out. However, you can also use the pulp from a single session of juicing to dry into ginger powder. To air dry, place the pulp on a baking tray or large dish and leave in a dry, well-ventilated area for 3-4 days. Alternatively, use an oven or dehydrator in similar ways that I described above. Just make sure to continue to check on the pulp, as the time will differ depending on whether you used it straight from juicing vs. frozen and thawed, etc. How To Know The Ginger Is Ready No matter which method you use, what you’re looking for is completely dry ginger. It needs to be a ‘crunchy’ kind of dry that snaps rather than bends. Any moisture left in the ginger will cause it to become paste-like when ground, instead of a powder. It will also impact the shelf life – so make sure there’s no bend to the ginger before moving to the next step. https://www.alphafoodie.com/how-to-make-ginger-powder-two-methods/ Grinding the dried ginger You can follow the next step for both methods. Place the dried ginger slices or dried ginger pulp into a grain/seed grinder (or coffee grinder) or into a food processor/blender. Grind the dried ginger into powder. It’s best to sieve the powder to collect any larger pieces which you can then grind again. You’ll be left with a super-fine ground ginger powder that you can then transfer into an airtight glass jar and store for around six months. You could also store it in the freezer for even longer – likely 12 months or more.
Other ginger recipes you may like
Crispy Ginger ‘chips.’ Turmeric Ginger Immunity Shots Simple Ginger Lemonade Lemon, Ginger, and Cayenne Immunity shots
If you have any questions, leave a comment below. Also, I love seeing your recreations, so feel free to tag me on Instagram @AlphaFoodie.
