Homemade butter is a signature recipe for anyone interested in making more of their food from scratch. This butter recipe uses just ONE ingredient and takes a few minutes to prepare. It’s a super simple method to follow and all you need is a stand mixer and a little bit of arm strength! What I love most about making butter at home is you’re 100% in control of what goes into the butter and you can even customize and flavor it as you please.
How to make homemade butter
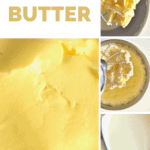
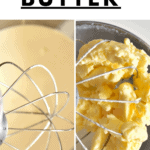
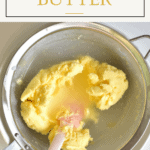
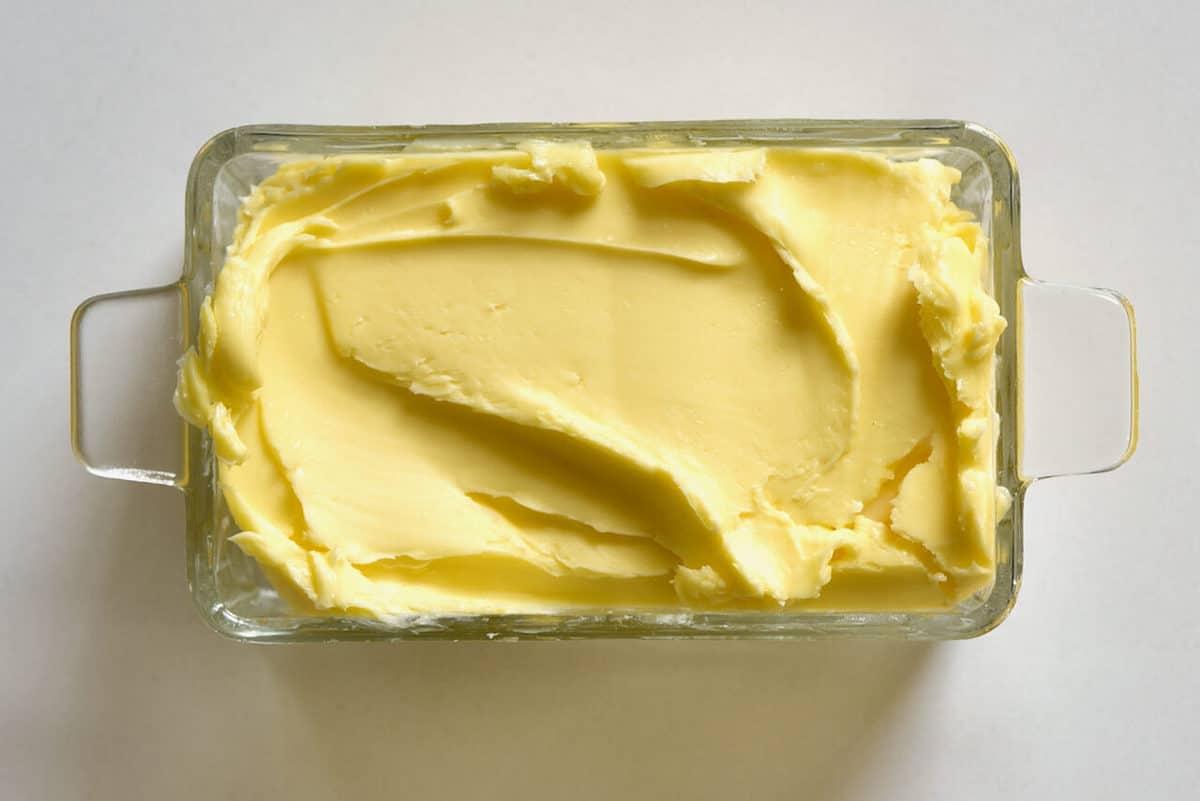
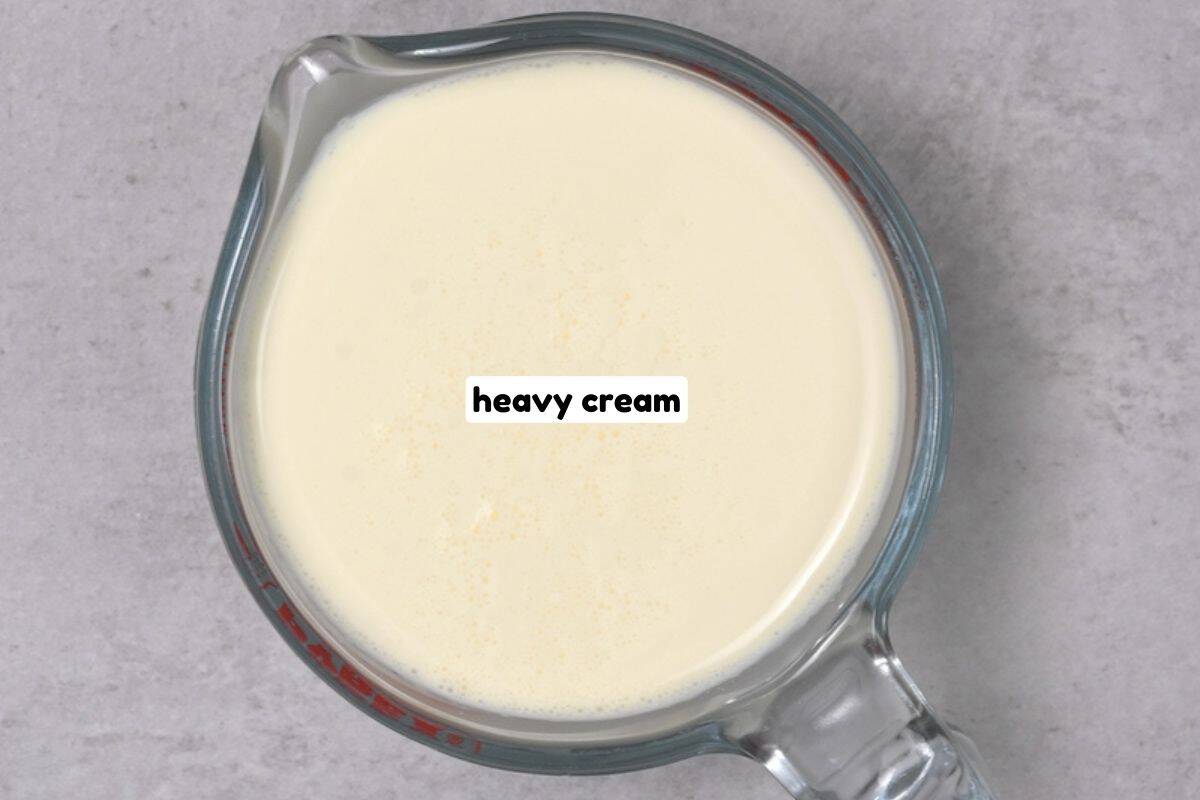
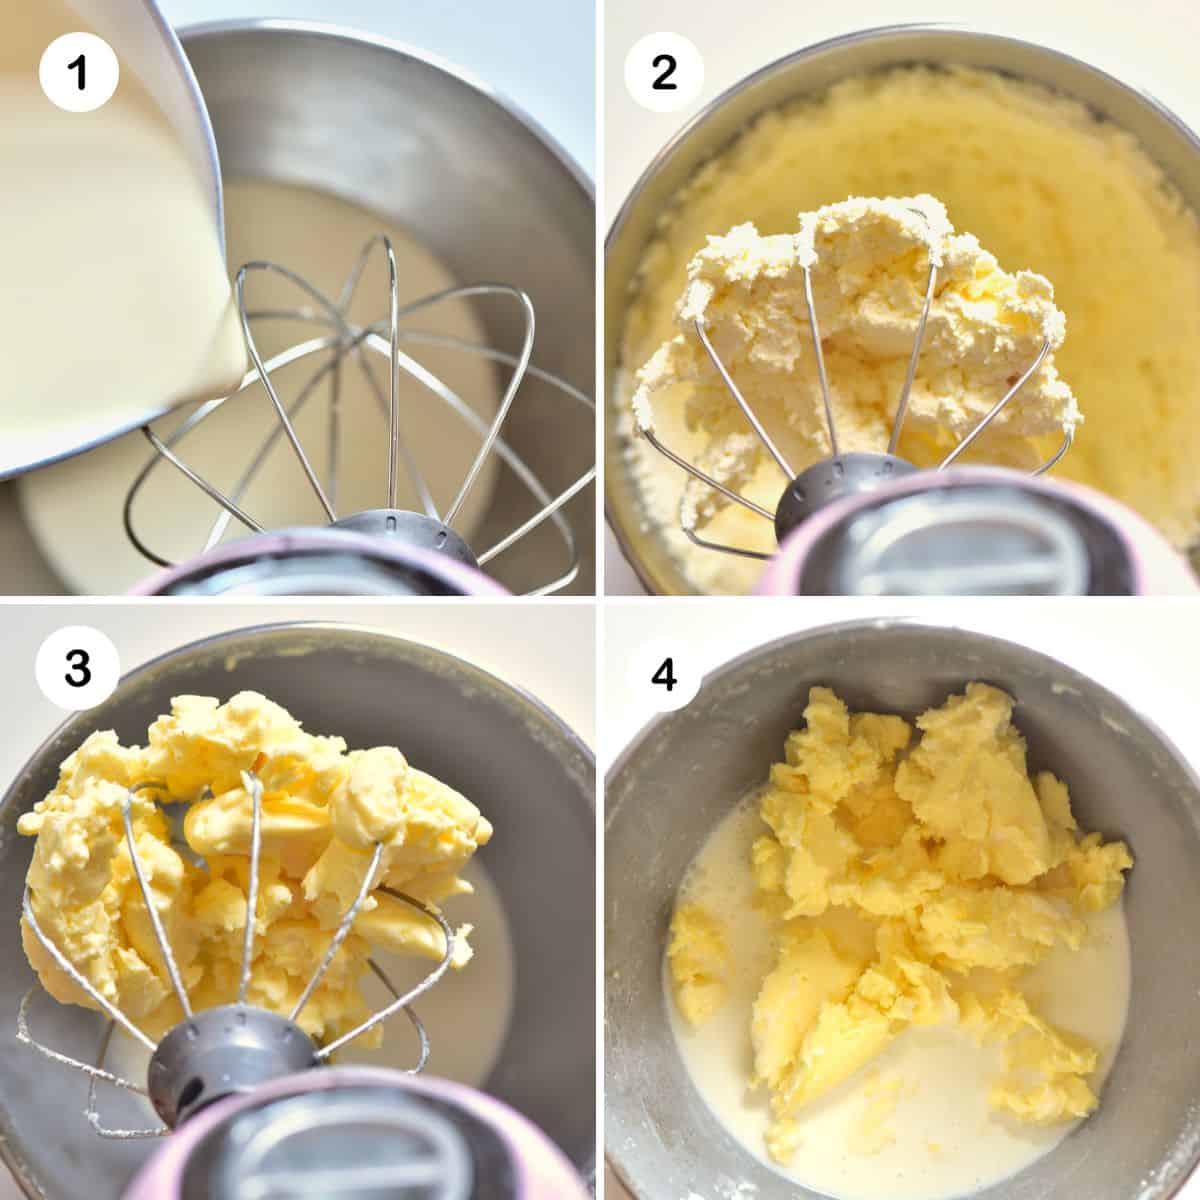
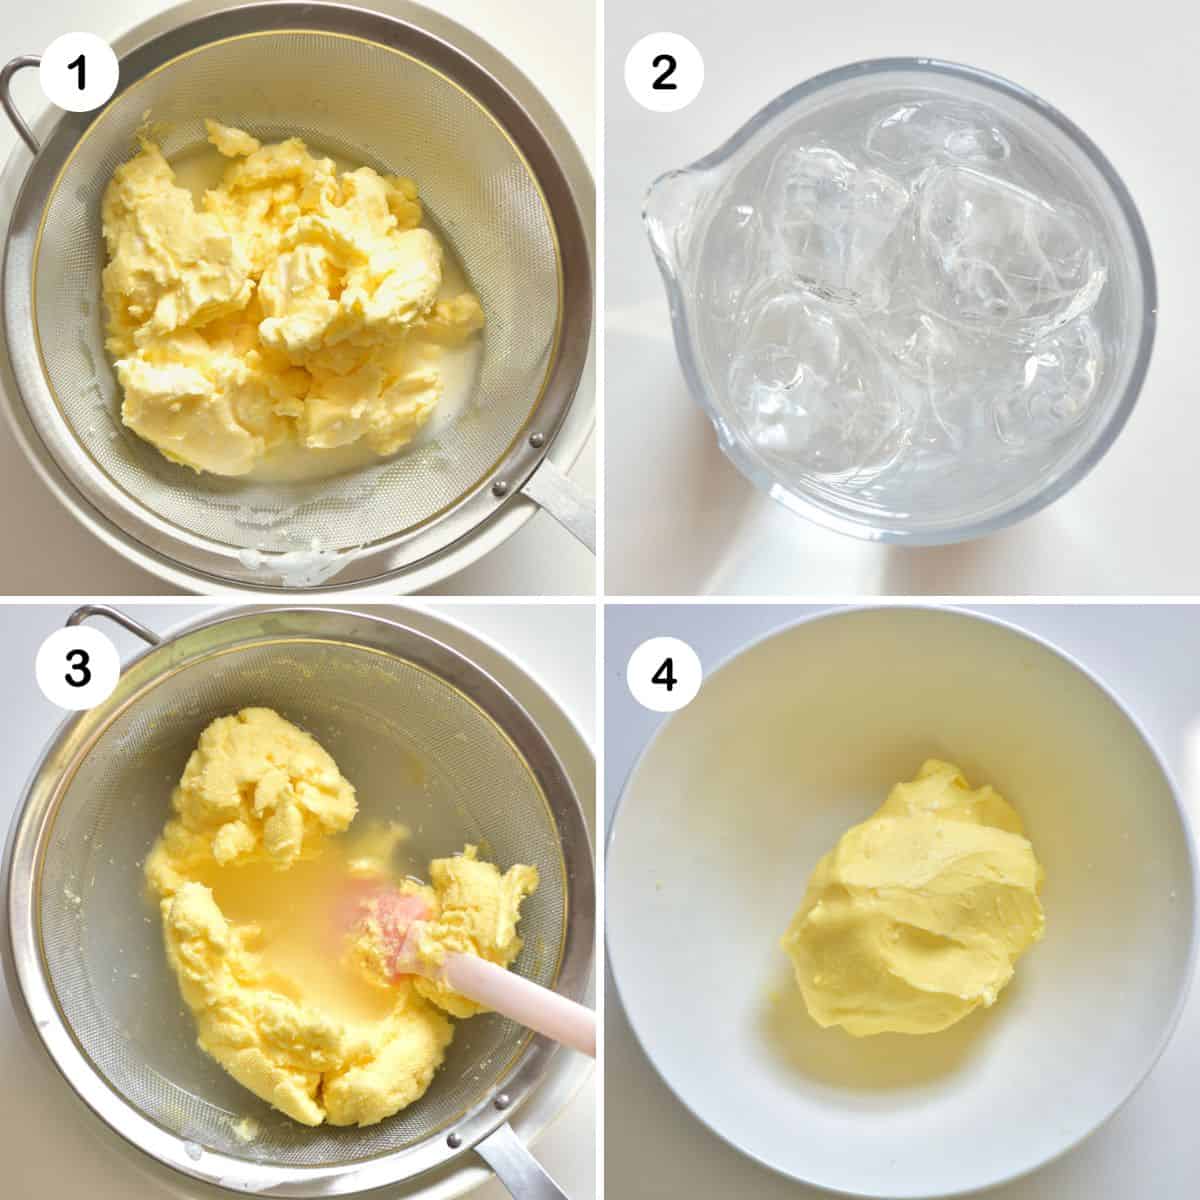
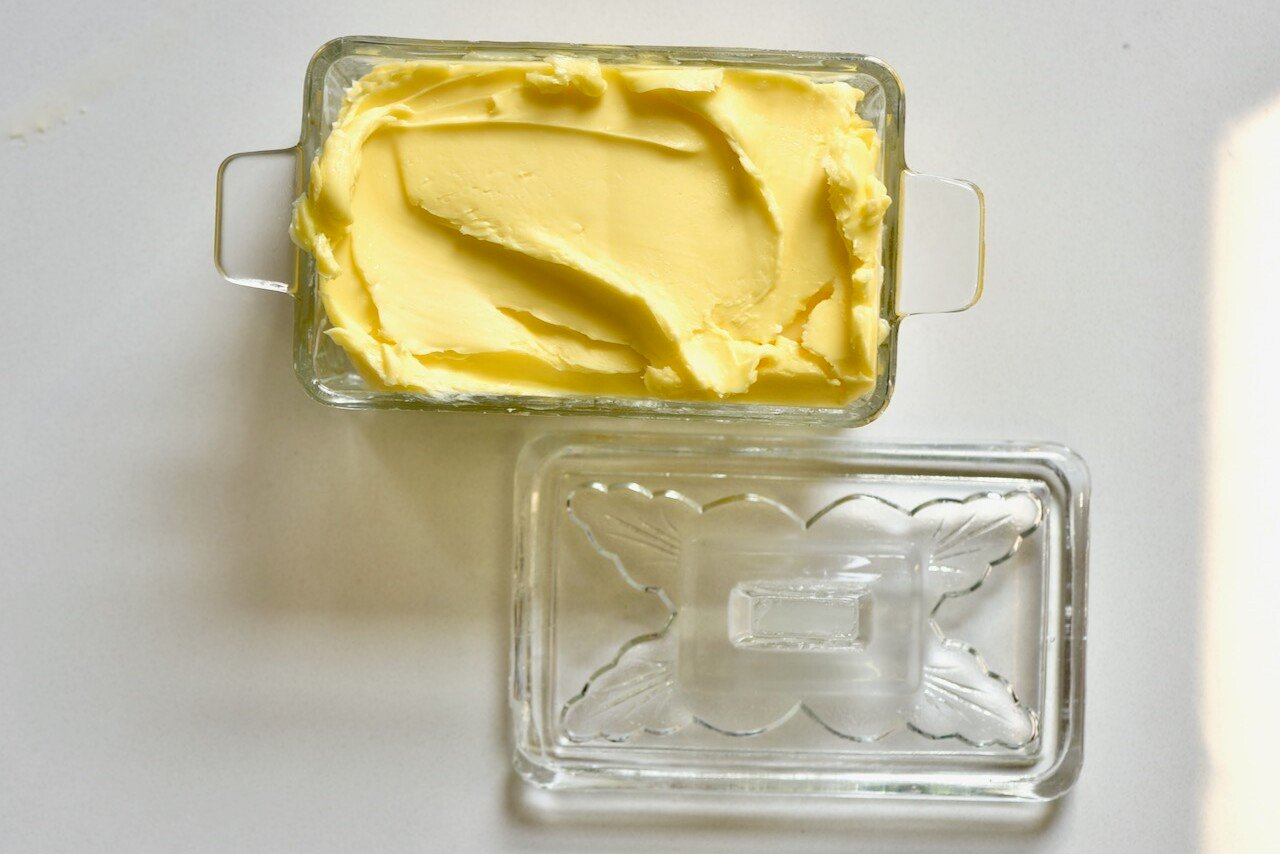
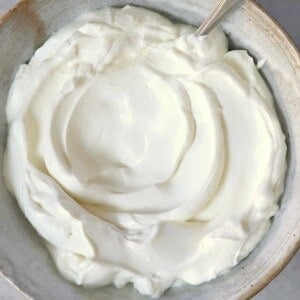
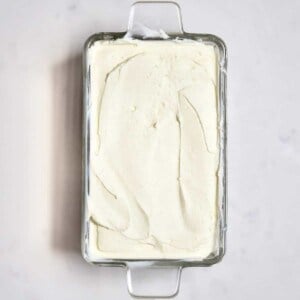
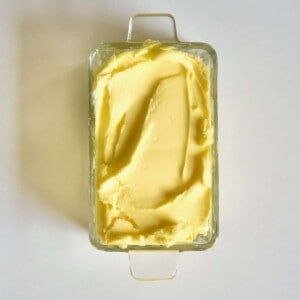
Whisk the Whipping Cream: Pour the cold whipping cream into your stand mixer’s bowl and whisk at medium speed. You can also use an electric whisk if you don’t have a stand mixer. Keep mixing without stopping as the cream goes through 3 stages when turning into butter: whipped cream, stiff peaks, and finally, butter. The fat solids will separate from the liquid and have a familiar buttery consistency. The liquid is buttermilk and can be saved to use in other recipes. Strain the Buttermilk: Then, strain the buttermilk from the fat solids – you can sieve these or strain them by hand with a cheesecloth or fine mesh cloth. Rinse and Squeeze: Fill a bowl with ice-cold water. Put the butter into a fine mesh cloth or sieve and submerge in the water, kneading and squeezing to remove any leftover buttermilk. You can also use a spatula if you prefer. The water can get cloudy quickly, so I usually do this a few times to make sure there’s no buttermilk left. Rinsing is a critical step as any leftovers in your homemade butter will reduce its shelf life – so make sure to get rid of it all! Shape the Butter: Remove your homemade butter from the mesh and, using your hands, squeeze and knead it into a rectangular, block shape or a roll. Do this on a clean chopping board or surface until you have your desired shape. Store: Once the butter is ready, you can optionally stir in some salt or additional flavors. Then place it into a butter dish (or wrap it) and leave it to chill. Keep it in the fridge for 1-3 weeks. Shelf life depends on how fresh your whipping cream is and if there’s any buttermilk left over. You can also freeze the butter. Unsalted homemade butter will stay fresh for six months when stored in the freezer. Meanwhile, salted butter will last for up to 12 months. Wrap the fresh butter in cling film/beeswax wrap. Then place it in a silicone or Ziplock bag to protect against freezer burn. To use, allow the frozen butter to defrost overnight in the fridge. Or thaw it faster in the microwave in increments of 10-15 seconds, flipping over in between. Keep in mind that you can defrost only as much as needed and not the whole butter.
What to do with the separated buttermilk
Buttermilk, the liquid leftover from butter-making, is a versatile kitchen staple. It’s perfect for adding extra moisture to cakes and makes protein pancakes and homemade biscuits even better. Use it as a tenderizing marinade for crispy fried chicken breasts, or whisk it into smoothies, dressings, sauces, and marinades. Rich in protein, buttermilk brings a delightful tangy flavor to any dish. If you try this homemade butter recipe, let me know how it goes in the comments below. I’d appreciate a recipe card rating and would love to see your recipe recreations – tag me on Instagram @Alphafoodie!