If you do a lot of egg-free and dairy-free baking or are just looking into it now, then egg replacements are a must. I’ve already shared my method for making homemade chia eggs and flax eggs, and now it’s the turn of aquafaba. Within this post, I’ll take you through how to make homemade aquafaba from scratch as well as from tinned chickpeas, how to use aquafaba (as a vegan egg replacement or to whip up like egg whites into an aquafaba whipped cream, etc.).
What Is Aquafaba?
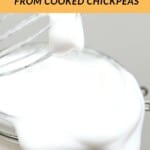
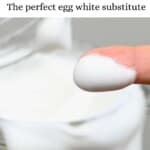
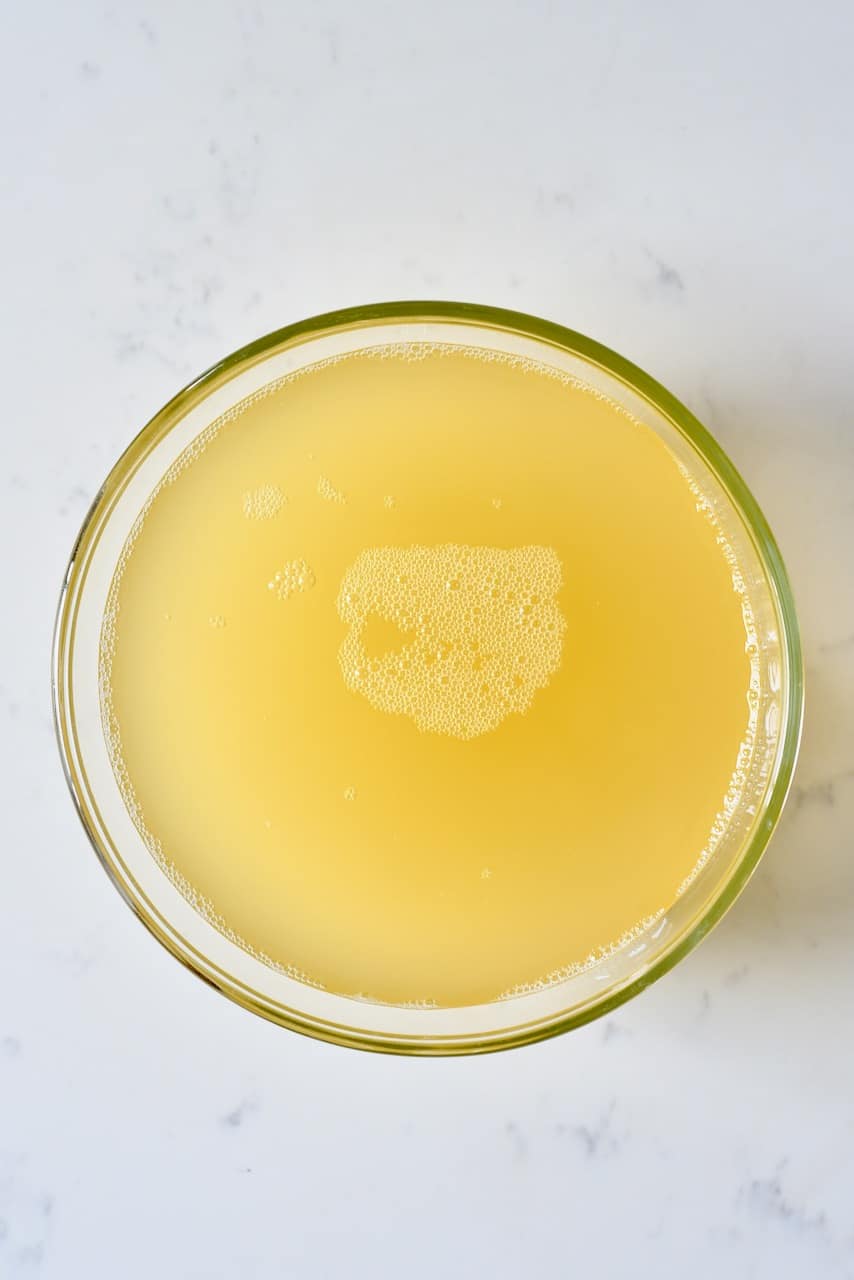
Aquafaba (which translates to water and bean) is the leftover viscous liquid from cooked chickpeas (and sometimes other legumes, including soybeans and cannellini beans). Due to the liquid’s viscosity (and other things I couldn’t even begin to try to explain), it’s able to work as a vegan binder within recipes and be whipped up in a similar way to egg whites to create a wonderful foam. For that reason, the use of aquafaba has become very popular in the last few years as a vegan egg white substitute. In fact, it’s become so popular that it even had a site dedicated to its uses at one time. Though the smell may be a little odd when fresh, once whipped and added to recipes, it’s practically undetectable!
How To Make Aquafaba
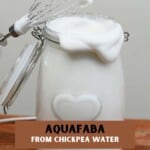
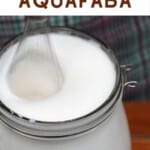
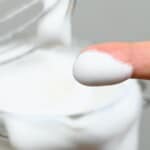
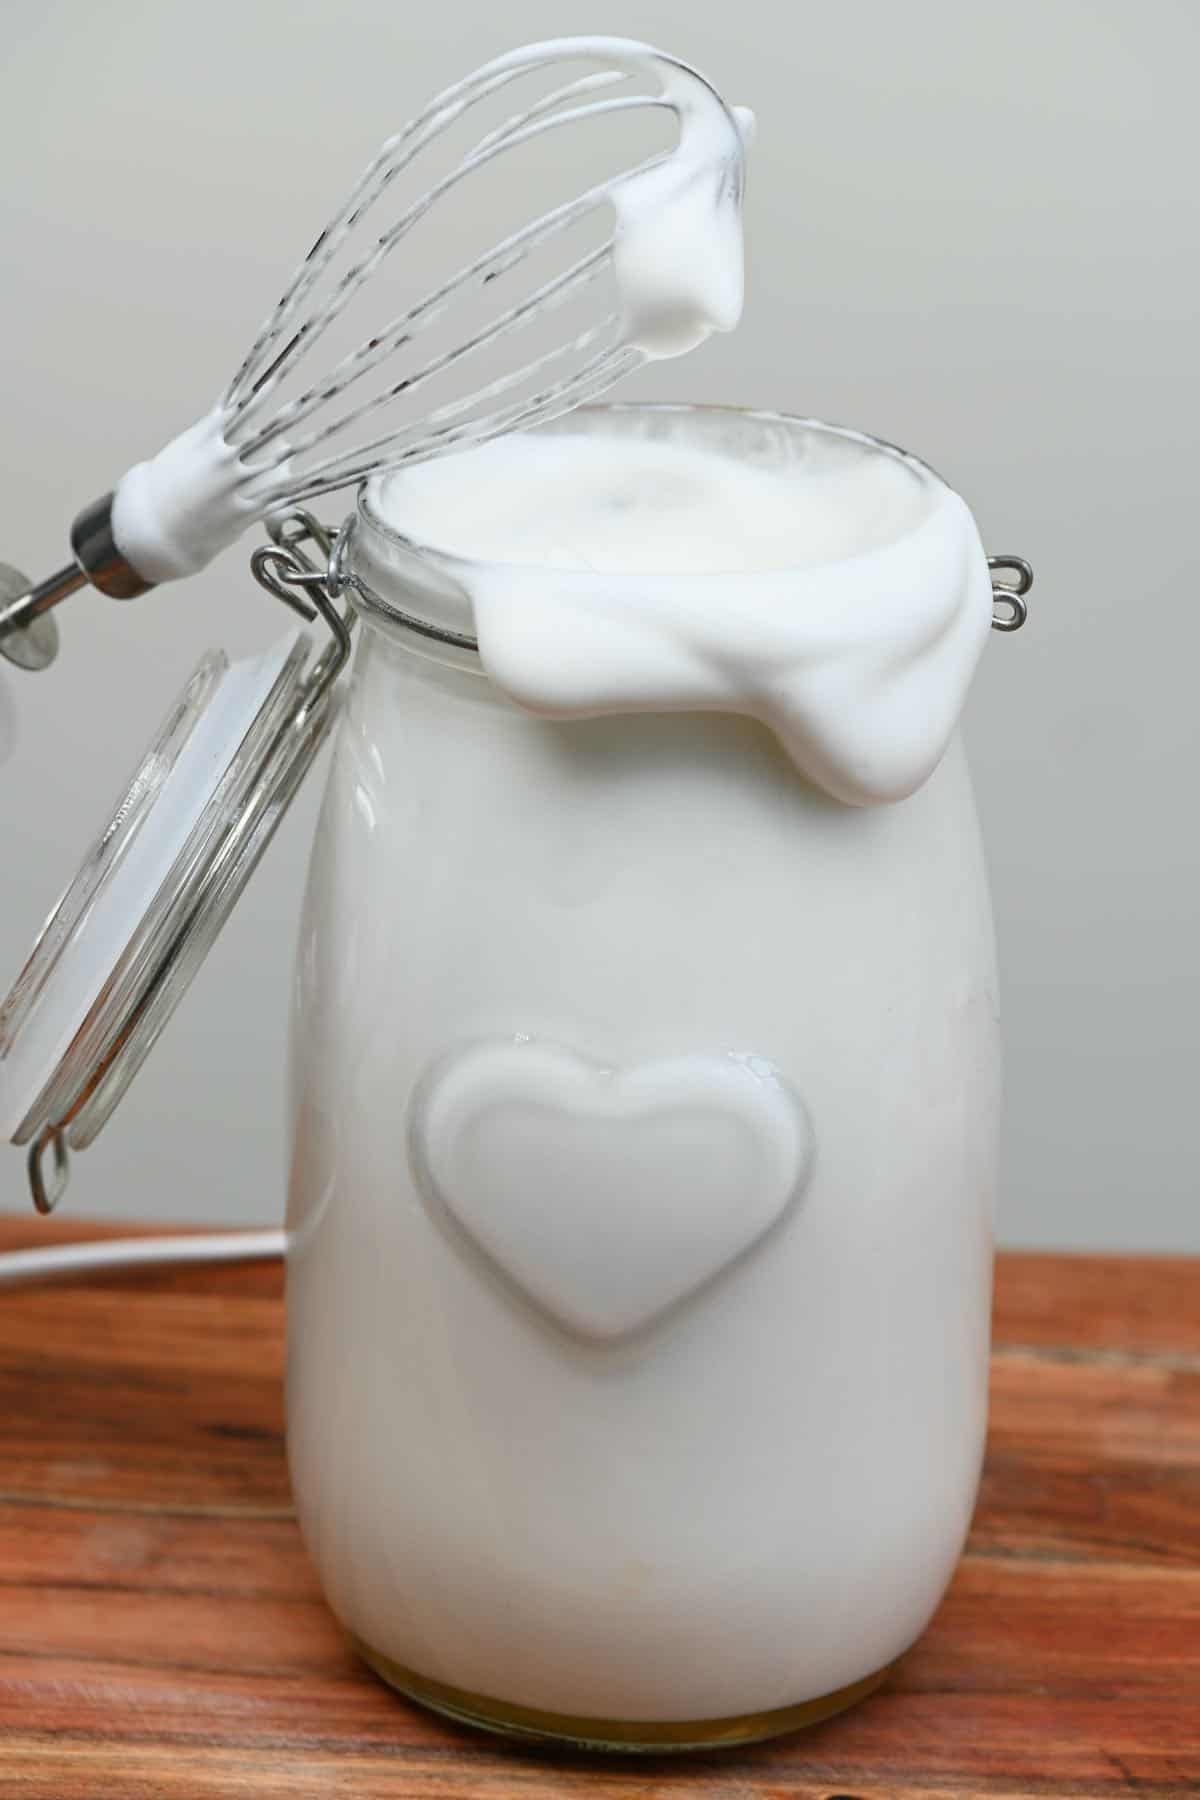
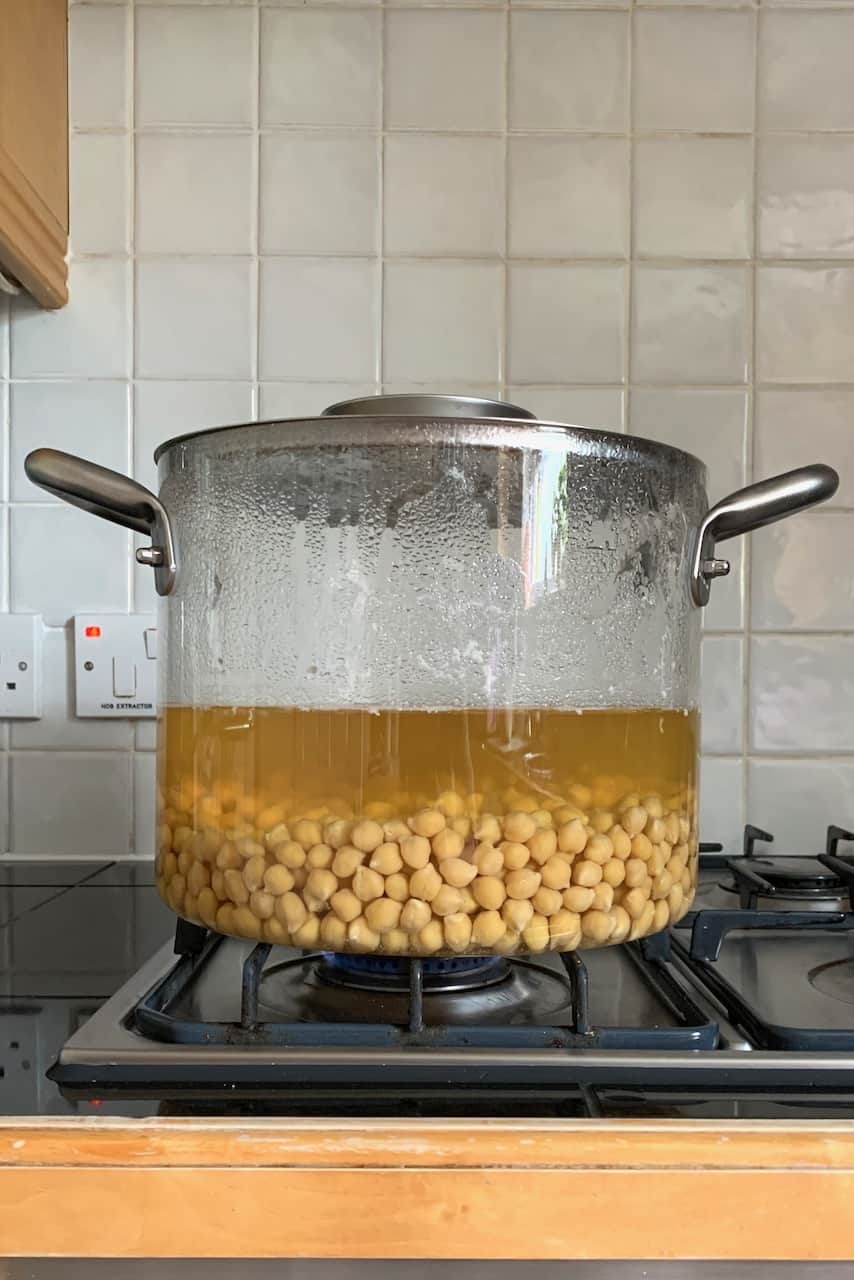
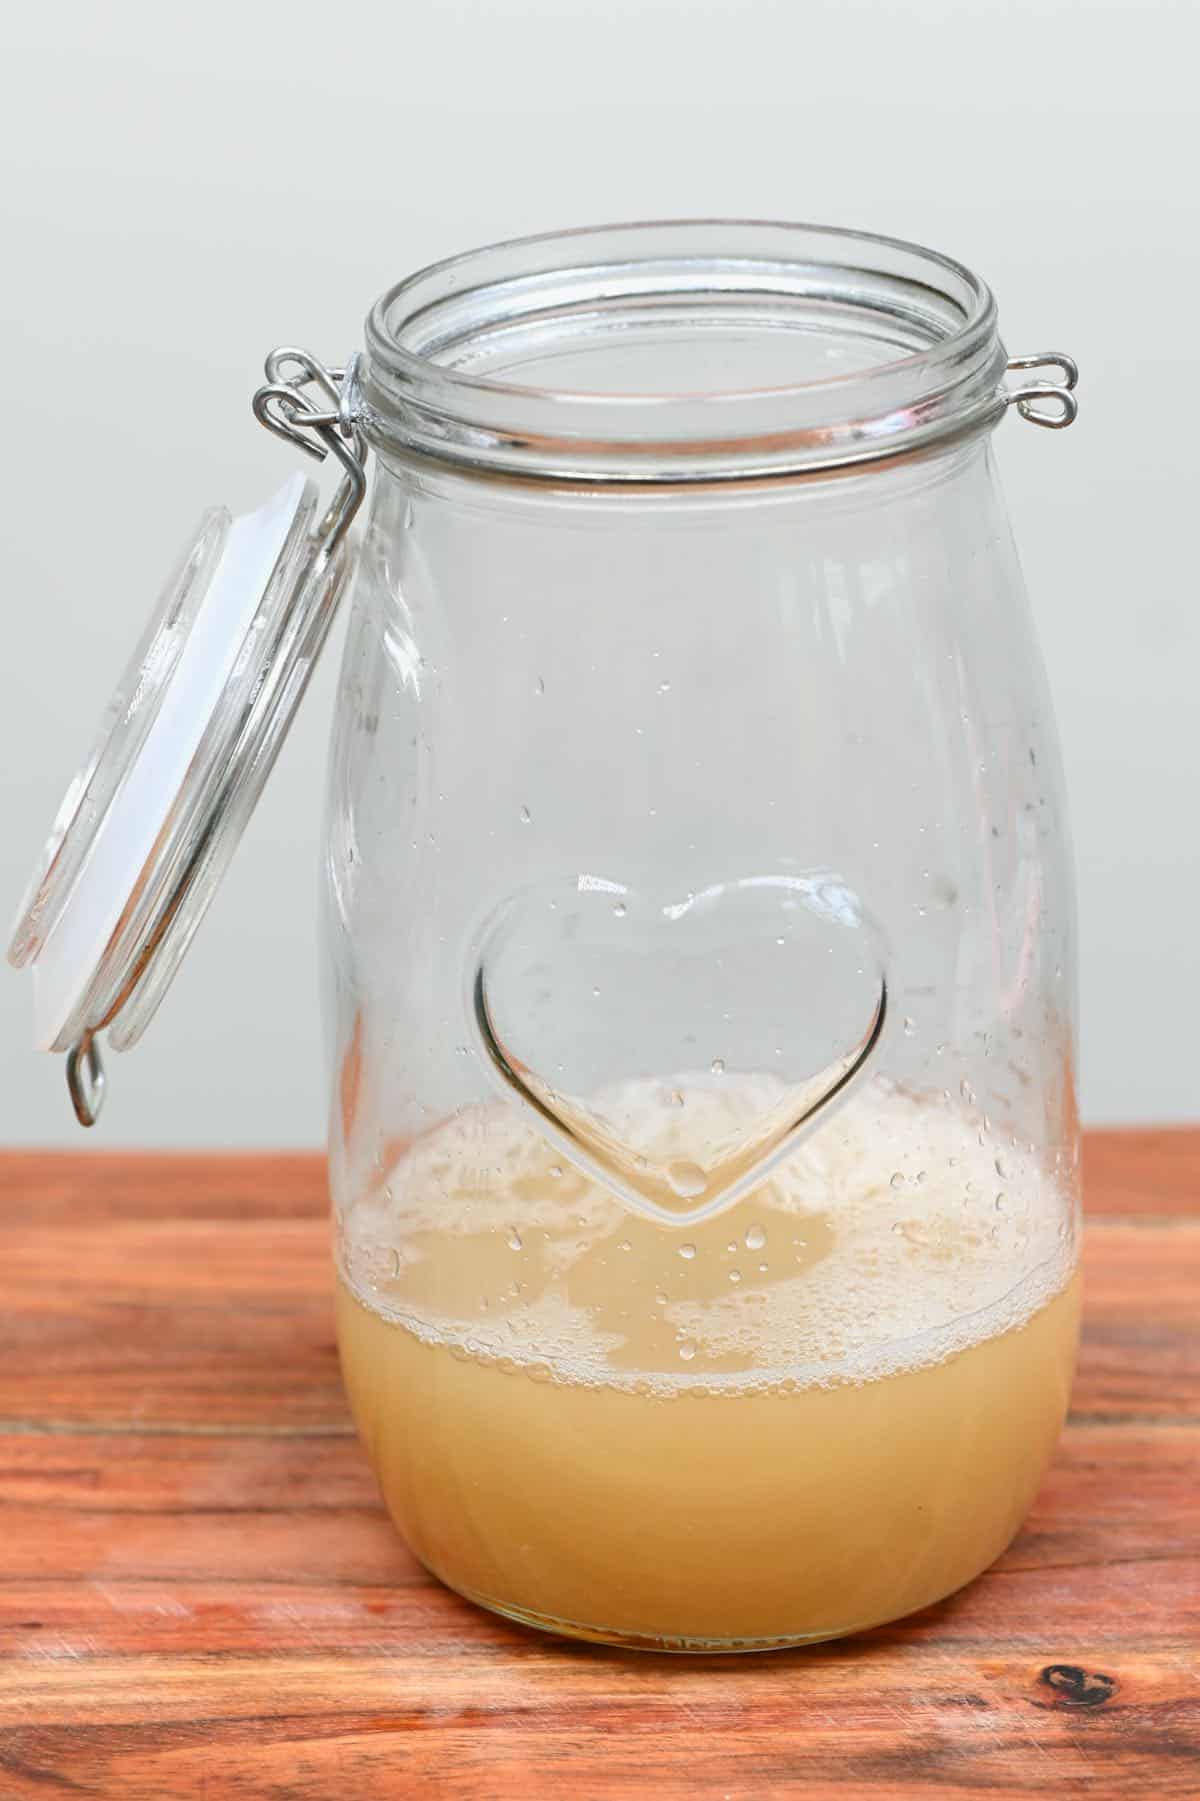
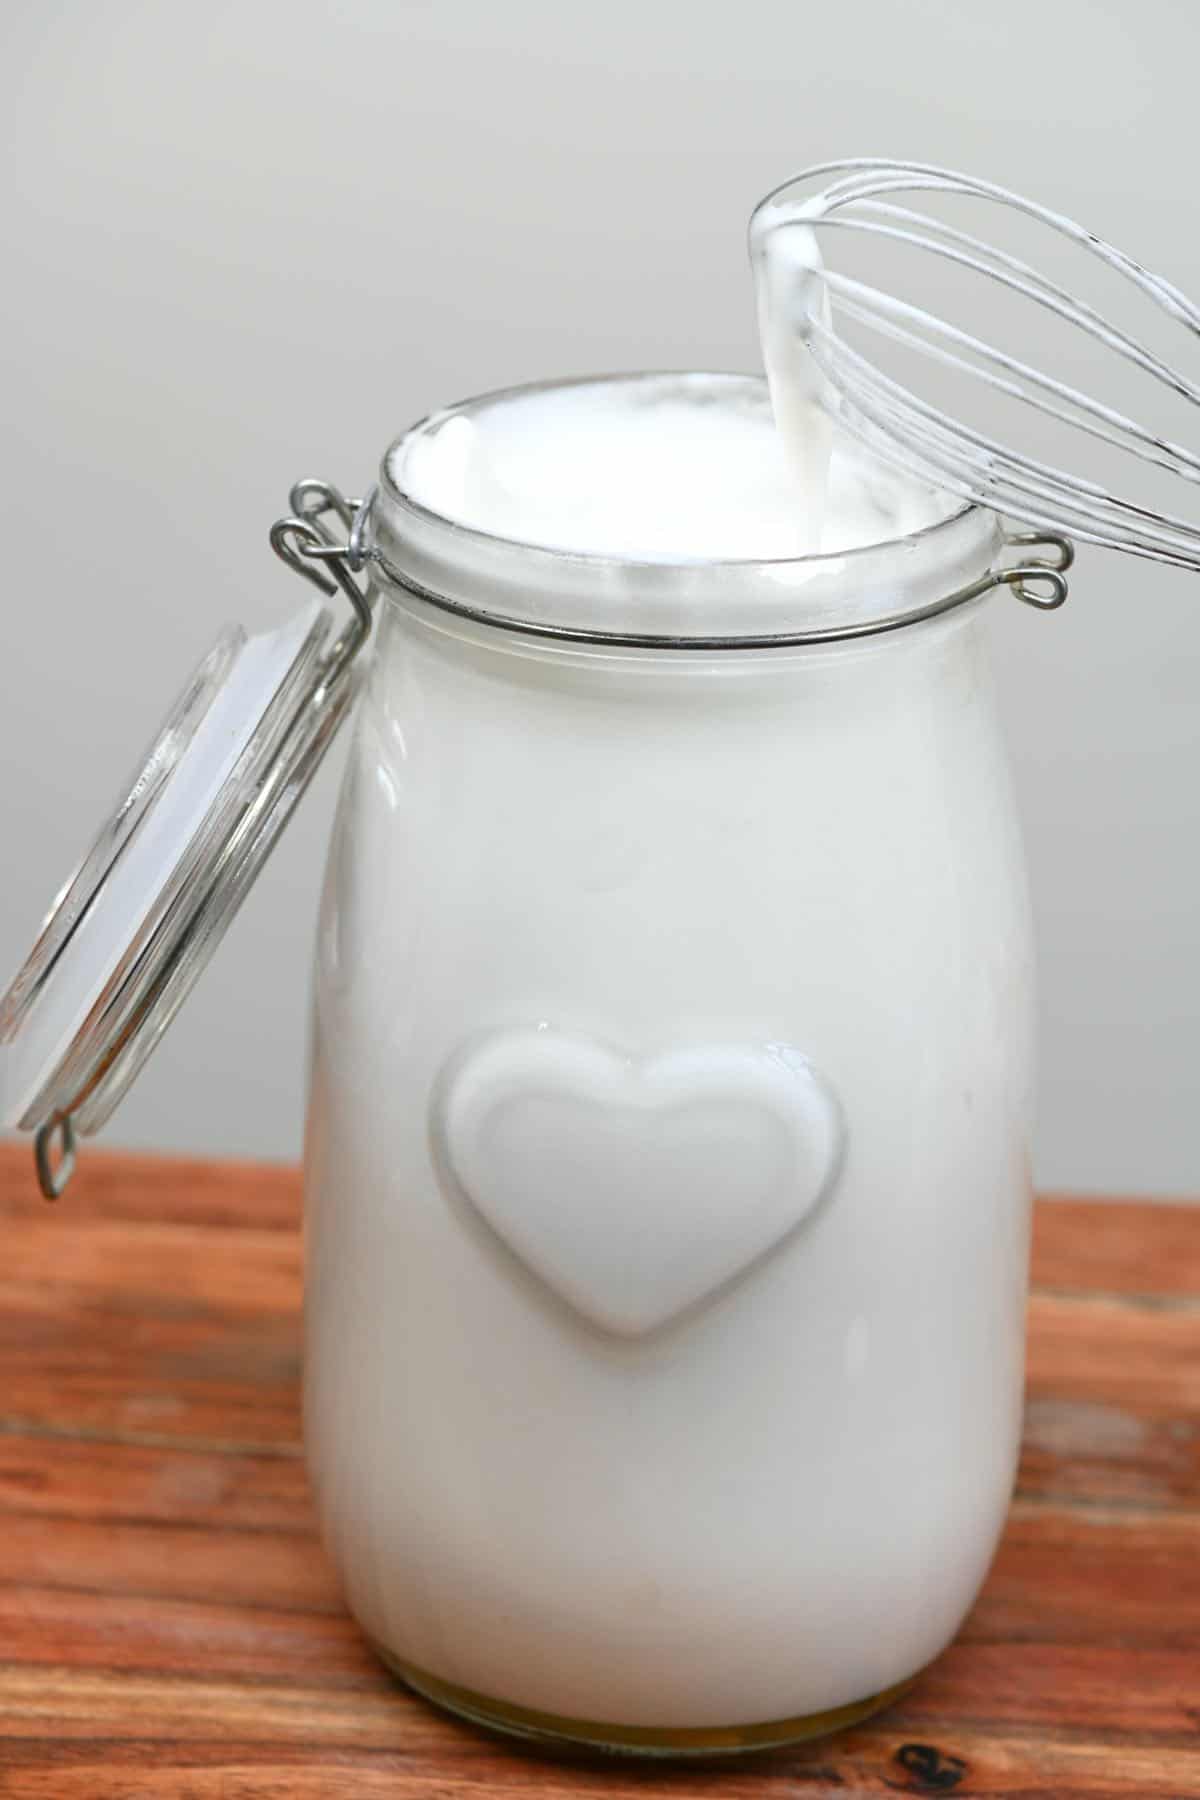
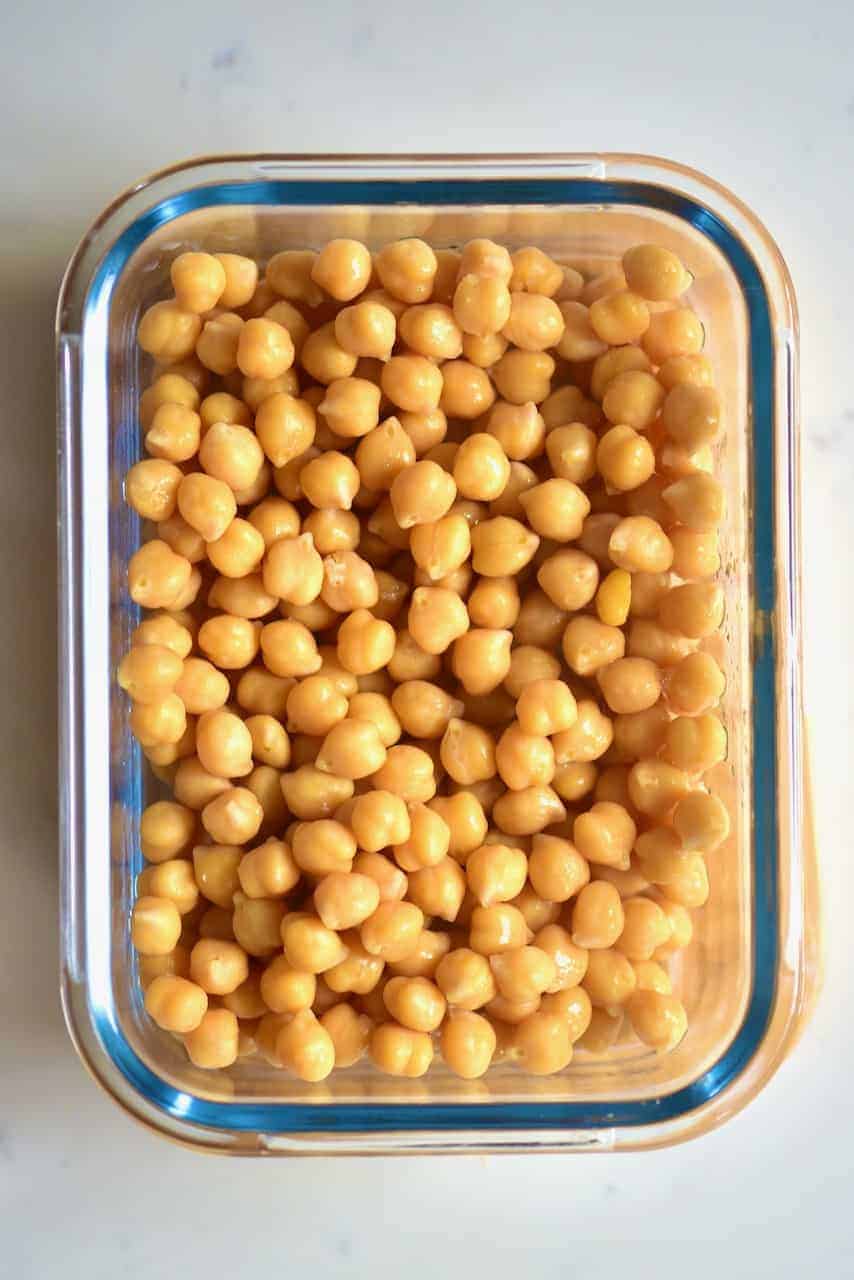
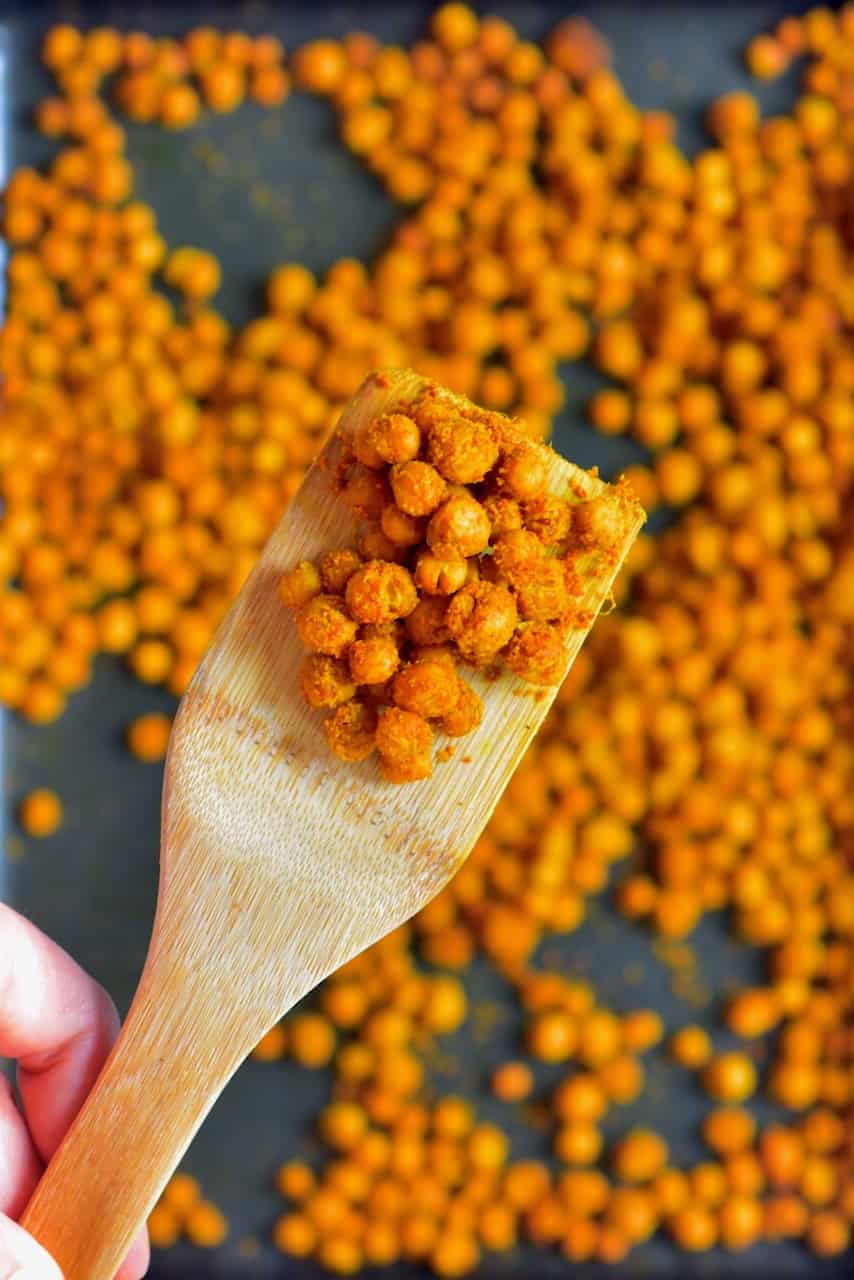
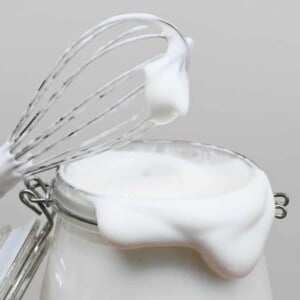
There are two main ways to obtain aquafaba. The first is from a can of chickpeas, using the liquid within. The second is through the process of cooking chickpeas at home and using the reserve cooking liquid (NOT soaking liquid). To use homemade aquafaba, you’ll first need to soak and cook dried chickpeas. Otherwise, drain a can of chickpeas (you can use the chickpeas for hummus, crispy chickpeas, fatteh, and more!). The reserved chickpea liquid is what we need. If you’re using the liquid from cooked chickpeas, it may not be as thick as tinned versions. If this is the case, it can be a good idea to first reduce this liquid on the stovetop (the amount of time will depend on how much you need it to reduce). The liquid should feel slimy between your fingers and coat a spoon rather than watery. Once reduced, allow it to chill in the fridge until cooled. Pour the liquid into a large bowl, jar, or even use a stand mixer. Using a hand mixer (or stand mixer), whip the chickpea liquid until it reaches the consistency of your liking. This can take between 4-10 minutes to whip to a semi-stiff peak stage, depending on the original viscosity of the liquid and what method you use to whip it. Be careful not to over-whip the aquafaba as it can cause the liquid to deflate again. Top Tip: For firmer peaks that whip up faster, you can add a stabilizer, cream of tartar (or apple cider vinegar). All you need is just 1/8 tsp for 1 tin of liquid (around 1/2-3/4 cup liquid) – this is great when you want it for meringue.
How To Store Aquafaba
Whipped aquafaba isn’t stable like egg whites. For that reason, store it BEFORE it’s whipped. Store: You can store the aquafaba in the fridge for several days, I’d say between 3-5. Can you freeze aquafaba? Yes, you sure can. I like to freeze it in ice-cube trays in 1 tbsp (or 3tbsp) portions, so I can defrost exactly how much I need each time. Once frozen, the aquafaba will store for between 2-3 months.
How To Use Aquafaba?
Aquafaba can be whipped up and used to create vegan aquafaba meringues, ‘mallows, mousse, within baked goods, macarons, for mayo, etc. You can even use it unwhipped in some cases. To use aquafaba as a whole egg binder, then lightly whip the chickpea liquid for 1-2 minutes. This will aerate it into a foamy consistency. Then use as you would a regular egg. Using homemade aquafaba as a vegan egg white placement (or whole egg replacement) works best in recipes where only up to 3 eggs need replacing. It’s also not able to be used to replace omelets/scrambled eggs.
Top Notes
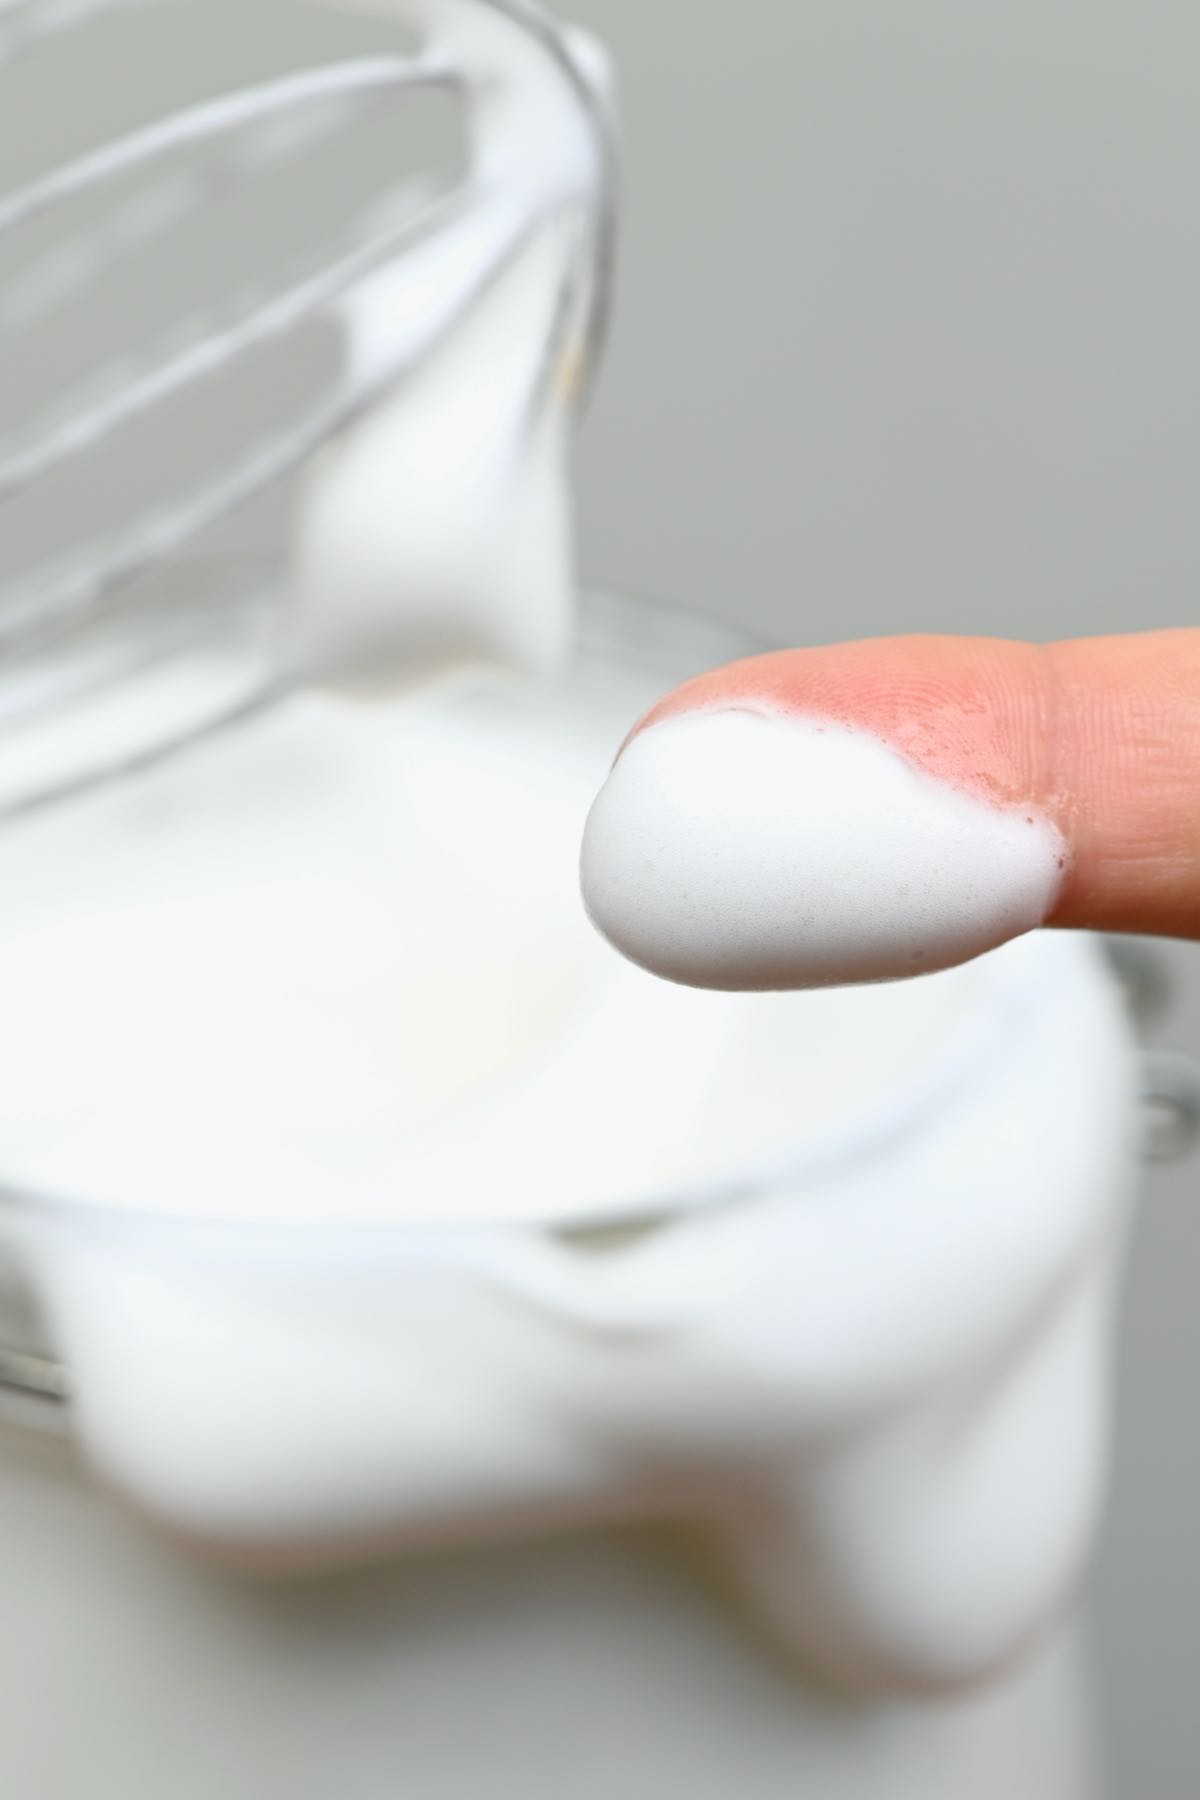
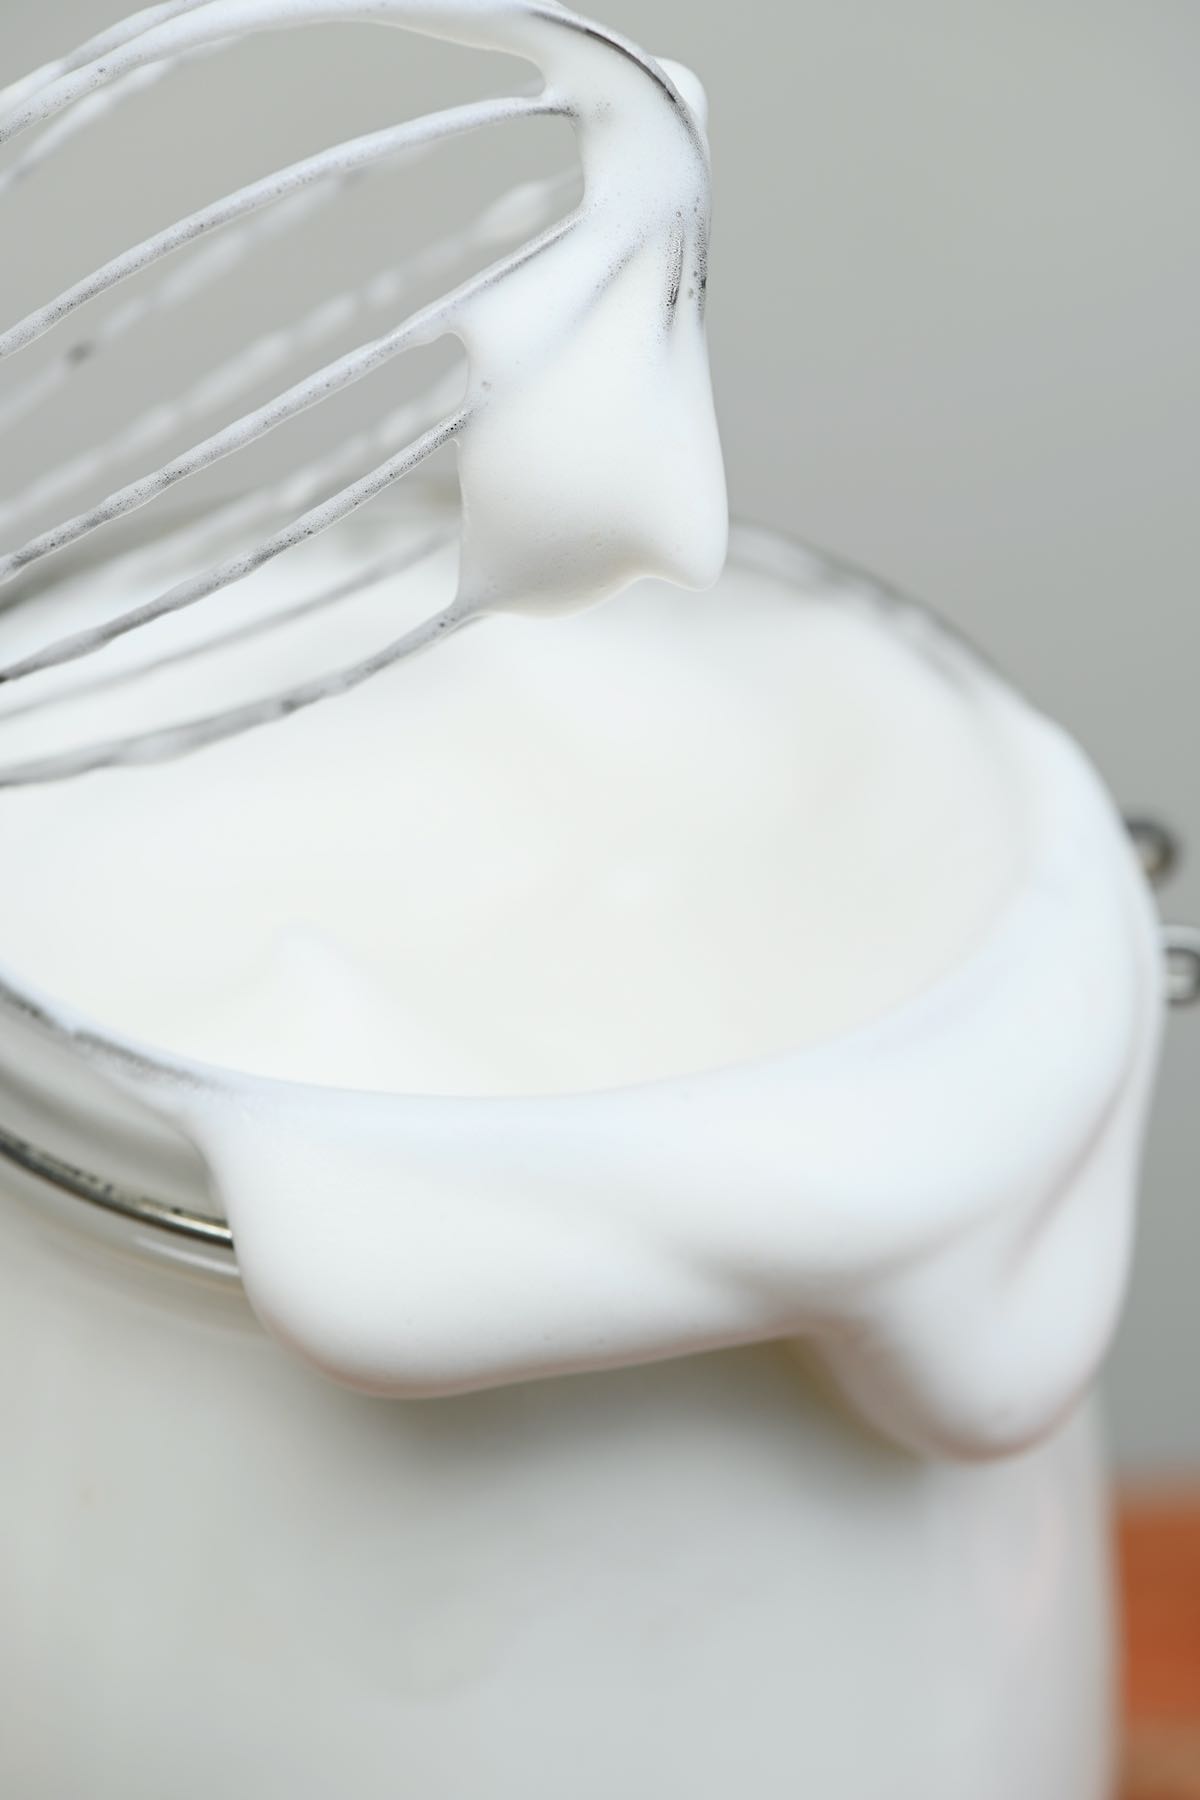
Depending on the method you use to whip the aquafaba, you may achieve slightly different textural results. A stand mixer will provide the best aerated, stiffer results. A hand-held electric whisk comes in a close second. When using an immersion blender (as I did), you’ll get a lovely soft whip, but you may struggle to get the harder peaks. Chilling homemade aquafaba in the fridge before whipping may help to stabilize the mixture further. In fact, a reader shared a top tip with me – after whipping the aquafaba, you can leave it to chill overnight in the fridge. Drain any water from the mixture the next day, and then use it for ‘fluffier’ results.If you want to make aquafaba meringue/whipped cream in advance: You can use a stabilizer to help keep it whipped for longer. Xanthan gum is a great stabilizer when you want to maintain the texture for 2-3 days. I suggest using around 1/2-1 tsp per 1-2 cups aquafaba.Some tinned chickpeas brands will work better than others – so it may take some experimentation to find one that works really well. Try to
Related DIYs and Recipes
How To Prep, Cook, And Freeze Dried ChickpeasHow To Make Chickpea FlourLightly Spiced Easy Crispy ChickpeasHow To Make A Flax EggHow To Make A Chia Egg