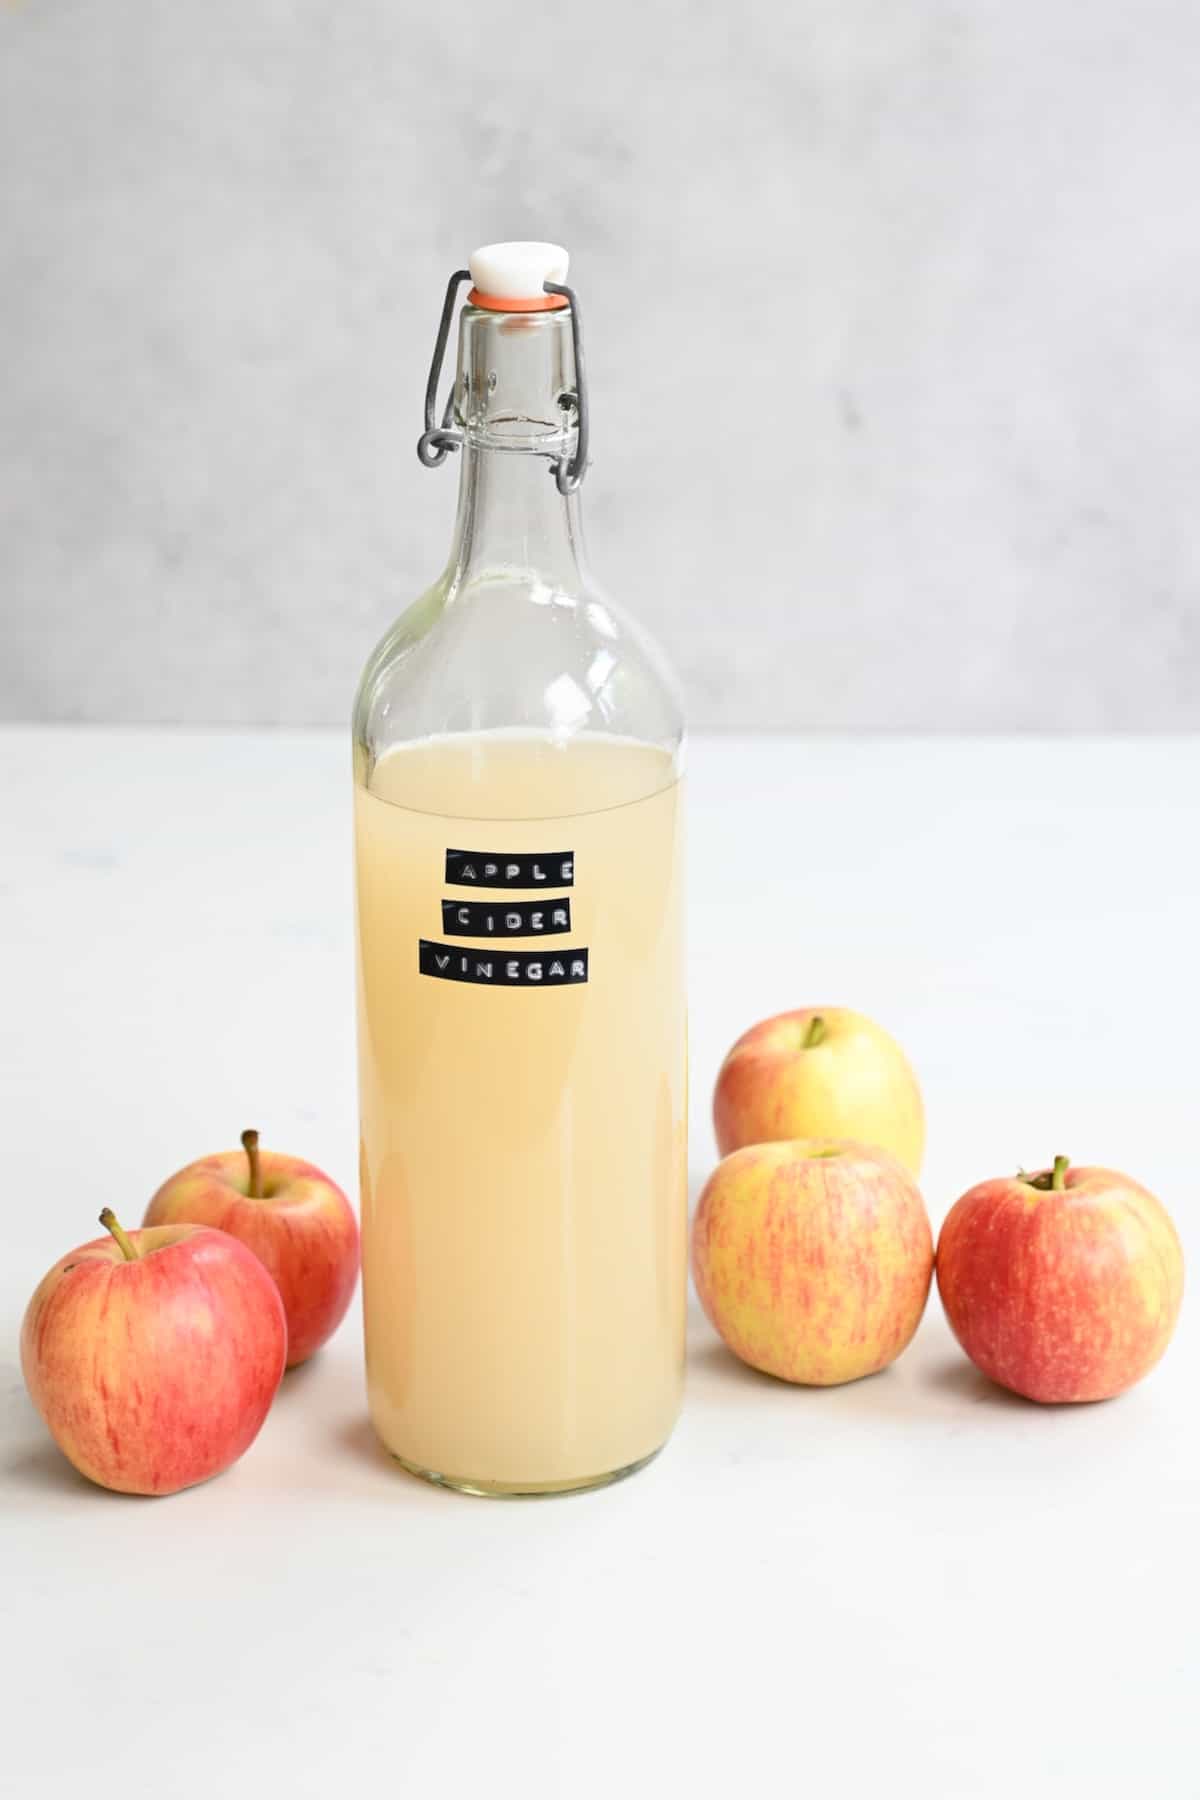
Over the last decade, apple cider vinegar (ACV) has dominated the health food scene, boasting tons of health benefits. These include aiding weight loss, lowering blood sugar and cholesterol levels, naturally detoxing the body, and containing antioxidant and antimicrobial effects. However, this wonder ingredient also comes with a hefty price tag. Homemade versions use just three ingredients (water included) and are far more cost-efficient. If you have your own apple trees (or know someone who does) then this is practically cost-less. Through my adventures making homemade ACV I’ve learnt quite a few tips and tricks along the way (including all about vinegar ‘mothers’ and apple scrap vs apple cider vinegar). Within this post I’ll take you through everything I’ve learnt, and how to make apple cider vinegar with multiple methods. Making homemade vinegar and fermented products do take time and patience, but it’s still simple, and well worth the process.
What is apple scrap vinegar?
It probably won’t surprise you to learn that store-bought apple cider vinegar is made using a process that first makes apple cider. Many DIY apple cider vinegar methods, though, use a water mixture, rather than apple juice, which isn’t ‘exactly’ the same. And so, technically, the vinegar is considered ‘apple scrap vinegar’. I’ve been making this vinegar for a while now, but only recently really looked into the difference in methods and types. While this vinegar is slightly less acidic than ACV, it is still delicious and full of healthy bacteria. I’m still learning about the exact differences though, so feel free to add more in the comments, if you know more!
Ingredients you need
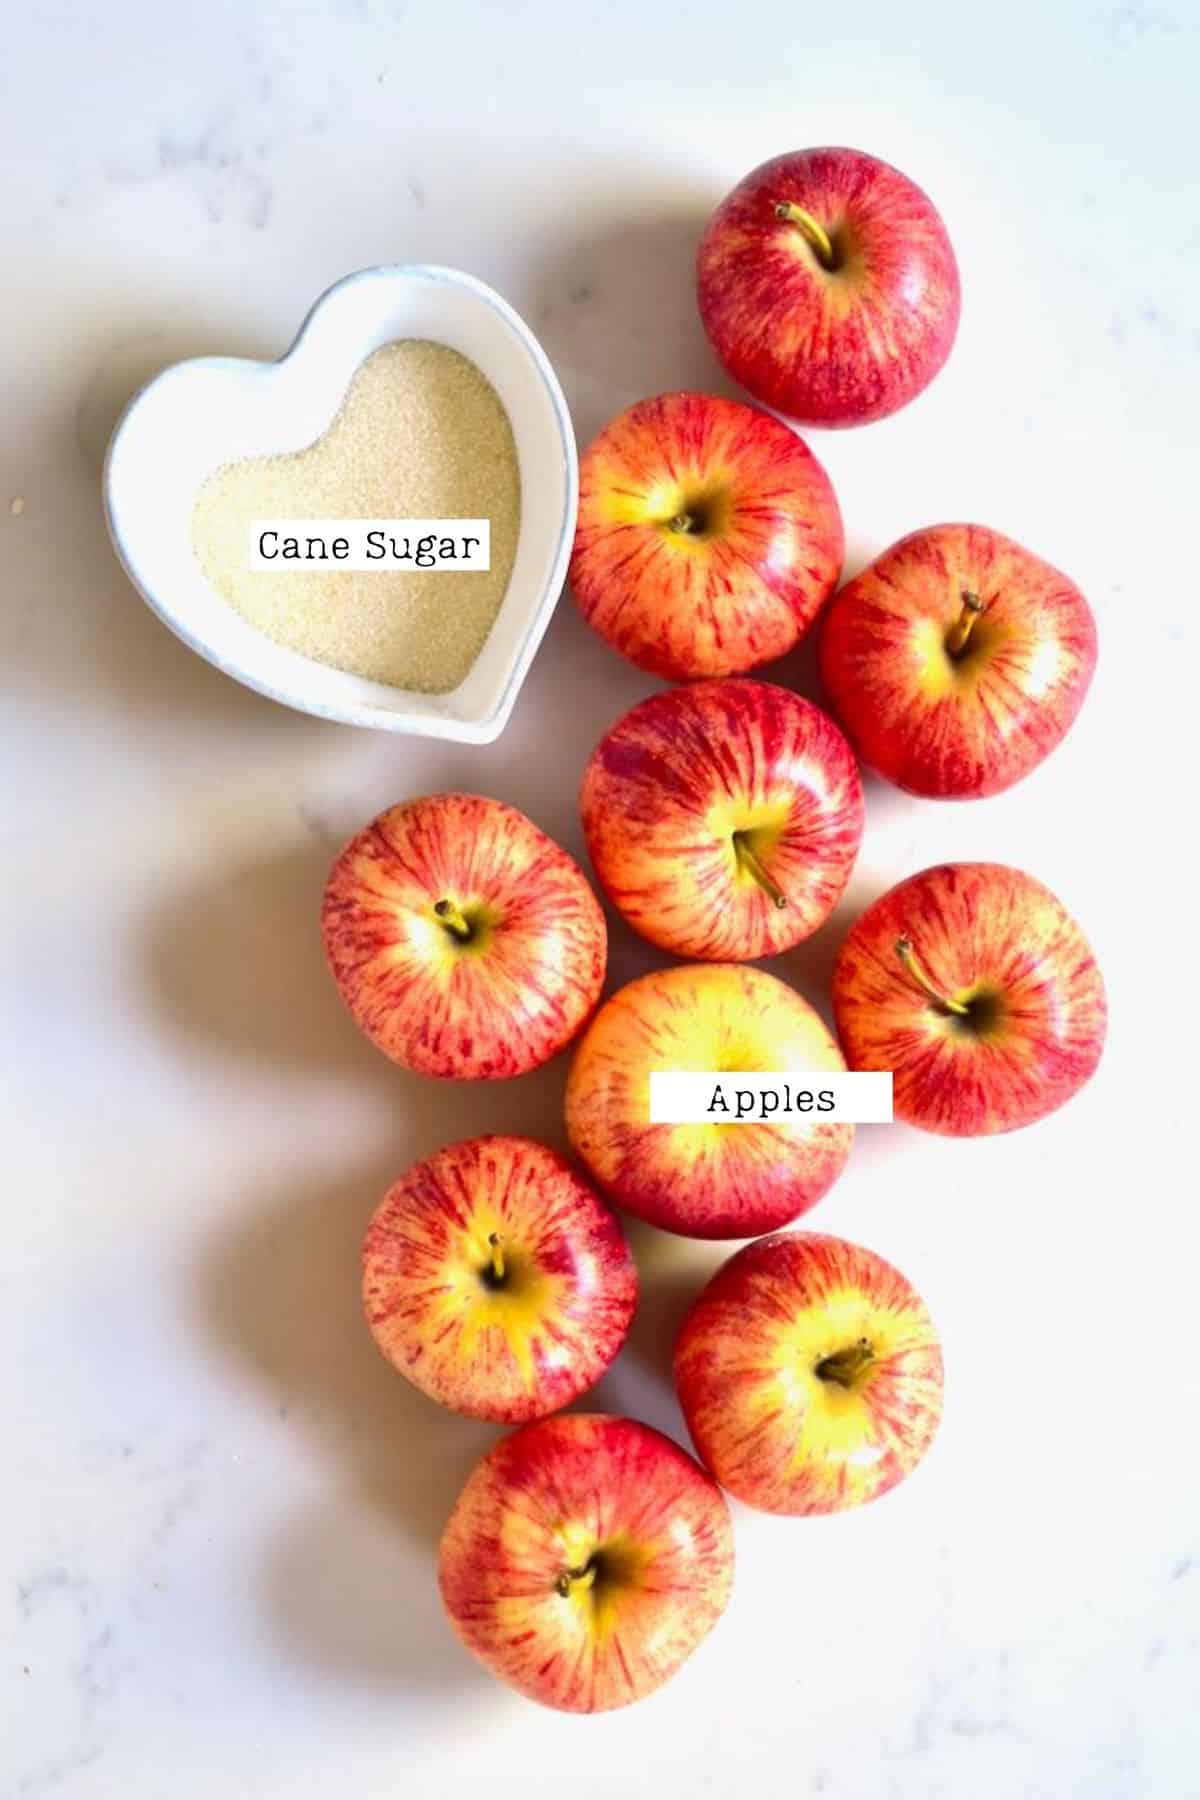
Apples: I’ve tried this method with all different types of apples (and blends) – all with positive results. Make sure to use organic apples though, especially if you plan on using the peels and core Sugar: Raw sugar is best. This is required for the fermentation process and definitely shouldn’t be ditched or minimized. While it’s possible to use honey instead, it will massively slow the process (by weeks!) Filtered Water: Avoid using any chlorinated water as it will destroy microbes that help the fermentation process.
Top Tip: If this is your first time making vinegar then you can speed up the process by adding a few spoonful’s of Braggs apple cider vinegar ‘with the mother’ to the concoction too. This, along with the sugar, will speed up fermentation.
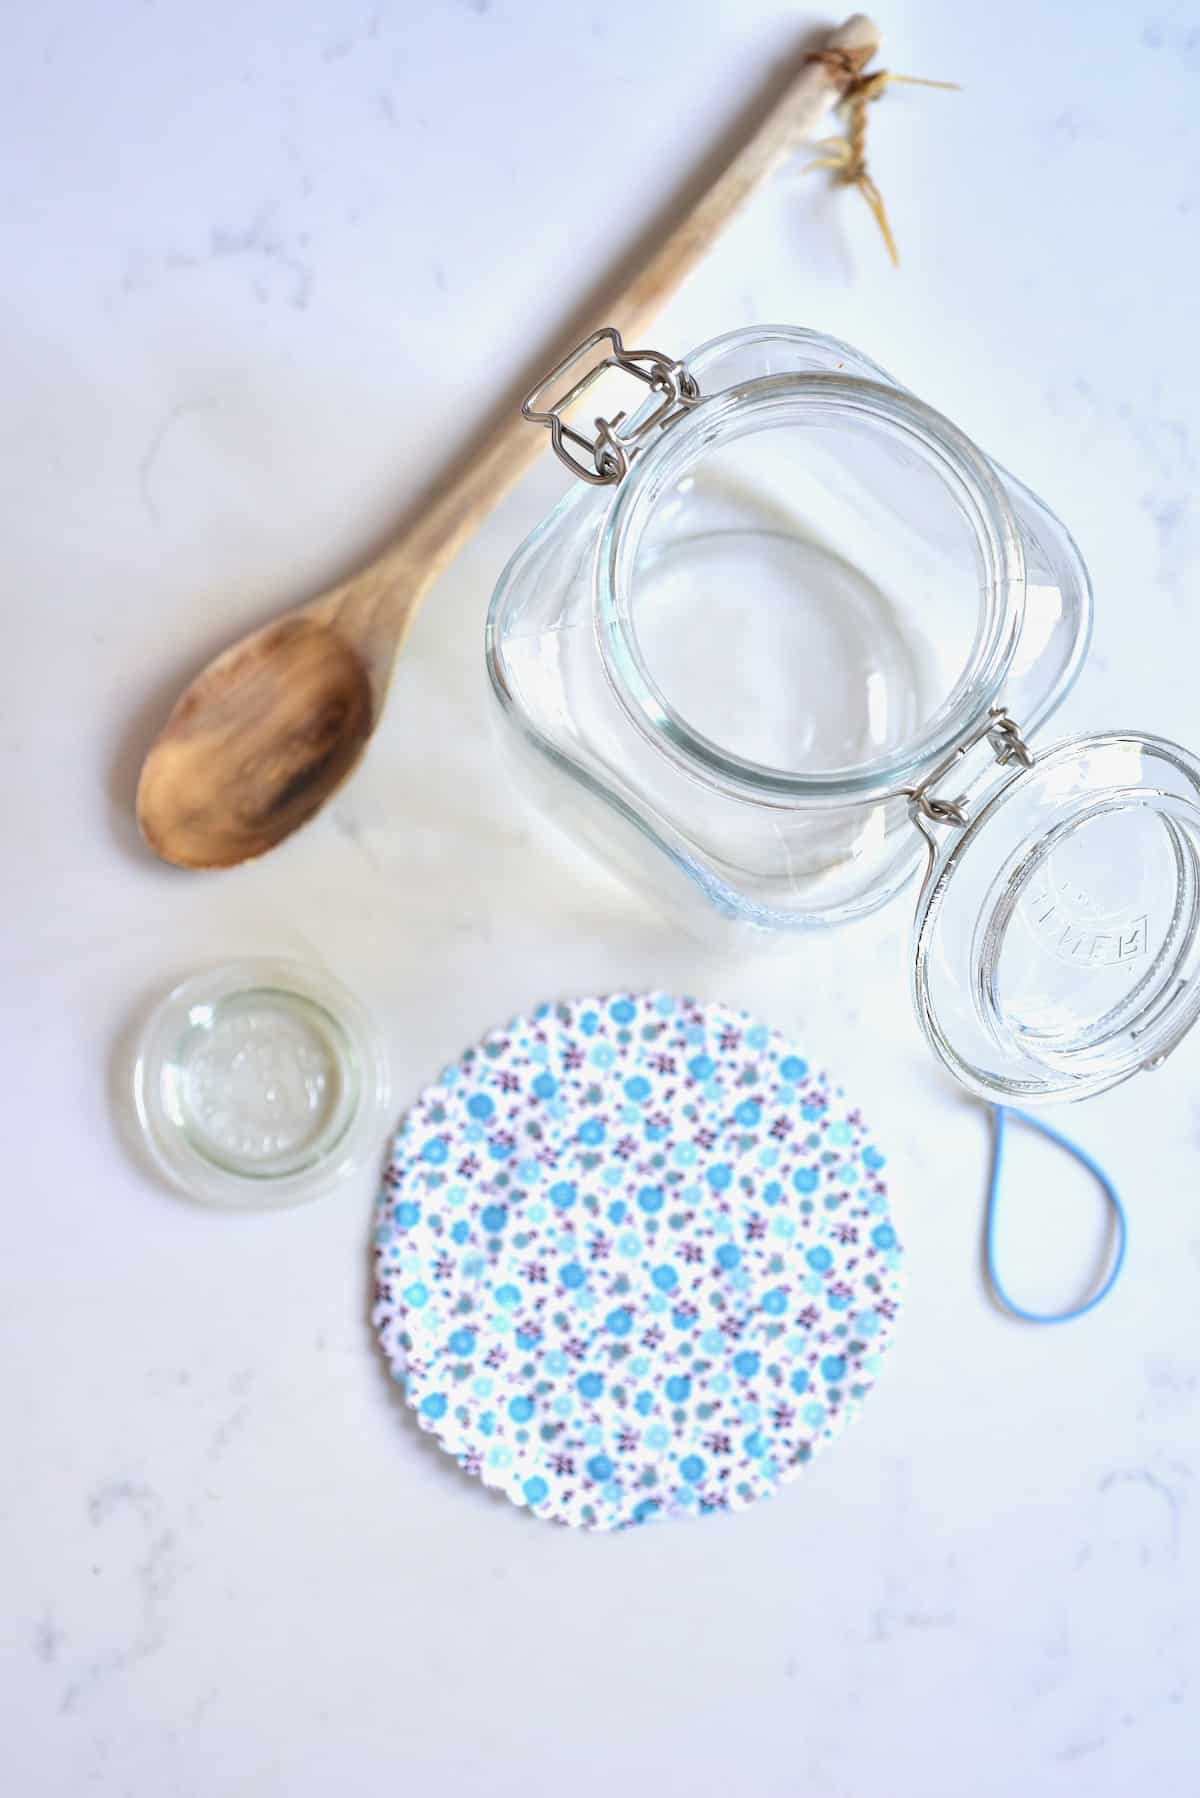
The tools needed
A large jar (or jars): You can split this between multiple jars or use a single, large one. Cheesecloth or coffee filter: You need material fine enough to allow air to pass through (and healthy microbes) but no flies/bugs or unwanted bacteria. Rubber band: To secure the material to the jar Non-metal sieve & Spoon/mixing tool: Avoid metal as it can affect the fermenting process.
Step by step instructions
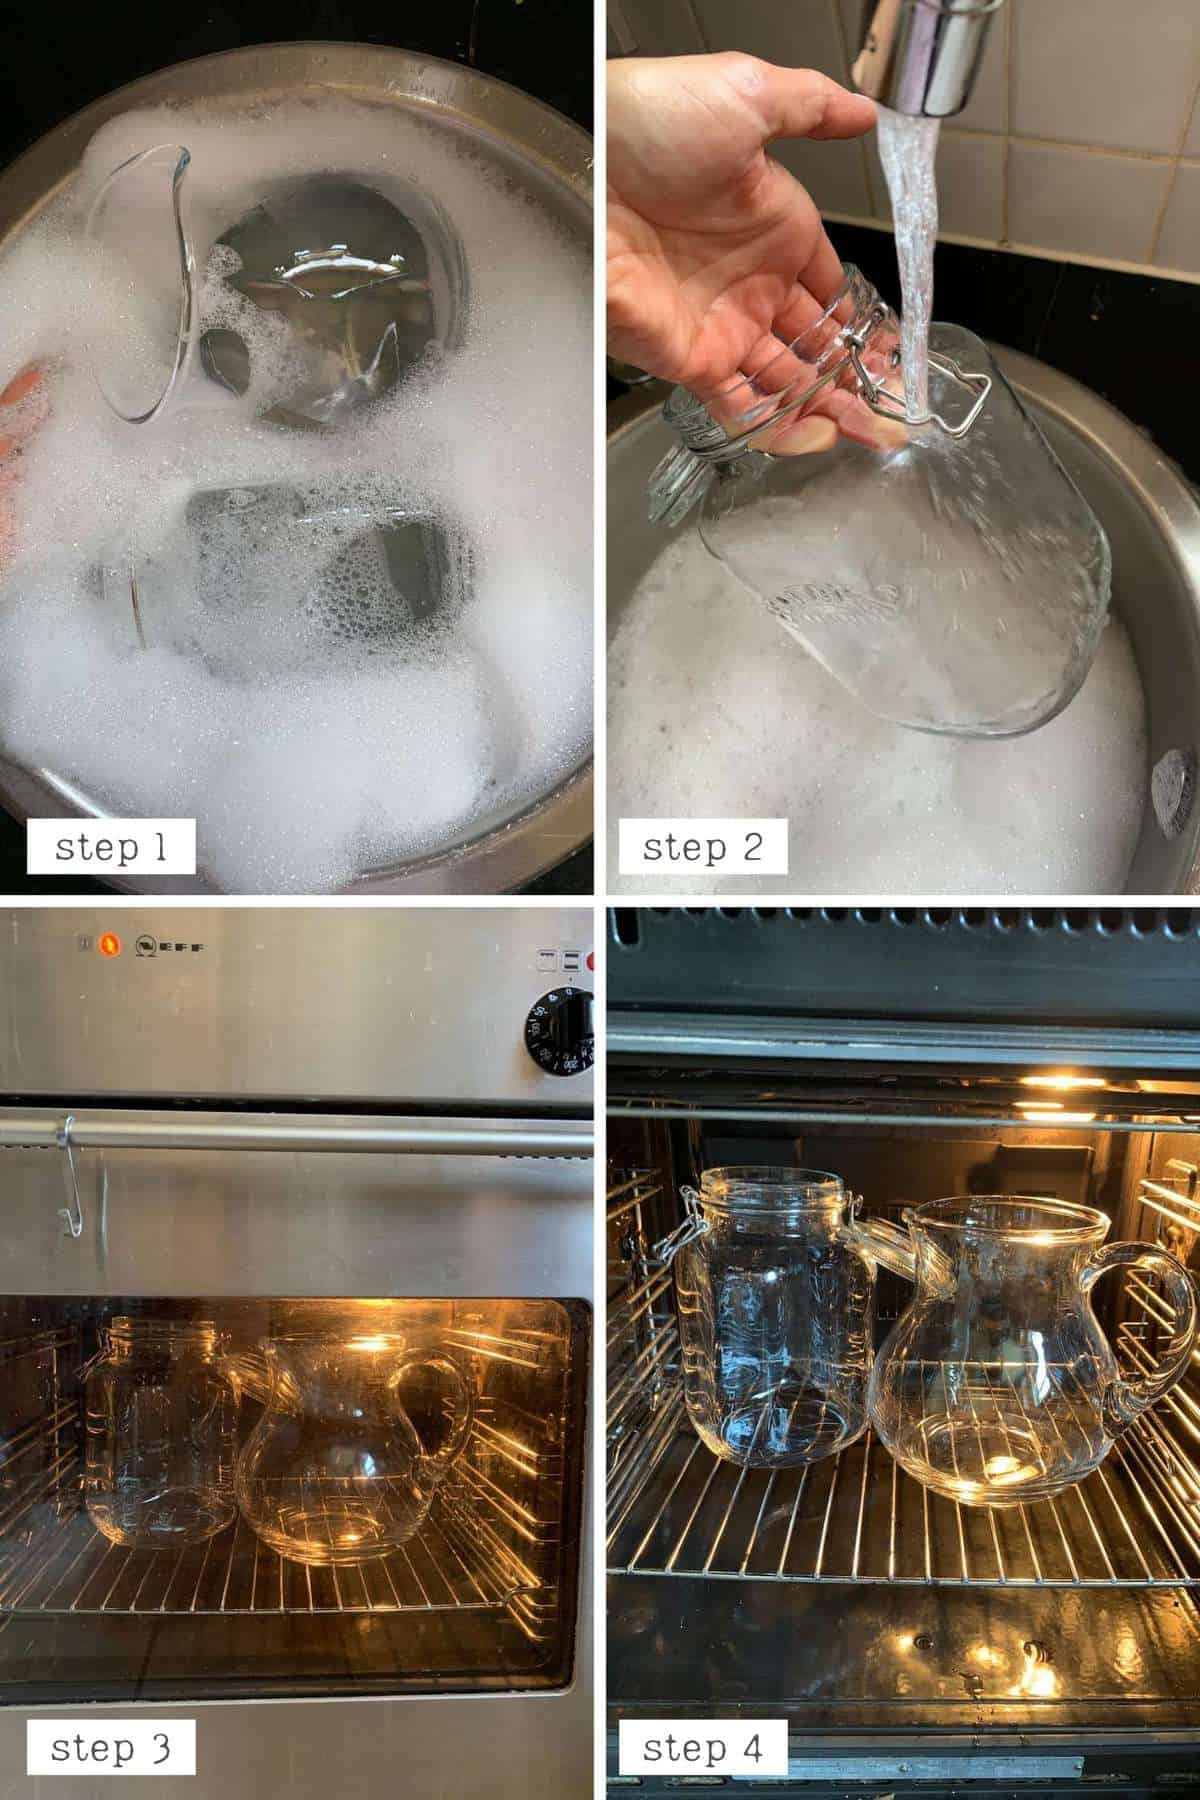
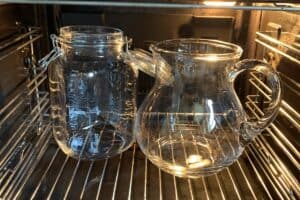
Step 1. Sterilize the tools
It’s incredibly important when making any fermented product, to sterilize the tools thoroughly. To do this wash them with hot, soapy water, taking care to wash away all soap suds. Then place in the oven (without any plastic elements) for around 10 minutes at 160ºC/320ºF.
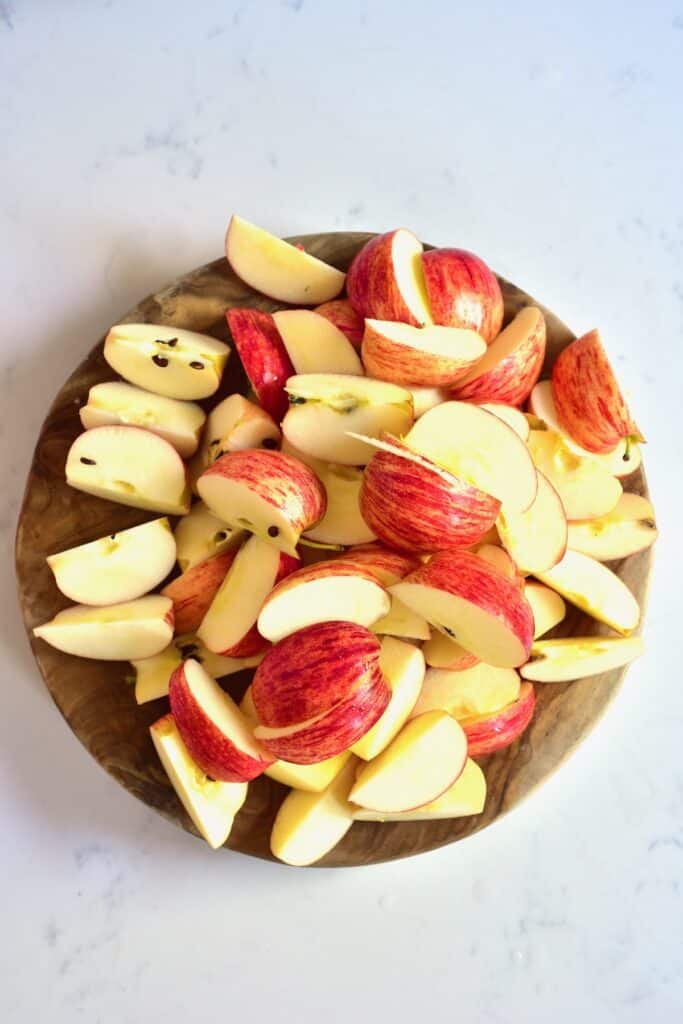
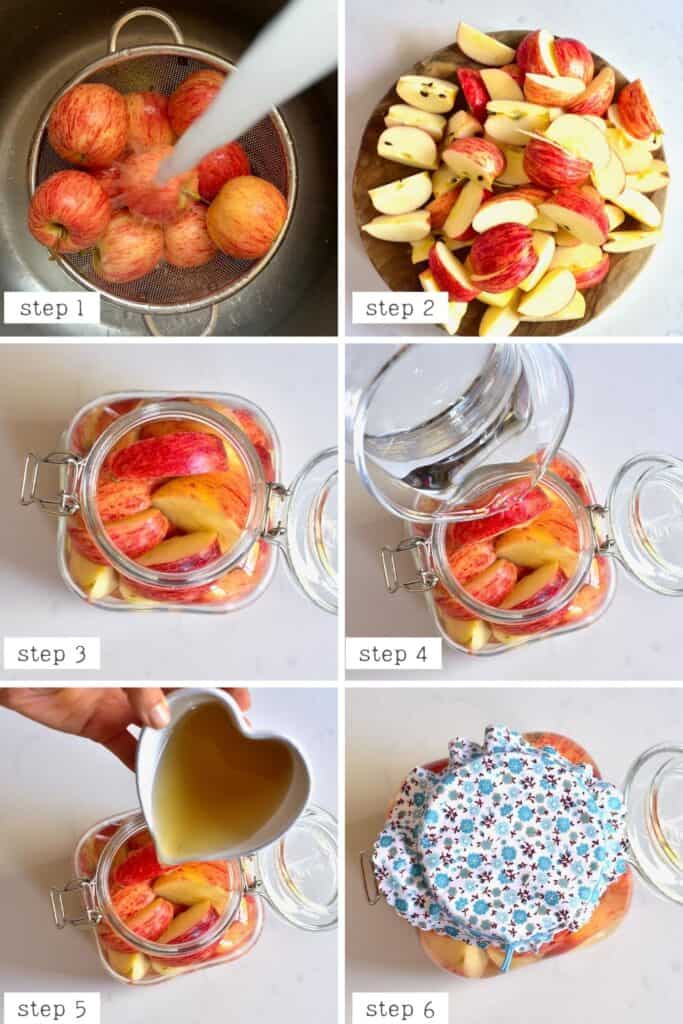
Step 2. Prepare the apples
You can make this with whole organic apples, or peels and cores leftover from apples. Roughly chop (1 apple into 8 pieces works well). If using the apple scraps, you can keep a bag in the freezer until you reach the ‘quantity’ you desire.
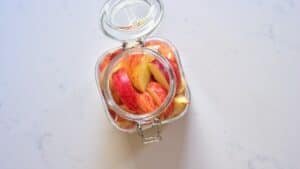
Step 3. Prepare the jar
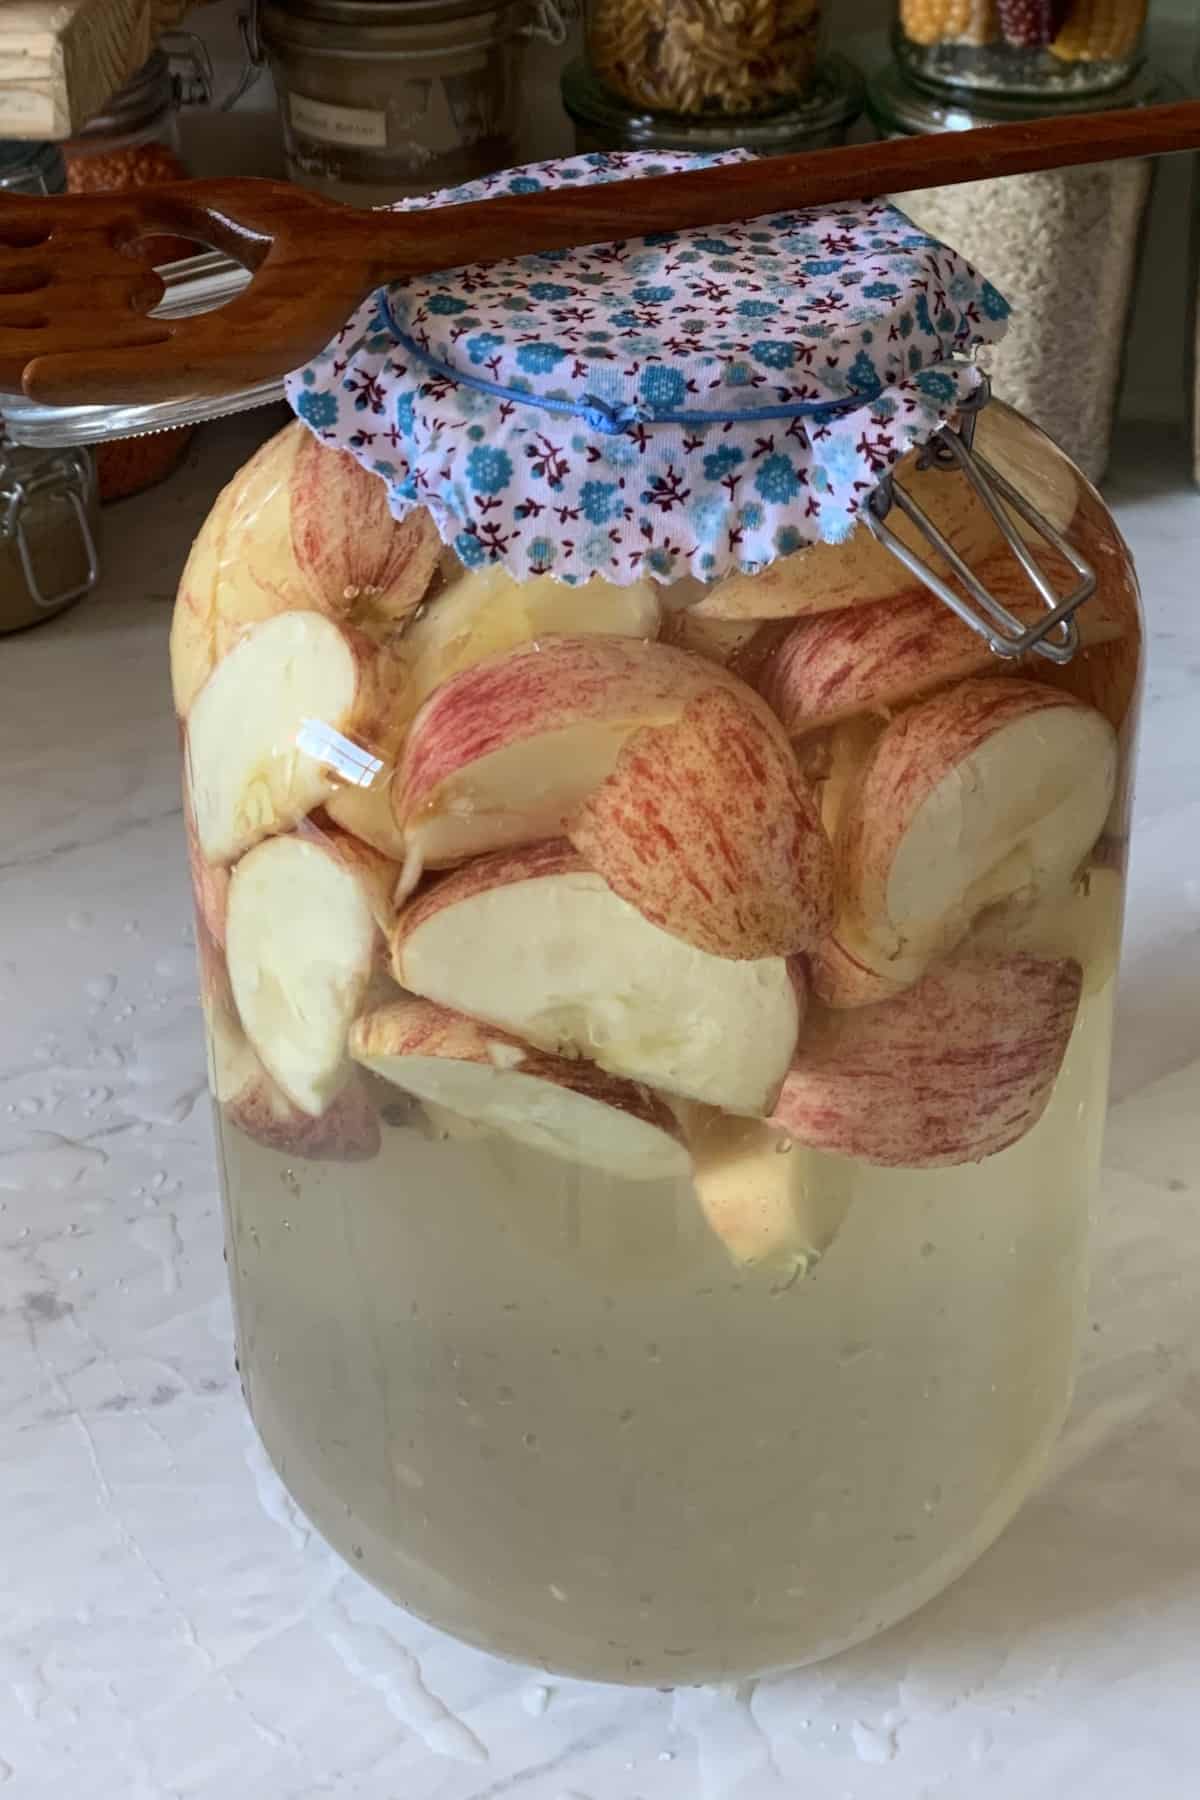
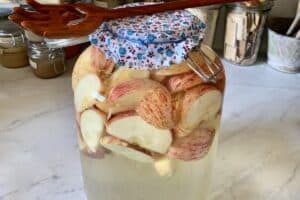
Fill your large jar with the apple slices, leaving some ‘wiggle’ room, to allow us to move them about during the fermentation. Dissolve the sugar in a little filtered water, then pour into the jar and add enough extra water to cover the apples completely. Stir the mixture (hence, we need the wiggle room). If your apples are floating to the top, then you can weight them down with a small jar or dish that fits the jar.
Step 4. The first ferment
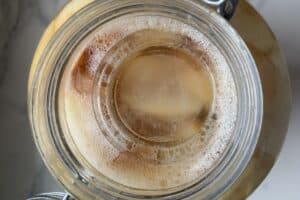
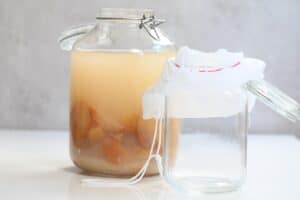
Cover the jar with a clean cheesecloth or coffee filter and secure with a rubber band. This will allow for air flow, without letting bugs and bad bacteria in. Place in a dark, cool area and allow to ferment for 3-4 weeks at room temperature. Stir the mixture every couple of days (don’t use metal), moving the apples around so that the ones on top go lower down in the jar. Around the three week period, you should start noticing bubbles in the mixture and a faintly alcoholic smell. By week four the bubbles have usually calmed and the first fermentation is complete.
Step 4. The second ferment
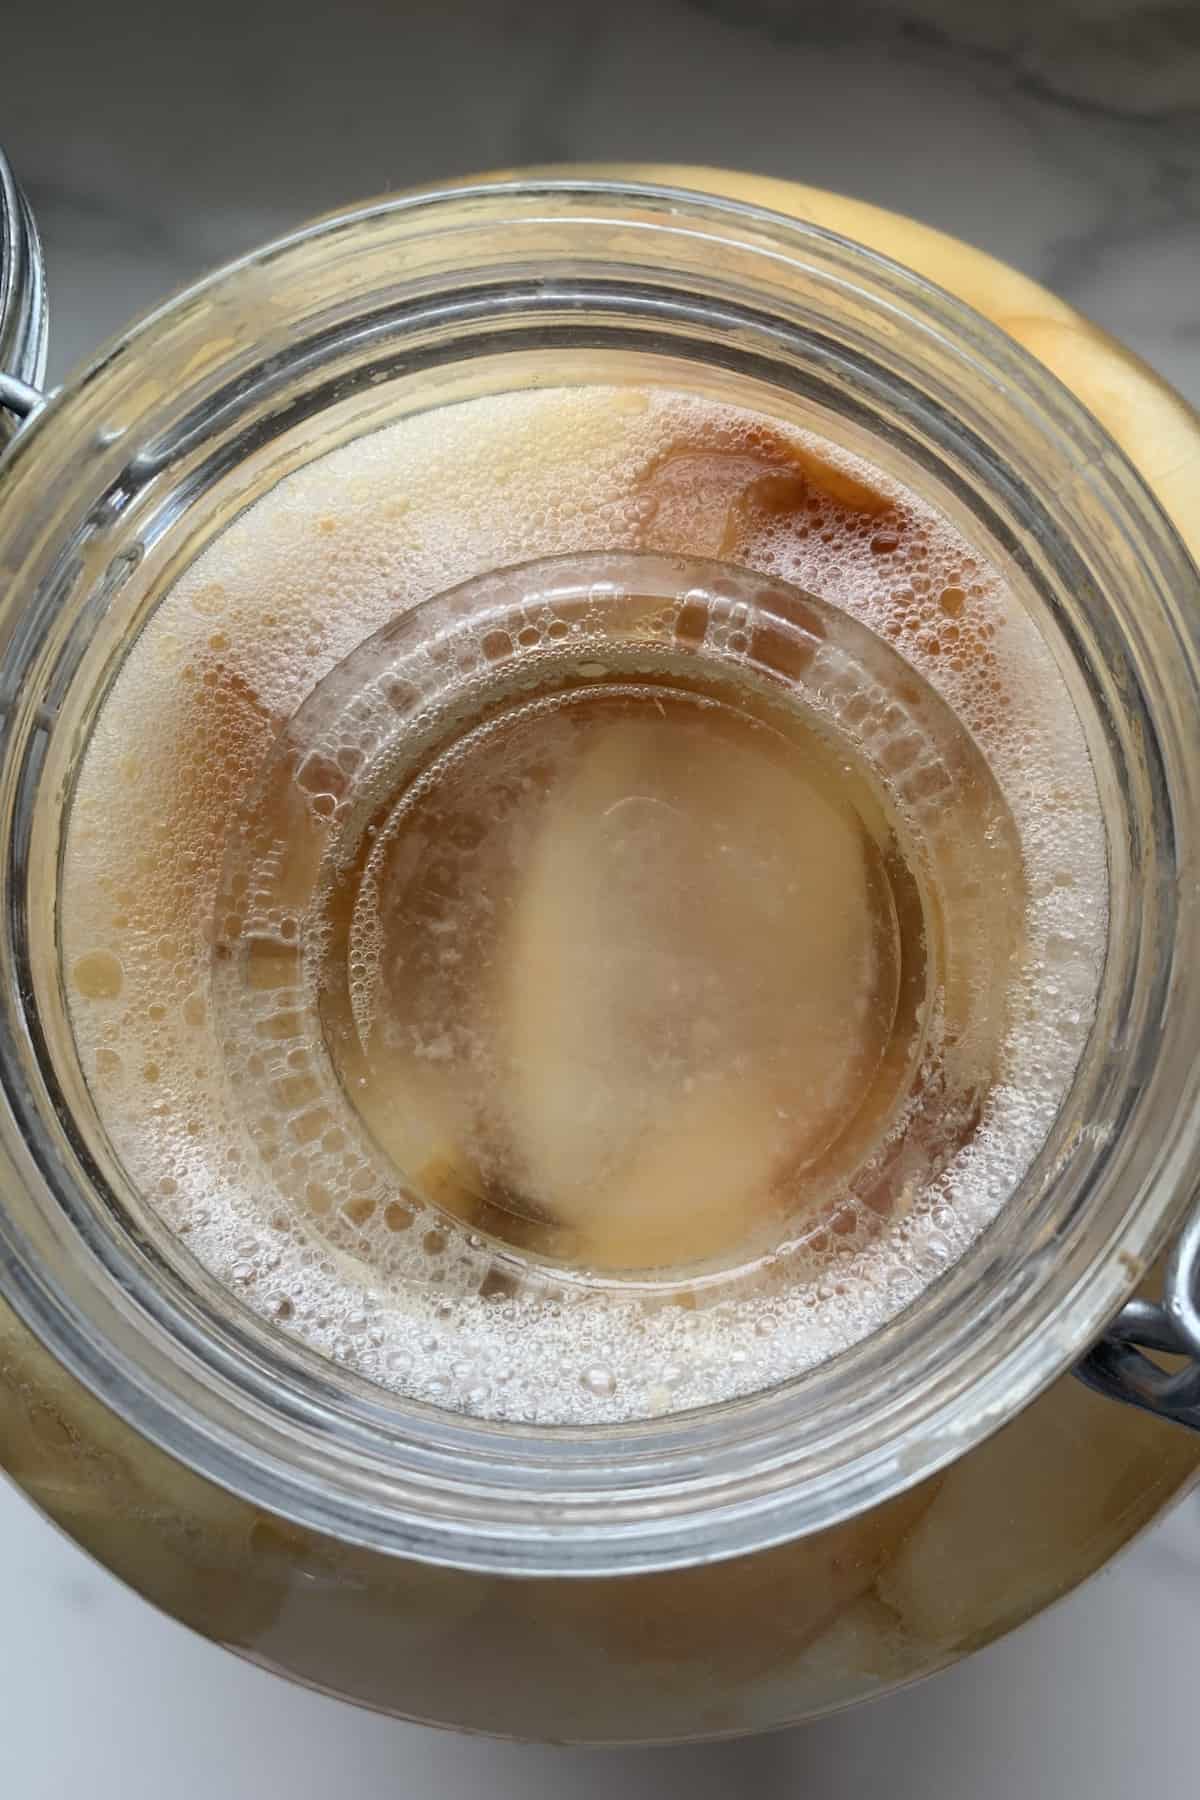
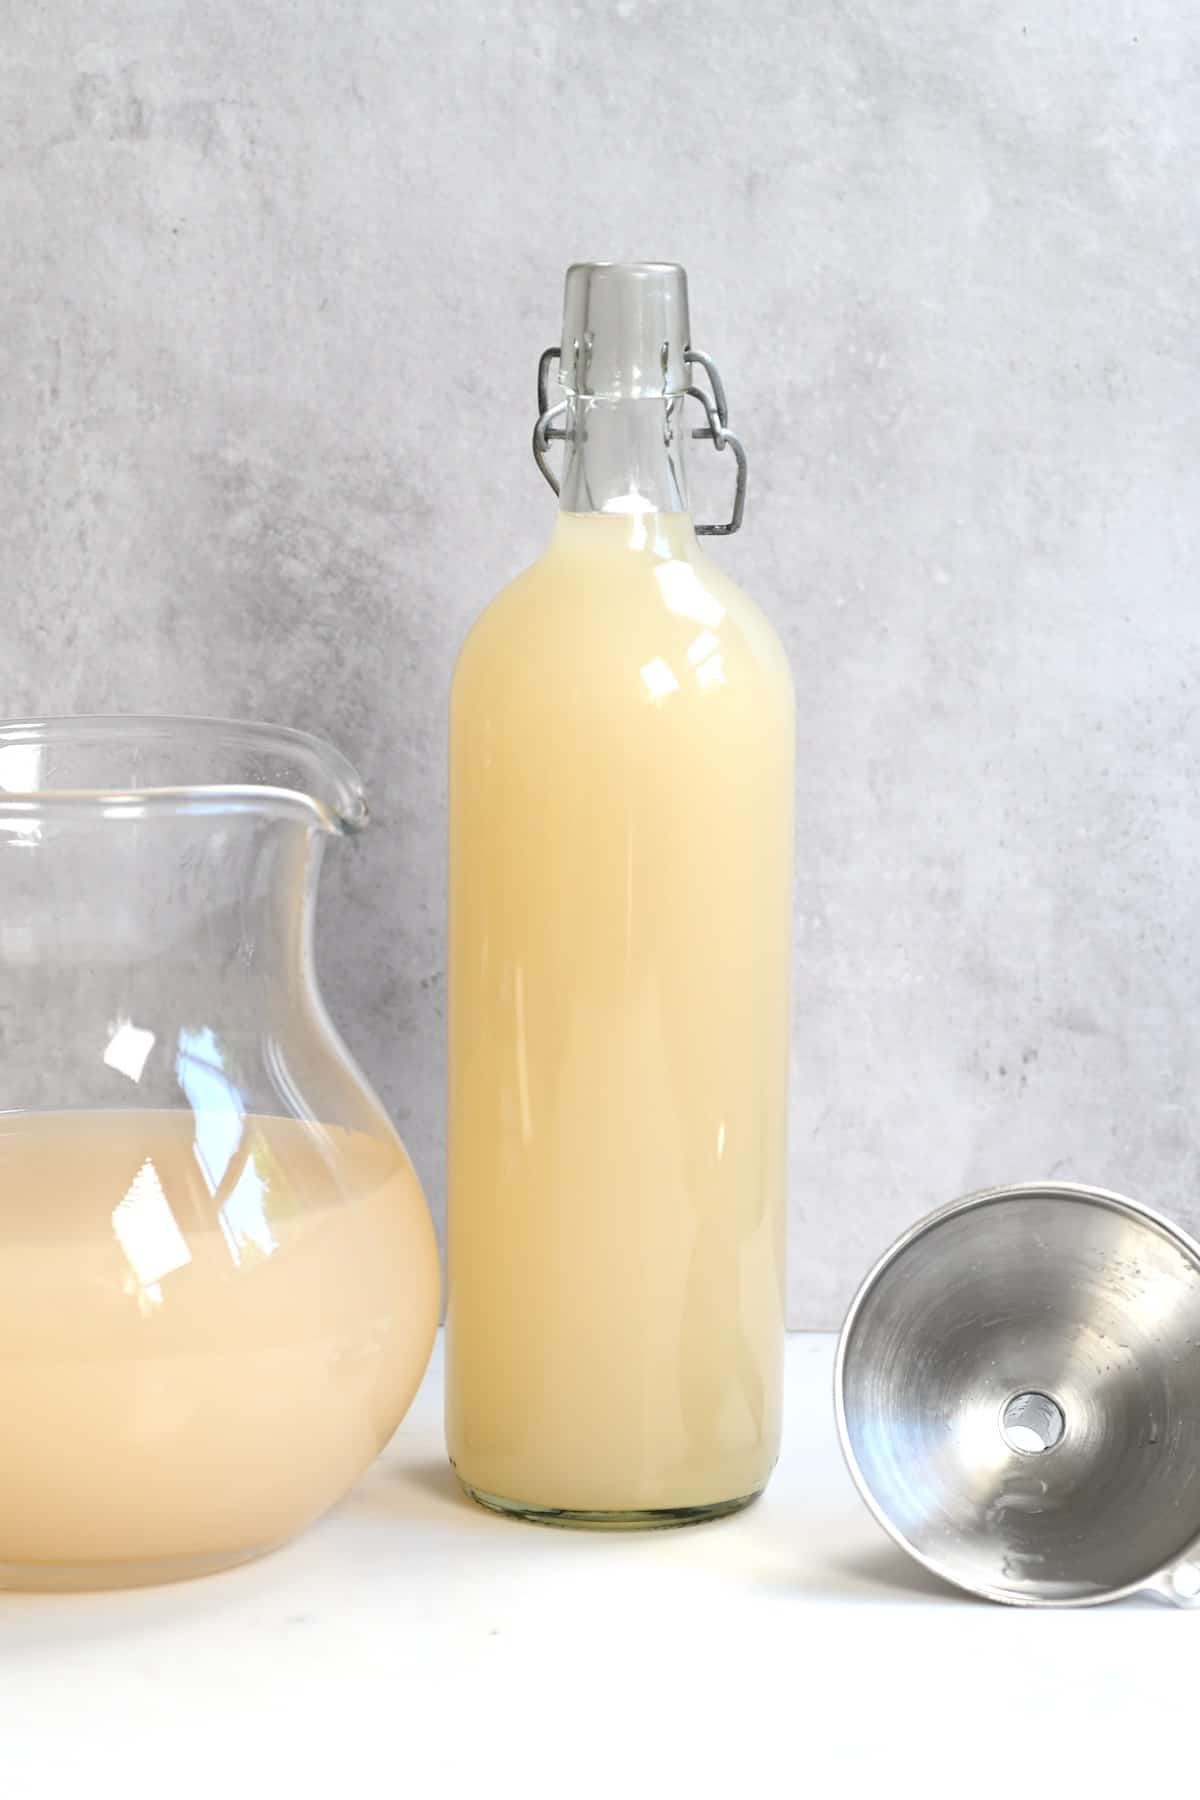
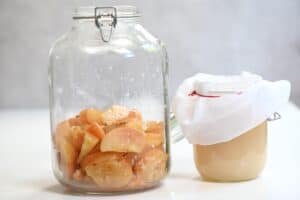
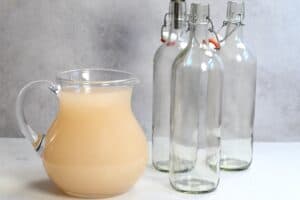
After 3-4 weeks, remove the apple pieces and then allow the mixture to ferment for a further 3-4 weeks, stirring every few days. As the vinegar ages, you may notice some white scum on the top of the mixture, eventually this will grow into a vinegar ‘mother’, that looks fairly similar (and equally as odd) as a kombucha SCOBY. This is all natural and the ‘mother’ can be used to help jump-start your next batch of vinegar. Once ready, you can then replace the cheesecloth/filter with a lid or decant into another glass jar. Note that, as this is a raw vinegar, it will continue to get stronger as it ages and get darker in color. Store apple cider vinegar in a cool, dark cupboard/area.
How to use
There are hundreds of raw apple cider vinegar uses. These include ingesting, as well as for beauty purposes. Here are some options here on the blog, that you could try.
Easy Pickled Cucumbers Fluffy Japanese Pancakes Egg and Potato Salad Easy Strawberry Vinaigrette Vegan GF Fudgy Chocolate Cake Homemade Mustard Homemade Ketchup
Read the recipe card ‘notes’ for more tips and helpful notes.
Related recipes and DIYs
Homemade Kombucha (Plain and Pomegranate) Pink Pickled Turnips Naturally Dyed Rainbow Pickled Quail Eggs How To Make Yogurt (Natural Yogurt + Greek Yogurt) Homemade Dairy-free Coconut Yogurt DIY How To Make Paneer At Home Homemade Ricotta Cheese Super Easy Homemade Cream Cheese
If you give this apple cider vinegar DIY a go, then let me know your thoughts in the comments. Also, feel free to tag me in your recreations @AlphaFoodie.