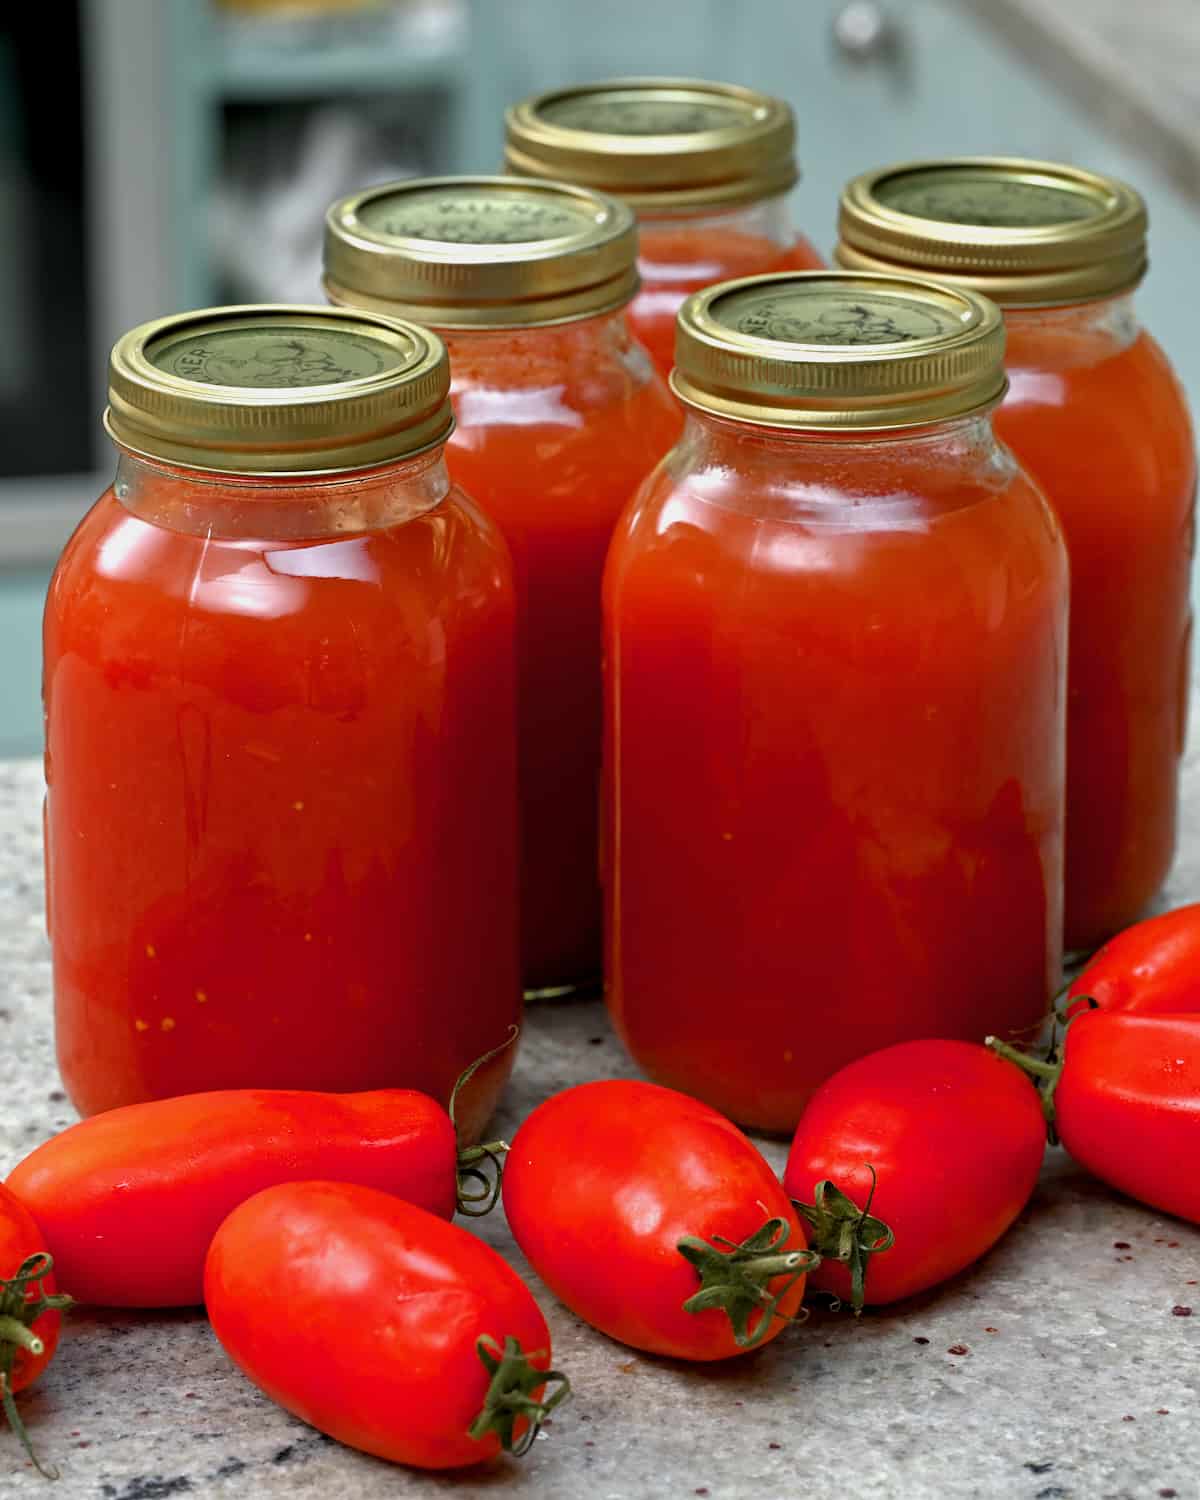
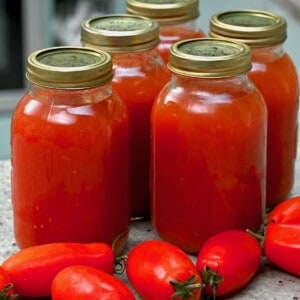
This tomato juice recipe for canning uses a heated method. It breaks down the fruit, releases as much juice as possible, and kills off harmful microorganisms to “pasteurize” the juice. Also, this method reduces the risk of “separation” which is a guarantee when juicing/blending and then straining tomatoes to make juice. Once canned, this homemade tomato juice is shelf stable, allows you to save freezer space, and you can use it to make Bloody Marys, add to creamy tomato soup and stews, mix into pasta and grains, and more.
What are the best tomatoes for juicing?
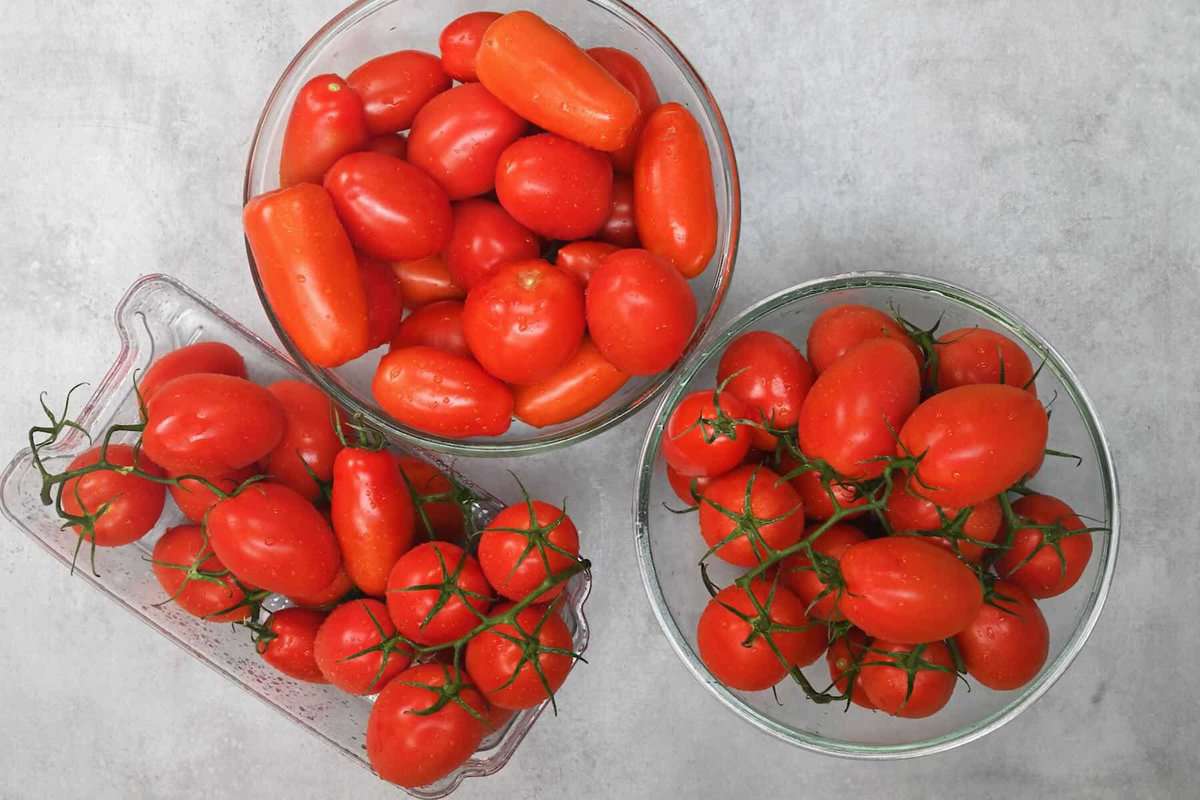
When selecting tomatoes for juicing and canning tomato juice, use ripe, in-season tomatoes free from bruising/cracking/wrinkling or spoilage. Look for meaty, flavorful varieties, like those listed as “paste” tomatoes, rather than watery/seedy varieties. Some of my favorite options include San Marzano tomatoes, Roma tomatoes, Amish paste tomatoes, several types of heirloom tomatoes, like beefsteak tomatoes, other plum tomatoes, and even grape/cherry tomatoes. Use a combination for flavor depth. Refer to my complete guide to pressure canning for beginners (or water bath canning) for more information on the equipment & canning process.
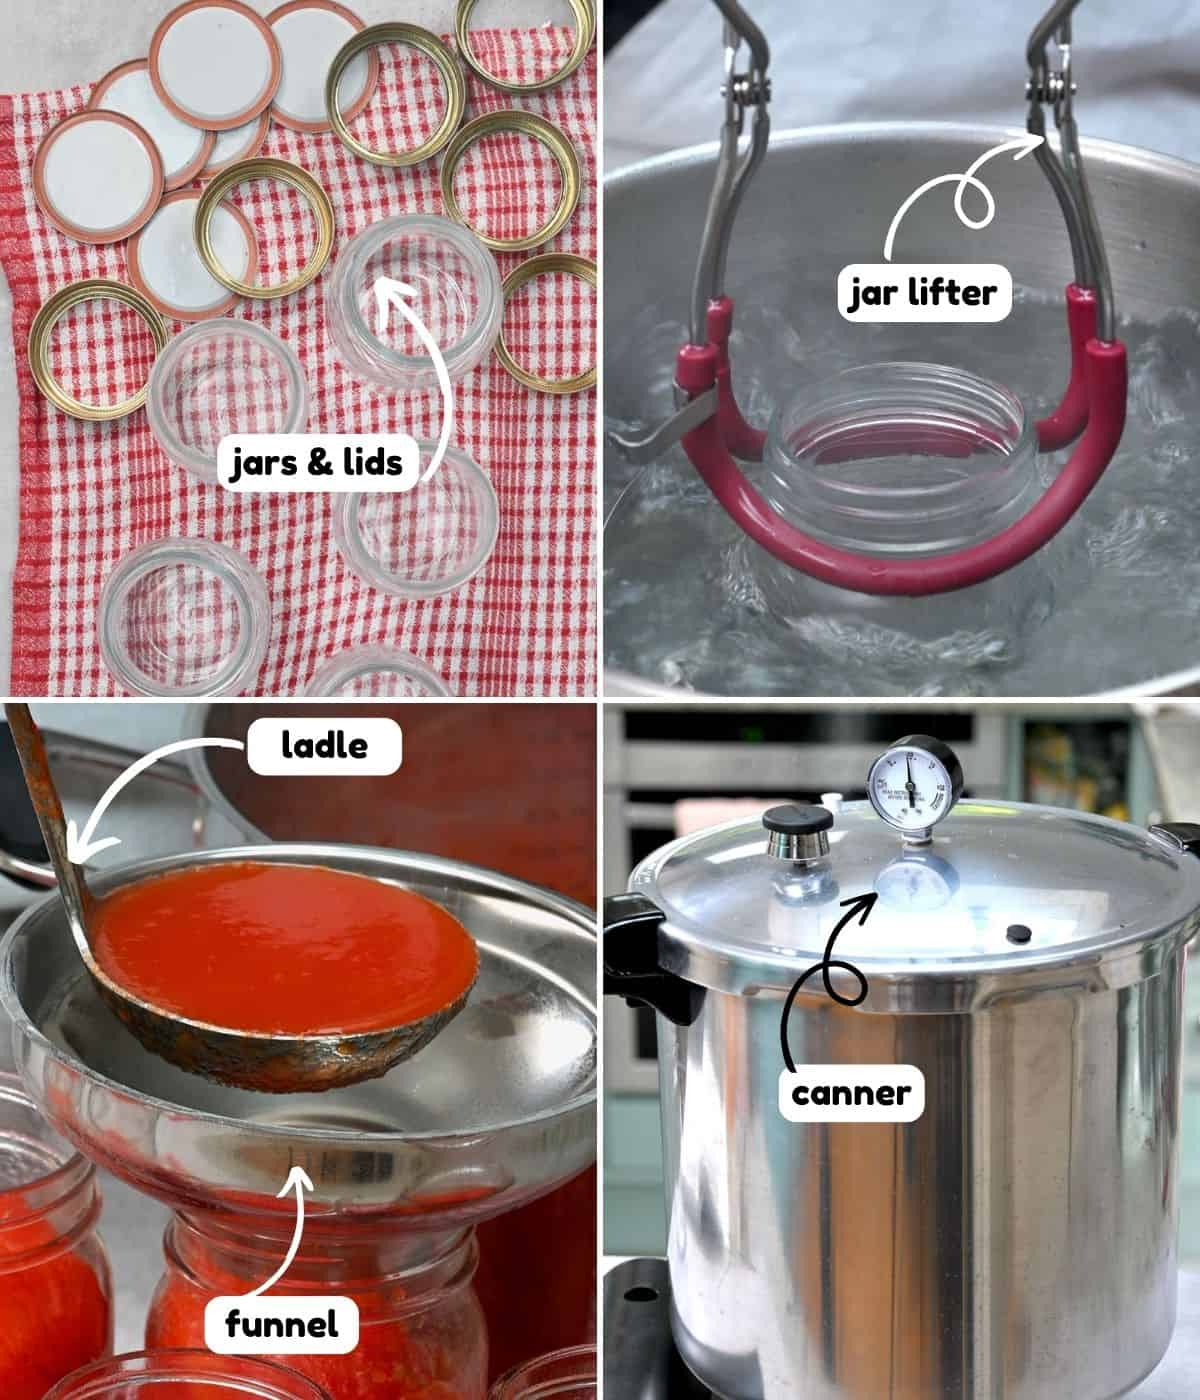
Small paring knife Large saucepan Spoon/ potato masher Food mill OR KitchenAid milling attachment OR a sieve + cheesecloth/nut milk bag Canner: dial gauge or weighted gauge pressure canner OR water bath canner/ a heavy-based large, tall pan like a stock pot Heat-proof metal or silicone wire rack or trivet Canning jars (pint/quart-sized, wide-mouthed, heat-proof like Kilner/Mason jars) Lids (either reusable dimpled lids or two-piece flat lids and (reusable) screw bands) Lid wand (optional) Funnel/ladle (for filling the jars, mess-free) Clean kitchen towels/ rags Jar lifter (aka canning tongs) A reliable timer
Instructions
Both methods of canning (water bath and pressure canning) require the same prep work. Start with sterilizing your equipment and cooking the tomatoes, then proceed with your chosen canning method.
Prep work
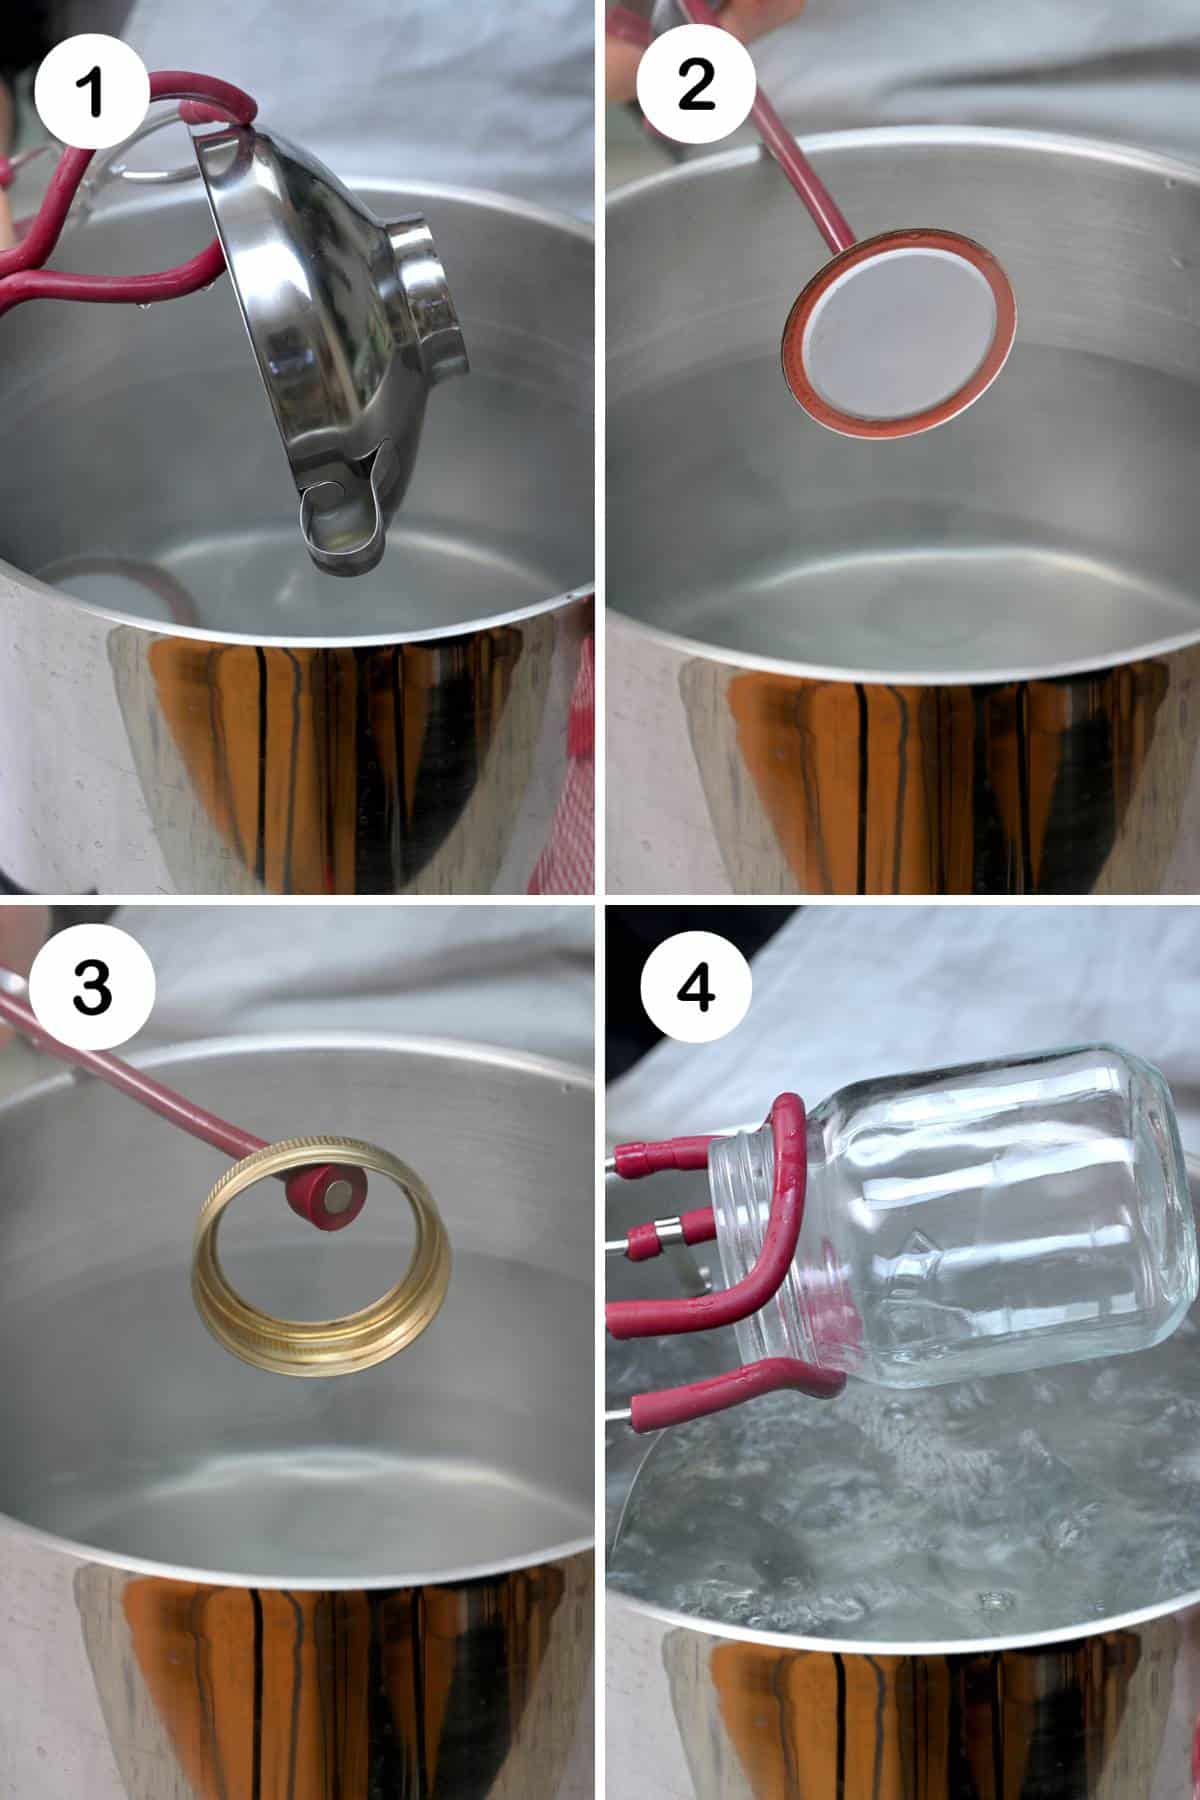
Sterilize the equipment and prepare the canner: First, ensure none of the jars contains cracks/chips, and the lids (if reusable) and rings are rust-free. Then, wash everything (the jars, lids, tongs, funnel, and kitchen counter) with hot, soapy water and rinse them well. Then, transfer everything except the jars and lids to a clean kitchen towel to dry. Meanwhile, prepare the canner by placing the trivet at the bottom. Then:
For a water bath canner: Fill it with enough water to submerge the jars with at least 2 inches of water. For a pressure canner: Fill the canner with 3 inches of water (BEFORE adding any jars). I add a little more than needed to compensate for the evaporation before processing the jars.
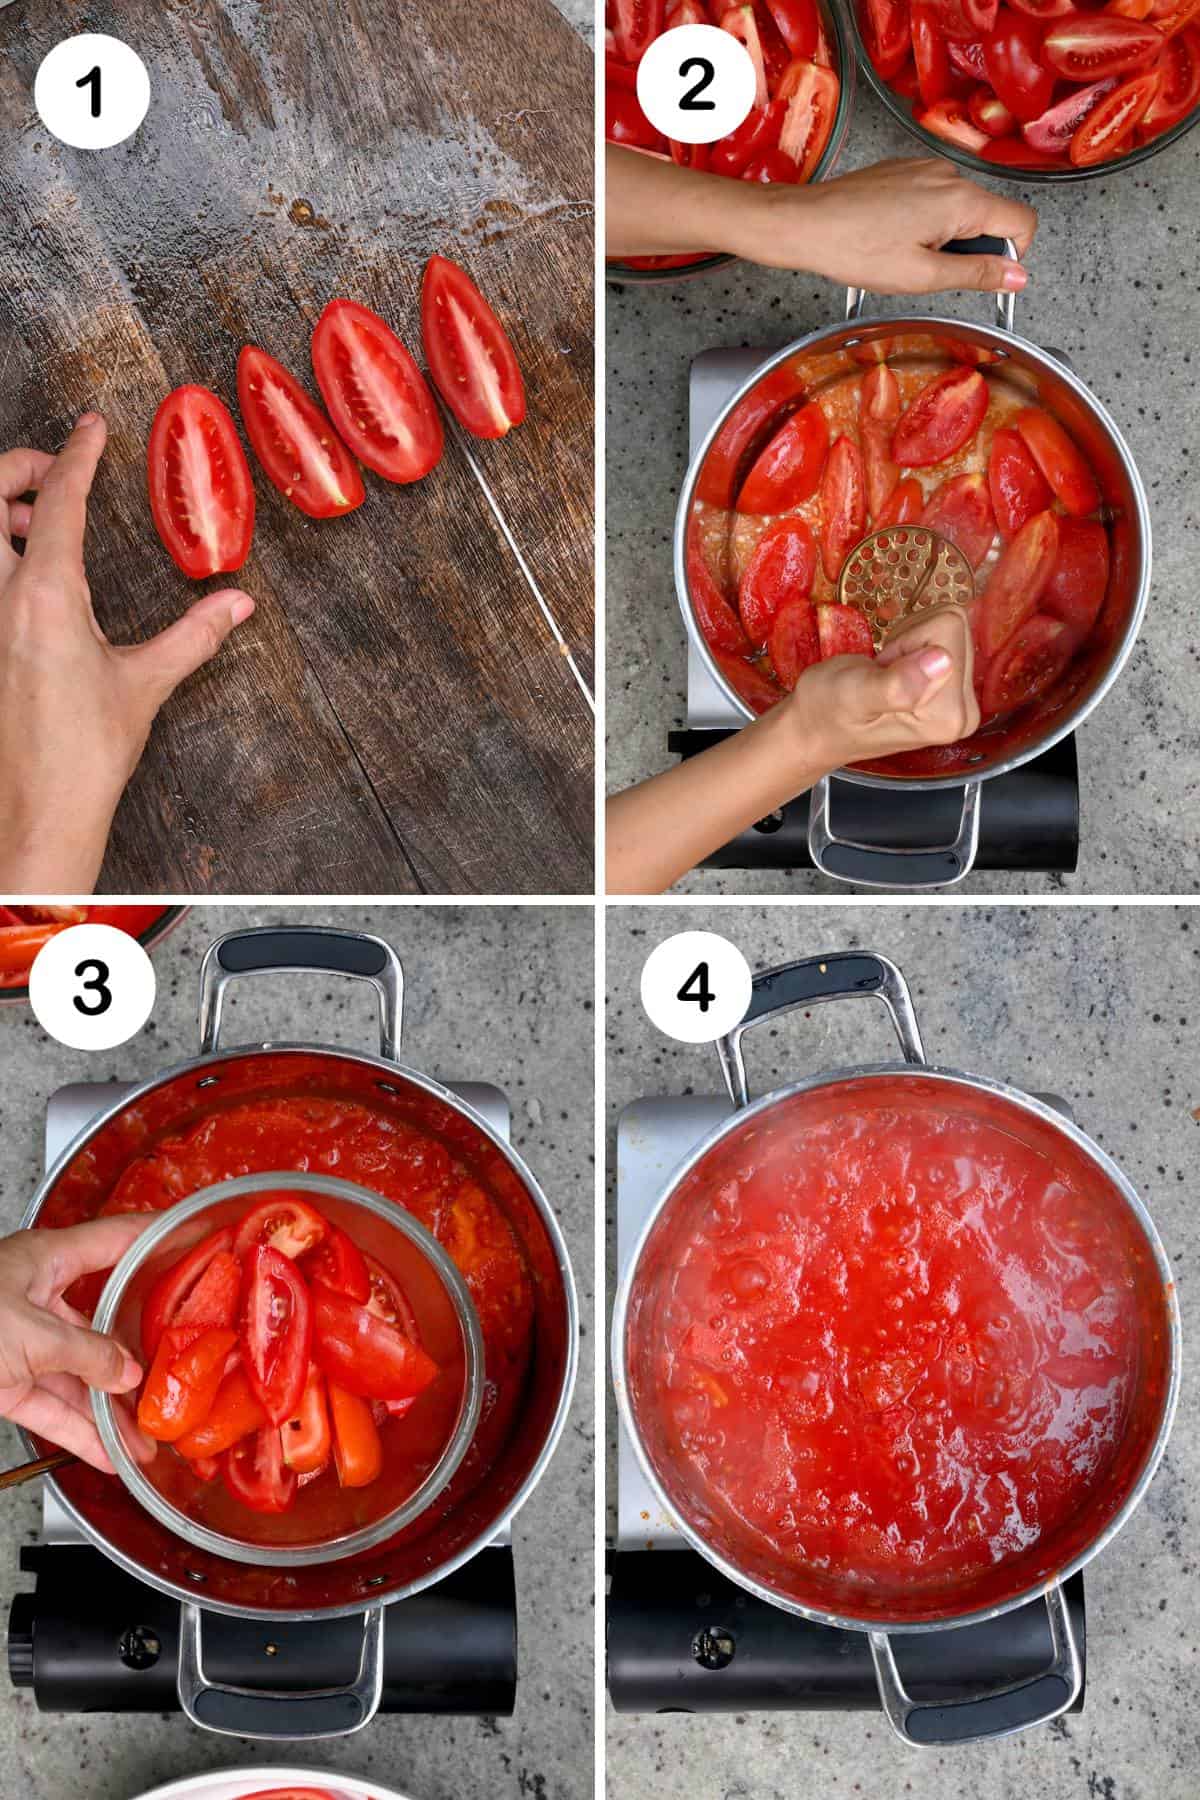
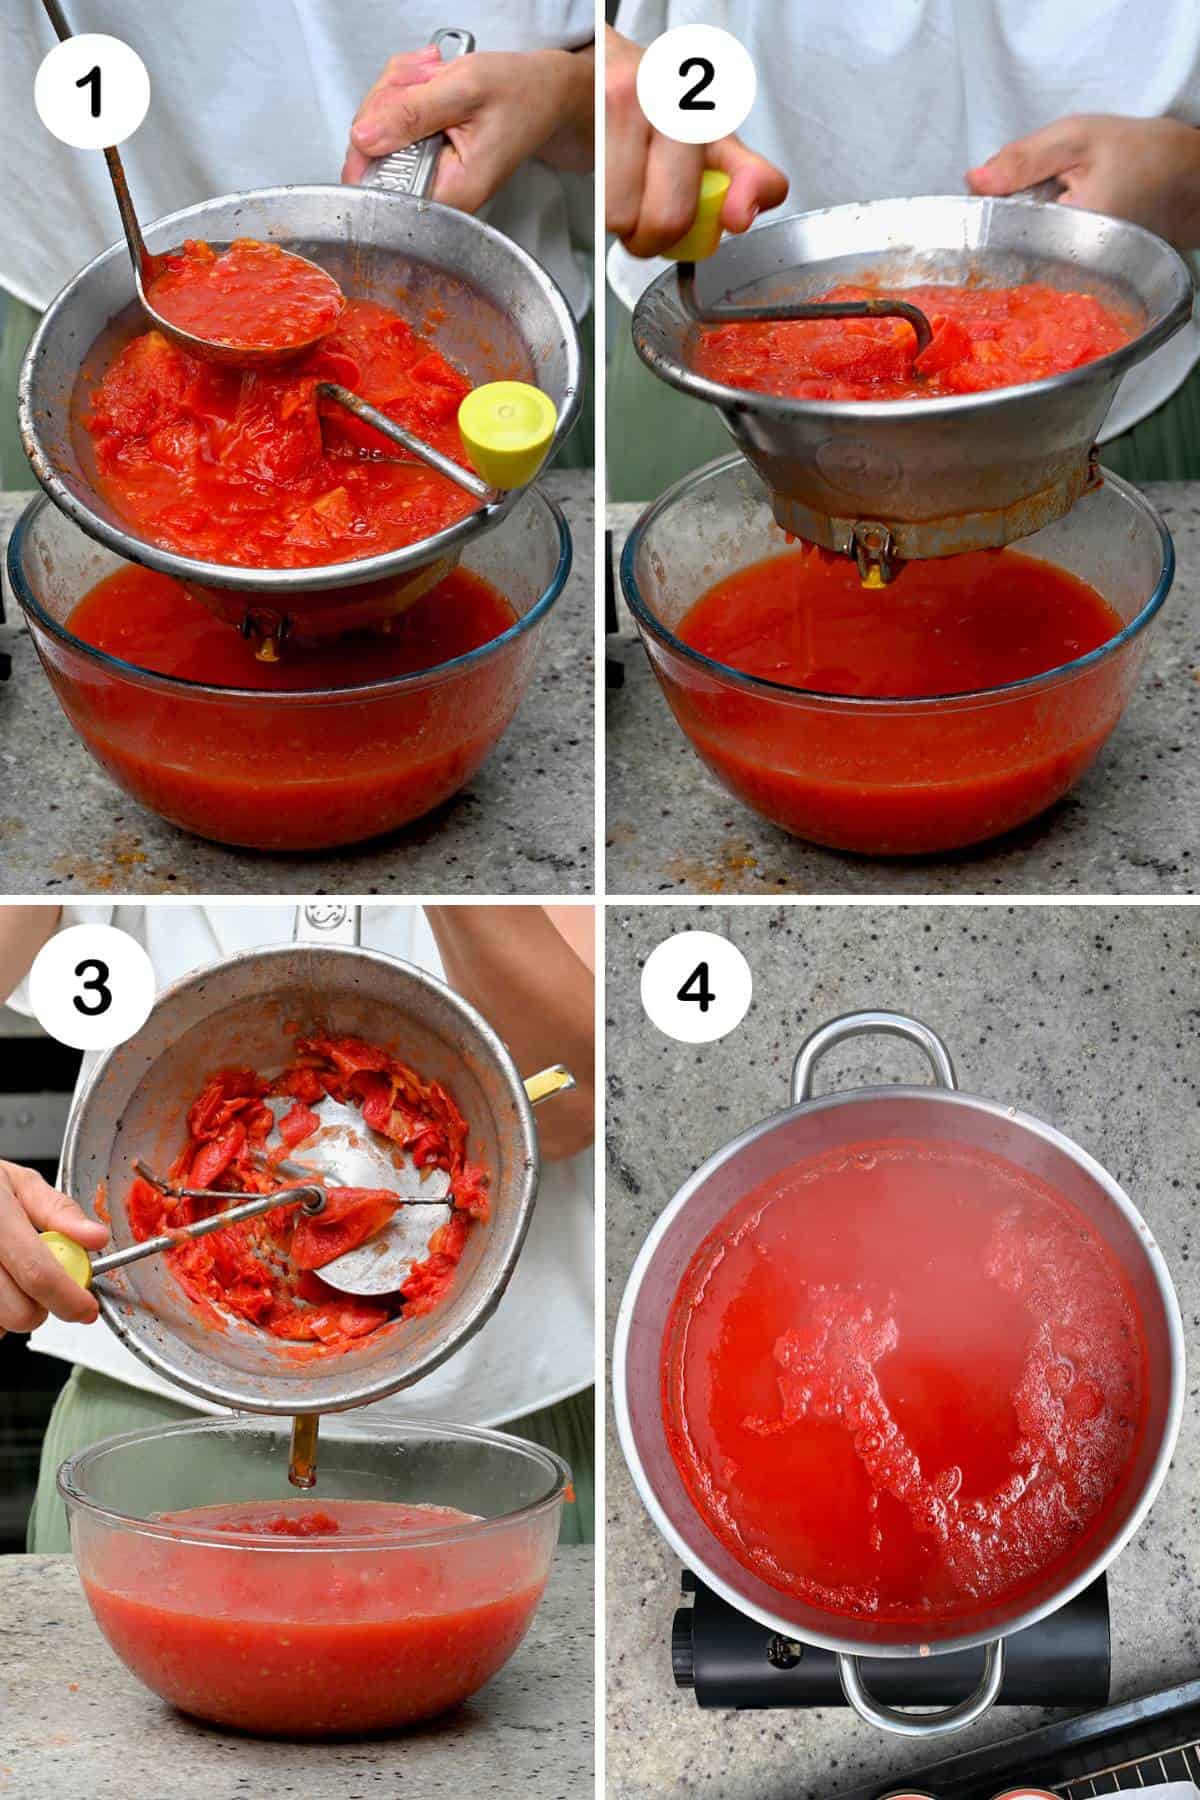
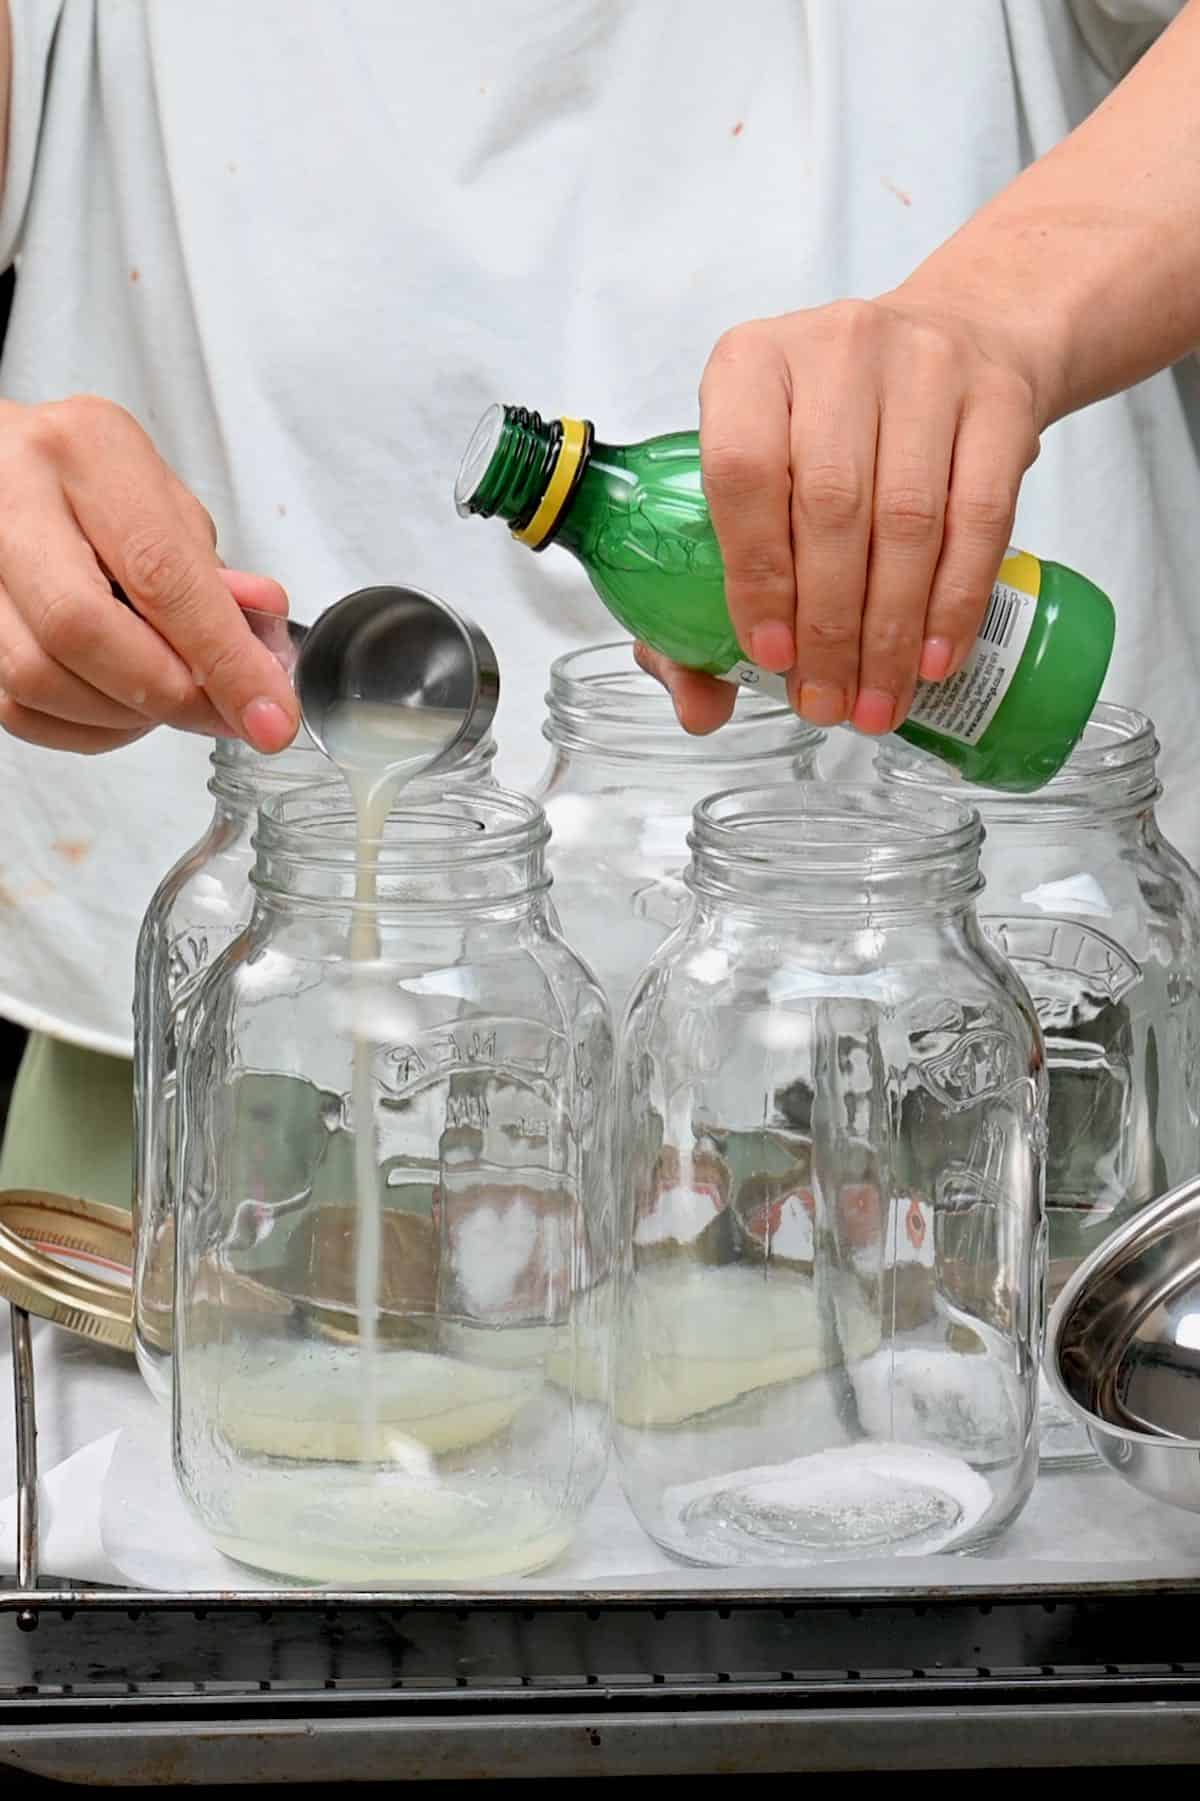
Prepare and cook the tomatoes: Rinse the tomatoes thoroughly, cut out the stems, and discard any bruised/bad tomatoes. Then, quarter the tomatoes and transfer about 3 cups of the tomato quarters to a large, heavy-based saucepan. Bring to a boil over medium to medium-low heat, mashing them as you do. Gradually add the remaining tomatoes, ensuring the mixture remains boiling, mashing them as they soften. The constant boil prevents juice separation and that’s why I recommend adding them in batches. If this isn’t a concern (it’s only a cosmetic issue), boil them all at once. Once all the tomatoes are mashed, simmer for a further 5 minutes. Strain and boil the juice: Use a manual/electric food mill to remove the skin and seeds from the juice. Alternatively, blend and then pour the mixture through a large nut milk bag or cheesecloth-lined sieve/strainer into a large bowl/back in the saucepan, squeezing the pulp to release all the juice. Then, transfer the juice back to the stovetop to bring it back to a boil. It’s important to do this for two reasons. First, it pasteurizes the freshly strained juice. Second, the liquid needs to be hot when added to the jars. Fill the jars: Remove the jars from the canner where they were being kept warm and add the lemon juice or citric acid and optional salt:
Bottled lemon juice = 1 Tbsp per pint OR 2 Tbsp per quart Citric acid = ¼ tsp per pint or ½ tsp per quart Salt = ½ tsp of salt per pint OR 1 tsp per quart
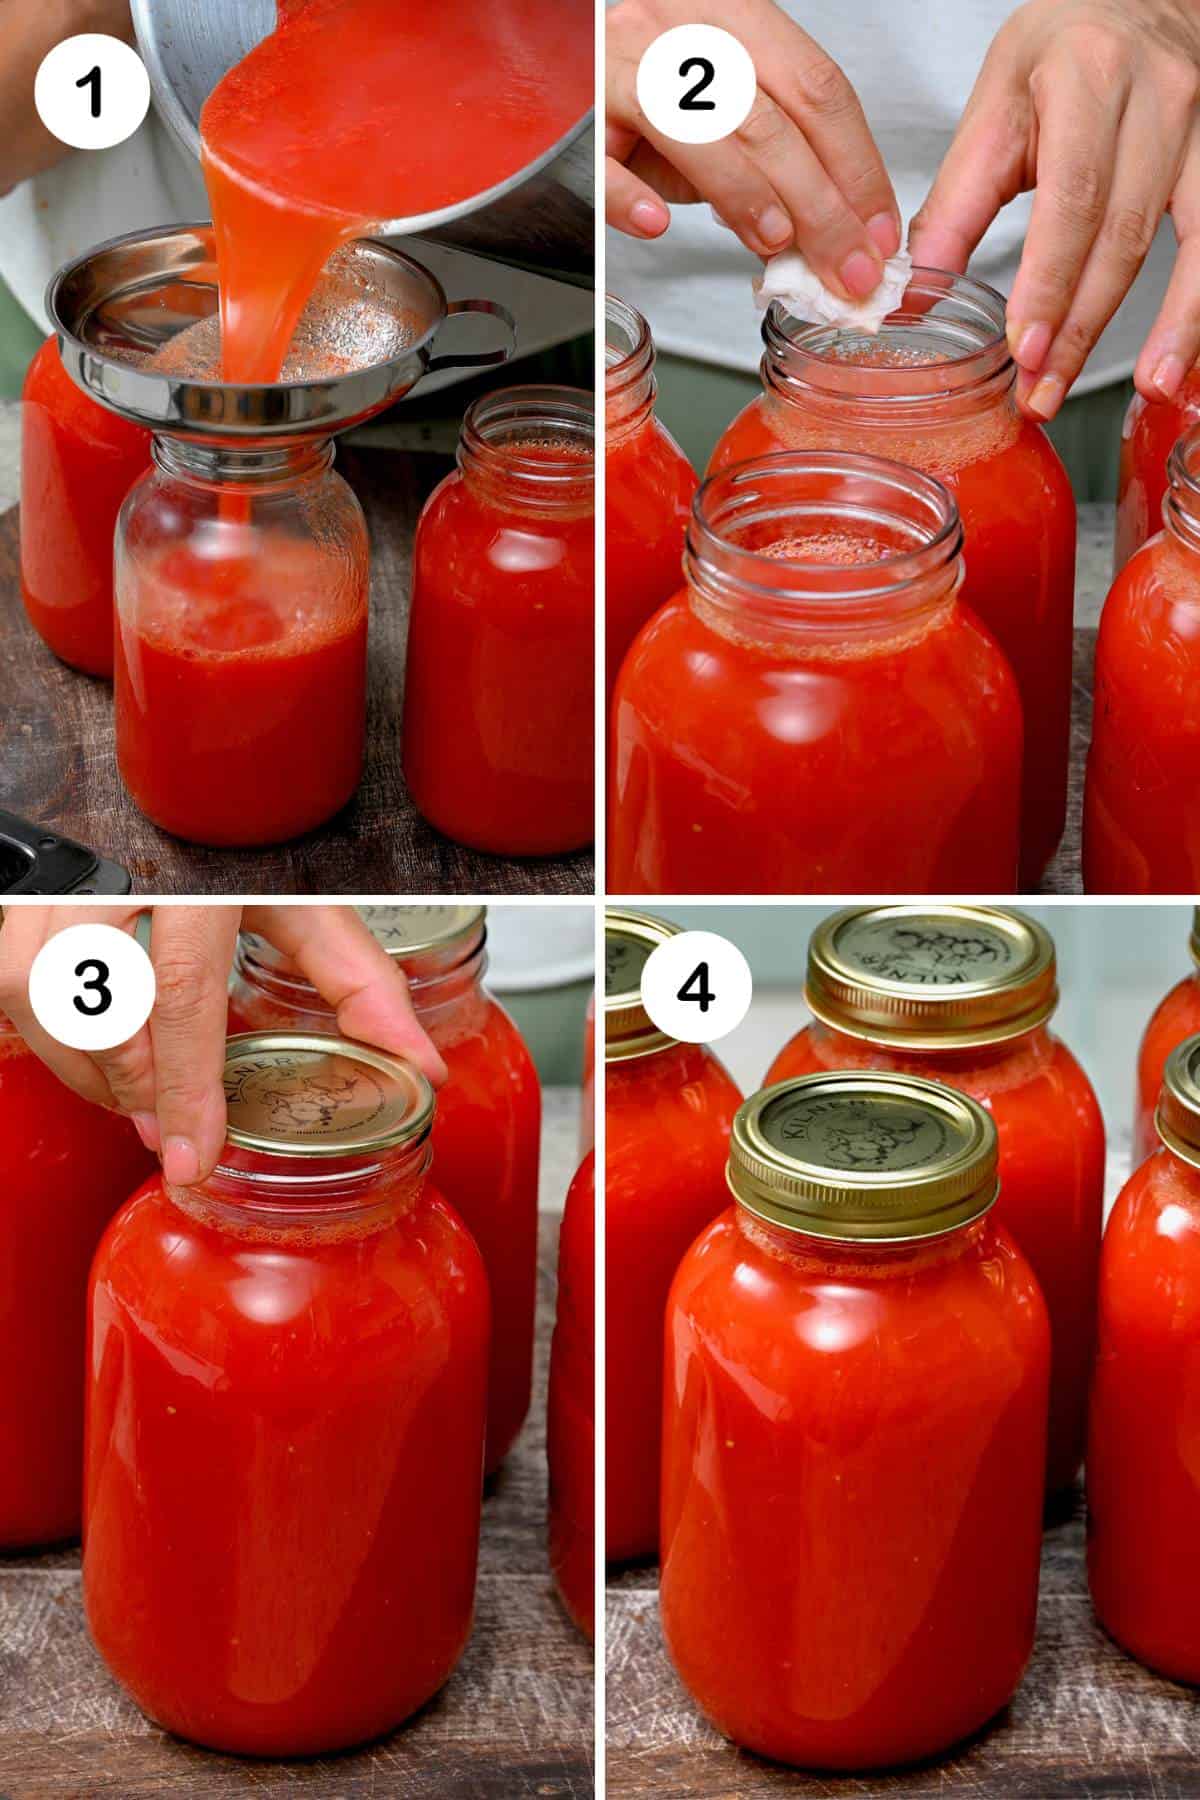
Then, using a funnel, pour the hot tomato juice into the jars, leaving a 1/2-inch headspace (space between the juice and the flat lid). Leave the correct headspace, or a false seal/siphoning may occur. Use a clean, damp kitchen towel to wipe any spills from the jar rims, which can affect the seal. Then, add a lid to each jar and screw on the screw bands until finger-tight (screwed until the point of resistance, but not too tight that air can’t escape during processing). Do this step fairly quickly, as the jars and liquid must remain hot to return to the canner.
Process the jars
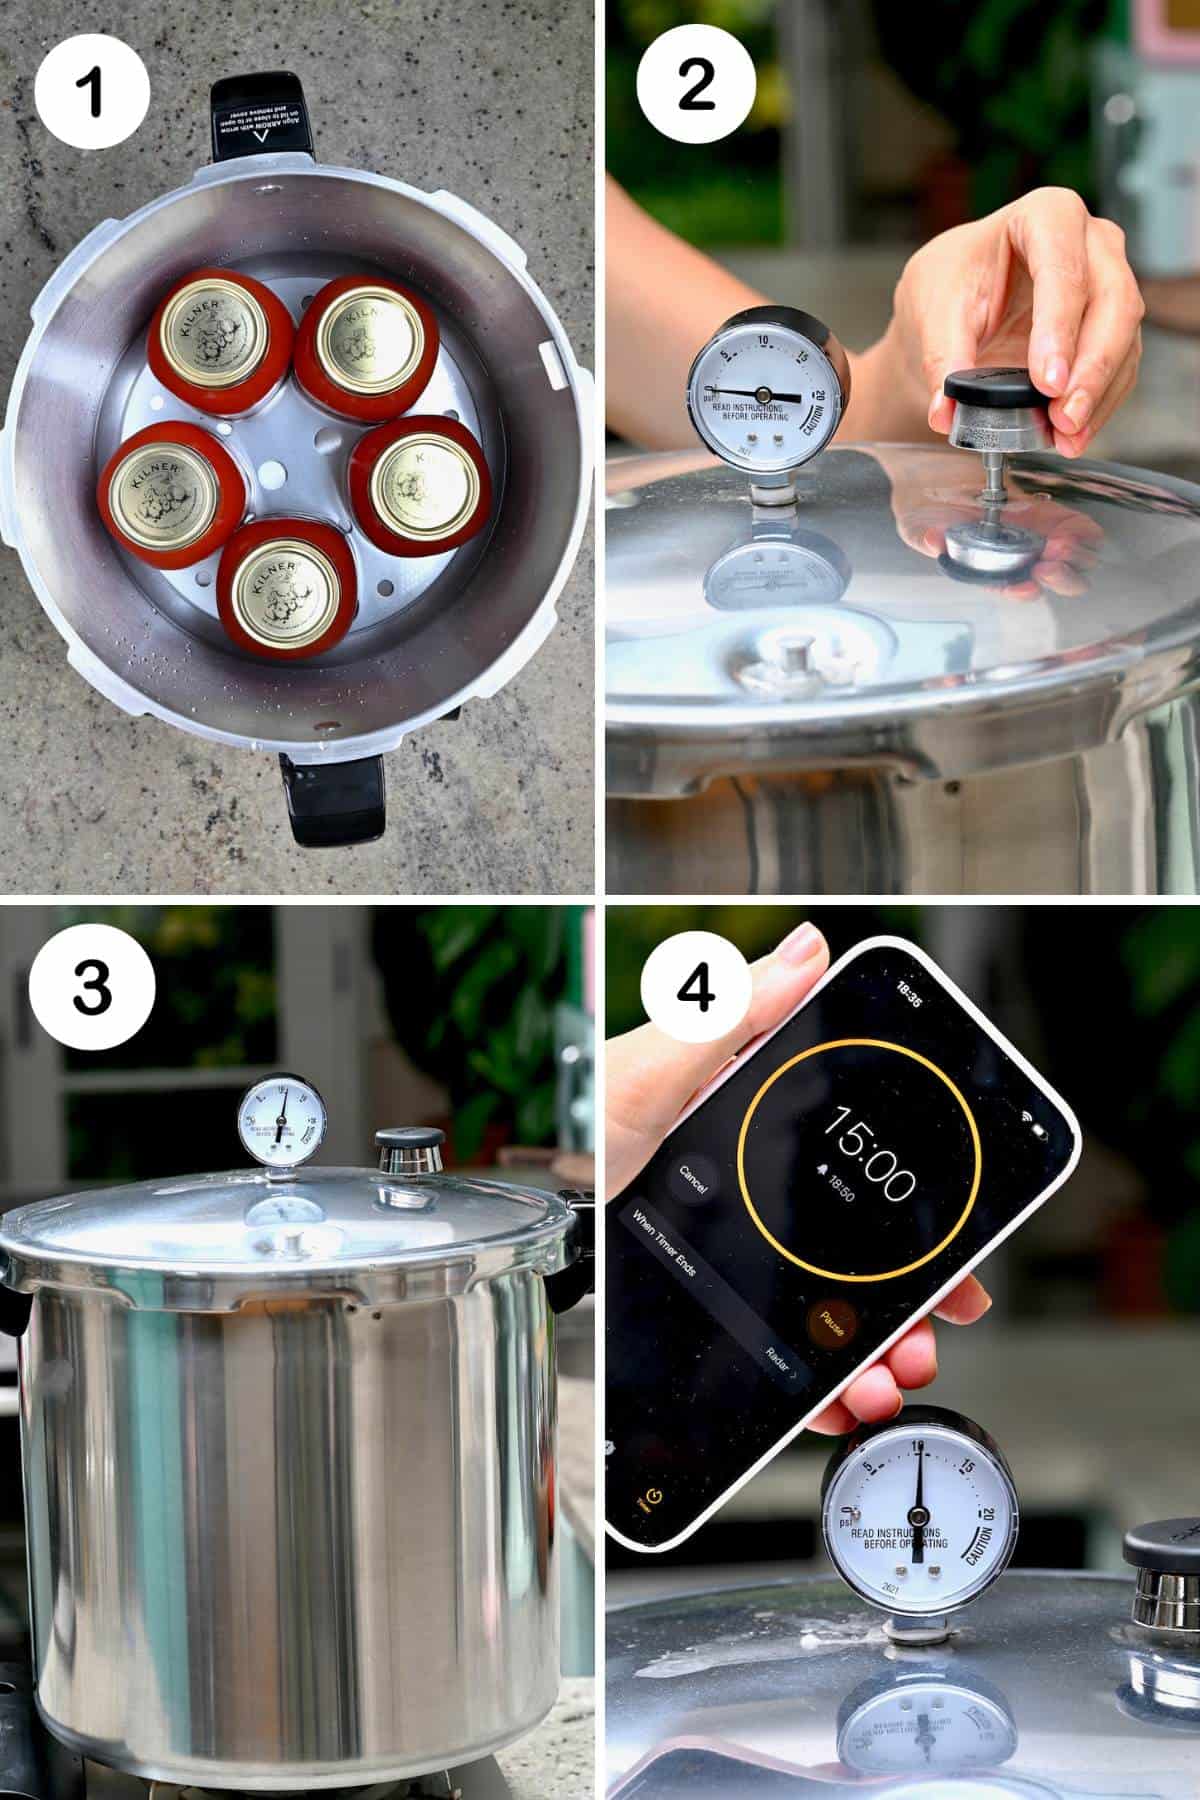
Fill the canner: Use canning tongs to transfer the filled jars to the canner, ensuring they remain vertical the entire time. Place them in a single layer, making sure they aren’t touching the sides of the pot or each other. Then proceed with your chosen method of canning. If you live in an area with hard water, add ¼-⅓ cup of vinegar to the canner water. This will stop calcification on the outside of the jars. Water bath canner tomato juice Cover the canner and bring it back to a rolling boil over medium-high heat. Once boiling, start a timer for 35 minutes for pint jars or 40 minutes for quart jars (if you live between 0-1000 feet altitude – adjust the time to your altitude according to USDA/National Center for Home Food Preservation guidelines as follows: When the timer goes off, take the canner off the heat and remove the lid. Leave it to sit for 5 minutes. Pressure canner tomato juice Lock the lid of the pressure canner, but ensure the pressure vent or petcock (depending on the type of canner you’re using) is still open. Then heat the canner over the highest heat until a steady stream of steam comes from the vent/petcock. Then, start a timer, allowing that to continue for 10 minutes. This venting step removes excess air from the canner, which is crucial for creating a “vacuum” to reach the correct temperature and pressure. Next, close the vent/petcock, allowing the pressure to build to 10 PSI (using a weighted gauge canner – it will jiggle/rock when ready) or 11 (using a dial gauge canner). Then, if using a dial gauge canner, reduce the heat slightly to maintain the correct pressure. Set a timer to process the jars for 15 minutes. Adjust the PSI and timing for higher altitudes. When using a dial gauge canner, you must monitor the heat so the pressure remains right at or slightly above the correct pressure level. If the pressure drops below the recommended level, you’ll need to bring it up again and restart the processing time. Once the timer goes off, remove the canner from the heat. Let it naturally depressurize to 0 psi, without touching it. Then, remove the weight from the vent port or open the petcock and leave it for 10 minutes. Finally, carefully remove the lid, facing it away from you to allow steam to escape in the other direction!
Final inspection
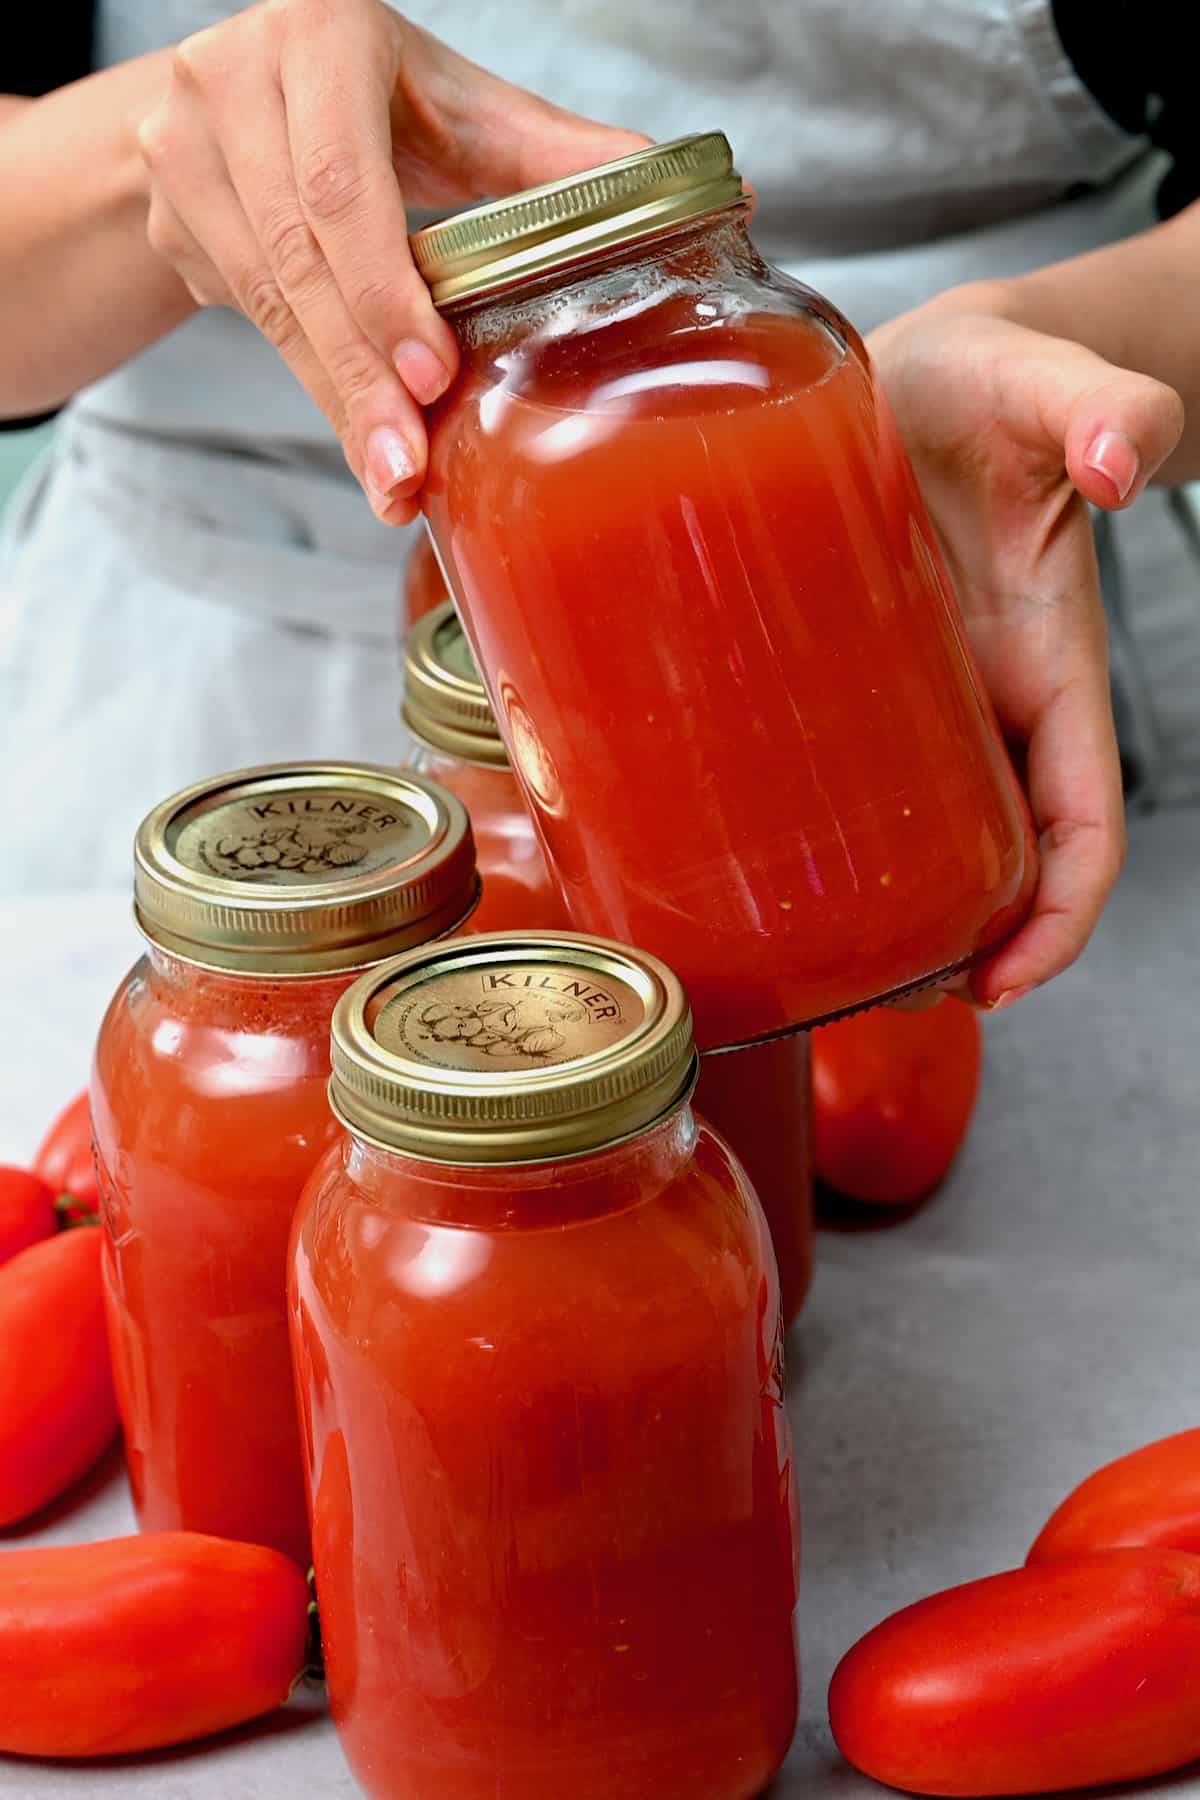
Leave the jars to cool then test their seal: Use the canning tongs to remove the jars from the canner, fully upright, and transfer them to a kitchen-towel-lined worktop (or wooden board). Transfer them to a heat-proof surface. Otherwise, you risk thermal shock and glass shattering/breaking. Leave an inch between each one. Leave the jars to cool at room temperature for 24 hours, completely untouched. While the jars cool, they will fully seal, making “pop” noises as they do. If you handle them, you risk ruining the seal or creating a fake one that unseals over time. Next, remove the screw bands from the jars and inspect the lids to ensure they’re fully sealed. It shouldn’t wobble/move, flex, or make popping noises when pressed in the center. If there are any unsealed jars, don’t panic. Reprocess them within 24 hours (use a new jar or lid if you think they may have cracks/be faulty). Alternatively, transfer them to the fridge and use the tomato juice within 2-3 days.
What can you do with leftover tomato pulp?
You can avoid wasting the leftover tomato pulp from juicing tomatoes in a few ways. Once opened, transfer any leftover tomato juice to the refrigerator to consume within 2-3 days or to the freezer for 6-8 months.
Add it to vegetable stock. Sauté the peel as a “topper” for pasta, pizza, and salads. Dehydrate the pulp (in the oven at the lowest temp for 2-3 hours, in a dehydrator, or at room temp in a warm, dry climate). Then, use a food processor for flakes or a coffee/spice grinder for tomato powder. Use the powder as a seasoning in soups, stews, savory porridge, popcorn, etc. Add a little salt & sugar to enhance the flavor. Save the tomato seeds to plant.
If you try canning tomato juice at home, let me know how it goes in the comments below. I’d appreciate a recipe card rating and would love to see your recipe recreations – tag me on Instagram @Alphafoodie! Some separation is completely normal – simply shake/stir it well.

