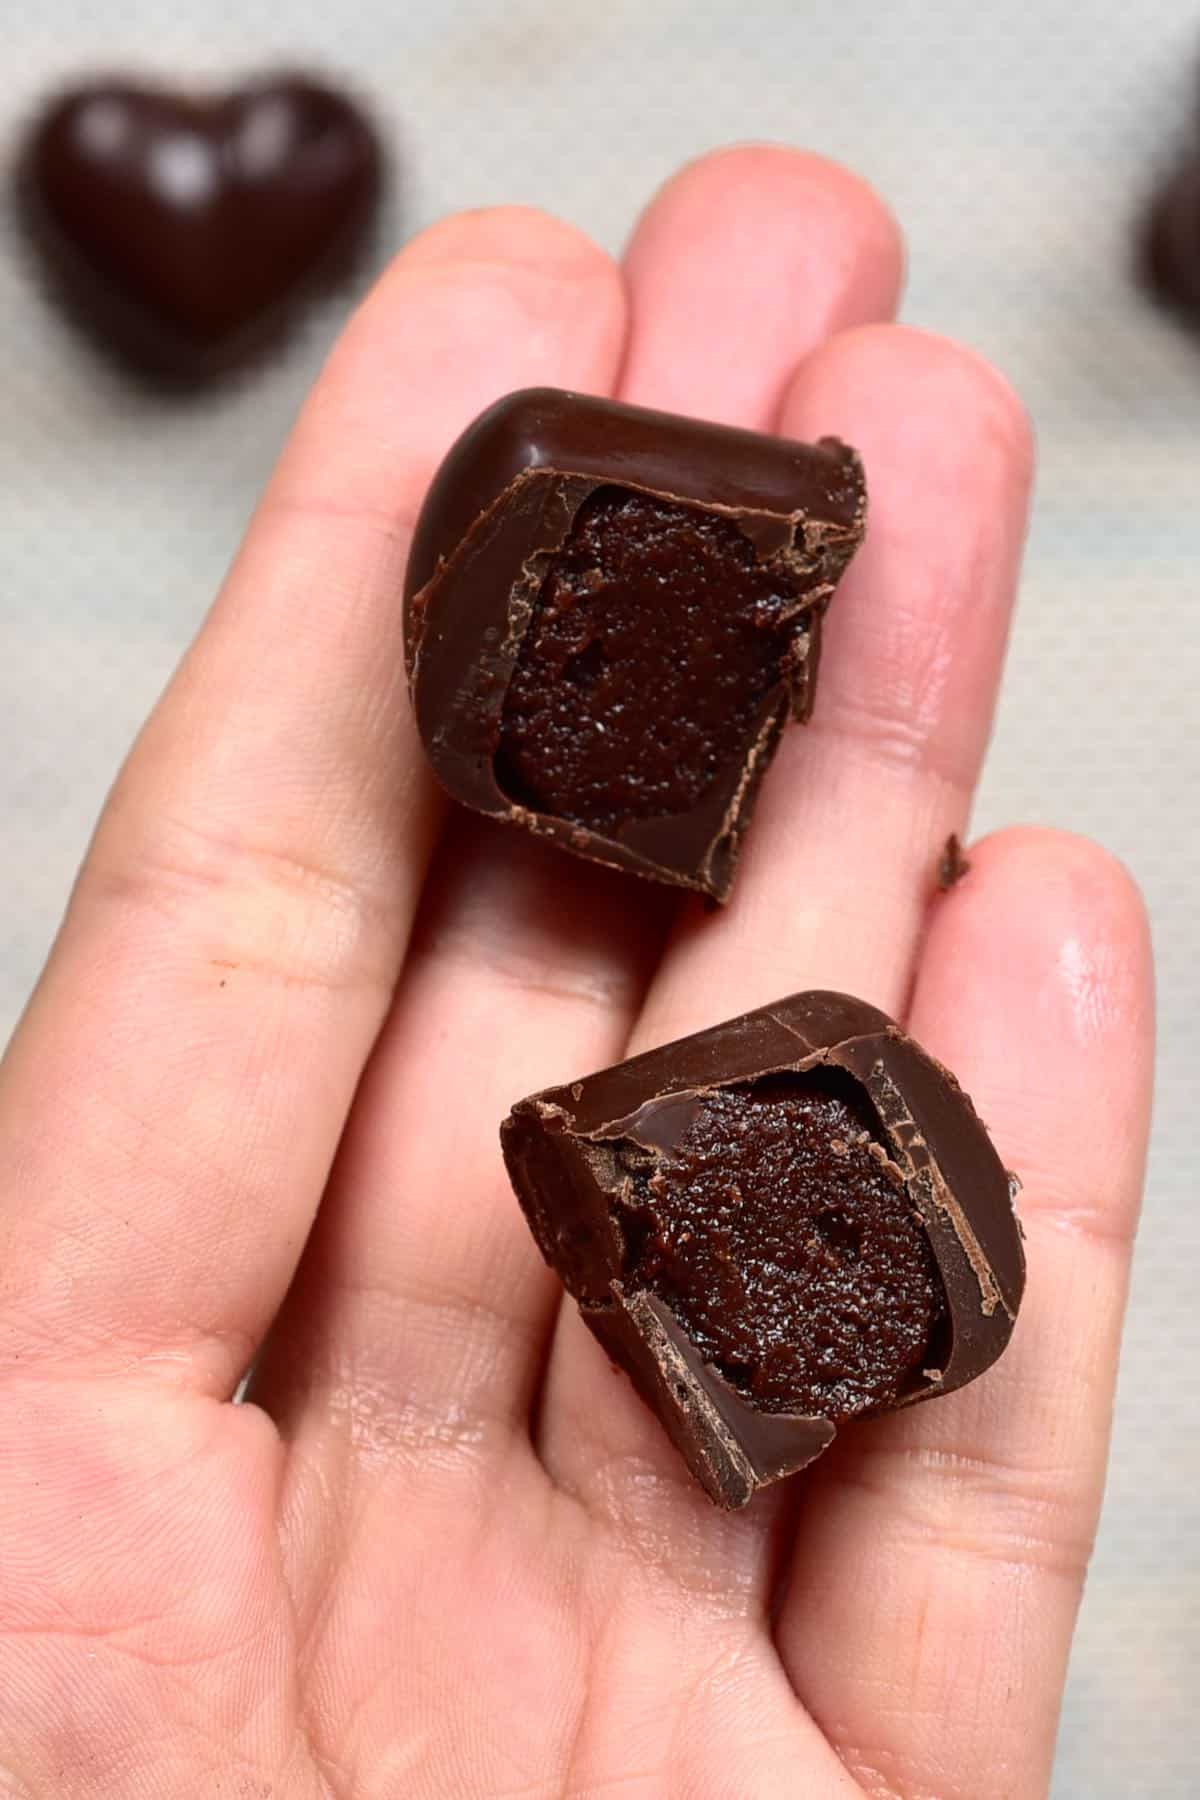
I love chocolate, you love chocolate, we all love chocolate! Okay, now that we’ve gotten that crucial part over with, let’s get into the juicy stuff – how to make vegan (or dairy!) chocolate candy at home so that these delicious, versatile homemade filled chocolates can impress friends and family! Even better – how to make CUSTOMIZABLE homemade chocolates – whether you want something light and healthy or more decadent and rich. I’ve already made several vegan chocolate candy bar ‘copycats’ – including Healthier Homemade snickers Bars (Vegan), Healthy Vegan Twix Bars (Caramel Chocolate Bar), and Healthy Coconut Candy Bars (Bounty Bar/ Mounds Bar). But why not make homemade vegan filled chocolates too?! As much as I love shore-bought bonbons and molded candy, these homemade chocolates come with several benefits:
First of all, they’re super versatile – great for making and gifting to those with all kinds of dietary requirements and personal tastes. Second, homemade chocolates ALWAYS work out so much cheaper than store-bought varieties (especially when making several shapes and fillings). Third, as I just said – you can let loose with your creativity here: get your chocolate molds of choice, fillings of choice, and create the perfect selection of chocolate bonbons for whoever will be eating them (including yourself, of course!).
Customizable Chocolate Candy With A Simple Method
There really are several ways to adapt this vegan chocolate recipe to your needs instantly, from changing the molds, the chocolate used, the fillings, etc. When it comes to choosing the chocolate molds. If it’s Christmas, pull out those Christmas trees, Santa Clause, snowman, etc., molds. For Valentine’s, little hearts will do. You can also keep it classic with round or geometric bonbon molds. The sky is the limit! You can also check my list of decadent Valentine’s Day desserts! As for the fillings – whenever you buy any box of chocolates, there’s nearly always that one or two flavors that no-one in the family wants. With this homemade chocolate candy, that’ll never happen! This post focuses on a lightly spiced chocolate cashew filling, but I’ve popped several other options and suggestions in this post too! Plus, you’ll be surprised at just how easy it is to create your own homemade filled chocolates – believe me, anyone can do it! All you need to do is melt your chocolate, create the shells, make and add the filling, top off the mold with more chocolate, and voila! Time to enjoy delicious, homemade chocolate candy.
The Ingredients
For The Chocolate Shell
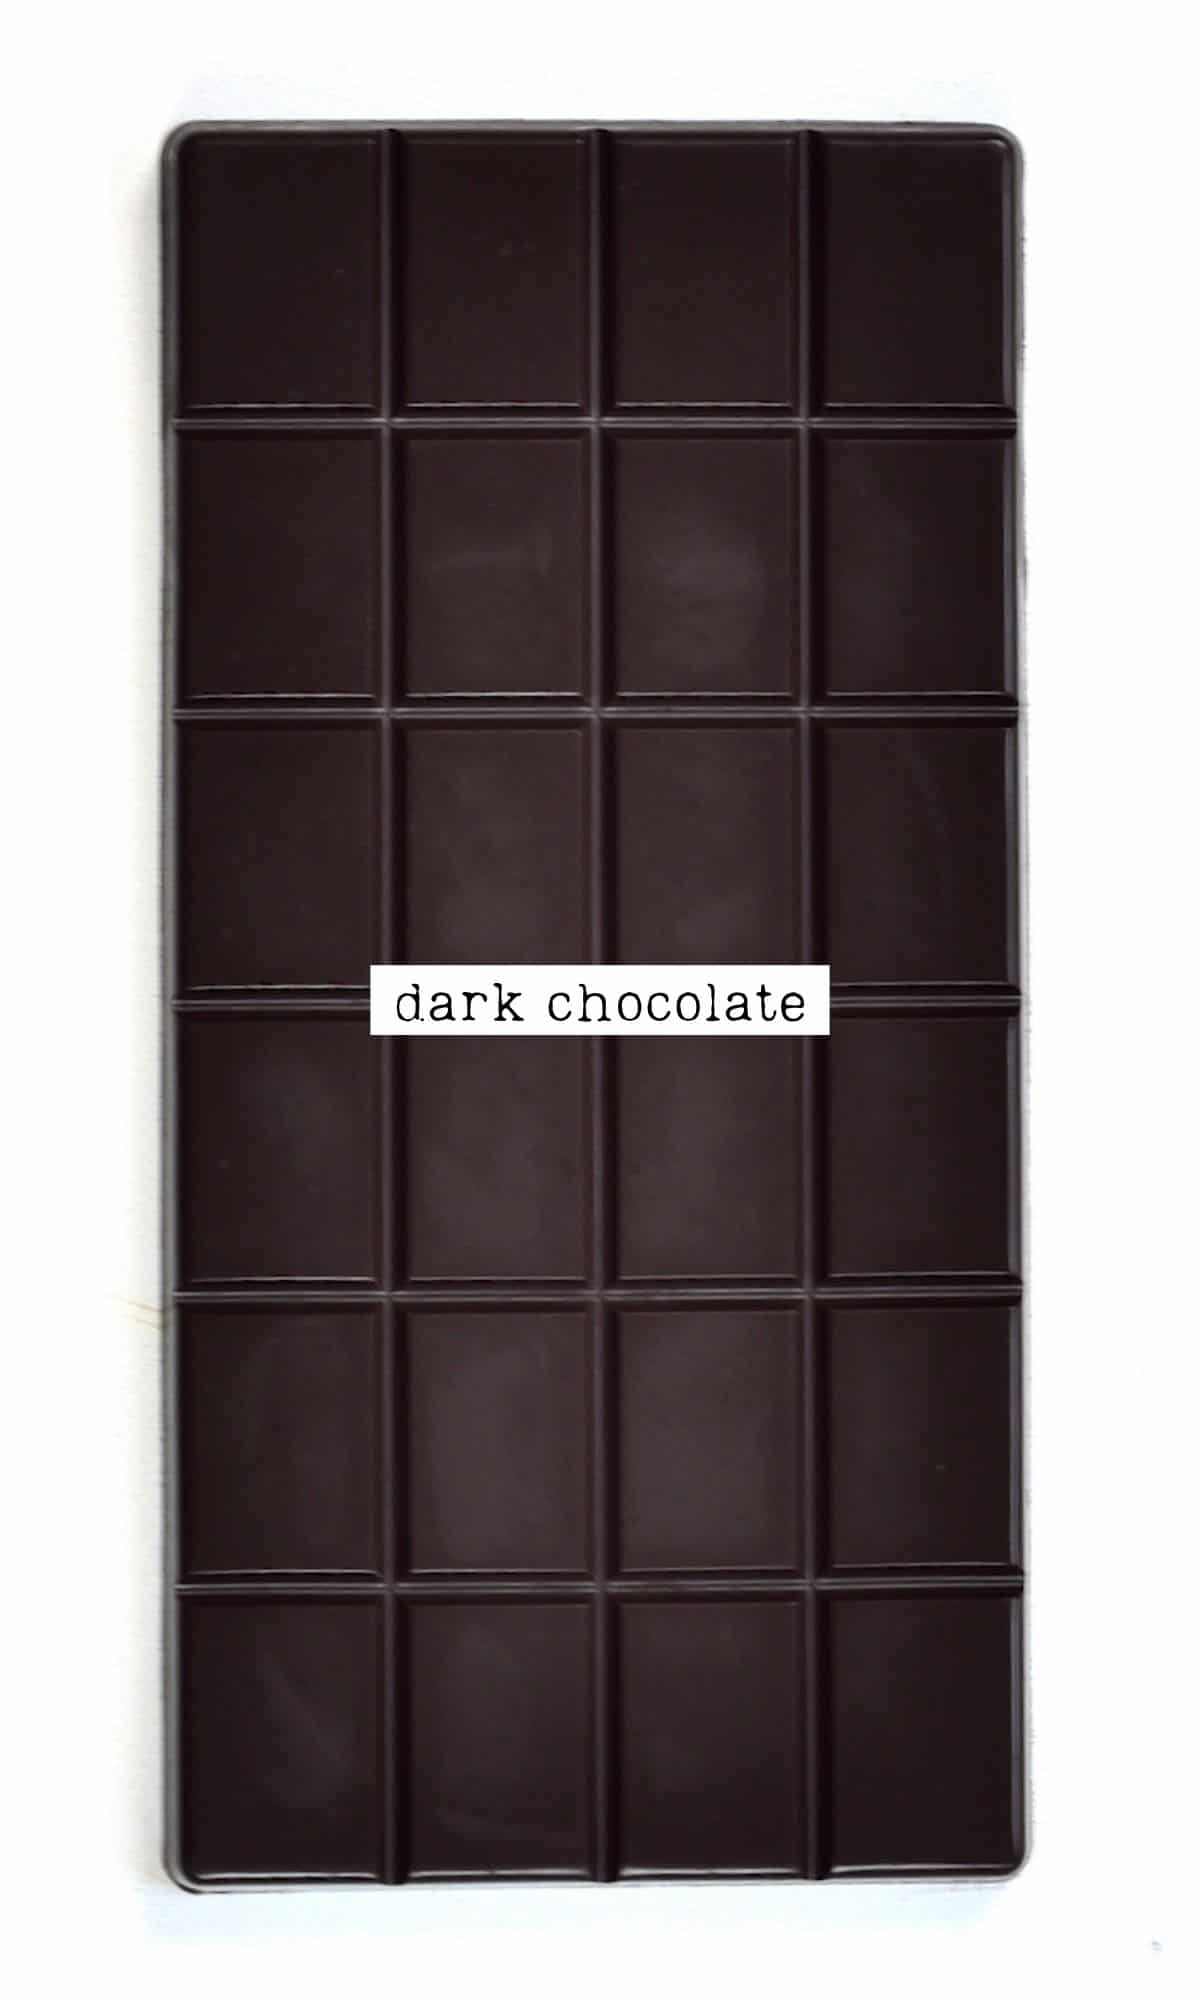
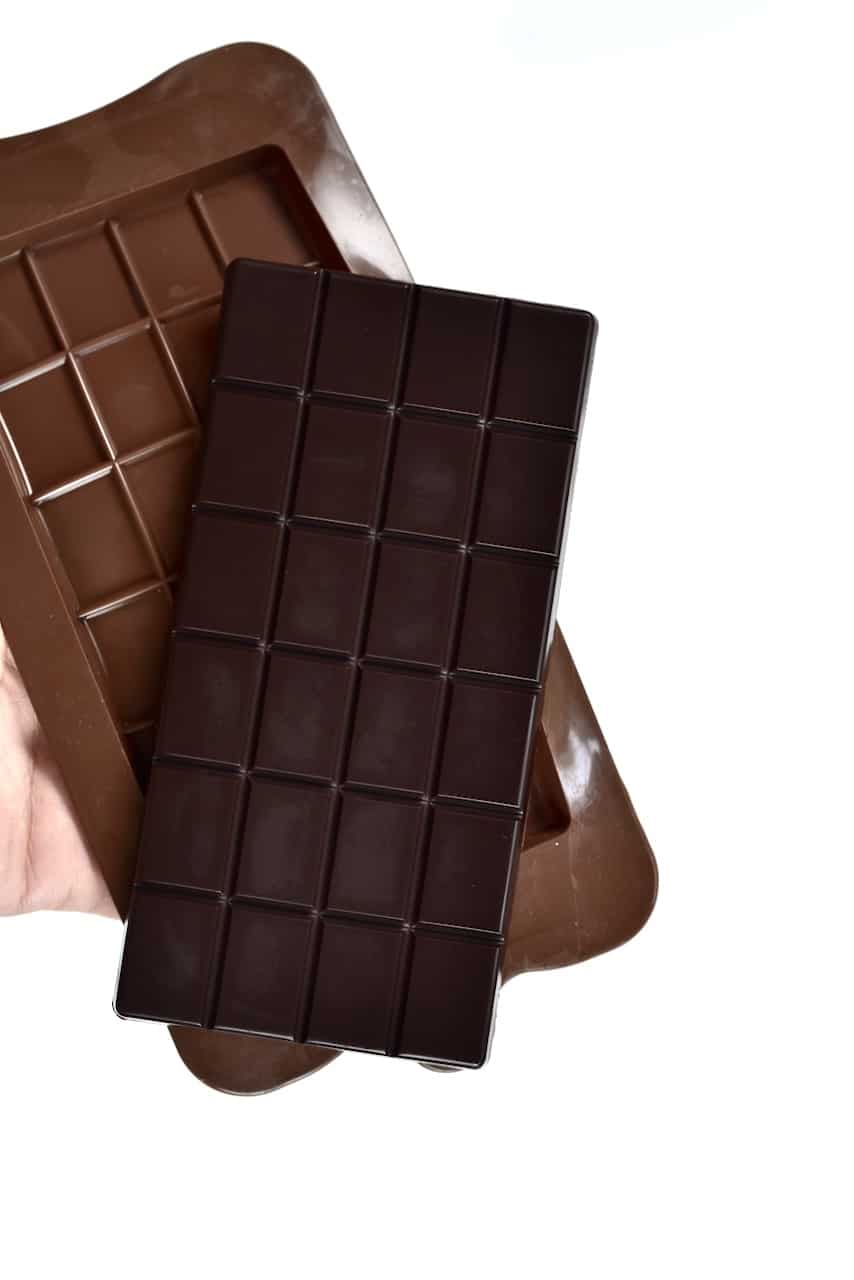
Chocolate – use good high-quality (pre-tempered) milk or dark chocolate that fits your dietary requirements. Or, even better, use homemade chocolate (milk or dark) – that way, you can be 100% in control, including sugar-free options!
For vegan chocolate candy, make sure to use a dairy-free brand of milk chocolate or dark chocolate. Some brands may not temper as well as others. I like dark chocolate candy for the contrast between the sweet filling and outer shell.
For The Filling
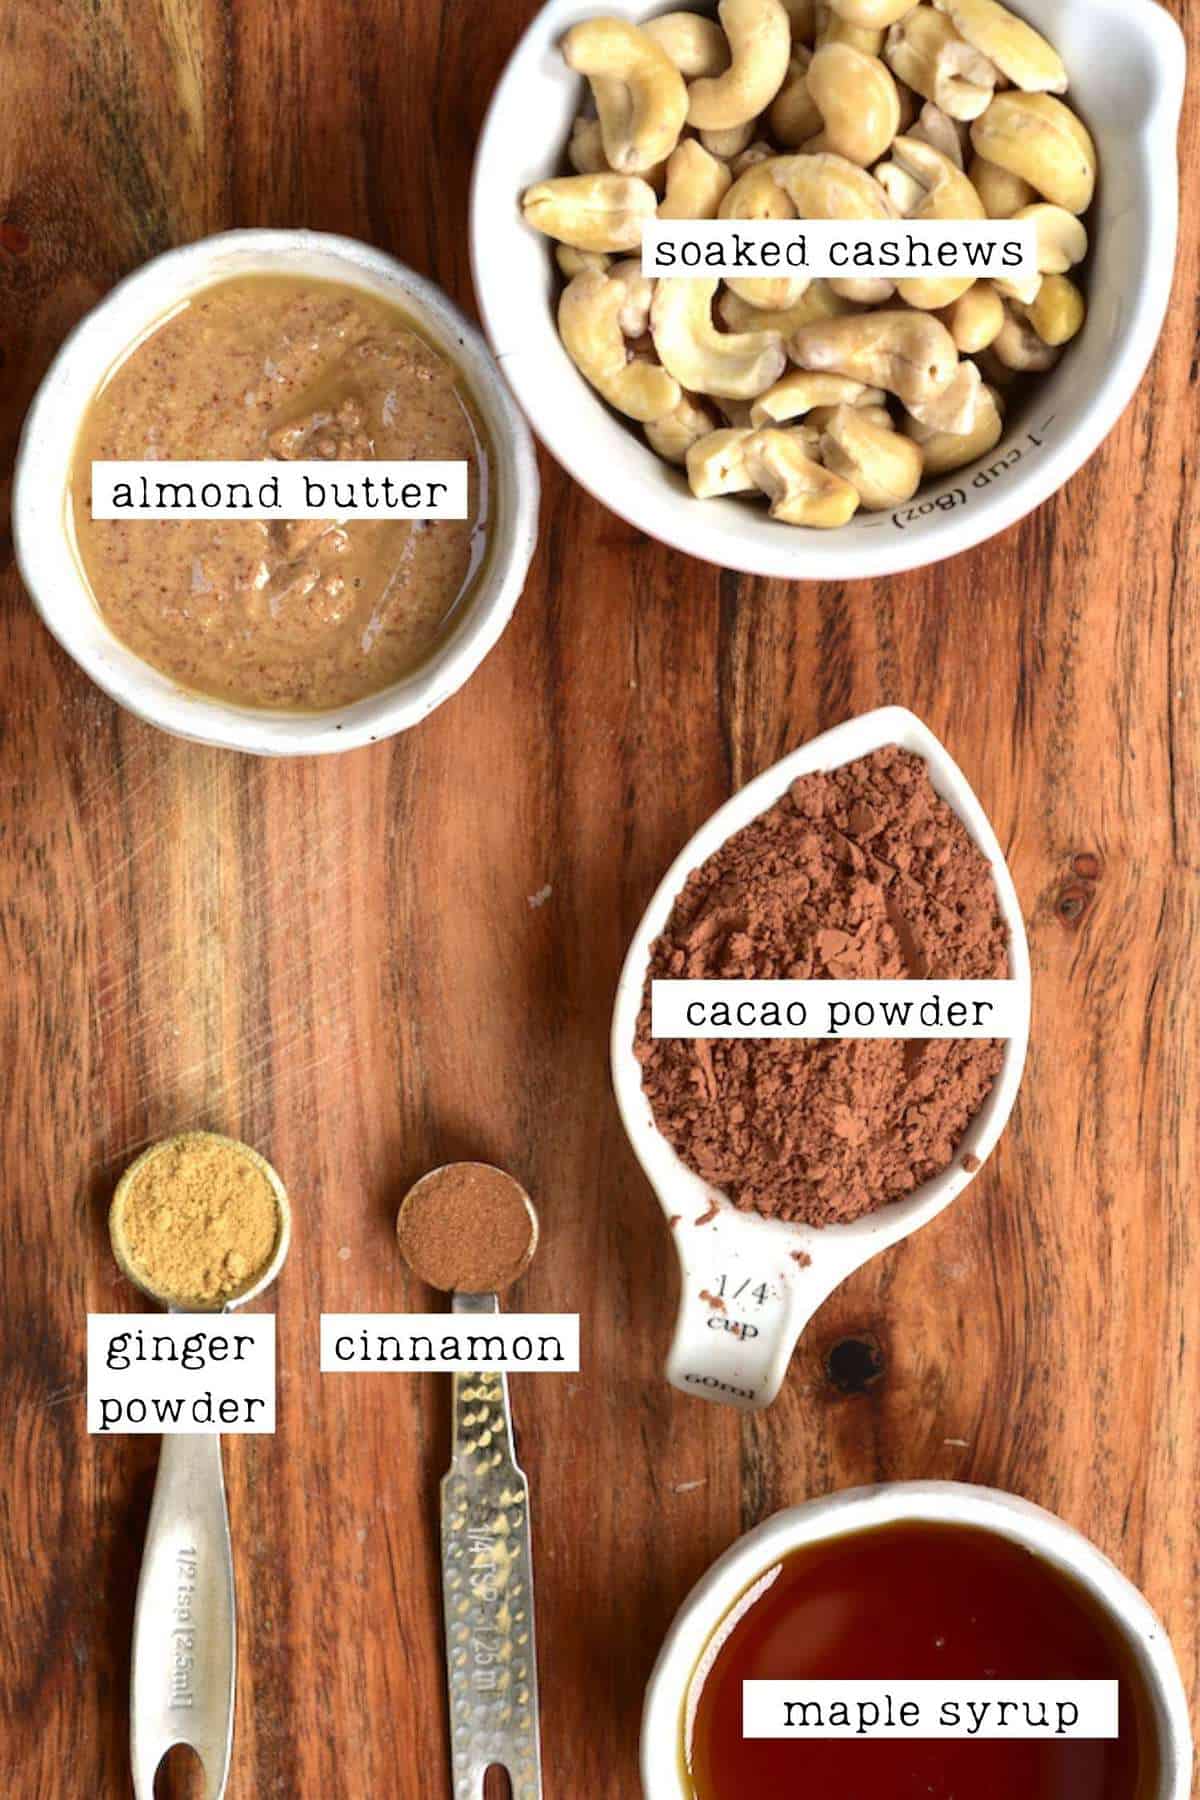
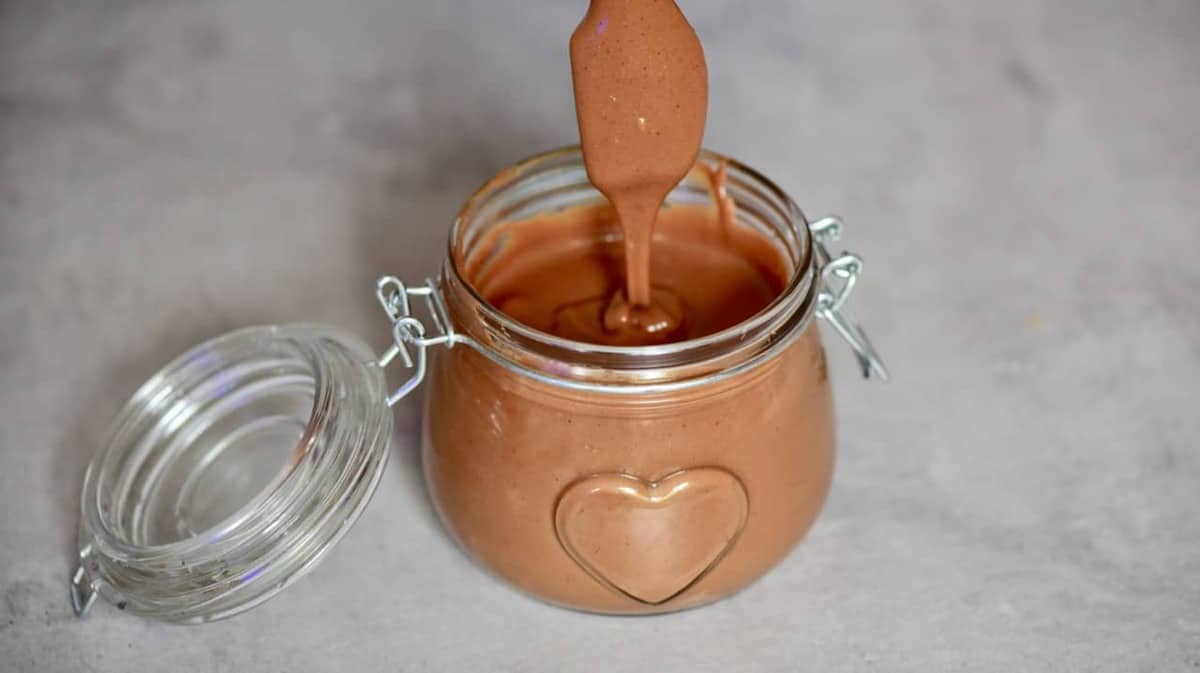
Soaked cashews: soak the cashews in room temperature water overnight, then drain, rinse, and they’re ready to use. Unsweetened cocoa powder Maple syrup: or another liquid sweetener of your choice – agave, etc. Use a sugar-free syrup for sugar-free molded candy. Nut butter of choice: you can use peanut, almond, cashew, etc. For a nut-free version, you could use seed butter instead. Spices: I used a combination of homemade ginger powder and cinnamon powder. You could sub this with pumpkin spice or gingerbread spice if preferred. Salt: just a pinch to enhance the flavors.
Note* This is naturally a vegan chocolate candy recipe. However, if you want to use milk chocolate or any dairy, feel free do to so- the method will remain the same.
Other Easy Chocolate Candy Filling Ideas
There are tons of different fillings to choose from when making this homemade chocolate recipe. Filled chocolates can be super sweet, decadent, rich, or healthy & light – it’s up to you!
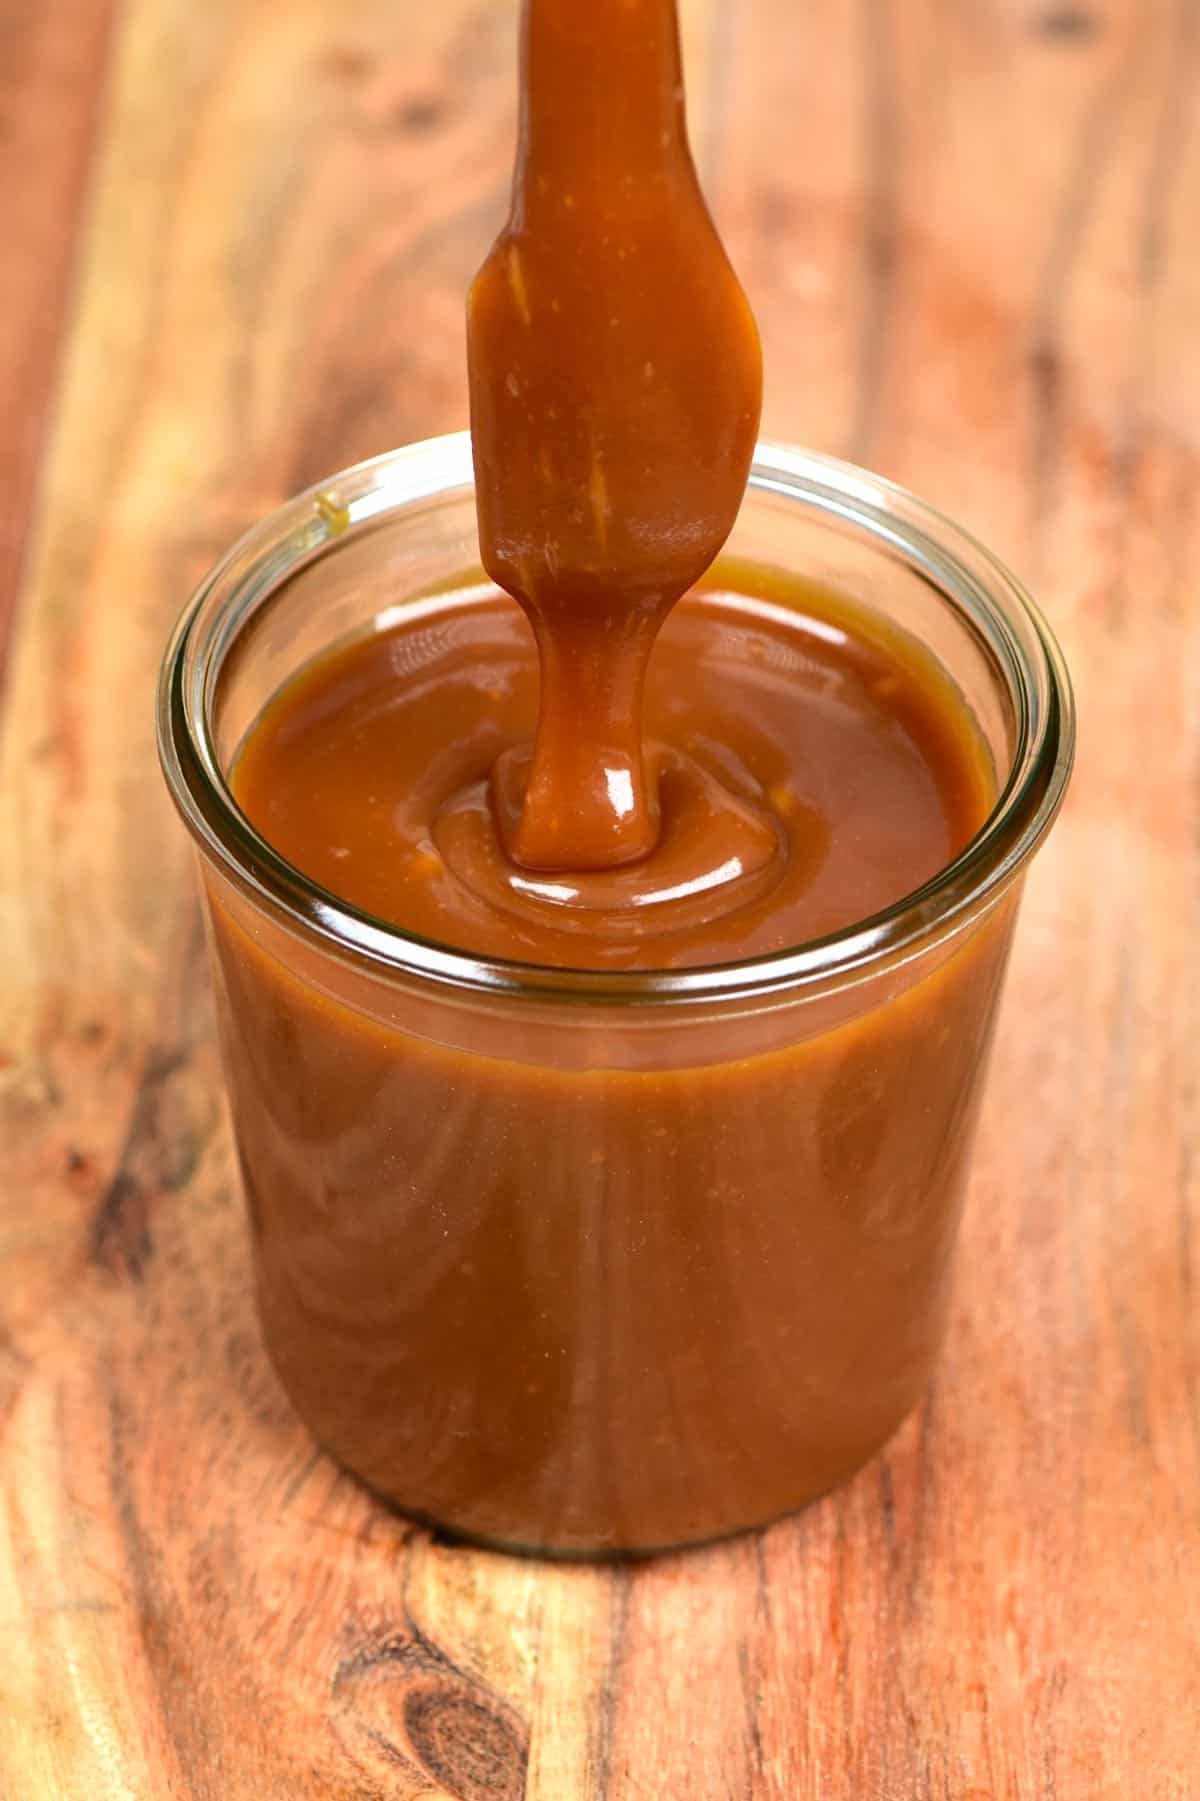
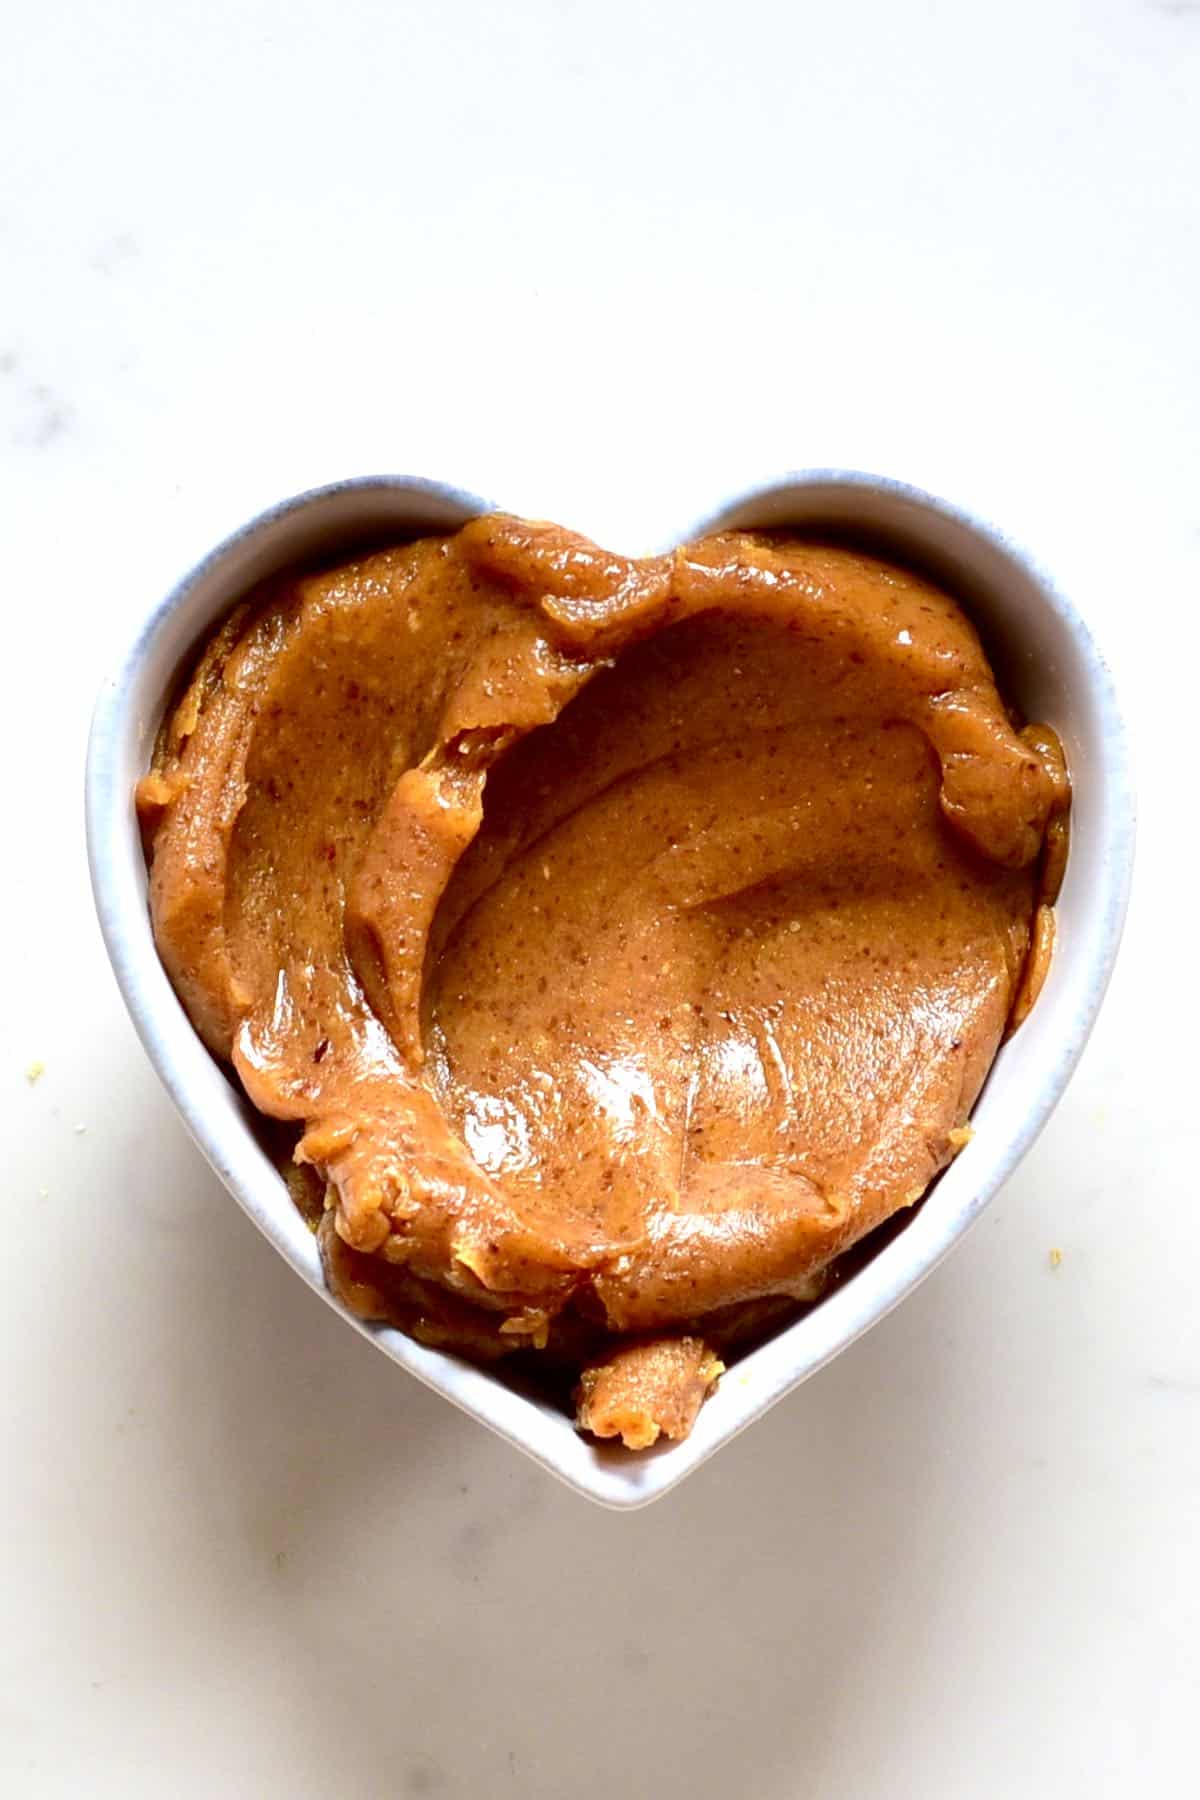
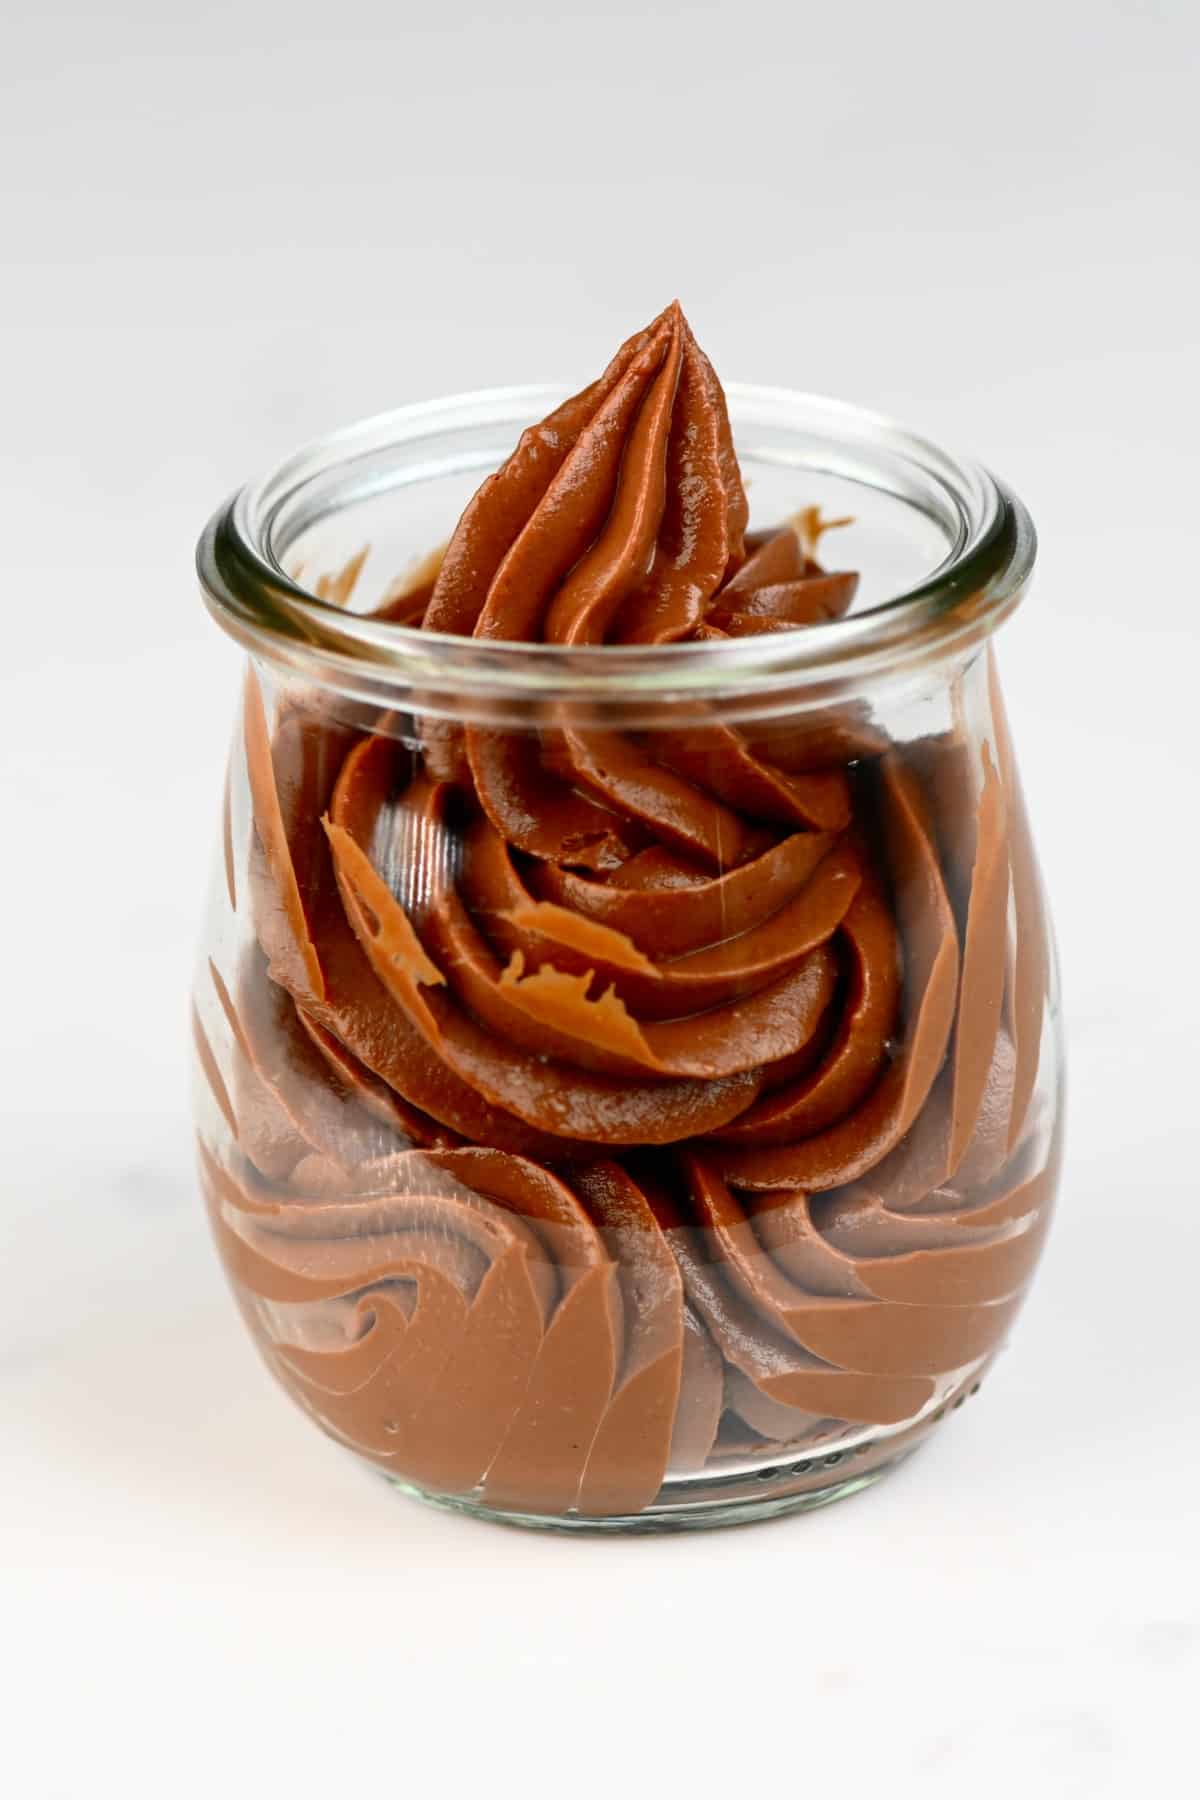
Homemade caramel sauce (also for salted caramel filling) – you can easily make this into various flavored caramels, too- pineapple, strawberry, chocolate, etc. This healthy date caramel. Homemade Nutella (vegan) – you can make it into more of a thicker ‘cream’ with a little icing sugar (don’t sweeten the spread in advance) This ‘bounty‘ coconut filling Fruit puree And – the classic option – chocolate ganache in various flavors.
You’ll Also Need
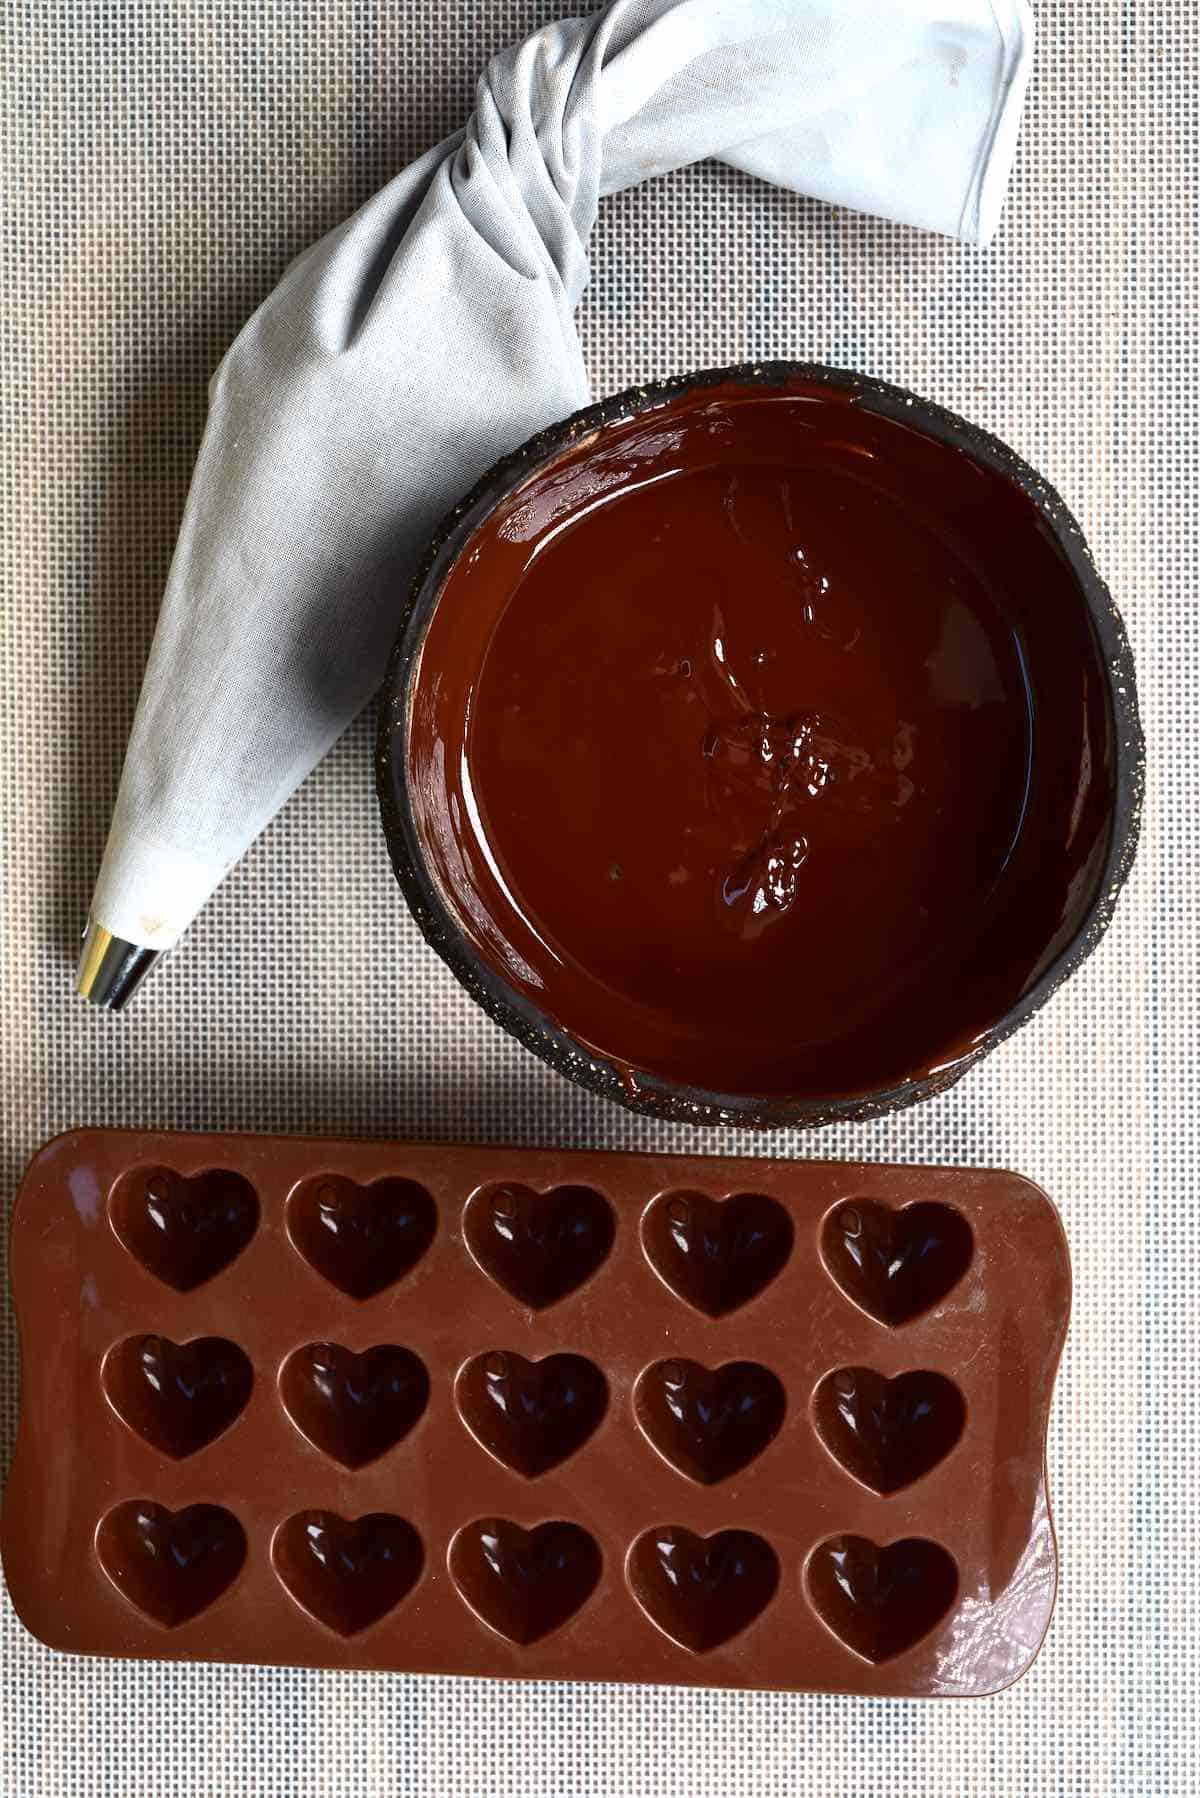
Chocolate molds – I find it easiest to use silicone molds for simple removal. You can also use ice-cube trays or hard chocolate molds (just note you need to use tempered chocolate then, or they won’t release from the mold). A piping bag – or a sandwich bag that you can snip into a makeshift piping bag for piping the filling into these filled chocolates. A bowl A spoon/spatula
How To Make Chocolate Candy (Filled Chocolates)
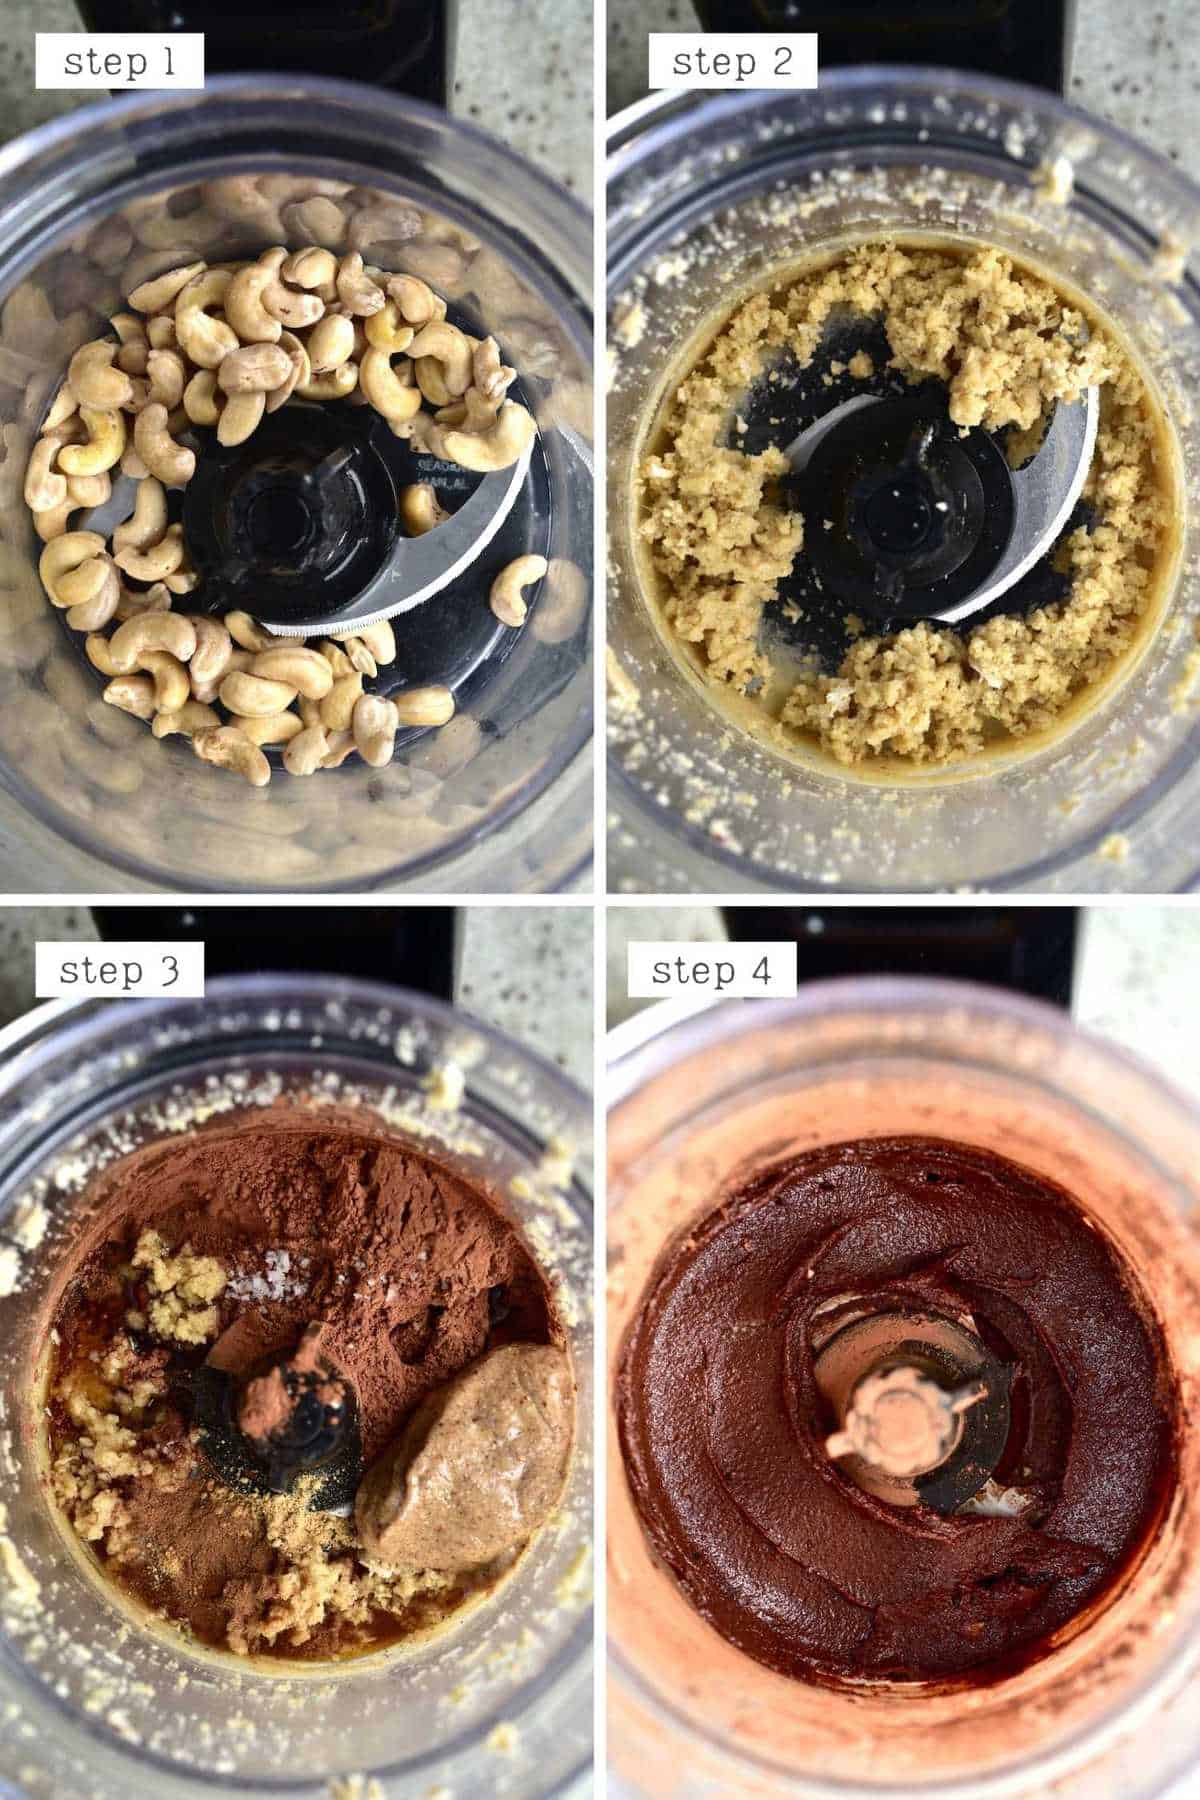
Step 1: Prepare the spiced cashew cocoa filling
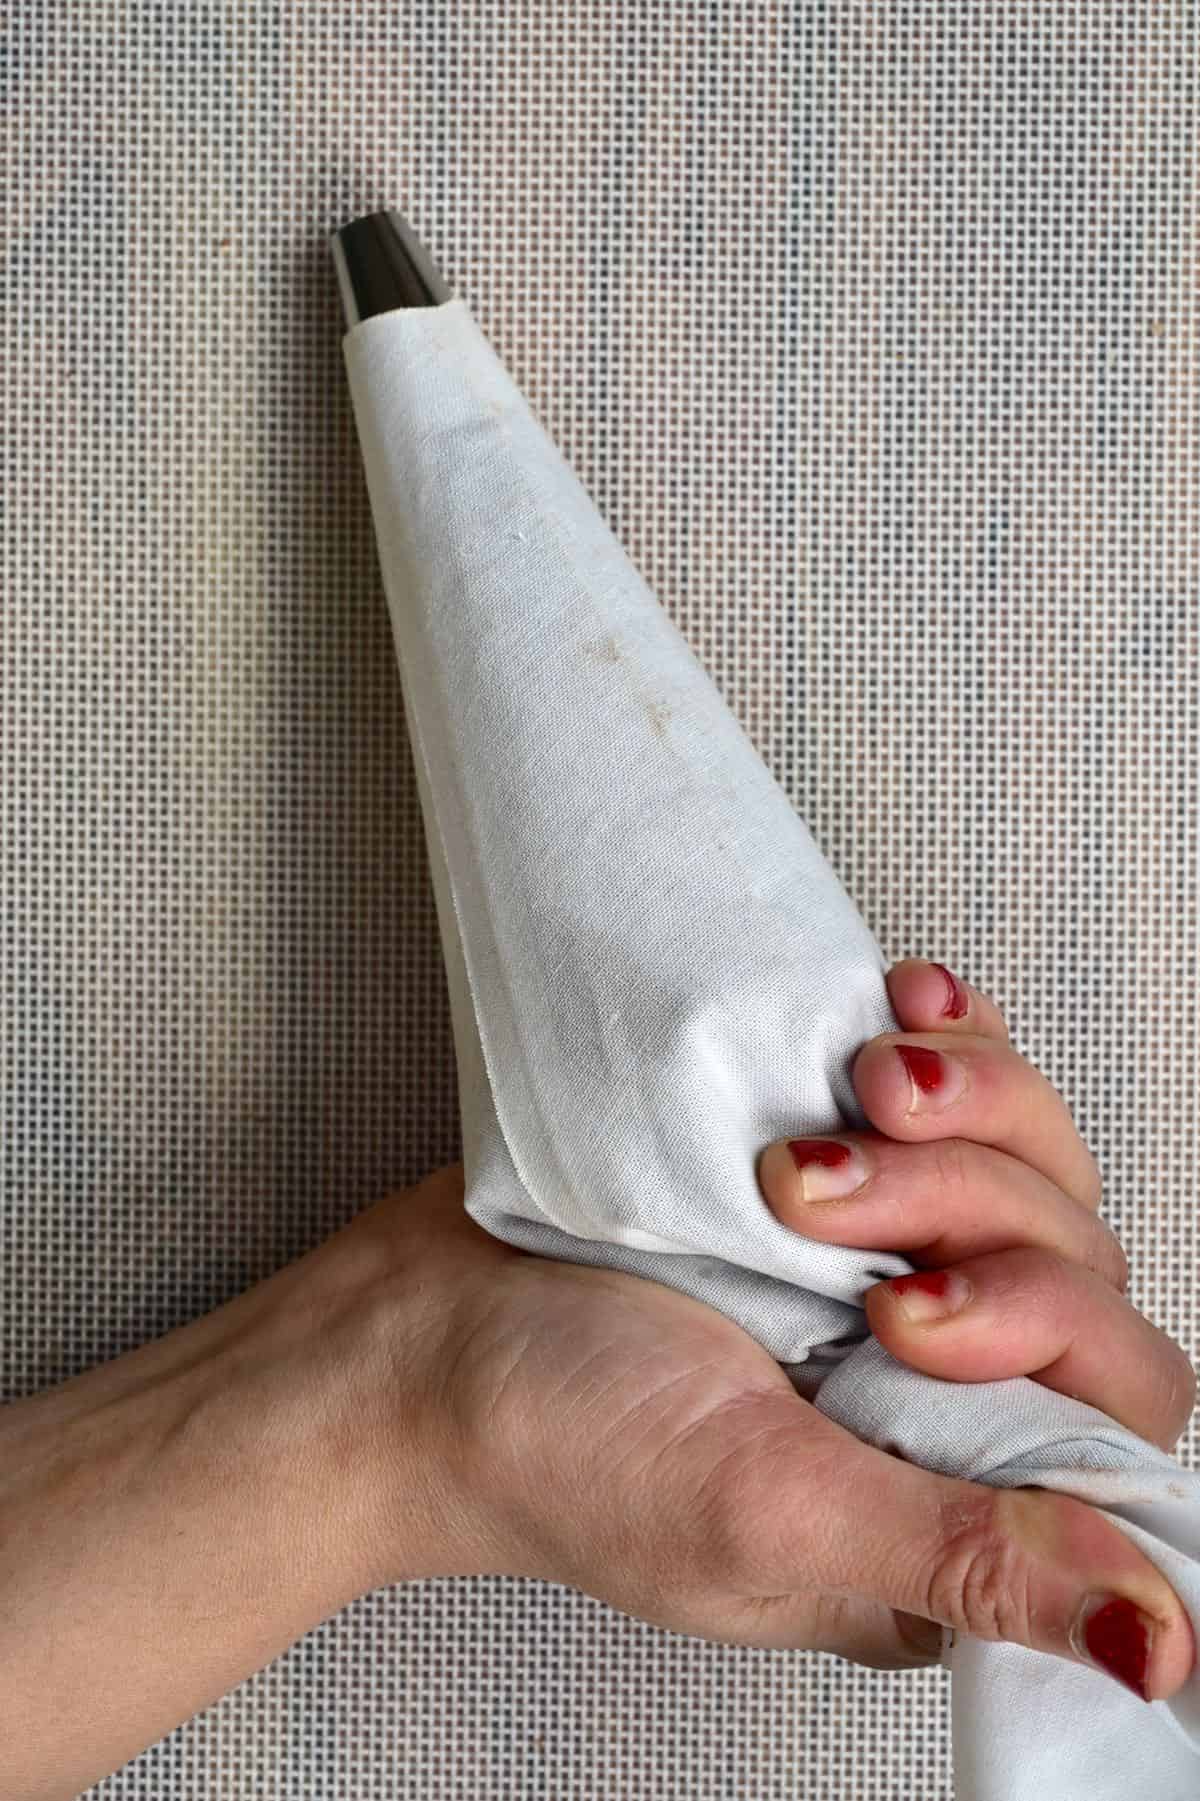
Blend the cashews into a slightly chunky paste before adding the remainder of the ingredients and blending until smooth. Try the filling and add more spices if preferred. Then, transfer the filling to a piping bag. I like to do this by placing the piping bag in a tall glass and folding it over the glass rim, then using a silicone spatula to press the filling down into the bag.
Step 2: Melt the chocolate
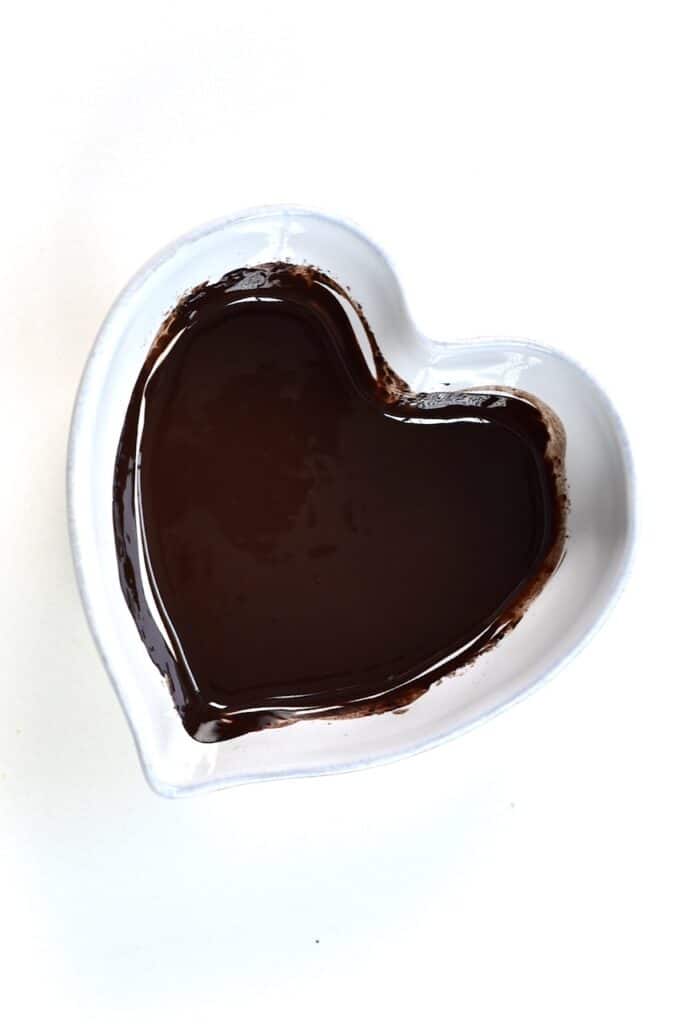
If you’re using silicone molds and aren’t worried about tempering the chocolate for a nice, shiny shell, simply melt your chocolate either in the microwave (in 10-15 second spurts) or with a double boiler method (bain-marie). For a double-boiler, place the chocolate in a bowl over a pan on simmering water – make sure the water isn’t touching the bottom of the bowl. Stir until the chocolate has melted – but be careful not to get ANY water in the chocolate, or it can cause it to seize. If I want to have tempered chocolate, then I find it easiest to use pre-tempered chocolate and heat it in the microwave, making sure that it doesn’t go over the temperature required to break the temper. For milk chocolate, that’s 84-86°F/28-30ºC, and for dark chocolate, that’s 88-90°F/31-32ºC.
Step 3: Create the molded candy chocolate shells
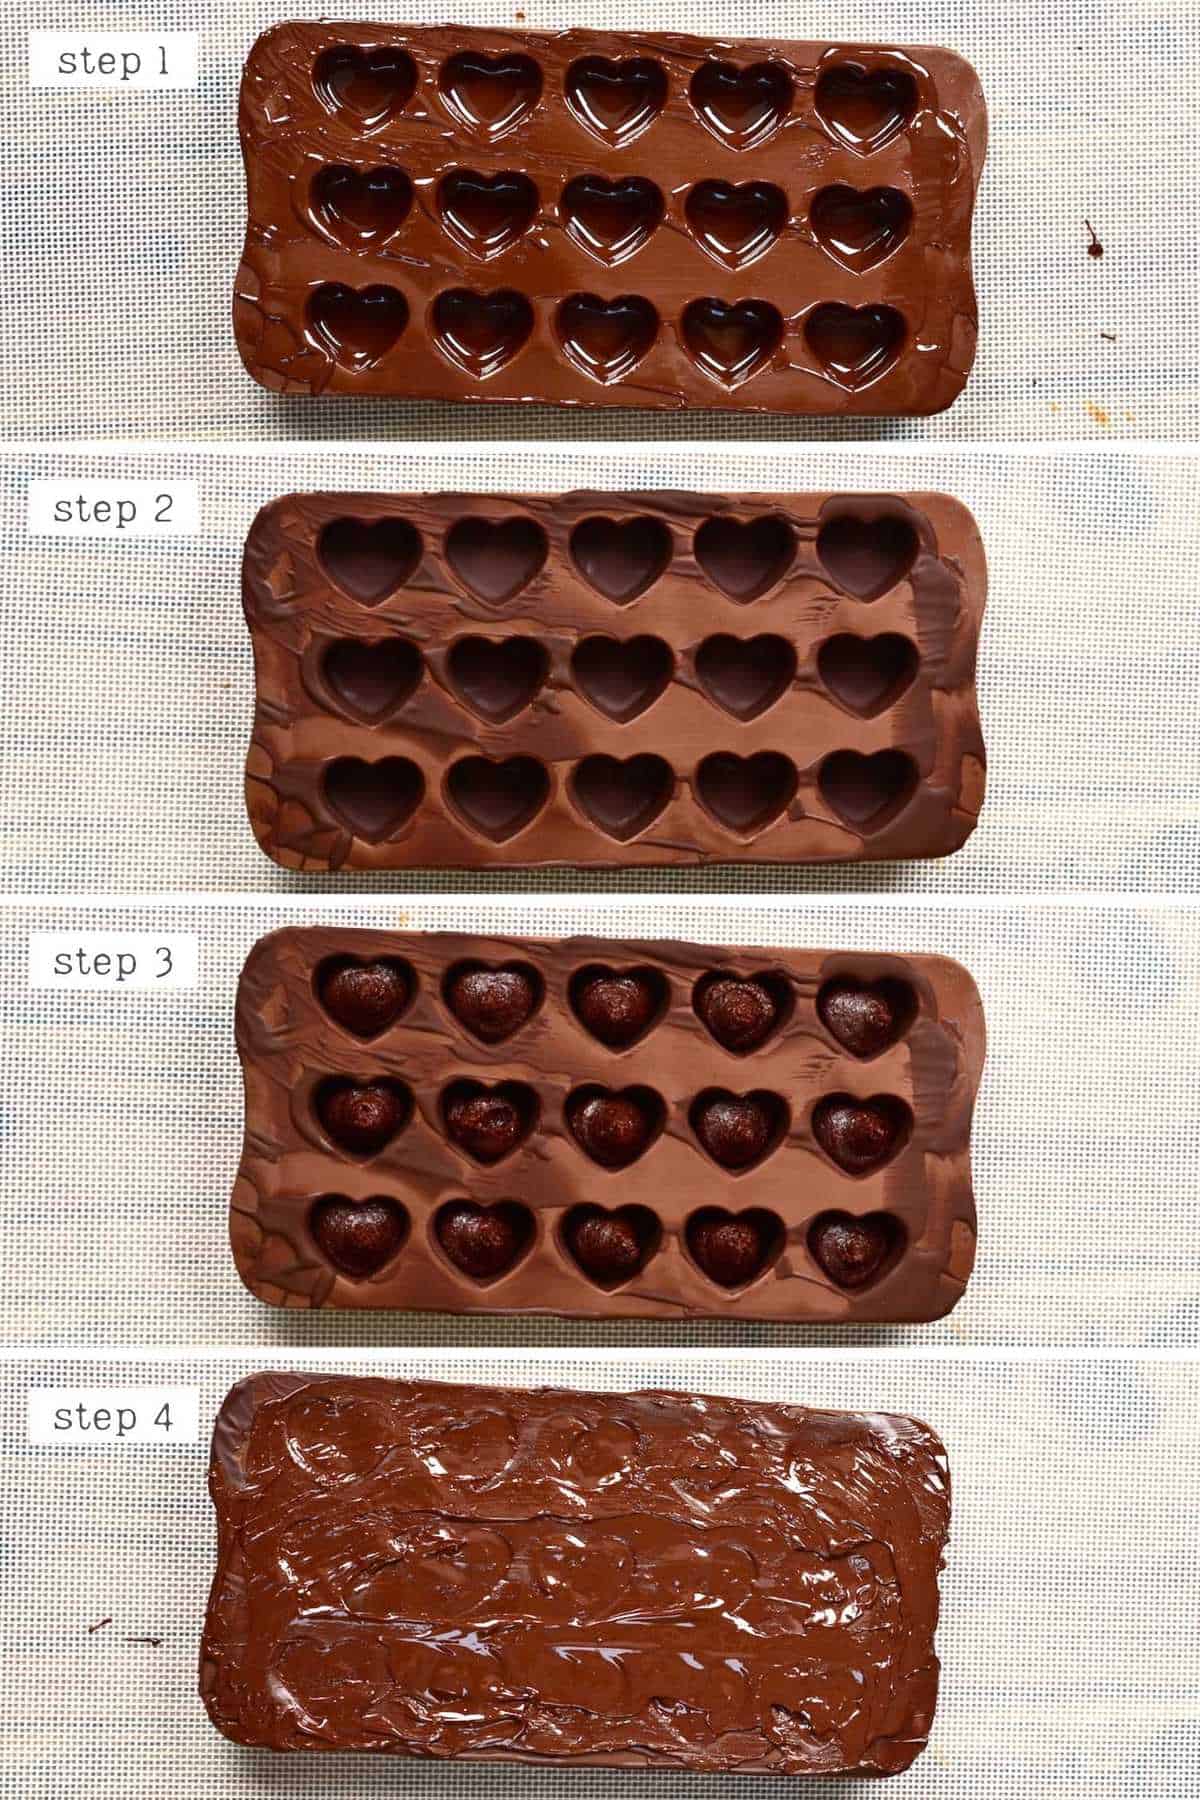
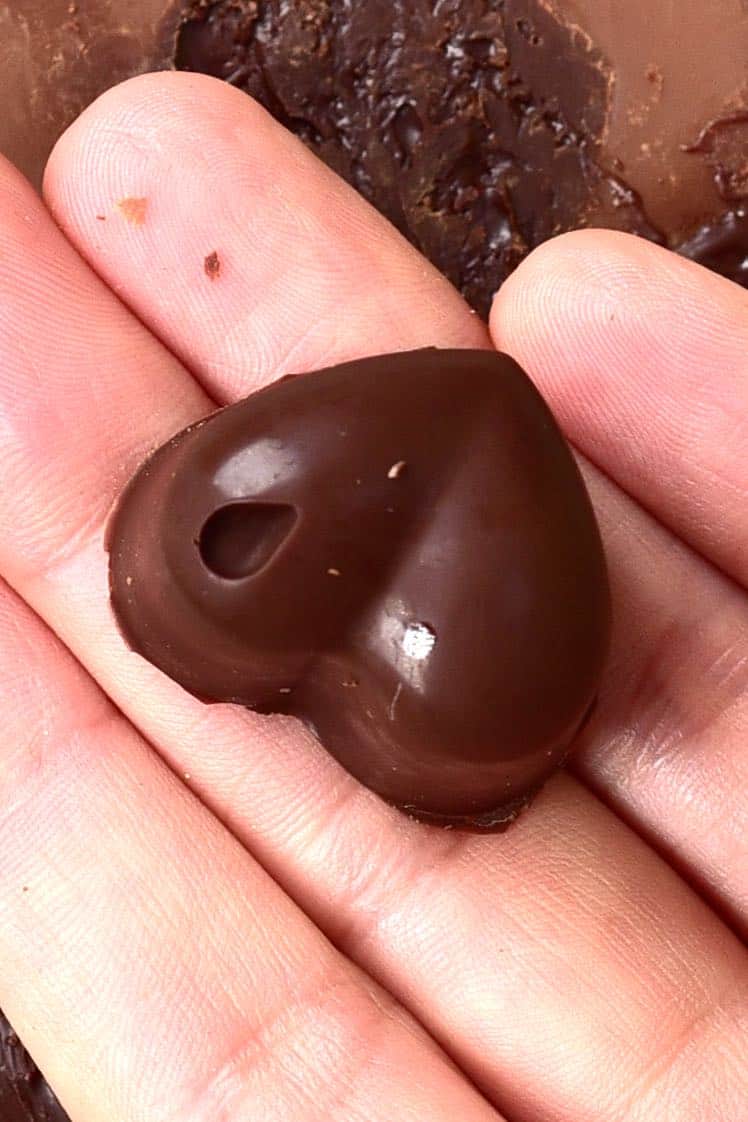
I used a small heart-shaped mold this time and suggest using similar fairly small 1-2 bite-sized molds. Pour a layer of chocolate into the silicone mold, swirling it around to cover all surfaces. Alternatively, you can melt enough chocolate to fill all of the molds, then turn the mold over onto parchment paper, allowing all the excess to fall out. When using this method, one go is usually enough. I left mine fairly messy on top of the mold, though it can be handy to use a bench scraper or similar tool to scrape away any excess chocolate before it goes in the freezer. Place the mold in the freezer for just a few minutes to allow the chocolate to harden. Then, if you think you need another layer – repeat the previous steps.
Step 4: Fill and top the Chocolate Candy
Pipe the cacao cashew mix into the chocolate molds. Don’t fill it all the way to the top, as you’ll be pouring more chocolate over the top. If your piping bag created a little ‘peak’ at the top of the filling, you could use a damp finger to just press them down into the mold. Then, cover the remainder of the mold with more chocolate and allow the vegan chocolate candy to set in the fridge/freezer (usually 10-15 minutes). For more precise chocolate bonbons, you can once again use a bench scraper to create very neat edges and get rid of any excess chocolate on top of the mold. Once the filled chocolates have hardened/set, enjoy them immediately or store them for later!
To Store
Store these homemade chocolates in an airtight container in the refrigerator for up to 2 weeks (with the nut chocolate filling). The fillings you use will vary the shelf life, and some may last months at room temperature. You can also store the vegan chocolate candy in the freezer for 2-3 months. Allow them to thaw in the refrigerator before eating.
Recipe Notes
If you decide to use a softer filling, it may help to chill it in the refrigerator/freezer to solidify more before pouring over the final coat of chocolate on the chocolate bonbons. You may need to use a pastry brush to help you create the chocolate shell for the molded candy – especially when using molds that are more ‘complicated’ in shape. You can use professional chocolate polycarbonate bonbon molds. However, if you’re a beginner to chocolate making, it’s easiest to use silicone molds for easy removal.
Other Chocolate Recipes
DIY Healthy Dark ChocolateSimple Chocolate Pastry Cream (Creme Patissiere)One-Minute Vegan Chocolate Mug CakeVegan Avocado Chocolate Mousse CupsHomemade Hot Chocolate Mix (+ Variations)How To Make White ChocolateHow To Make Milk ChocolateSimple Hot Cocoa Recipe (+ Hot Chocolate Bar Ideas)The Ultimate Indulgent Fudgy Brownies
If you try this homemade filled chocolates (vegan chocolate candy) recipe, then let me know your thoughts and questions in the comments. I’d also really appreciate a recipe rating and would love to see your recreations – just tag @AlphaFoodie.


