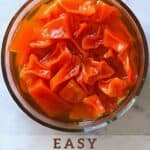
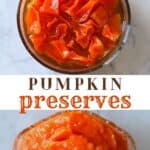
How to preserve pumpkin two ways: candied and jam
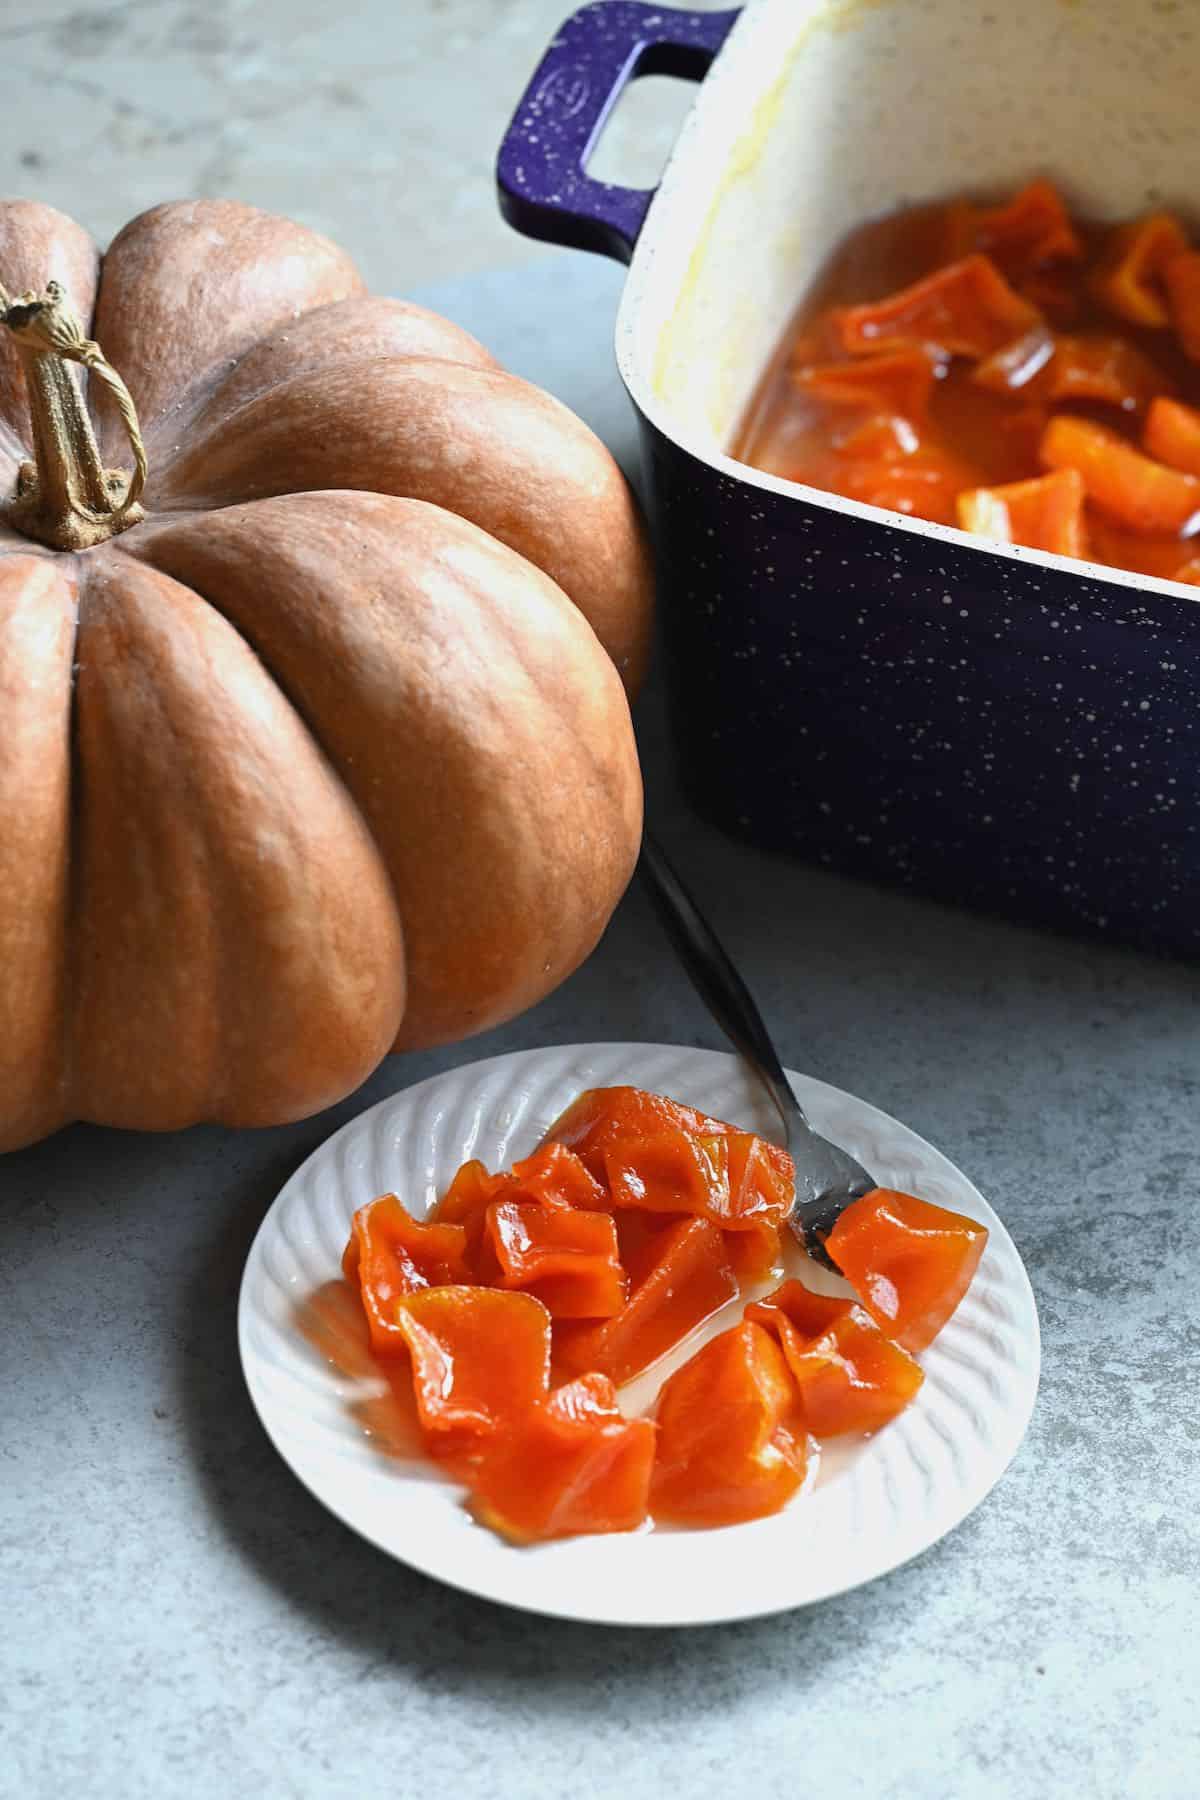
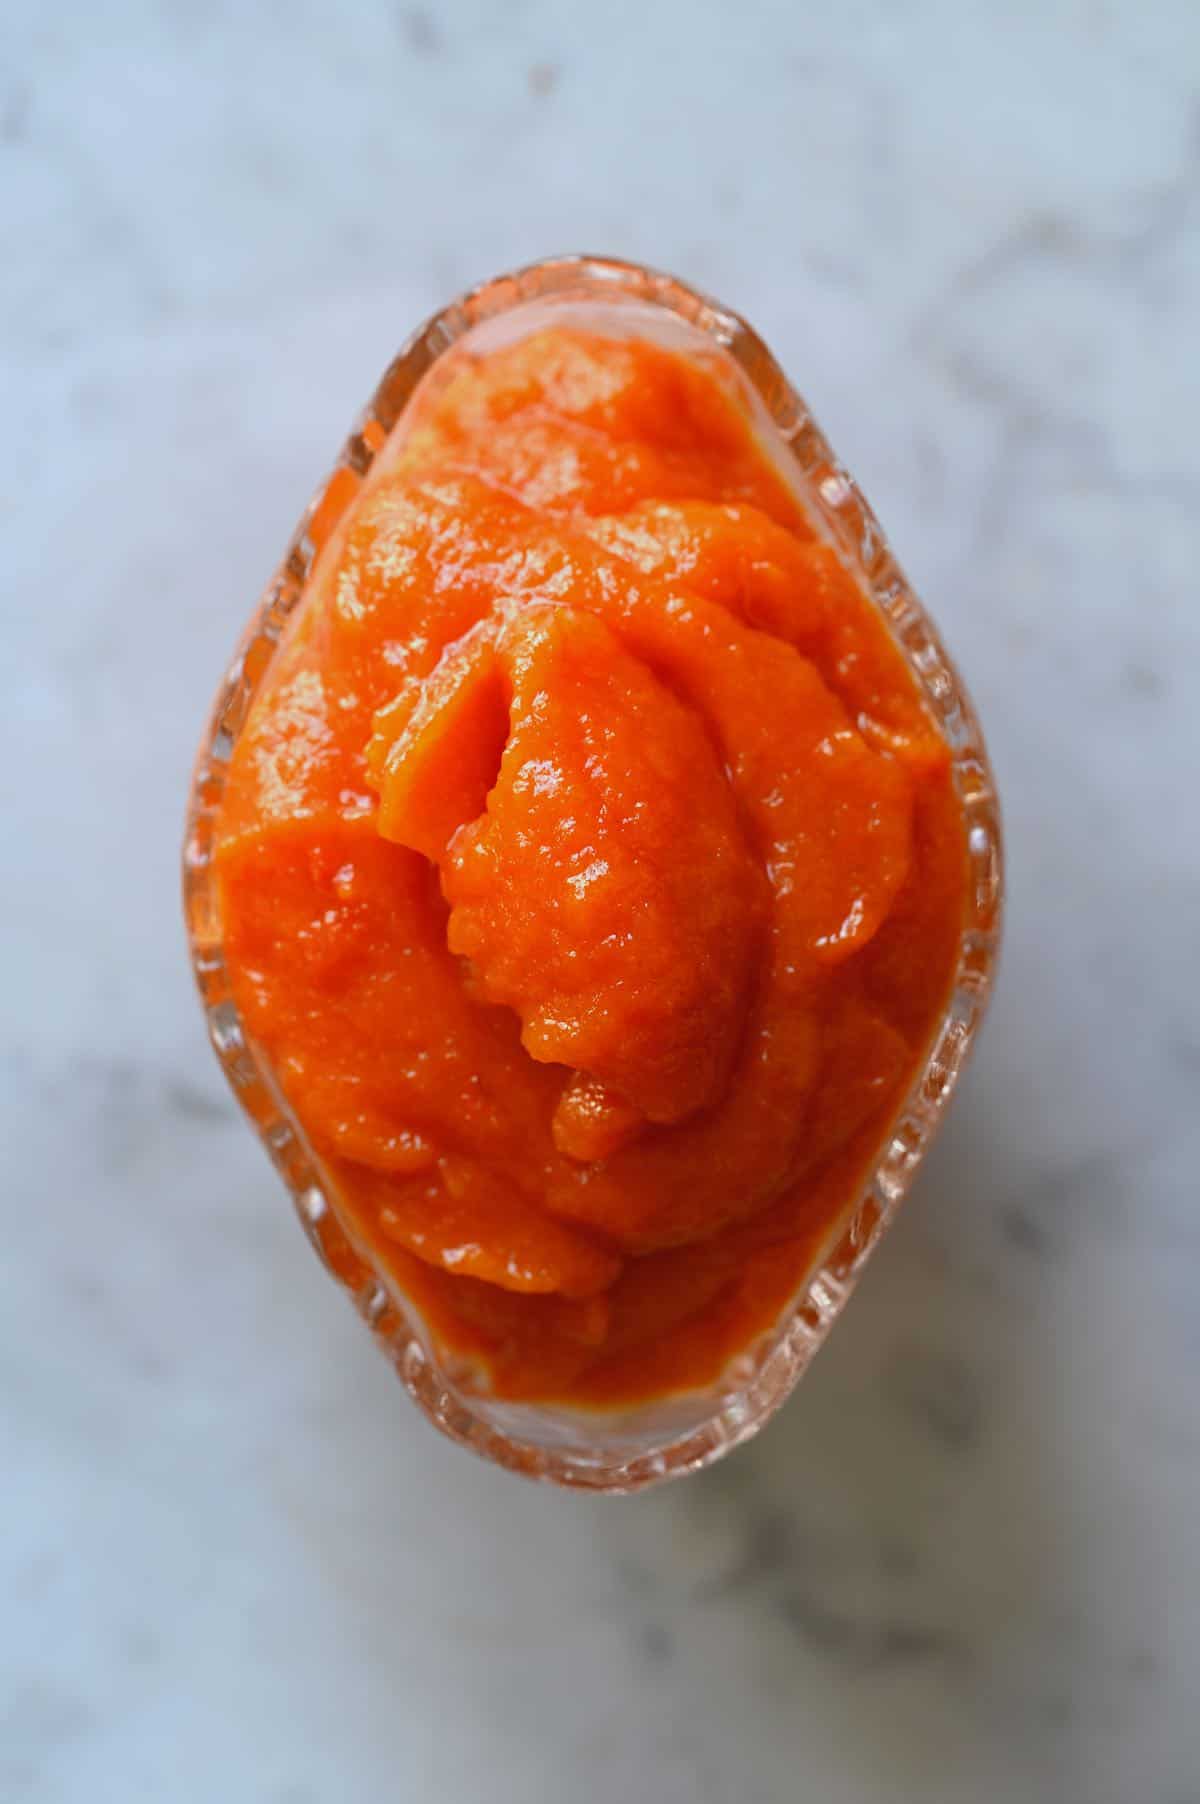
We’re in the thick of Fall/Autumn right now, and I’m busy taking advantage of pumpkin season with big batches of pumpkin soup, creamy no-bake vegan pumpkin pie, pumpkin hummus (sweet or savory!), and boatloads of pumpkin spice lattes. However, there’s another pumpkin treat you may not have heard of before that deserves a shout-out this fall. That’s candied pumpkin (plus a bonus pumpkin jam)! Usually, when people refer to candied pumpkin, they mean Mexican pumpkin candy (calabaza en tacha/ dulce de calabaza), which is enjoyed in Mexico as a snack and for the Day of The Dead. However, there is another version of candied squash popular in Turkey and the Middle East. It’s the latter method I’ll be showing you today (doubled up with a simple pumpkin jam!). When making candied pumpkin in syrup, the aim is to have firm pieces of pumpkin that are tender in the middle. However, they should hold their shape well, with a crispy outer shell (thanks to pickling lime or pickle crisp). While the process takes a long time, the actual hands-on time is minimal, and the method is simple! After slowly simmering the pumpkin on the stovetop for several hours, you can then either blend it into a jam, enjoy it immediately in chunks, or water bath can it for up to a year of storage in your pantry (likewise with the pumpkin jam). That way, you can enjoy these pumpkin preserves year-round! For those short on time, I’ve even included my super quick “cheat” pumpkin jam in 20 minutes(-ish!).
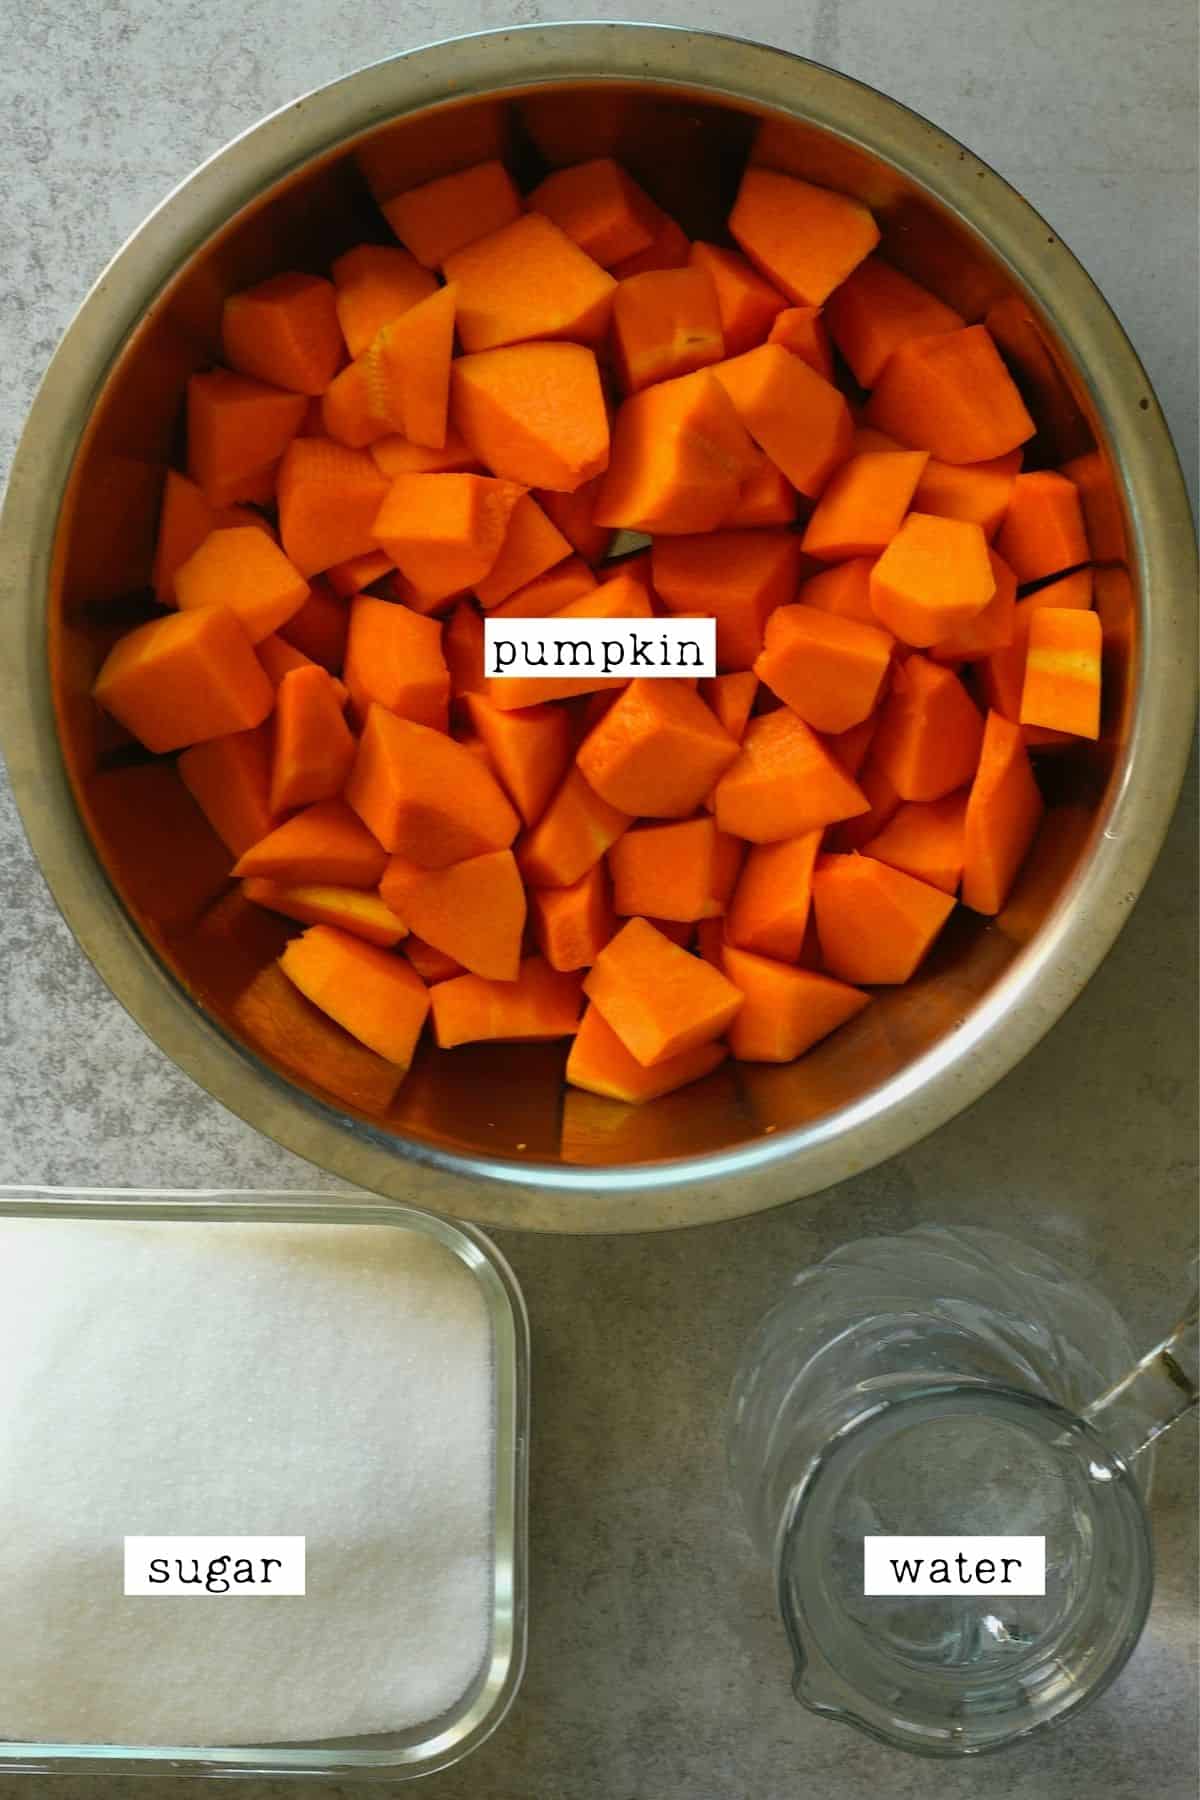
The ingredients
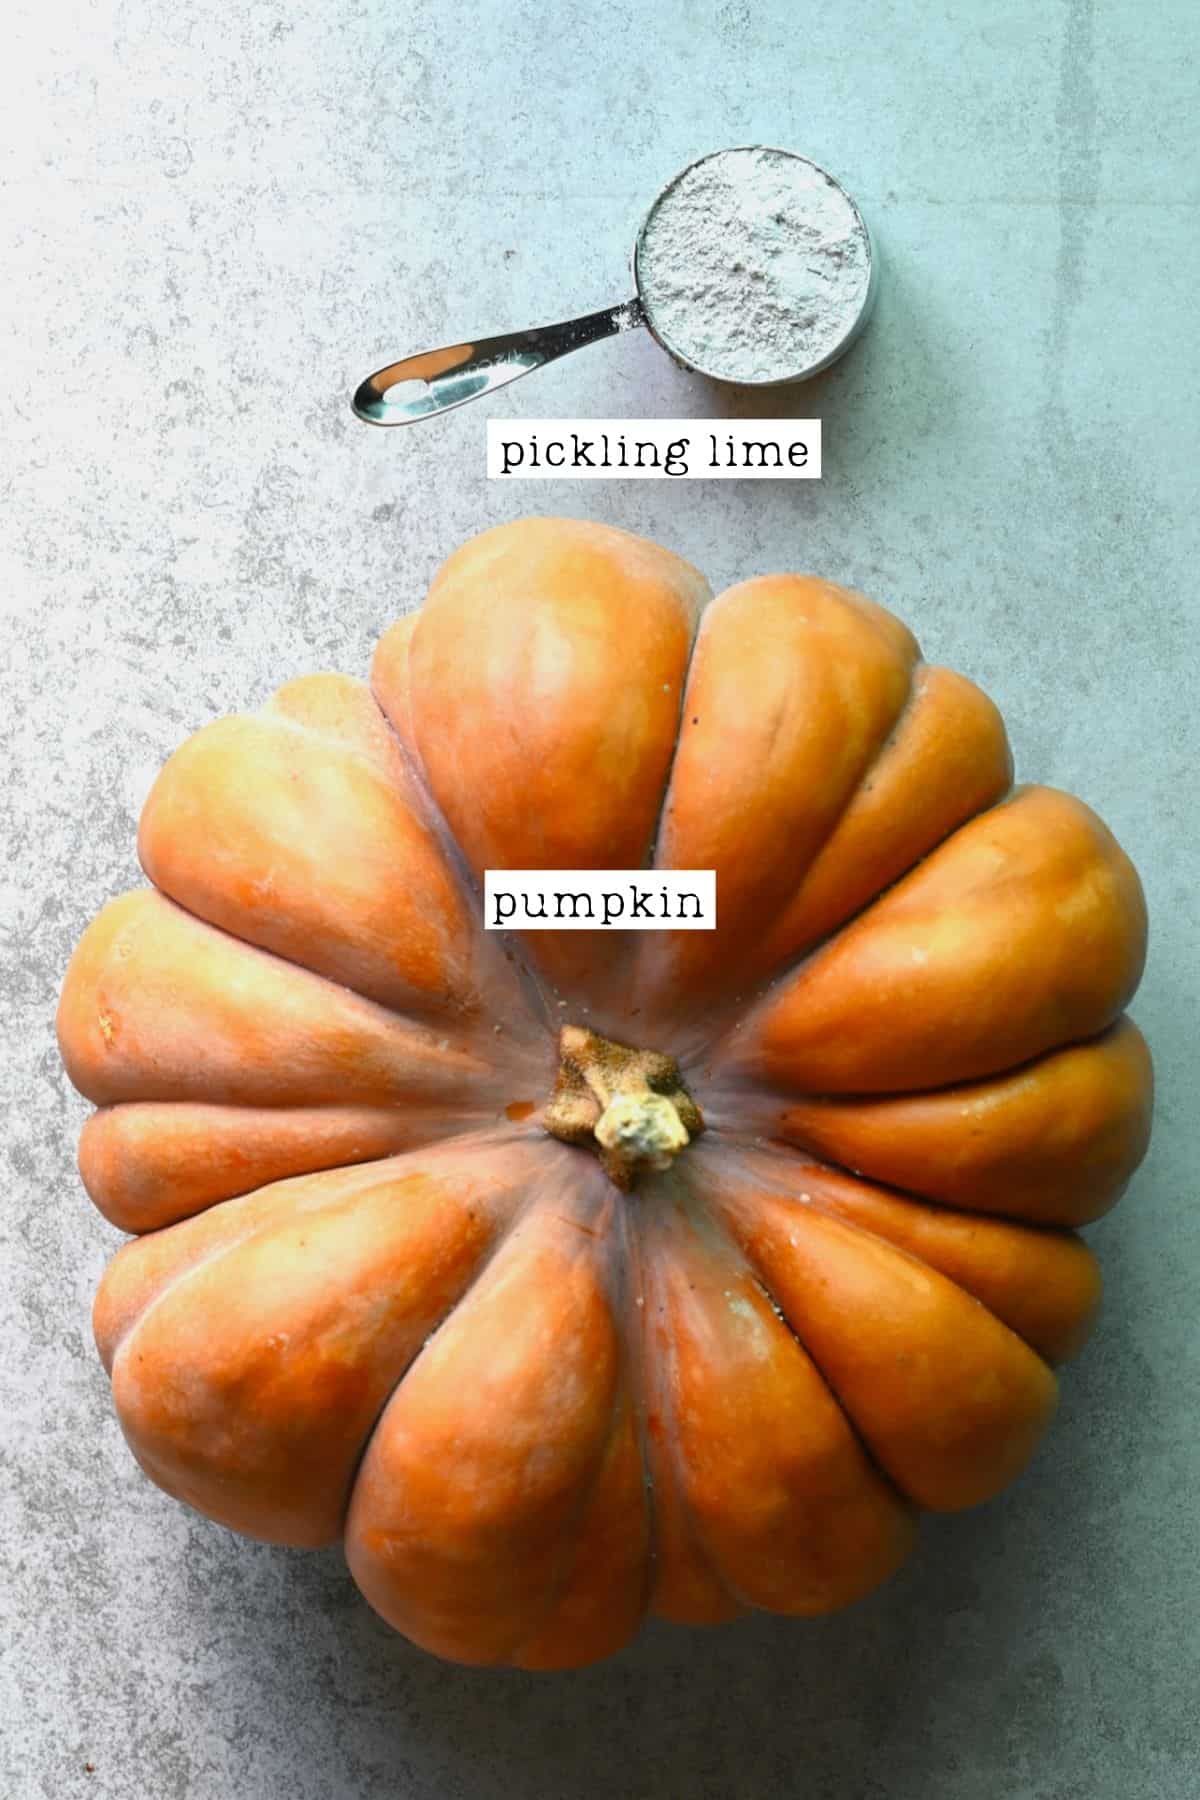
Pumpkin: make sure to use a culinary pumpkin for the best flavor (not carving pumpkin). I love using sugar pumpkins, but you can also use varieties that aren’t as sweet since there’s so much sugar in the recipe. You could also make this with squash (like butternut squash). Sugar: you’ll need an equal amount of granulated sugar (in weight) to the amount of pumpkin used. I haven’t tried this recipe with any sugar other than regular white granulated, though brown sugar should work too. Water: you need water for soaking the pumpkin and when cooking it. Lemon juice: to help balance the super-sweet flavor of the candied pumpkin/pumpkin jam. A combination of orange and lemon juice would add interesting flavor.
Depending on the final desired texture, you will also need: Why do you need to use one of the above? If you simply boil the pumpkin in the syrup for hours, it will completely break down. Meaning you’ll end up with a disintegrated, mushy, pulpy mess -rather than individual pieces of pumpkin within a syrup. Any of the above ingredients will help us to avoid the “mush” stage. If you want to make a soft pumpkin jam, you won’t need the above and can skip the “soaking” step.
Optional add-ins and variations
Mastic powder: this is optional but is an aromatic powder that can help to add extra flavor to the candied pumpkin/syrup mixture. The taste is hard to describe but is like woodsy, musky vanilla with hints of anise/mint. Pumpkin seeds/pistachios: you can add them directly to the jar with the candied pumpkin or just use them to garnish when serving. Orange zest: add 1/2-1 orange zest to the sugar syrup mixture to infuse it with extra flavor. Vanilla: I recommend using around ½ a vanilla bean, scraping out the seeds, and throwing the entire pod in while cooking (then remove the pod at the end). Alternatively, use some vanilla extract. Spices: there are several easy ways you can add more flavor to the pumpkin preserves, including adding cinnamon (sticks or powdered), nutmeg, whole cloves (just 2-3 as the taste is strong!), or even pumpkin pie spice. Ginger: just a little fresh ginger can help to infuse the pumpkin (and syrup) with more flavor. It works well for the jam too. Chili: adding a small amount of finely chopped chili can help balance the sweetness and add a pop of heat to the pumpkin preserves. Adjust the amount to taste but I recommend 1 small red chili to begin.
How to make pumpkin preserves (candied pumpkin + pumpkin jam)
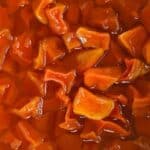
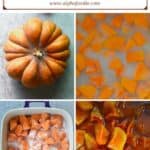
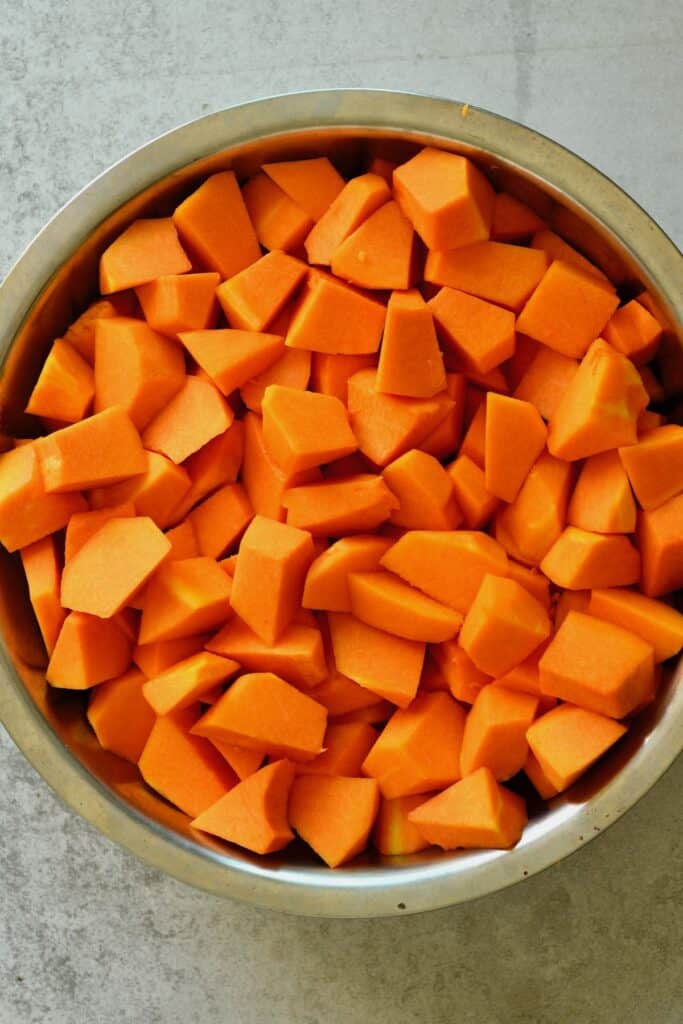
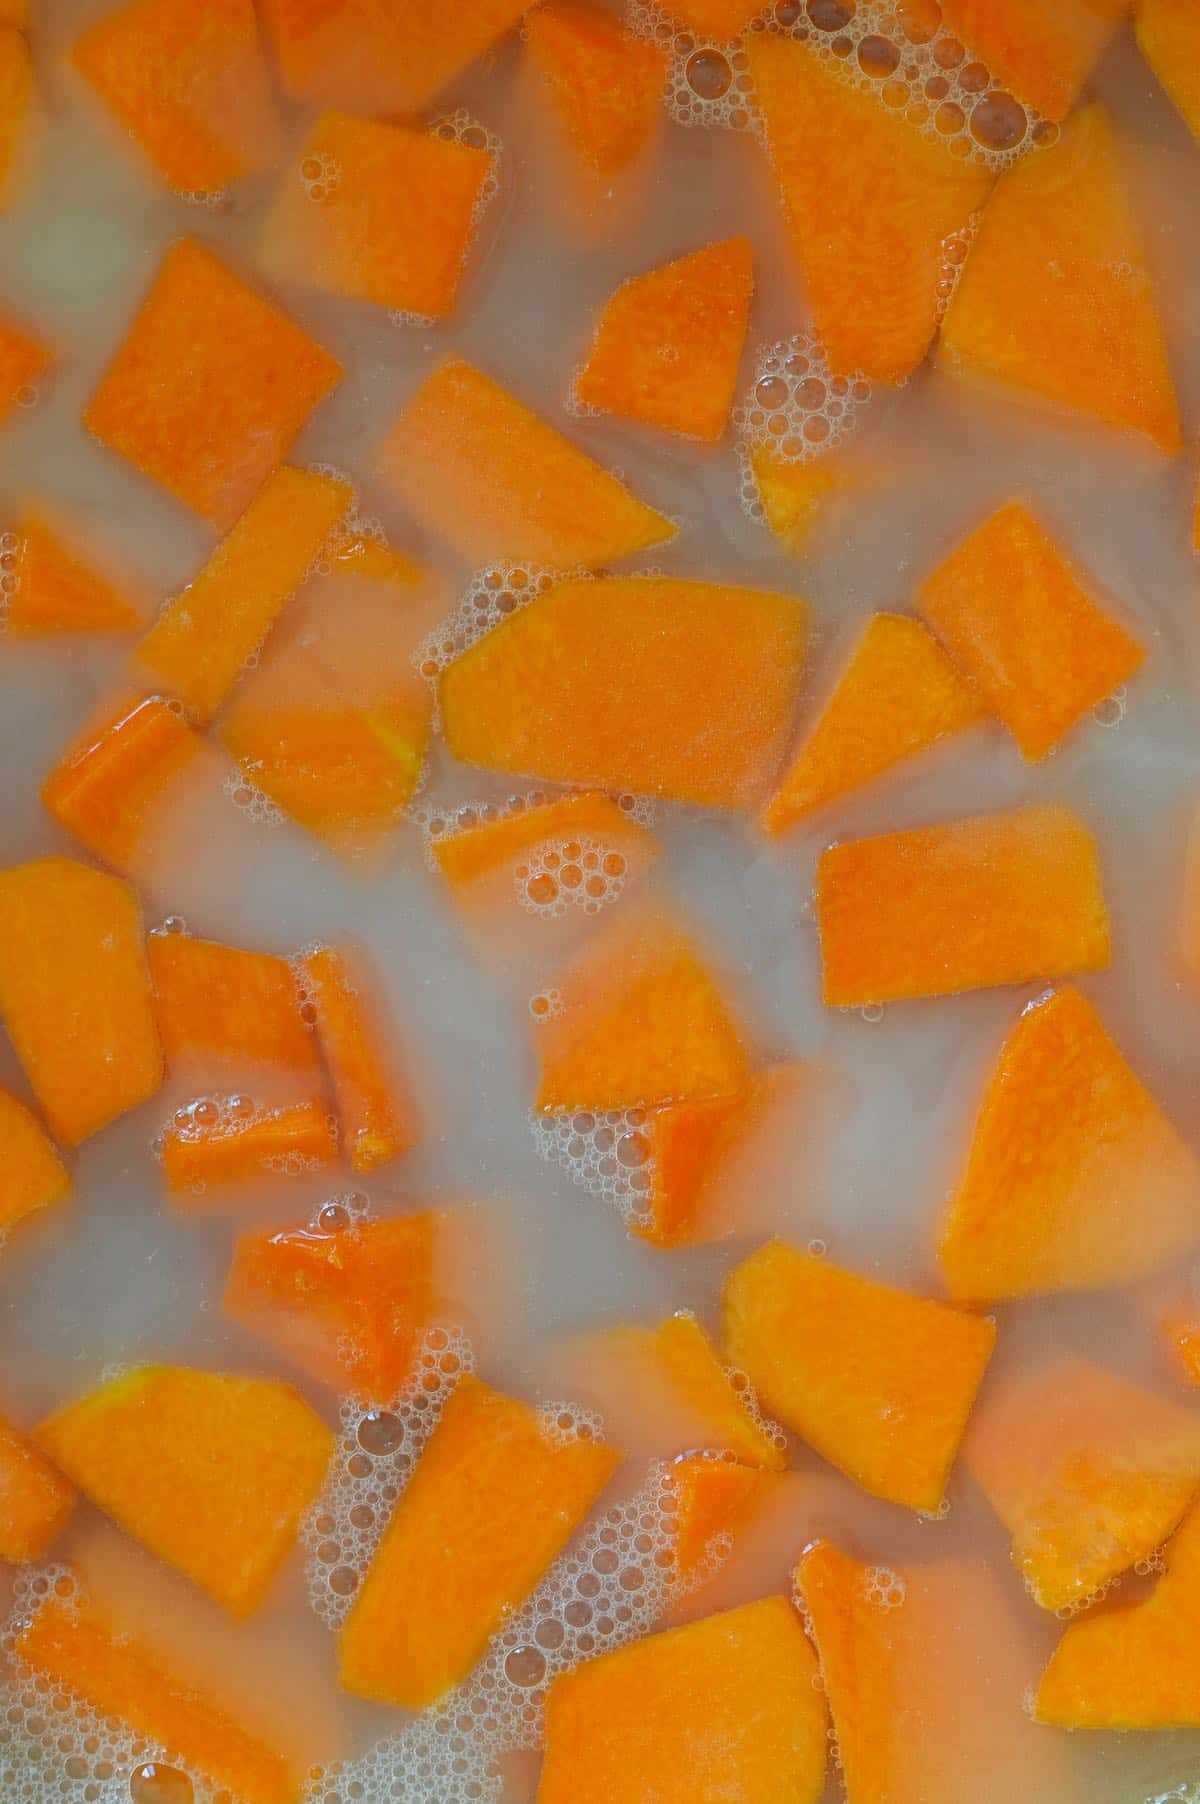
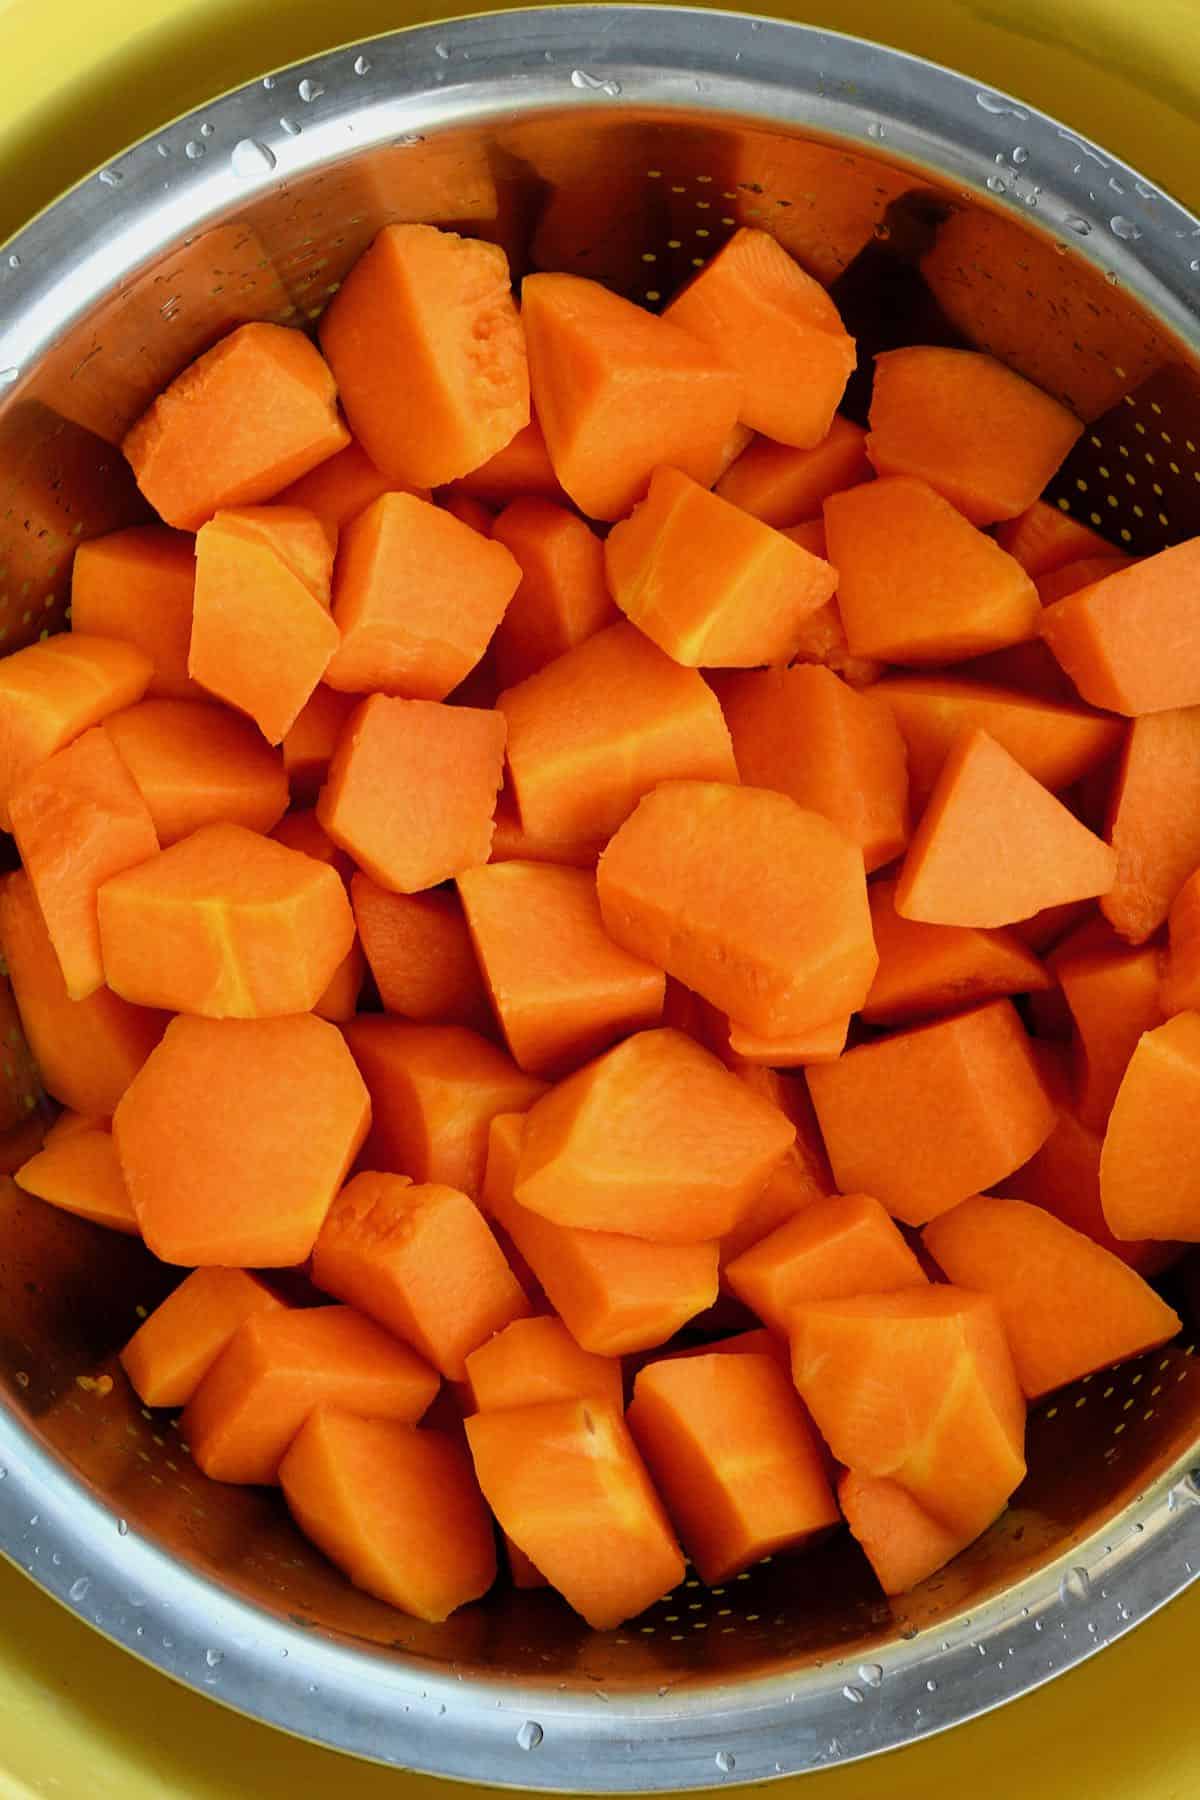
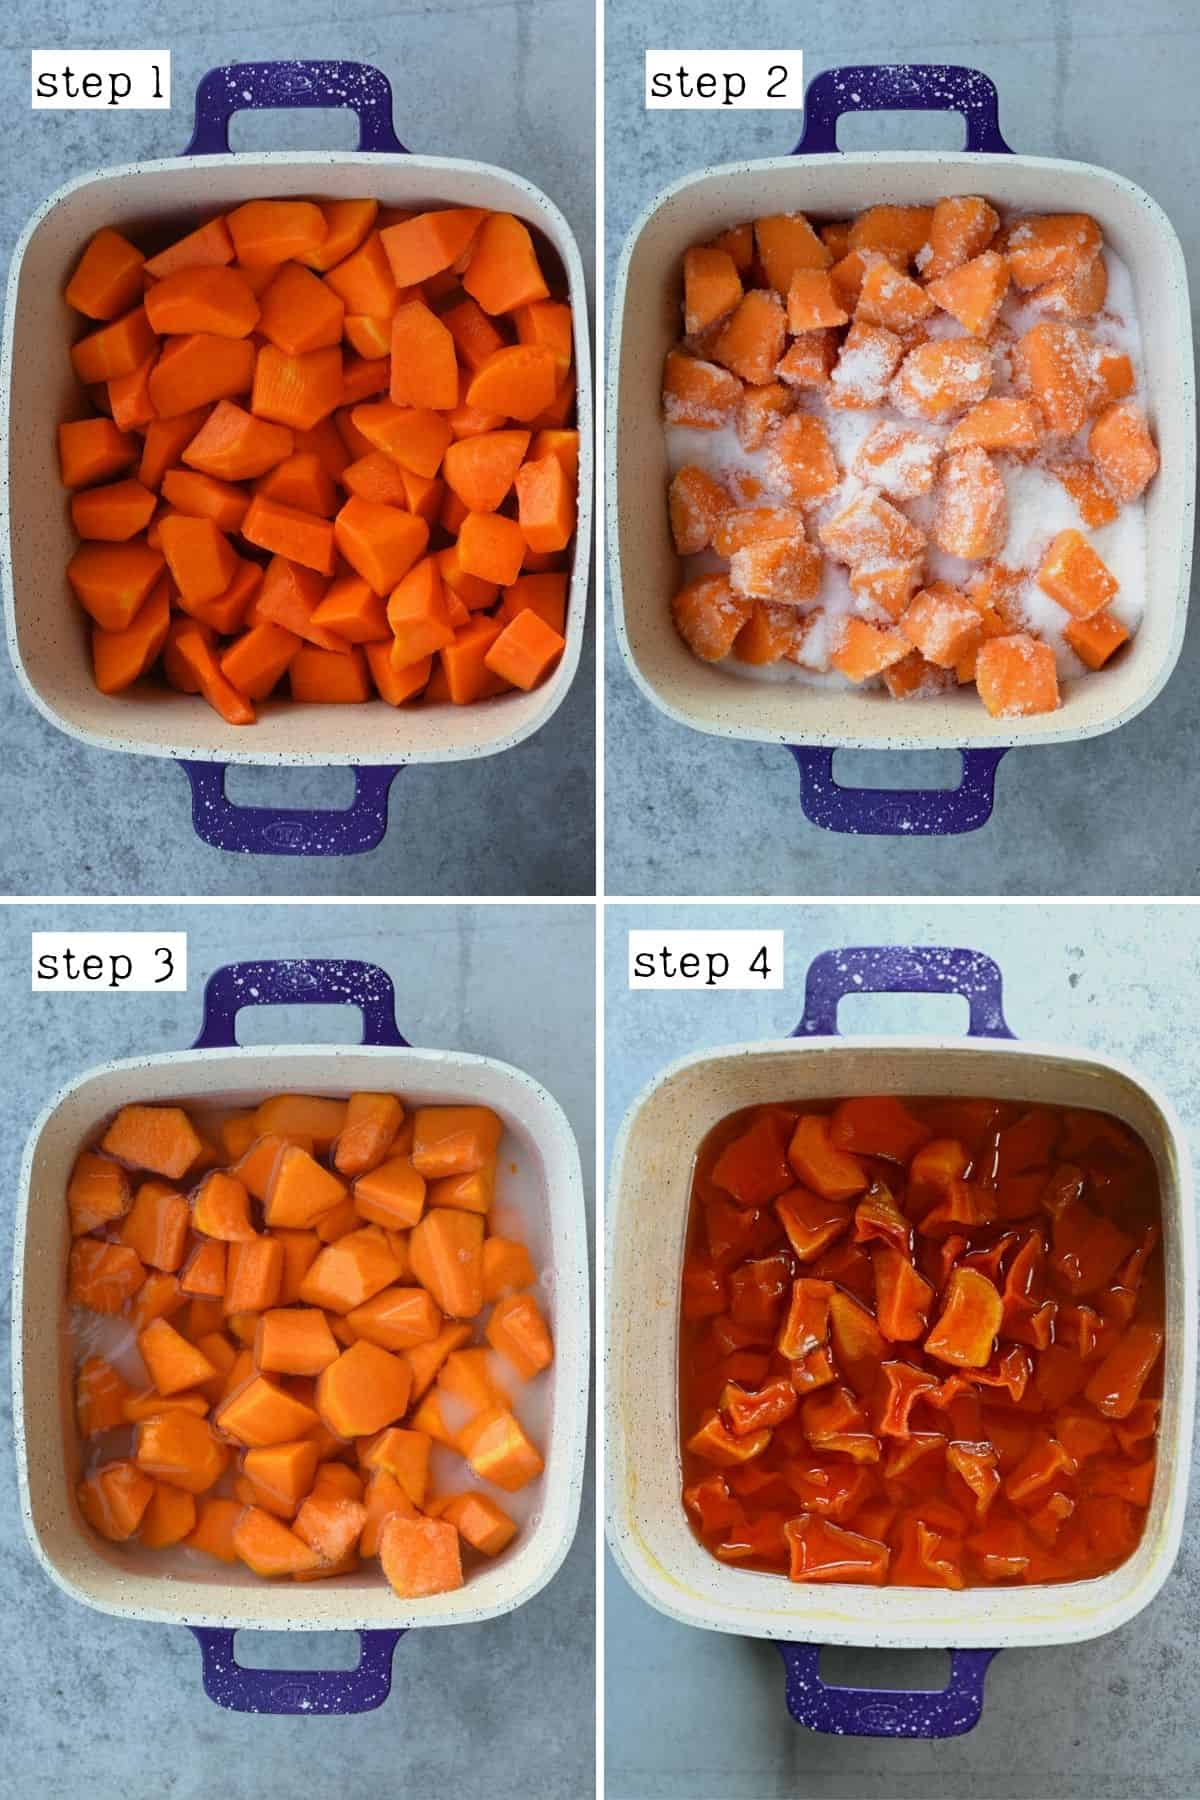
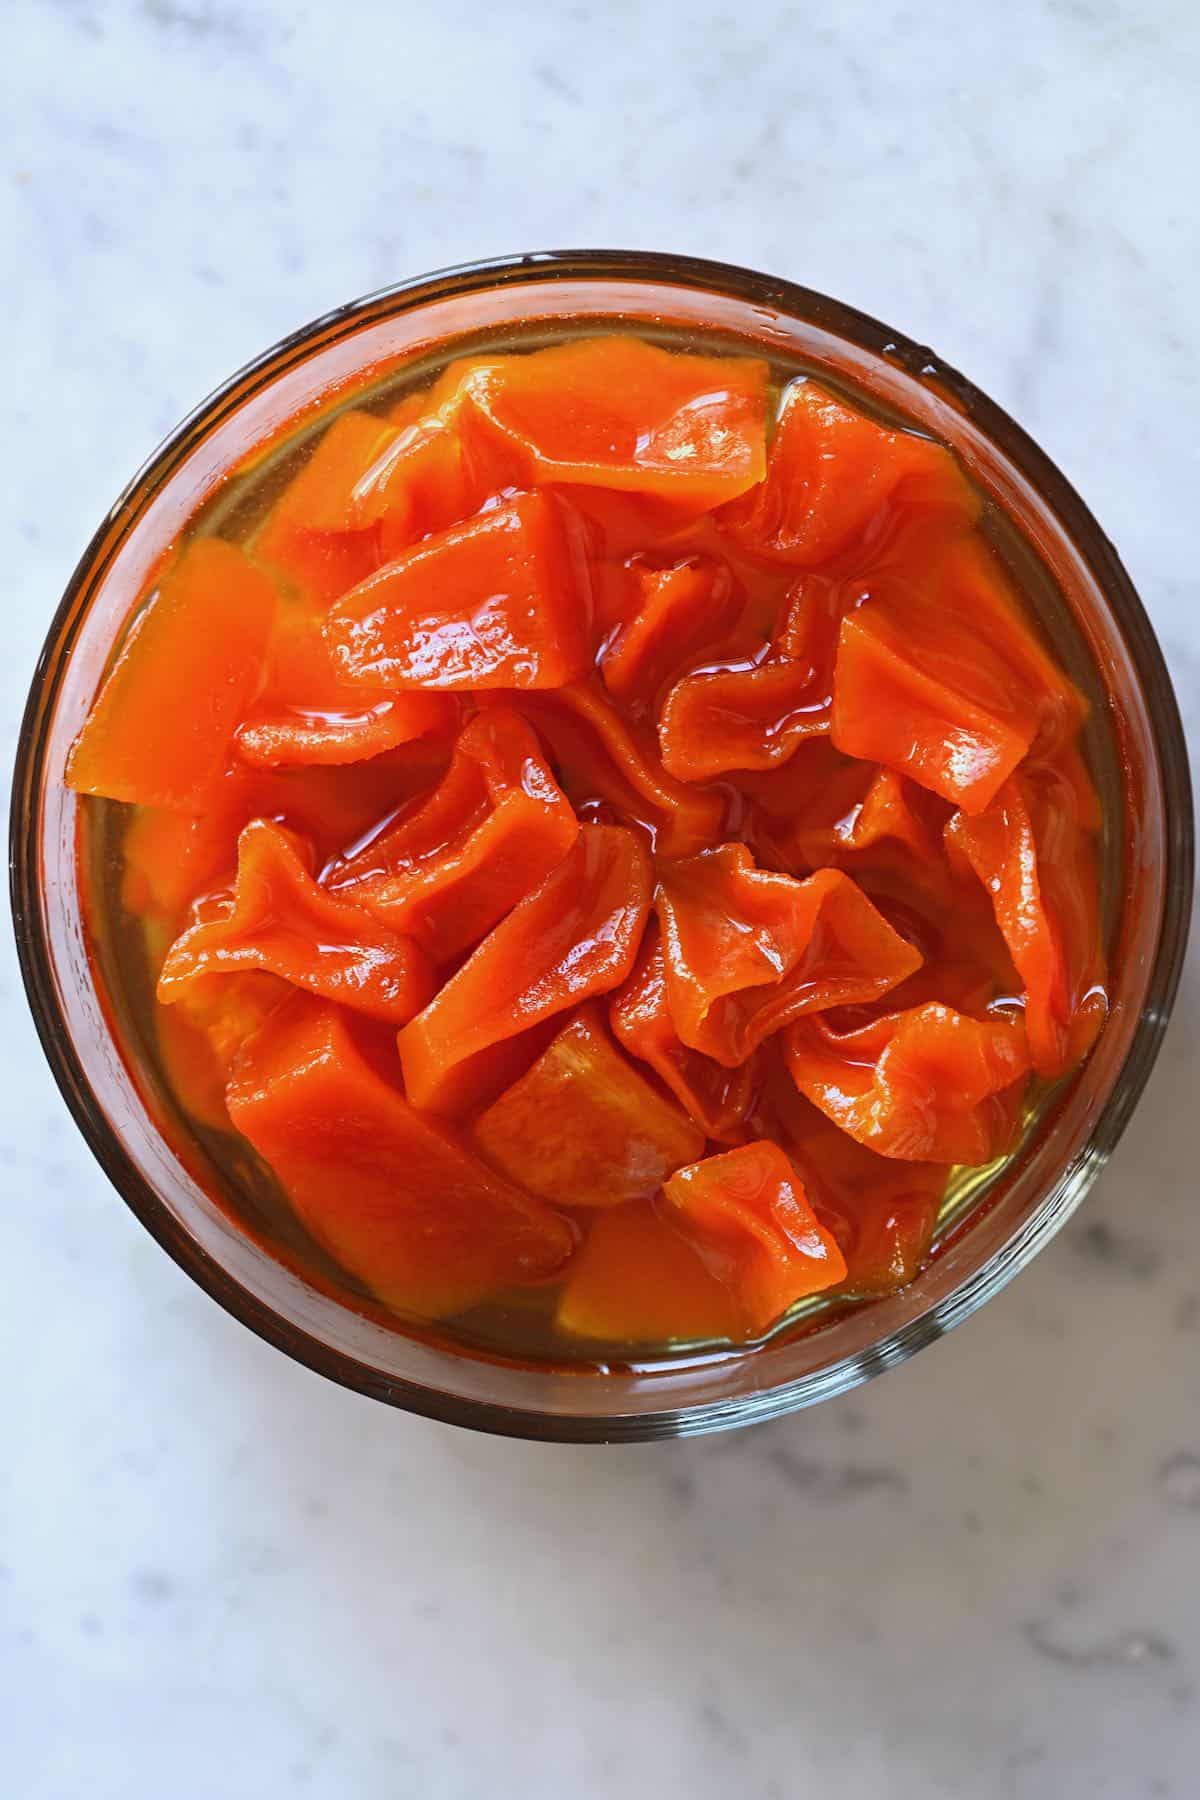
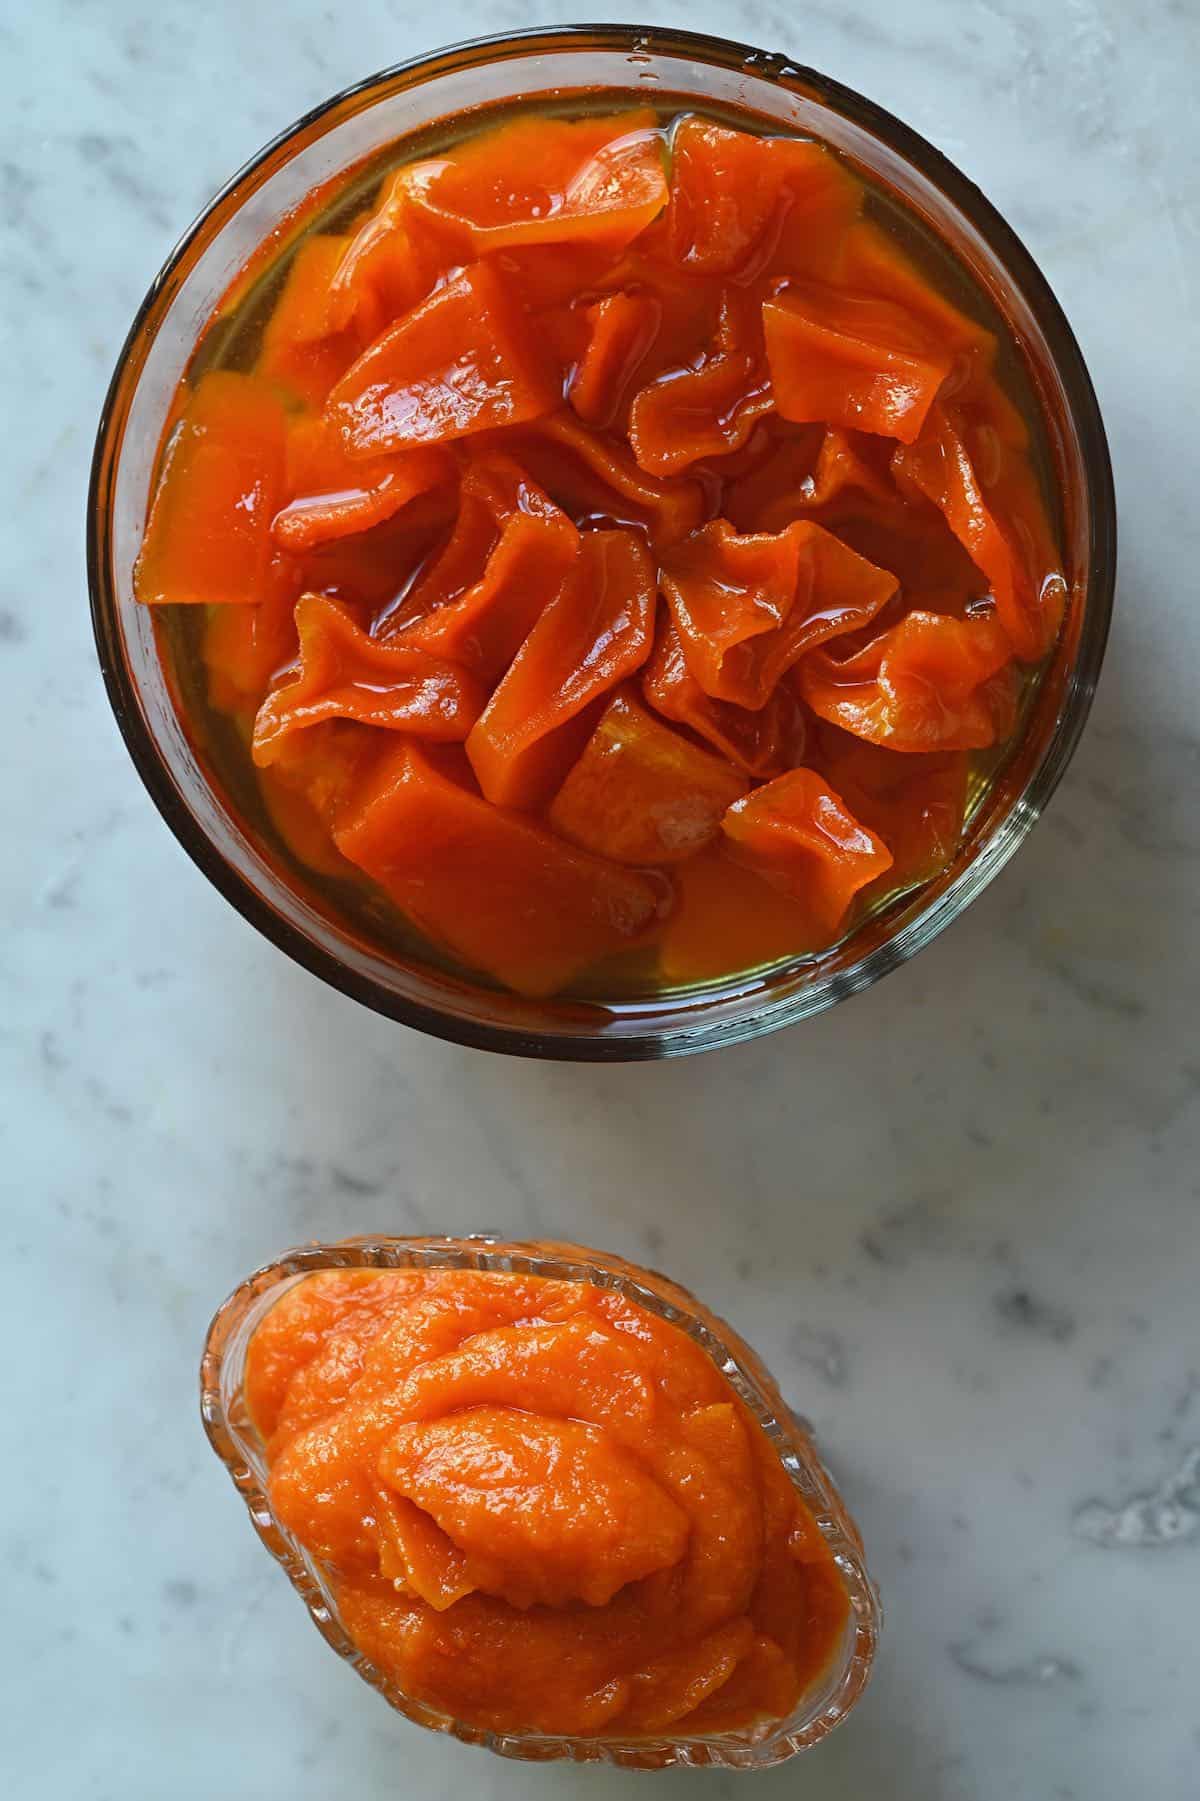
Step 1: Prepare the Pumpkin First, wash and cut the pumpkin into small bite-sized pieces (around ¾-1-inch cubes). Next, peel or chop the skin away and remove all the pulp and stringy flesh. Then, weigh the pumpkin so you know the exact weight (as you’ll need the same amount of sugar to pumpkin weight). Step 2: Soak and Rinse the Pumpkin If you plan to make pureed pumpkin jam, you can skip to Step 3. Combine the water (you’ll need between 9-12 cups depending on the container you’re using) and pickling lime (or starch) in a container large enough to fit all the pumpkin pieces. Allow it to dissolve in the water for 10-15 minutes. Add the pumpkin and allow it to soak for about six hours (though up to 12-24 works too to help the pumpkin retain its shape). If you want to use pickle crisp, I recommend using 2 teaspoons per 1 gallon of water. Wait until it dissolves, add the pumpkin, and leave it to soak for 2 hours – no rinse necessary. After soaking, thoroughly drain the liquid and then rinse the pumpkin THOROUGHLY (if using pickling lime; there’s no need when using pickle crisp or starch). I do this multiple times until I’m sure the pieces are completely free of any pickling lime residue. The best way is to first allow them to soak in clean water for an hour. Then continue to rinse and soak the pumpkin in clean water a further two times. Step 3: Simmer the Pumpkin in Syrup Add the pumpkin, sugar, and water in a large, thick-based pan and bring to a boil over medium – medium-high heat. As foam/scum forms at the top of the pan, simply scoop it out with a spoon. Once it begins to boil, reduce the heat to a gentle simmer. Cook for between 3-4 hours as the mixture thickens and candies the pumpkin pieces. It’s ready when the syrupy sauce coats the back of a spoon. Finally, add the lemon juice to the candied pumpkin mixture and remove the pan from the heat. Allow it to cool before transferring to a sterilized container/s. If you’re making pumpkin jam, you can get away with simmering for an hour. Then use an immersion blender or regular blender to form a smooth puree before transferring it to the container. Quick “cheat” pumpkin jam If you want to make a super quick, simple pumpkin jam (similar to pumpkin butter), you can cut out several steps (and ingredients). For a small batch, I recommend using 15oz (400g) of pumpkin puree (that way, you can use homemade pumpkin puree or canned pumpkin), an equal amount of sugar (around 2 cups/400g), 1-2 tablespoons of lemon juice (or orange), and 1-2 tsp pumpkin pie spice (or just a pinch of cinnamon and nutmeg). Feel free to adjust the citrus and spices to personal taste! First, add the pumpkin, citrus, and spices to a medium or large saucepan. Cook over medium-high, stirring often, for a couple of minutes. Then, add the sugar, and mix it in well. Continue to cook until it begins to boil, then slightly reduce the heat and cook, stirring constantly, until the sugar is fully dissolved and the mixture thickens (10-15 minutes) into a moldable consistency. Finally, taste the pumpkin jam and adjust the spices or citrus to taste. Then remove from the heat, allow to cool slightly, and transfer to a sterile glass jar. If you use fresh pumpkin puree, this is usually “wetter” than canned, so it will take longer to thicken and reduce. Note that this mixture also “spits” quite a lot while cooking, so wear an apron/ oven mitt if preferred. You can store this pumpkin pie jam in the fridge for up to three months. You may also be able to water-bath-can it, though refer to professional guidelines for advice.
How to store pumpkin preserves
Store: you can store the candied pumpkin and pumpkin jam in sterilized glass jars in the fridge for up to three months. Note that it’s possible to follow these water bath canning instructions for this recipe – processing it for 10 minutes. If you do so, the pumpkin preserves will last for 12 months (at least!). Freeze: I haven’t tried to freeze either of these pumpkin preserves, though I imagine the pumpkin jam would freeze well for several months. It may impact the texture of the candied pumpkin, though.
How to serve
Both the pumpkin jam and candied pumpkin make for delicious toppings for toast and New York-style bagels. The pumpkin jam also works particularly well for adding to other pastries, pies, cakes, and breads. Or even water it down slightly and use it as a meat glaze. However, the candied pumpkin can also be enjoyed:
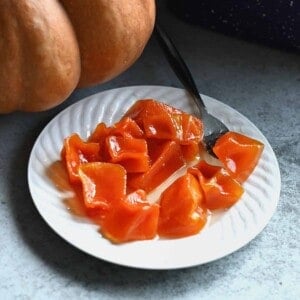
As a dessert: either alone or with some of its syrup; optionally topped with some crushed nuts/seeds and a little whipped cream (or coconut whipped cream) or even ice cream. With milk: like the Mexican candied pumpkin, this version can be enjoyed in a bowl with milk (dairy or dairy-free milk) and a little drizzle of the syrup. Again, this can be enjoyed chilled or warm. With coffee: serve a cube or two as a sweet treat with a cup of strong Turkish coffee. As part of a cheeseboard: because of how sweet the candied pumpkin and pumpkin jam are, they pair well with the salty, savory flavor of many cheese varieties on a cheese board. Sometimes I’ll just take a piece straight from the jar when I have sugar cravings, as a quick snack.
The simple syrup is also great for drizzling over ice cream, mini pancakes, waffles, etc.
Recipe notes and top tips
For chewier candied pumpkin pieces (without syrup): you can make candied pumpkin similar to crystallized fruits. To do so, after the long-simmering, transfer the pumpkin pieces to a large wax-paper lined tray and allow them to dry out for 10-12 hours, then optionally roll in sugar. Don’t use carving pumpkins: they’re usually fairly lackluster in terms of flavor and texture. Instead, choose a roasting pumpkin (like sugar pumpkin) or even squash – like butternut squash. You can save leftover pumpkins from halloween for something else! If you want to preserve the pumpkin: don’t reduce the sugar amount in the recipes, as it acts as a preserver. If you reduce the sugar, the shelf life will be reduced too (and I can’t guarantee how much). Experiment with aromatics: I’ve included a list of my favorite add-ins for these pumpkin preserves, so feel free to experiment and find your perfect ingredients and amounts. If using pickling crisp: it has quite a “salty” flavor so you may still want to give the pumpkin a quick rinse after the long soak. However, the sugar should neutralize it since it was only used for soaking. To make pumpkin slices: you can make larger slices and the process will be exactly the same (since the long cook time will easily cook larger pieces).
Related recipes and DIYs
Candied orange slices in syrup Crystallized ginger Honey fermented ginger and lemon How to Make Preserved Lemons (Pickled Lemons) Fermented garlic honey Garlic and chili-infused honey Fig Preserves with no pectin Stovetop Lebanese Rice Pudding (Riz bi Haleeb) Easy Candied Pecans (Egg-Free | Roasted + Stovetop Methods) Canning Peaches (A Step by Step Tutorial)
If you try either of these pumpkin preserves recipes, I’d love to hear your thoughts/questions below. Also, I’d appreciate a recipe card rating below, and feel free to tag me in your recipe recreations on Instagram @Alphafoodie!