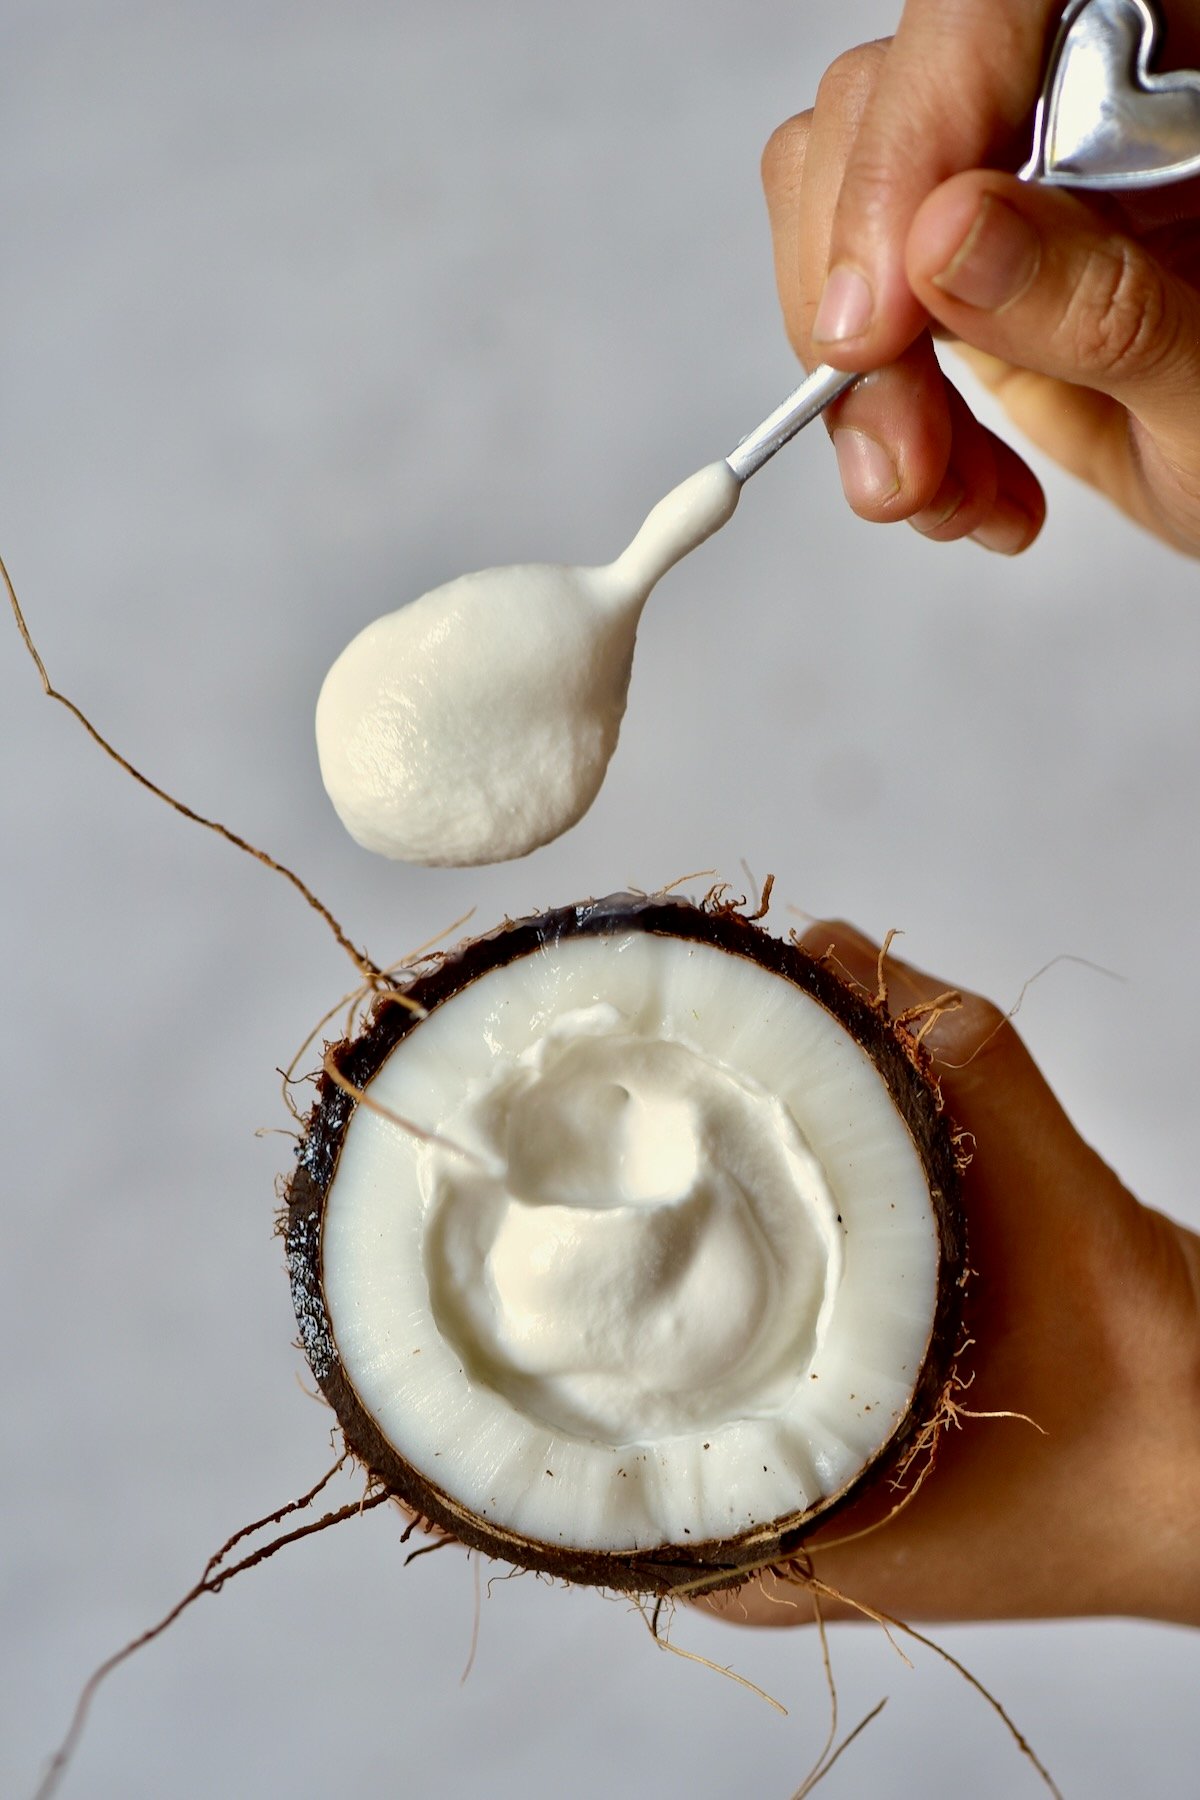
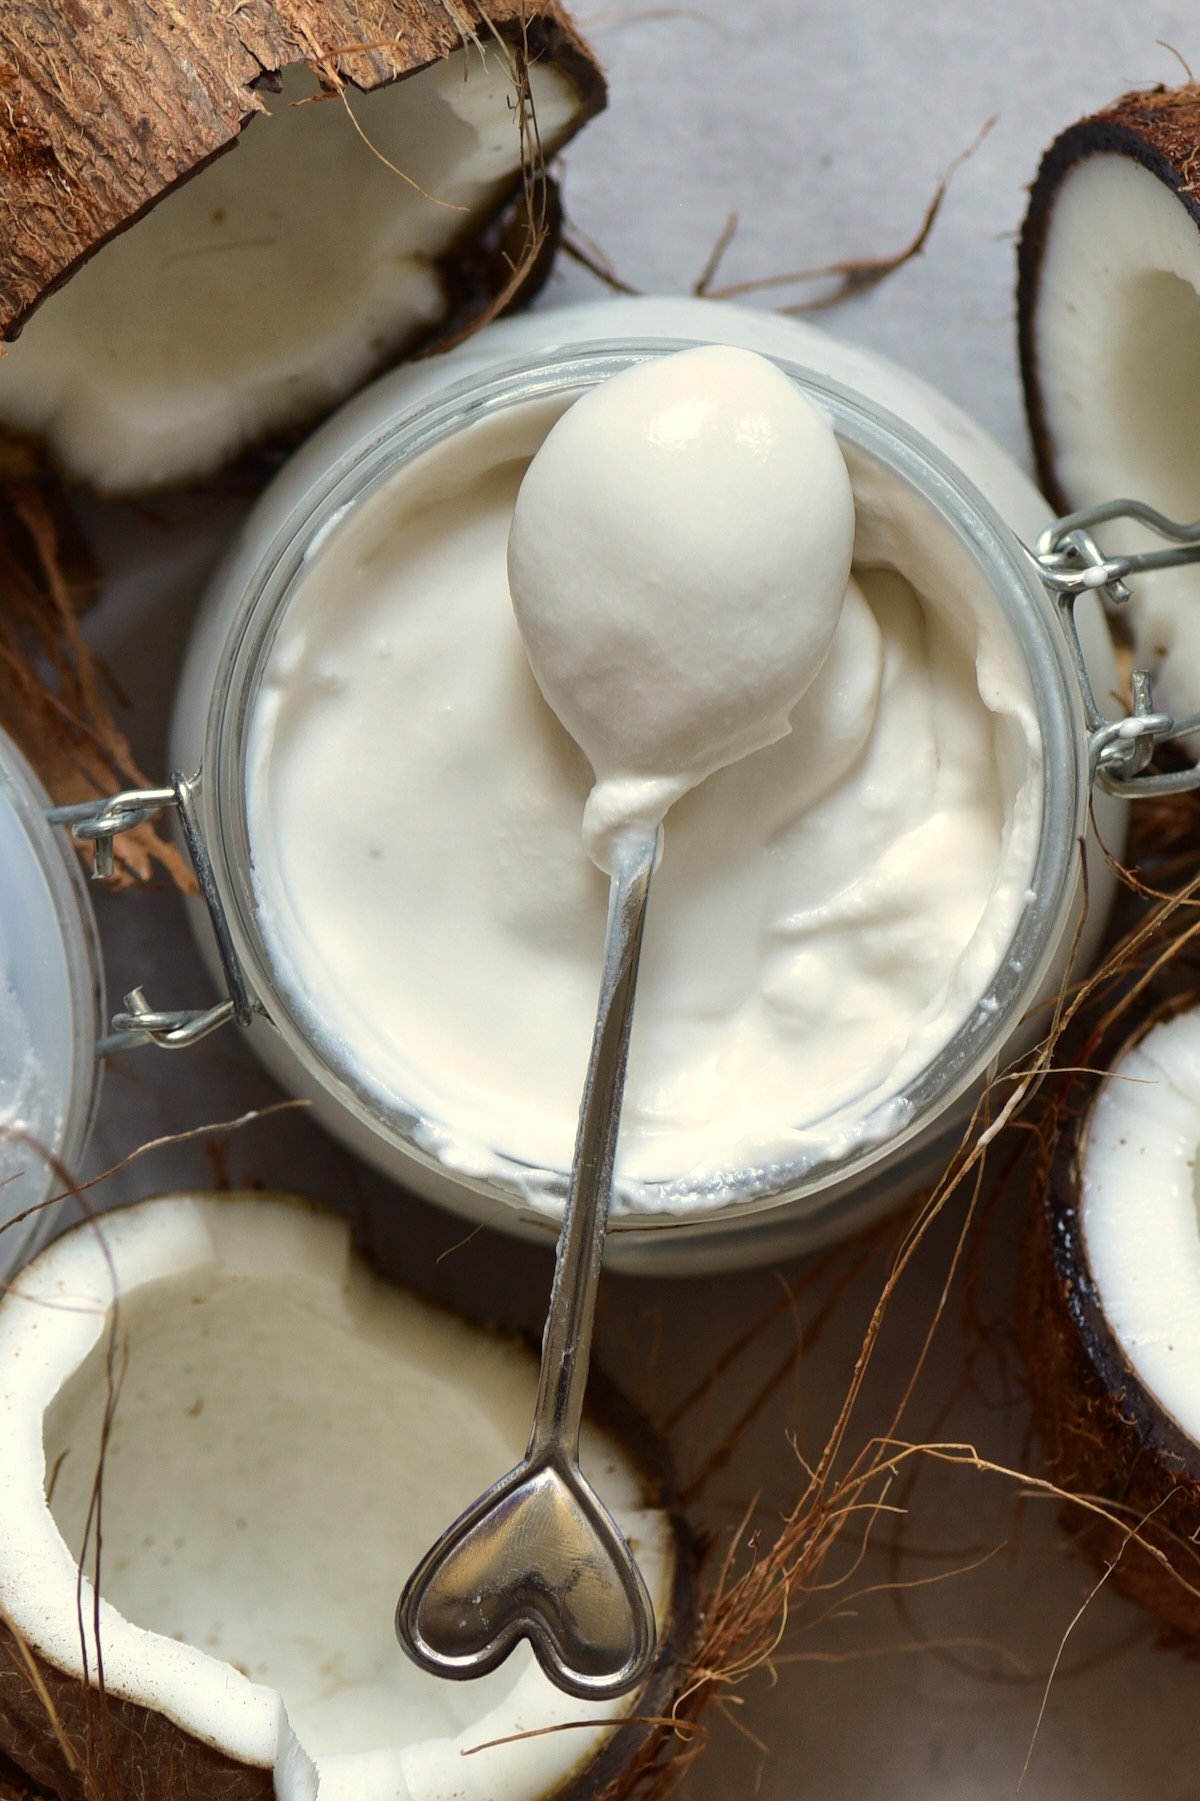
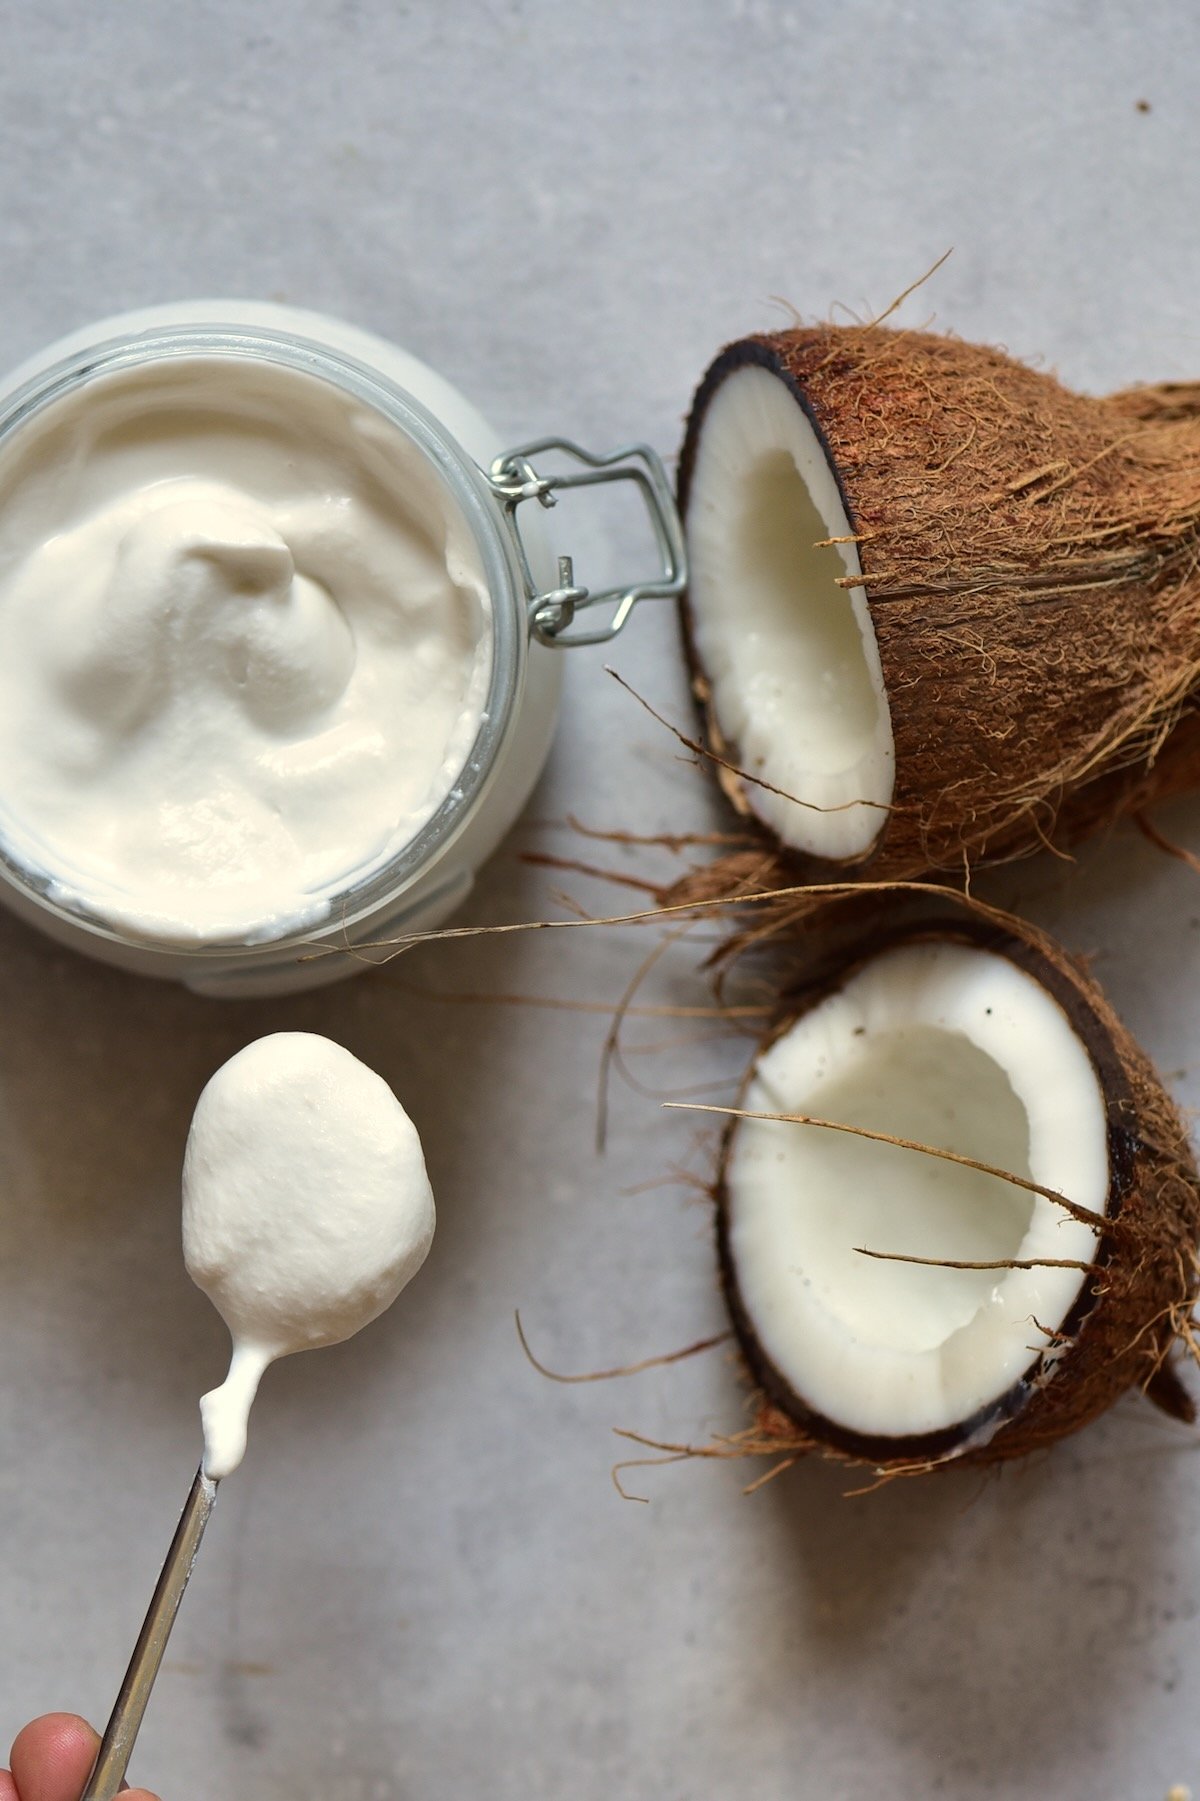
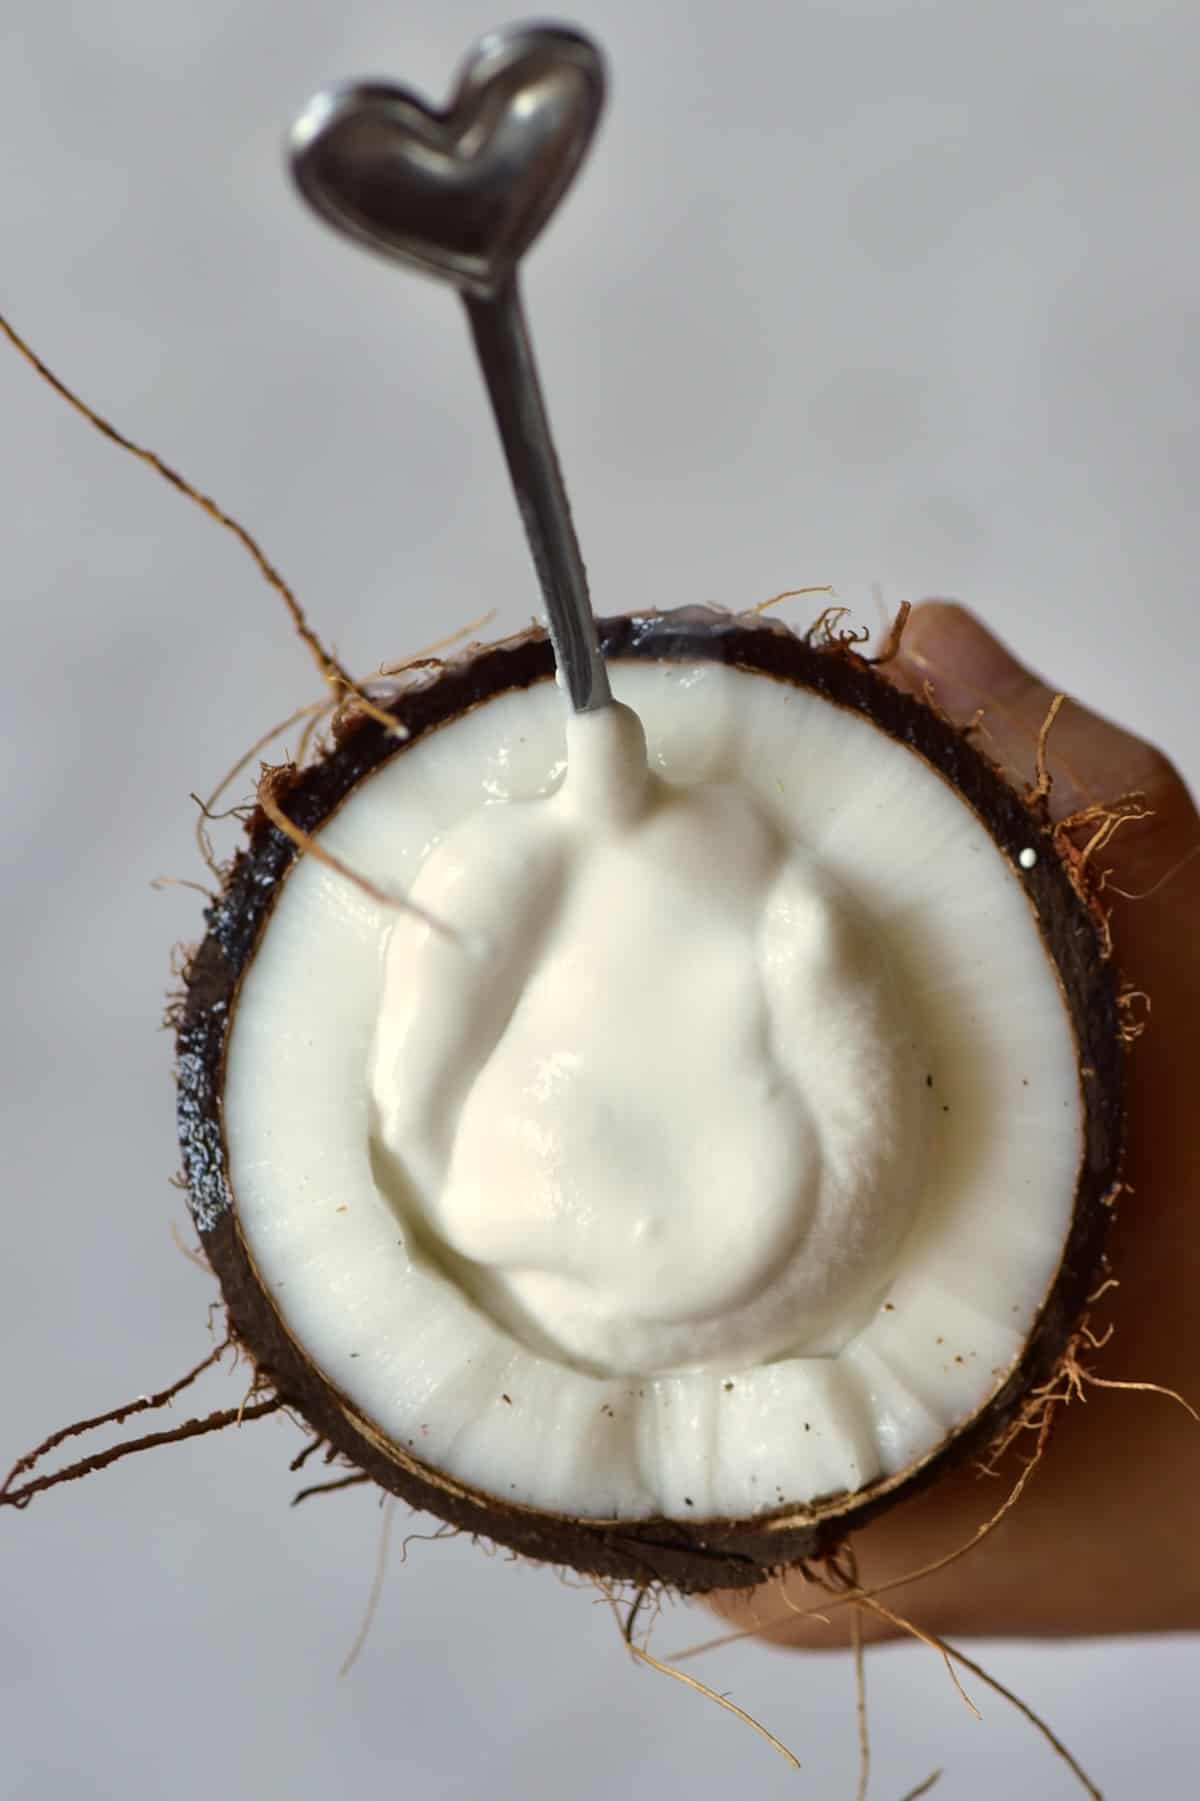
It may have taken a few attempts, but now that I’ve perfected this thick, creamy, velvety homemade coconut yogurt, there’s no going back. You only need three ingredients and no special equipment (other than a thermometer) to prepare this diet-friendly vegan yogurt recipe! Making coconut yogurt should be a breeze with all this information at your fingertips. And if you want more plant-based yogurt inspiration, you might also like these almond milk yogurt and soy yogurt recipes.
What is Coconut Yogurt
Dairy yogurt is made by fermenting dairy milk with a starter. Meanwhile, coconut milk yogurt recreates the process using dairy-free coconut milk and a vegan starter. Most recipes also contain a thickener (usually cornstarch) to achieve the thick, creamy consistency we want from any yogurt. The result is a delicious coconut milk yogurt free from lactose, casein, and dairy. Plus, unlike commercial versions that may contain stabilizers, sugars, and fortified vitamins, this homemade coconut yogurt requires just three ingredients.
Coconut Yogurt Vs Dairy Yogurt
Along with the flavor difference, the nutritional values between cow’s milk yogurt and plain unsweetened coconut yogurt also differ. For example, coconut milk has minimal protein and calcium, fewer carbs, and higher fat content. These benefits of coconut yogurt make it great for a keto diet. This vegan coconut yogurt is also a good source of several minerals. Plus, like dairy yogurt, this coconut milk yogurt recipe contains gut-friendly probiotics. These improve gut health, immunity, and overall health. Recently, I’ve been trying to pay more focus on consuming more probiotic-rich foods. So along with yogurt, I’ve been enjoying more miso, tempeh, kimchi, and kombucha.
Dairy-Free Coconut Yogurt Ingredients
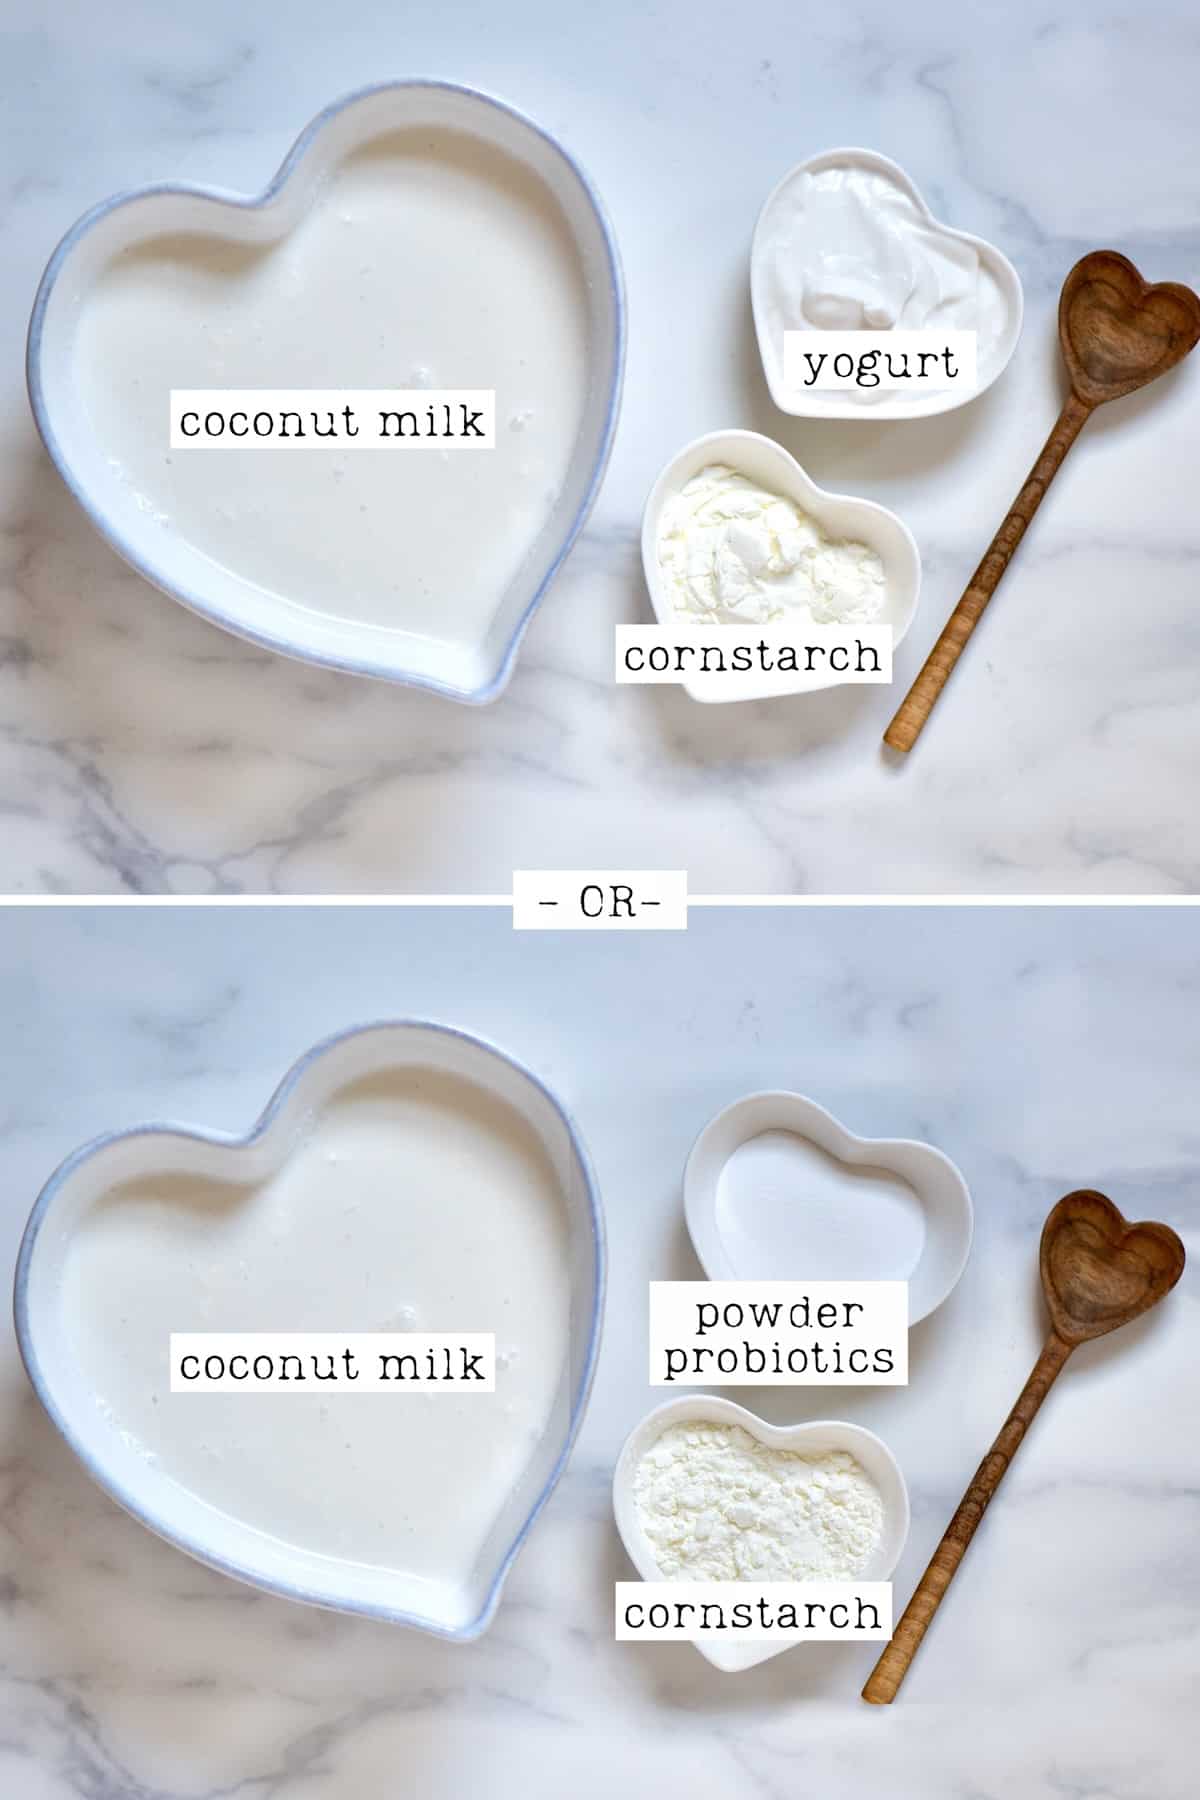
This vegan coconut yogurt recipe requires just three ingredients. So, what is in coconut yogurt?
Coconut Milk: It’s best to use canned organic, full-fat coconut milk. Alternatively, you can use homemade coconut milk with 1 cup of coconut meat and 2 cups of filtered water.
If using canned coconut milk for this homemade yogurt, the brand matters. I recommend Whole Foods 365 or Aroy-D for great results.
Cornstarch: To help thicken the dairy-free yogurt to the correct consistency. Tapioca starch should also work.A “starter”: In this case, you have two options:Probiotic capsules OR a non-dairy yogurt starter culture.Plain coconut yogurt (look out for one containing live/active cultures).
If you use probiotics, ensure they don’t contain any pre-biotics or other enzymes. Otherwise, the process won’t work. When selecting yogurt, ensure it doesn’t contain unnecessary additives (i.e., “The Coconut Collab” plain yogurt). You could also use plain natural yogurt if you aren’t bothered about making a dairy free yogurt recipe. You Also Need
Non-reactive tools like wooden or silicone spoons (not metal),Sterilized jars,A saucepan,An instant-read thermometer.
How to Make Coconut Yogurt
Step 1: Heat the Coconut Milk
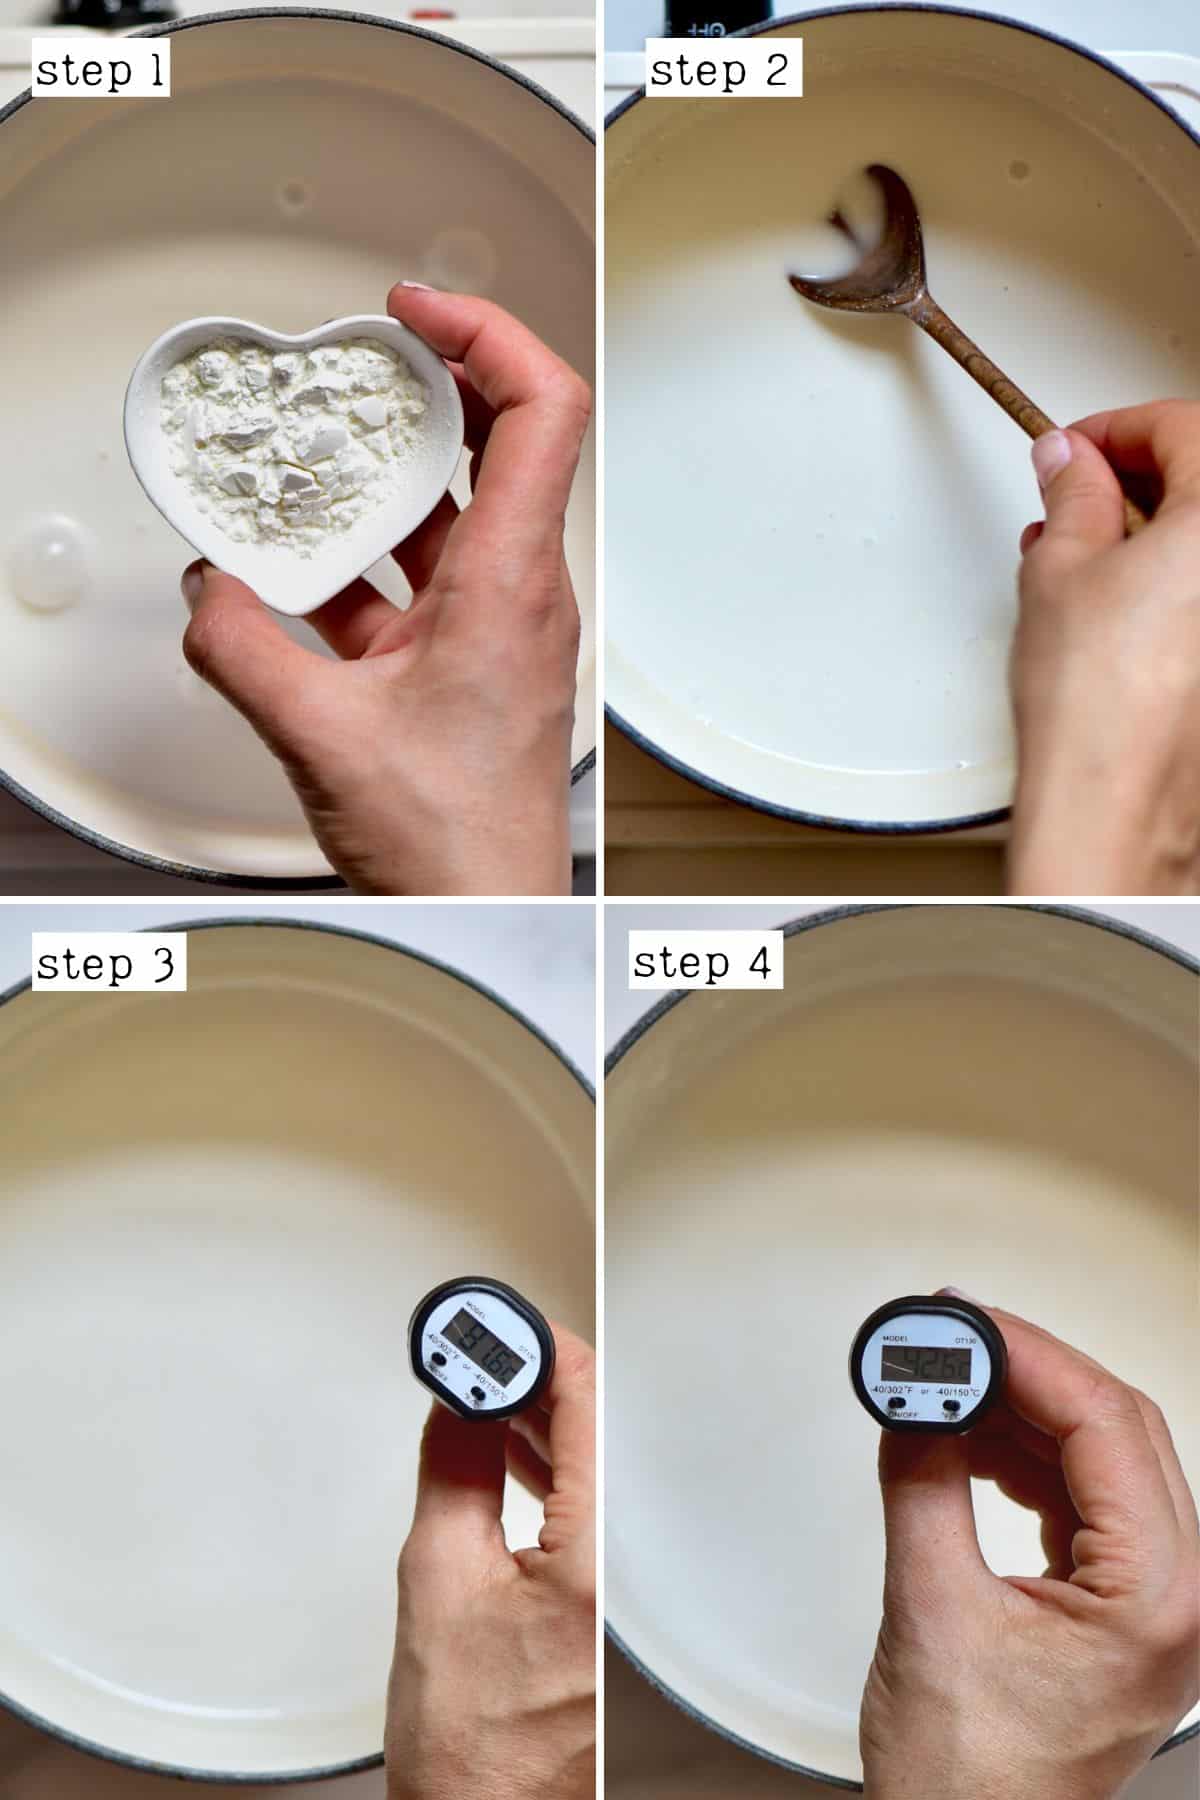
Then, combine the cornstarch with 1-2 Tablespoons of coconut milk in a small bowl and whisk until lump-free. You can sieve it to remove the lumps if needed. You can add the starch directly to the pan, but it’ll be harder to get out the lumps. If the coconut milk is separated, just whisk it well to bring it back together. Shaking it thoroughly before opening the can should help. Transfer the cornstarch slurry and the remaining coconut milk to a saucepan. Heat over medium heat until the mixture reaches 180ºF/82ºC, stirring occasionally. Leave the milk to cool down until it reaches 108-111ºF/42-44ºC. This is warm enough to encourage fermentation without killing the starter.
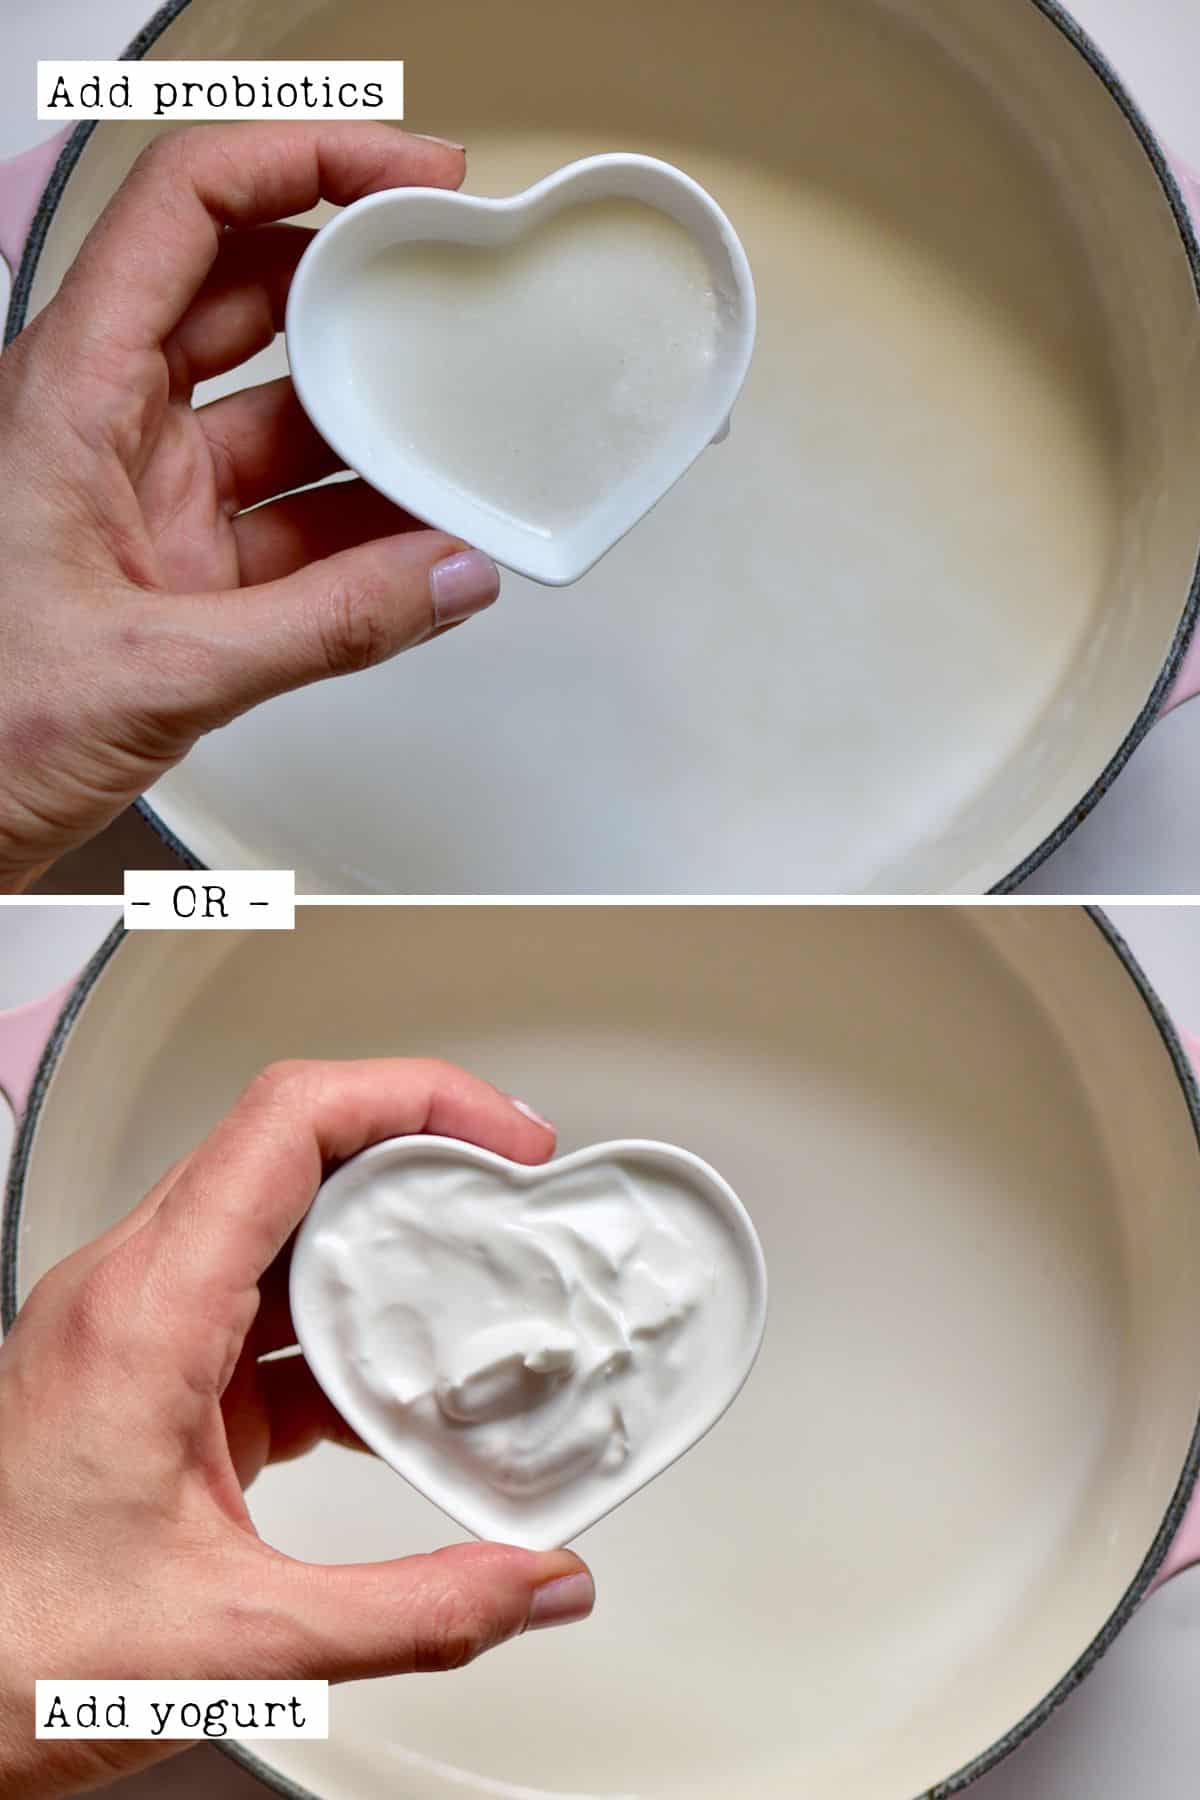
Step 2: Add the “Starter”
With Probiotics: Combine the yogurt powder starter or probiotic capsule contents with a tablespoon of the cooled coconut milk. Then mix it until lump-free. Then, pour that into the remaining warm coconut milk and stir. With Coconut Yogurt: Add the coconut yogurt directly to the warm milk and mix well.
Step 3: Allow the Coconut Yogurt to Incubate
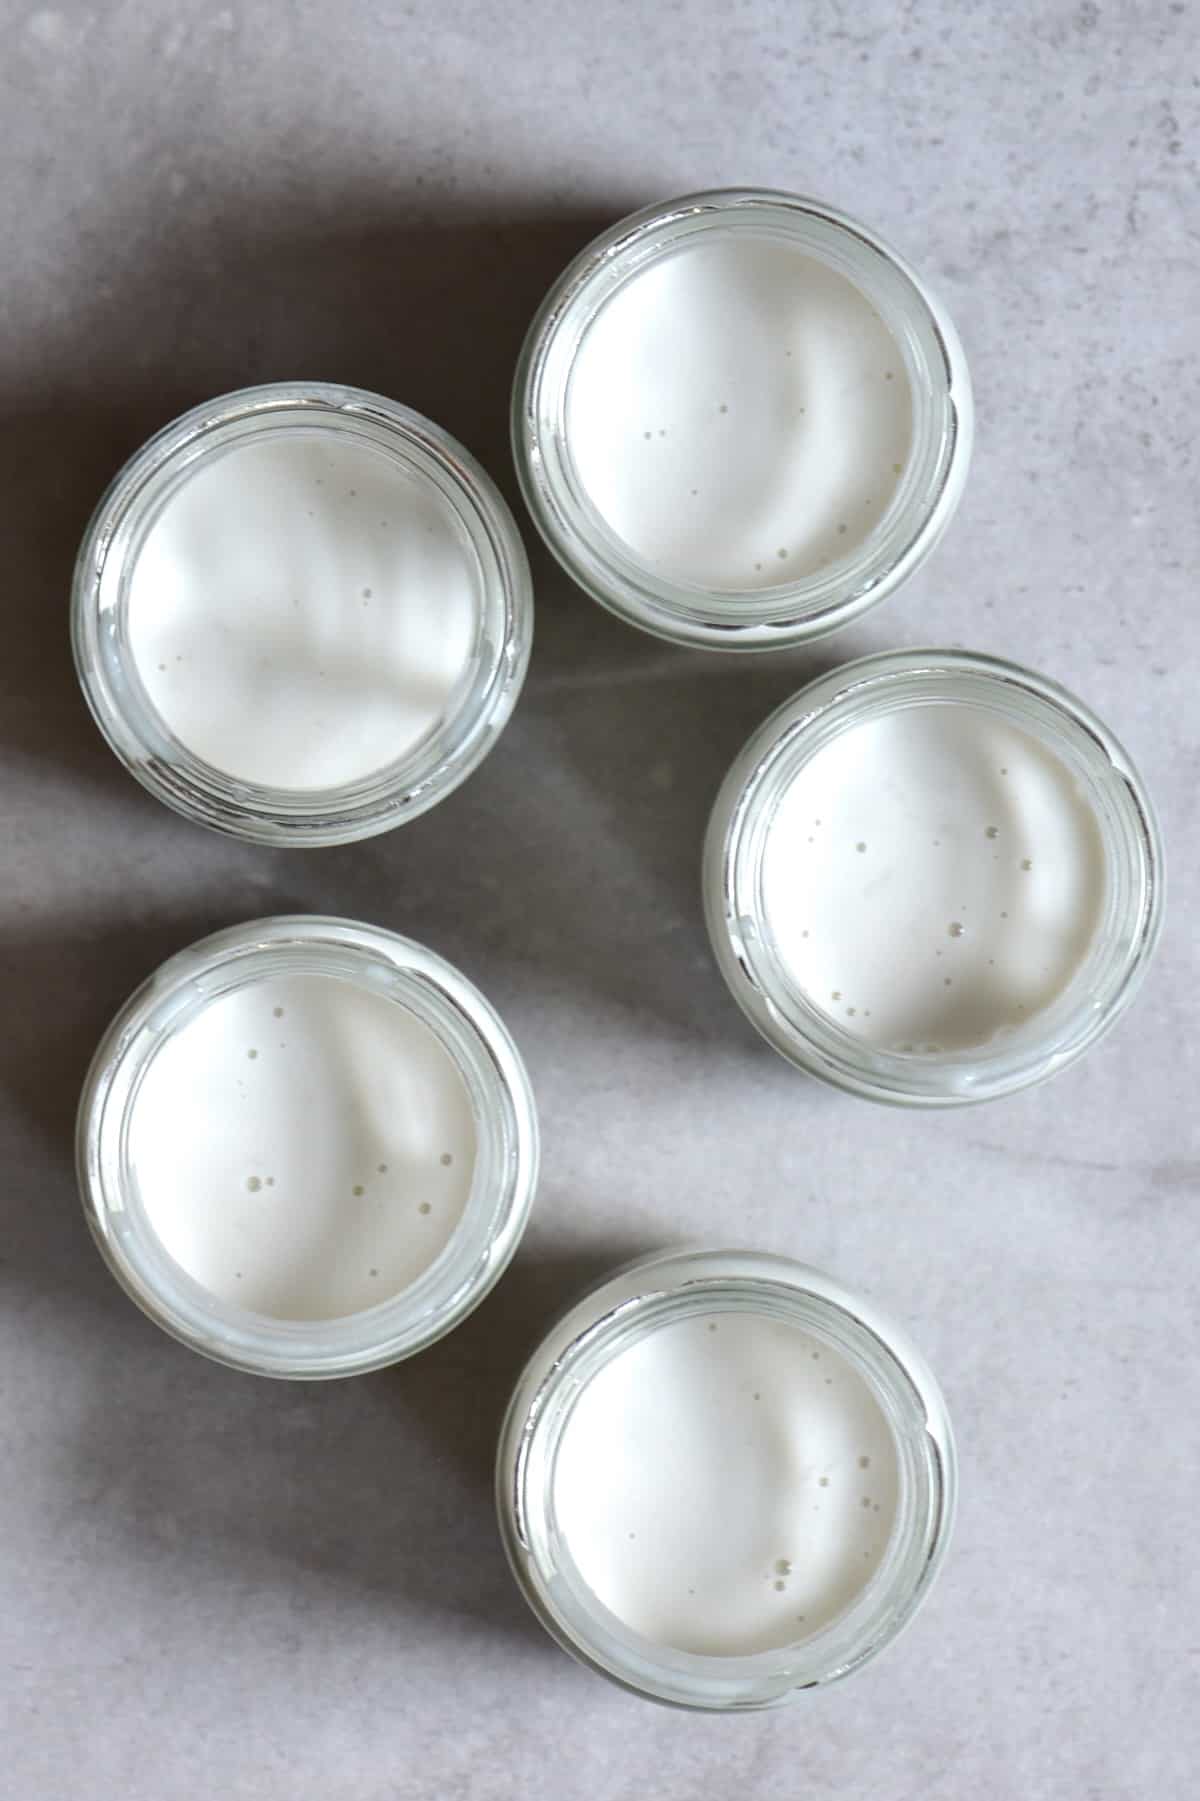
Transfer the warm coconut milk mixture to your desired glass jar/s. Then leave them to incubate in a warm, draft-free area. Once the incubation period is over, transfer the jar/s to the fridge to set for a further 6 hours minimum. During this time it will thicken further and become a really creamy plant based yogurt. I like to wrap mine in a large, warm blanket and keep it in my oven (switched off, but with the oven light on). If you do this overnight, you shouldn’t need to use the oven during this time. You may also use a yogurt maker. Likewise, an Instant Pot on the YOGURT function should work (for between 16- 24 hours). If there is some separation, that’s okay. The thick yogurt should rise to the top while chilling, so you can just scoop it off and enjoy!
How to Eat Coconut Yogurt
You can enjoy this coconut milk yogurt like you would dairy yogurt, including:
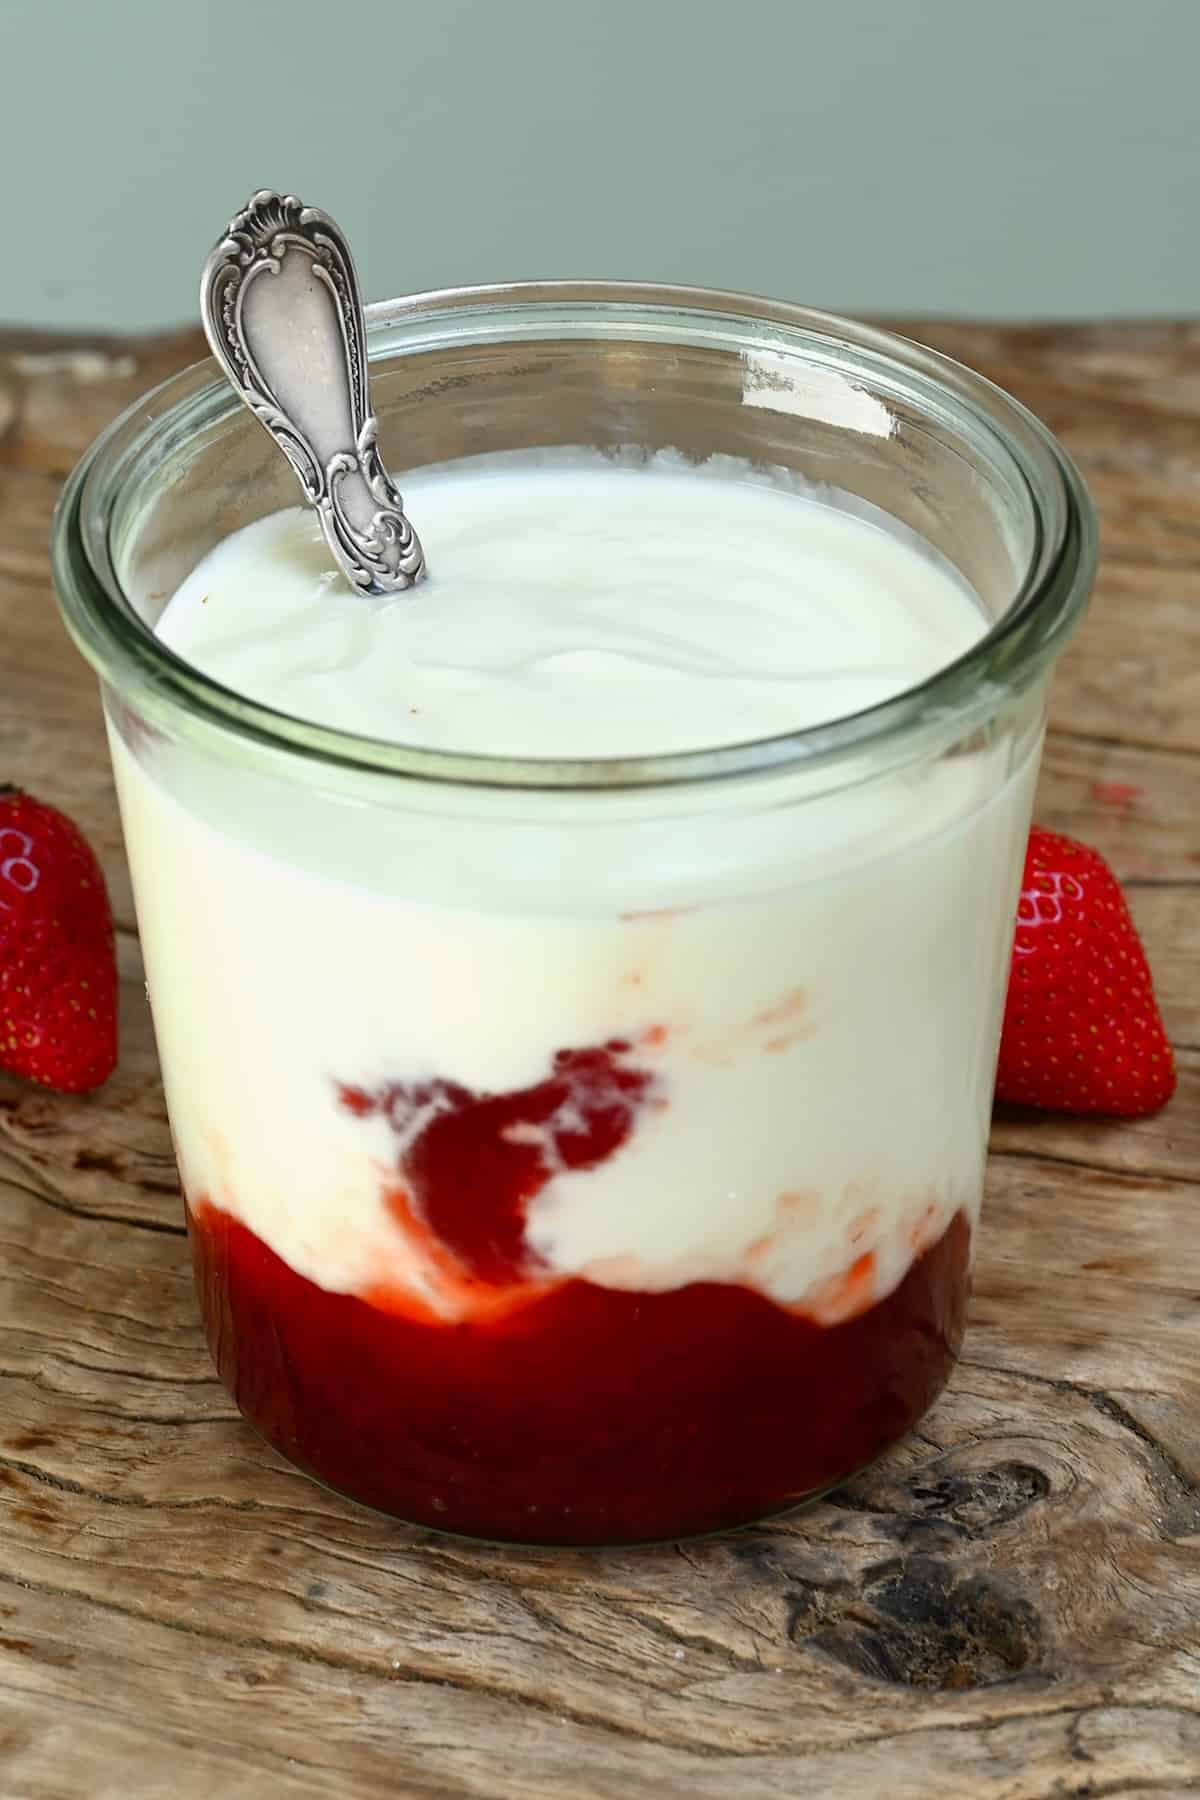
Enjoy with fresh berries (or a fruit compote/ jam) and granola or muesli. Use it as a base for a yogurt parfait. Mix into smoothies and smoothie bowls.Mix into overnight oats and oatmeal.Mix into chia seed pudding.Dollop over pancakes, waffles, or French toast with fresh fruit.Use in healthy popsicles.
How Long Can You Keep Coconut Yogurt in Your Fridge
Homemade coconut yogurt will last between 1-2 weeks in the fridge. I recommend storing it in several smaller jars rather than one larger one. This way, the unopened jars will remain unspoiled for longer. You may also be able to freeze the coconut milk yogurt for up to a month, though I haven’t tried this. If you plan to make more, set aside 2-3 tablespoons of the yogurt to use as the starter for your next batch. You can repeat this over 2-3 batches until the starter weakens.
Top Tips For Making Coconut Yogurt
More Fun DIYs
How to Make Coconut ButterHomemade Fruit Roll UpsHow to Make Dukkah (Egyptian Spice Blend)Homemade Dried StrawberriesHow to Make Seitan Chicken
If you try this homemade easy coconut yogurt recipe (coconut milk yogurt), I’d love to hear your thoughts/questions below. Also, I’d appreciate a recipe card rating below, and feel free to tag me in your recipe recreations on Instagram @Alphafoodie!
