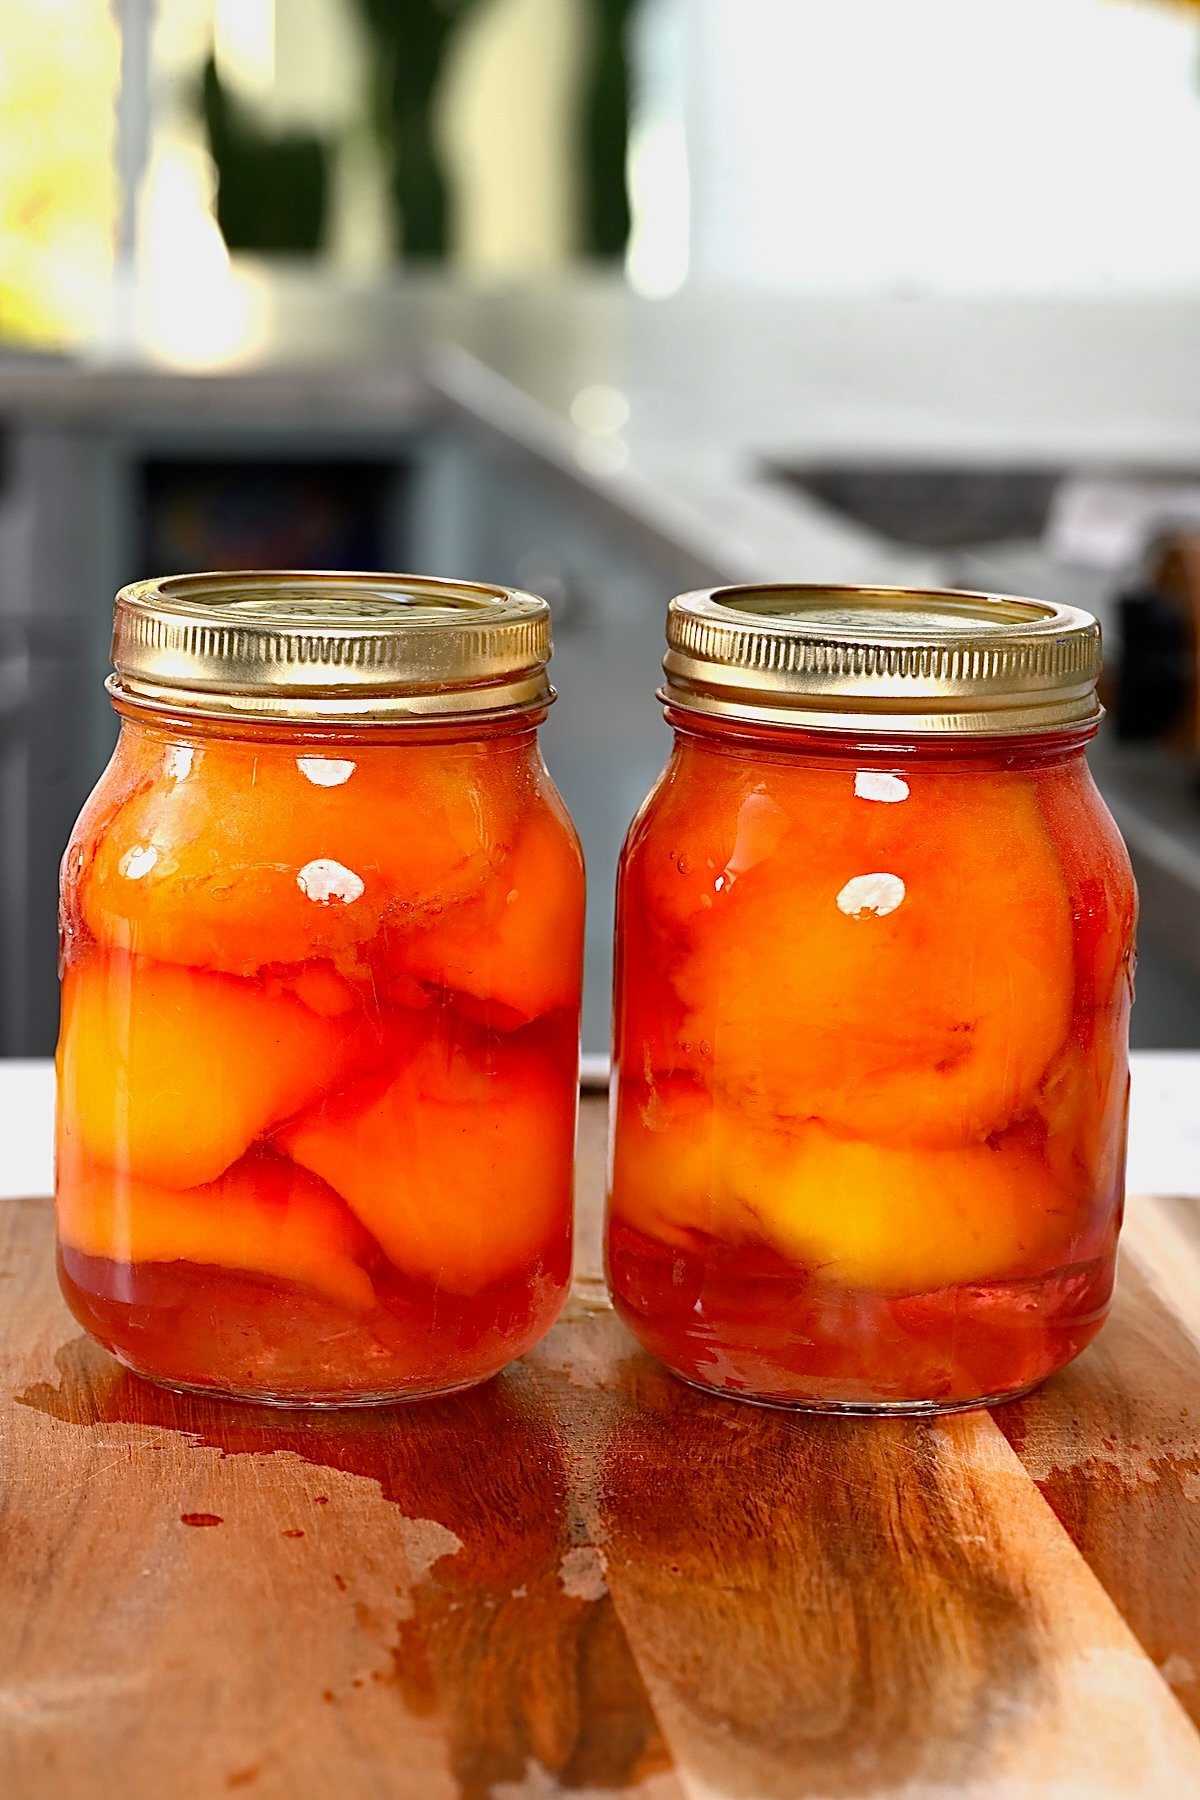
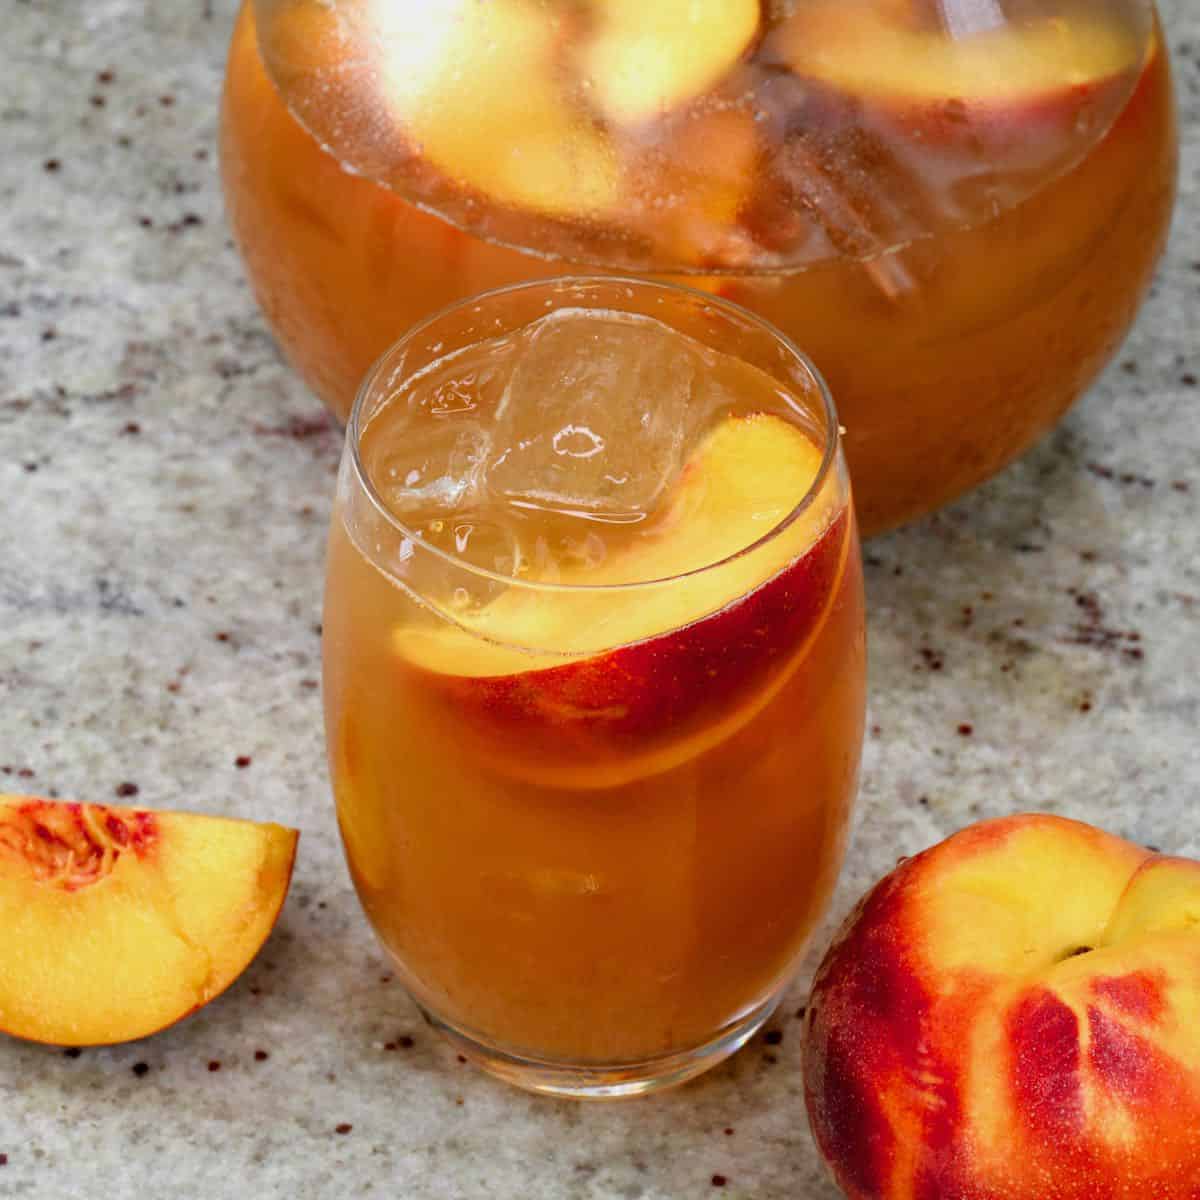
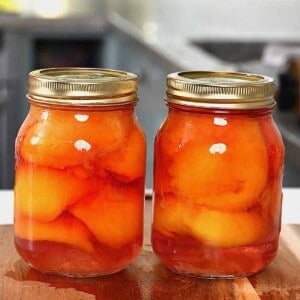
After a long and delicious summer filled with peach juice, lemonade, and peach burrata salad, the end of summer is nearing. This means it’s the perfect time to share how to can peaches to preserve them to enjoy all year long in crumbles, cobblers, dump cake, and more. Canning peaches without a pressure canner (aka using a water bath canner) is not only simple. It is completely beginner-friendly too, for those who haven’t experimented much with water bath canning. Once prepared, these jarred peaches will become a refreshing taste of summer during the cold winter months. They are perfect for adding to breakfast, desserts, and even as a snack straight from the jar!
The Ingredients
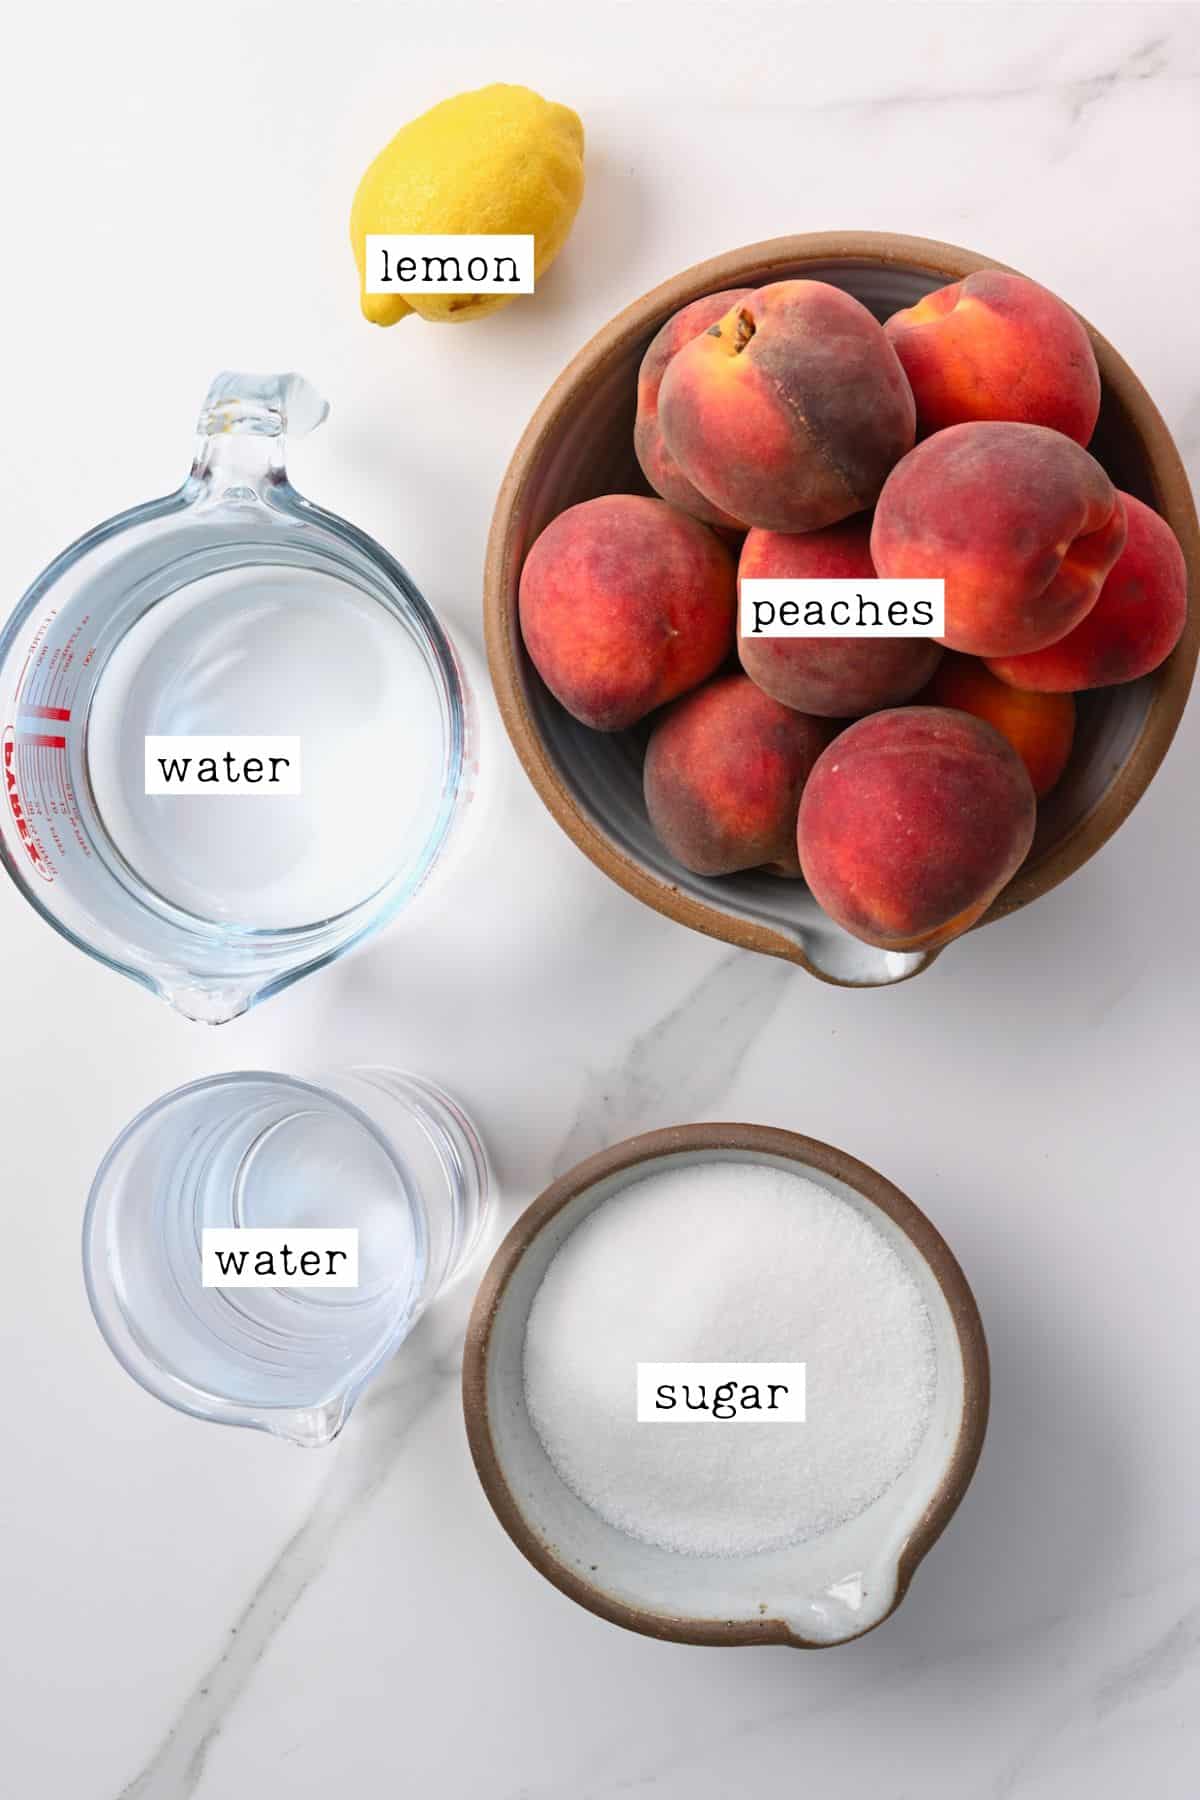
Peaches: Use ripe, in-season peaches (organic is best). Any color will work, but the final result will vary. Avoid any that are wrinkled or browning. They should be firm with a slight give. Light syrup: This combines water and sugar. I like to use filtered water, but tap water is fine too if you live somewhere where it’s drinkable. Lemon juice: To combine with water to keep the peaches from browning.
You’ll also need several tools for this canning peaches recipe:
Small paring knife and cutting board (for blanching, peeling, and chopping the fruit) A large saucepan (to blanch the peaches and make the simple syrup) A large bowl (for the ice bath) Either a canner or a massive stockpot with a trivet/rack for the bottom Canning jars (with button lids or ring lids) Canning tongs (to safely transfer the jars to and from the boiling water) Clean kitchen towels Non-reactive slotted spoon or regular spoon (for transferring peaches and stirring the syrup)
What Are the Best Peaches for Canning?
Most varieties (though it’s still advised to avoid canning white peaches due to inconsistent pH levels) will work when canning fresh peaches. However, use firm (with some give), ripe, in-season peaches for the best results. I prefer to use freestone peaches (rather than clingstone peaches), though, when possible. They have a pit that doesn’t cling to the flesh, making them easy to slice and remove the pit. This saves a lot of time and effort when making large quantities of preserved peaches.
How to Can Fresh Peaches
Follow just 6 steps for these delicious preserved peaches.
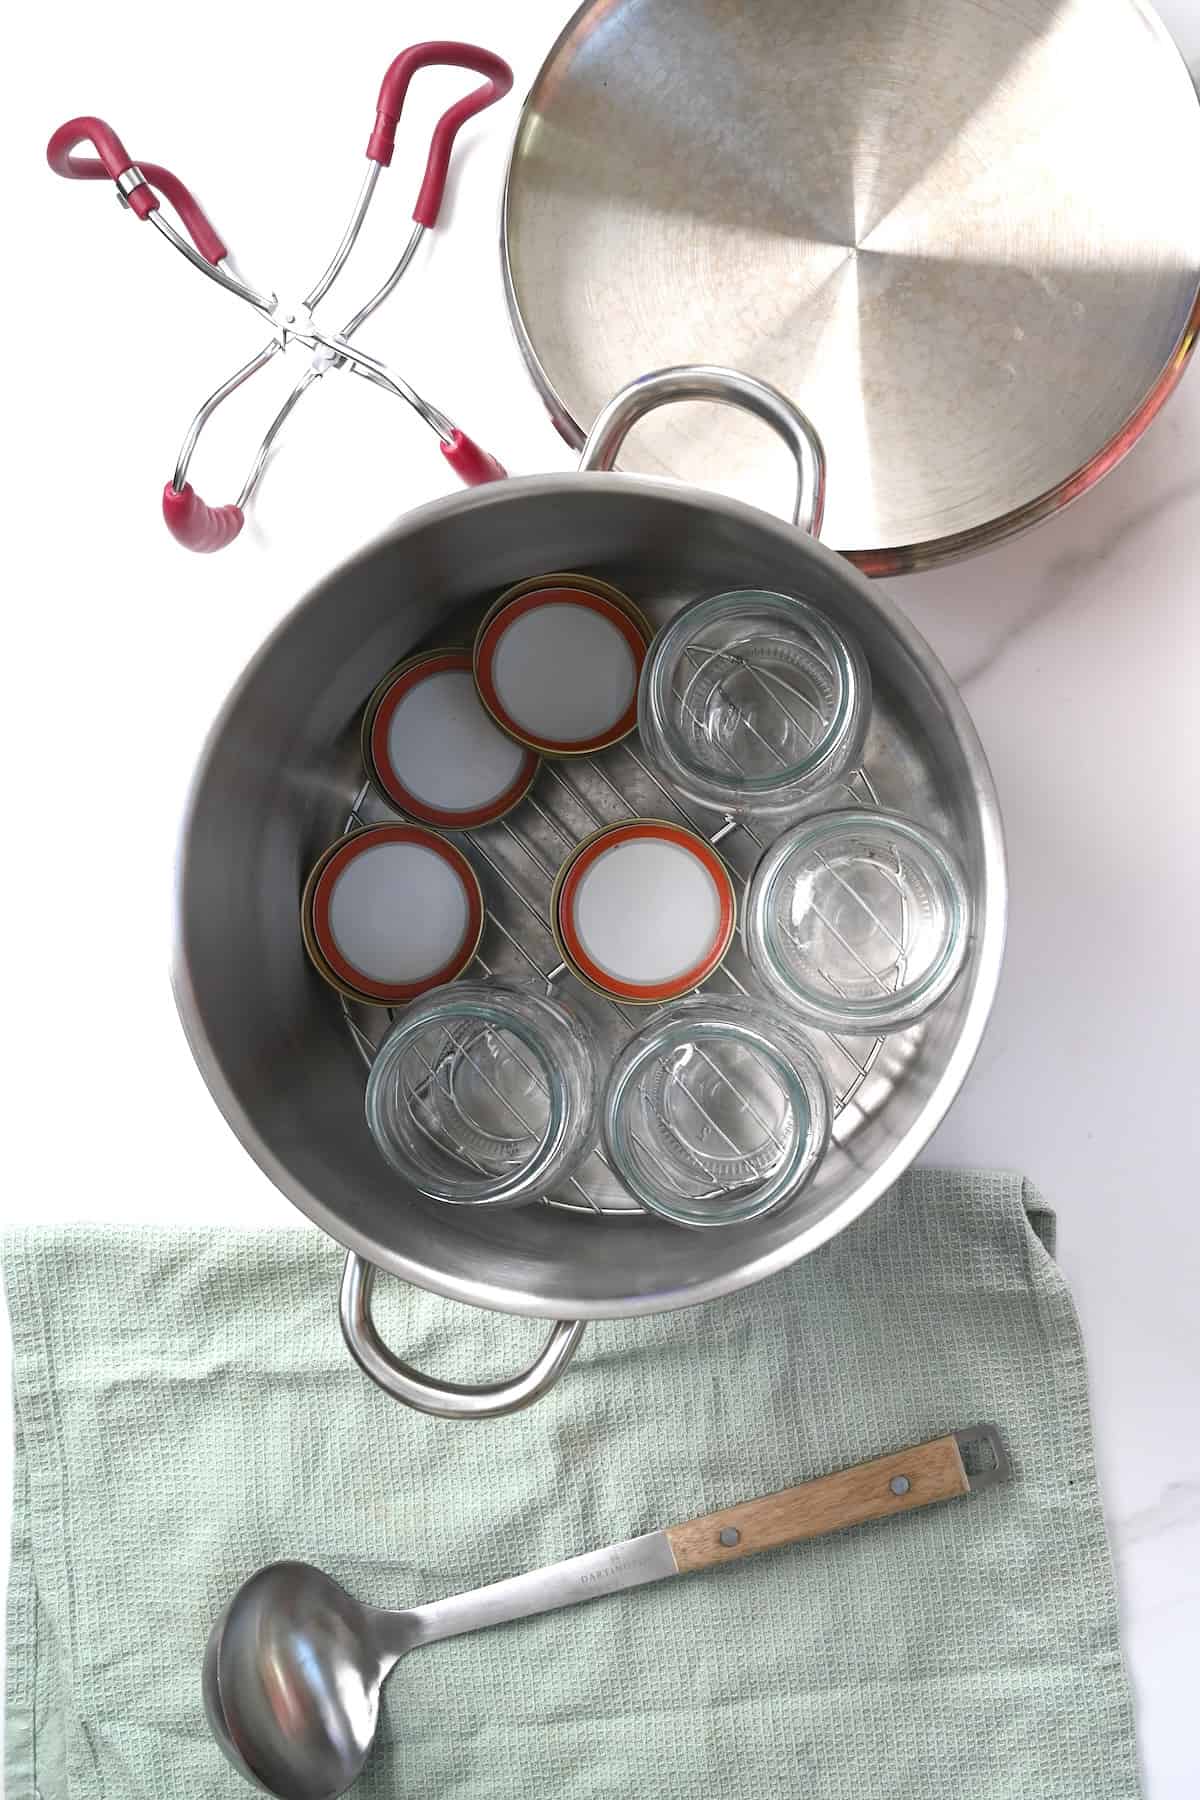
Sterilize The Equipment
To avoid bacteria messing with the preservation process, the first step is to thoroughly sterilize everything: the jars, lids, utensils, and tongs you’ll use. To do so, boil any heatproof elements in a large pot of water for 10 minutes, ensuring all items are submerged. Then leave them to dry thoroughly on a sterilized surface.
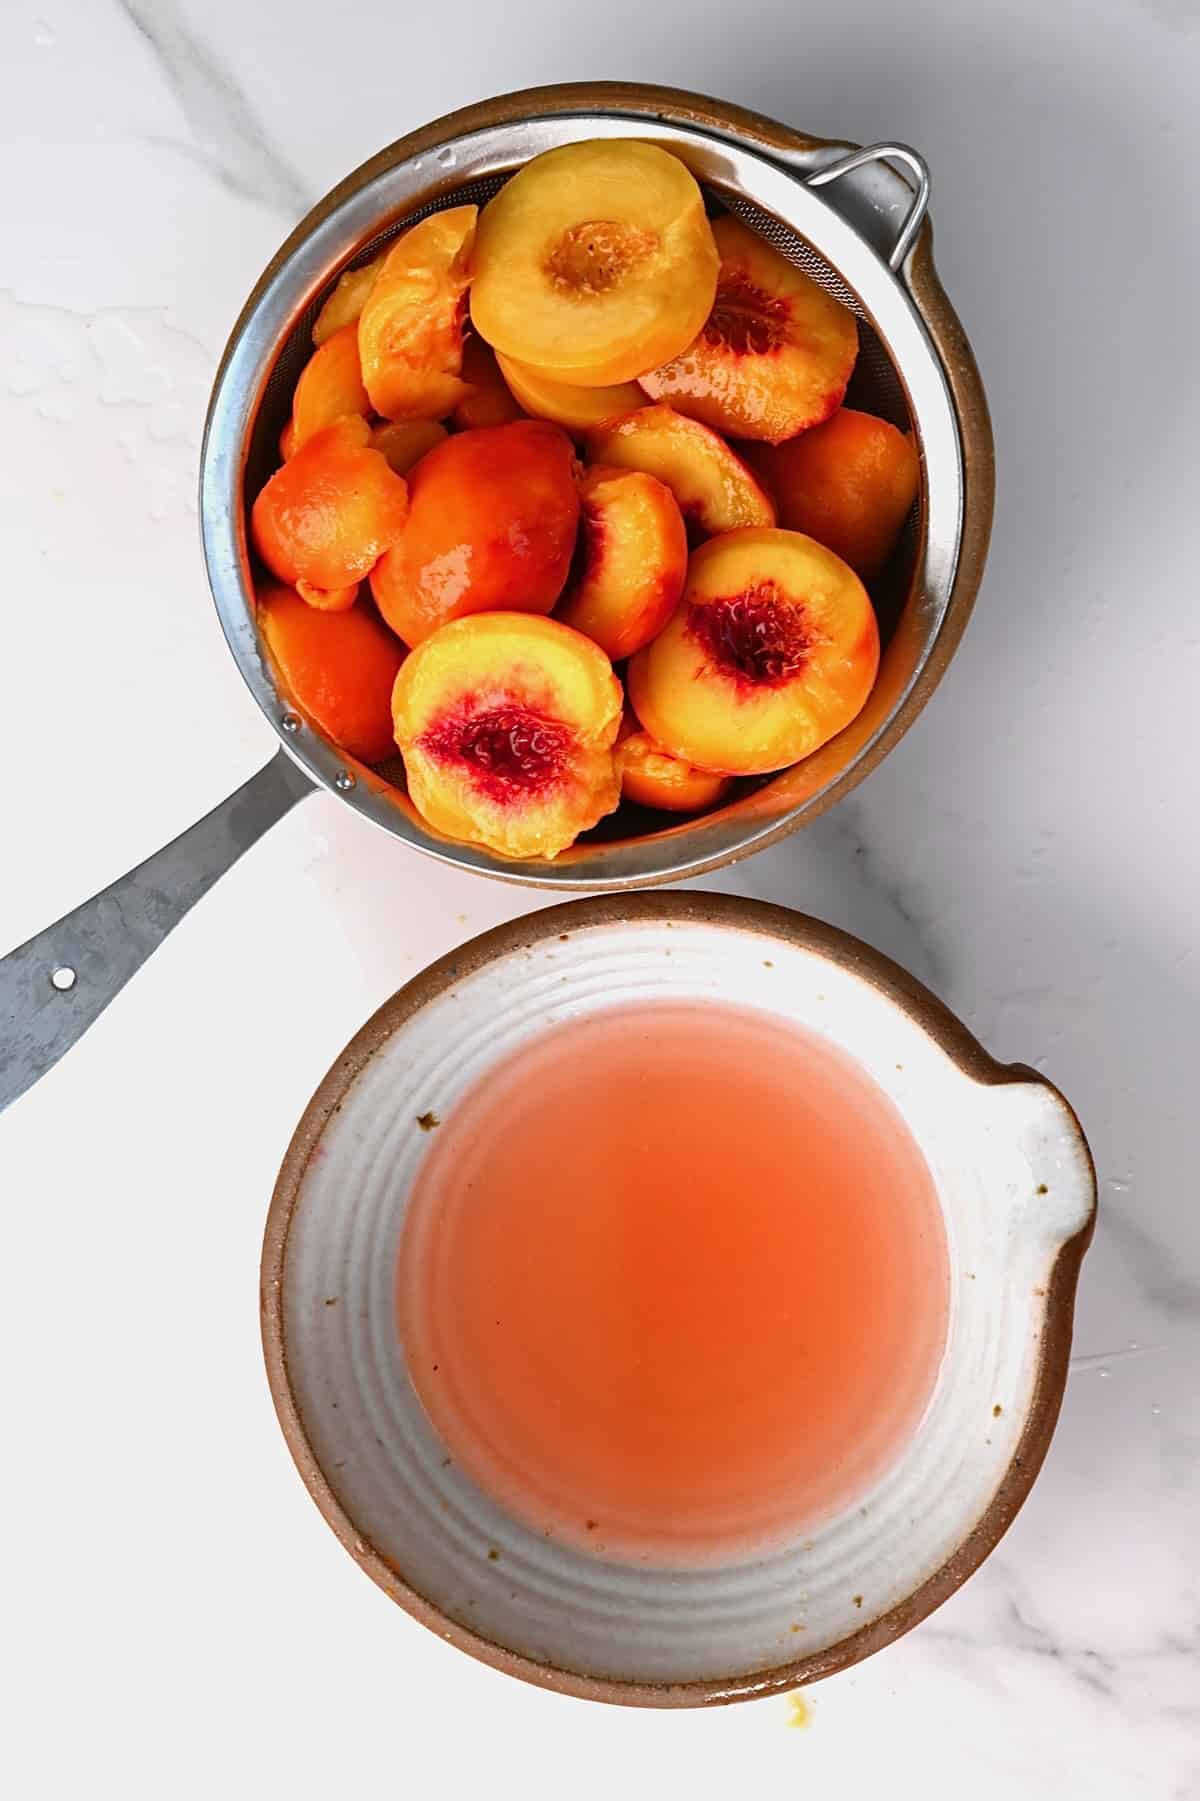
How to Peel Peaches
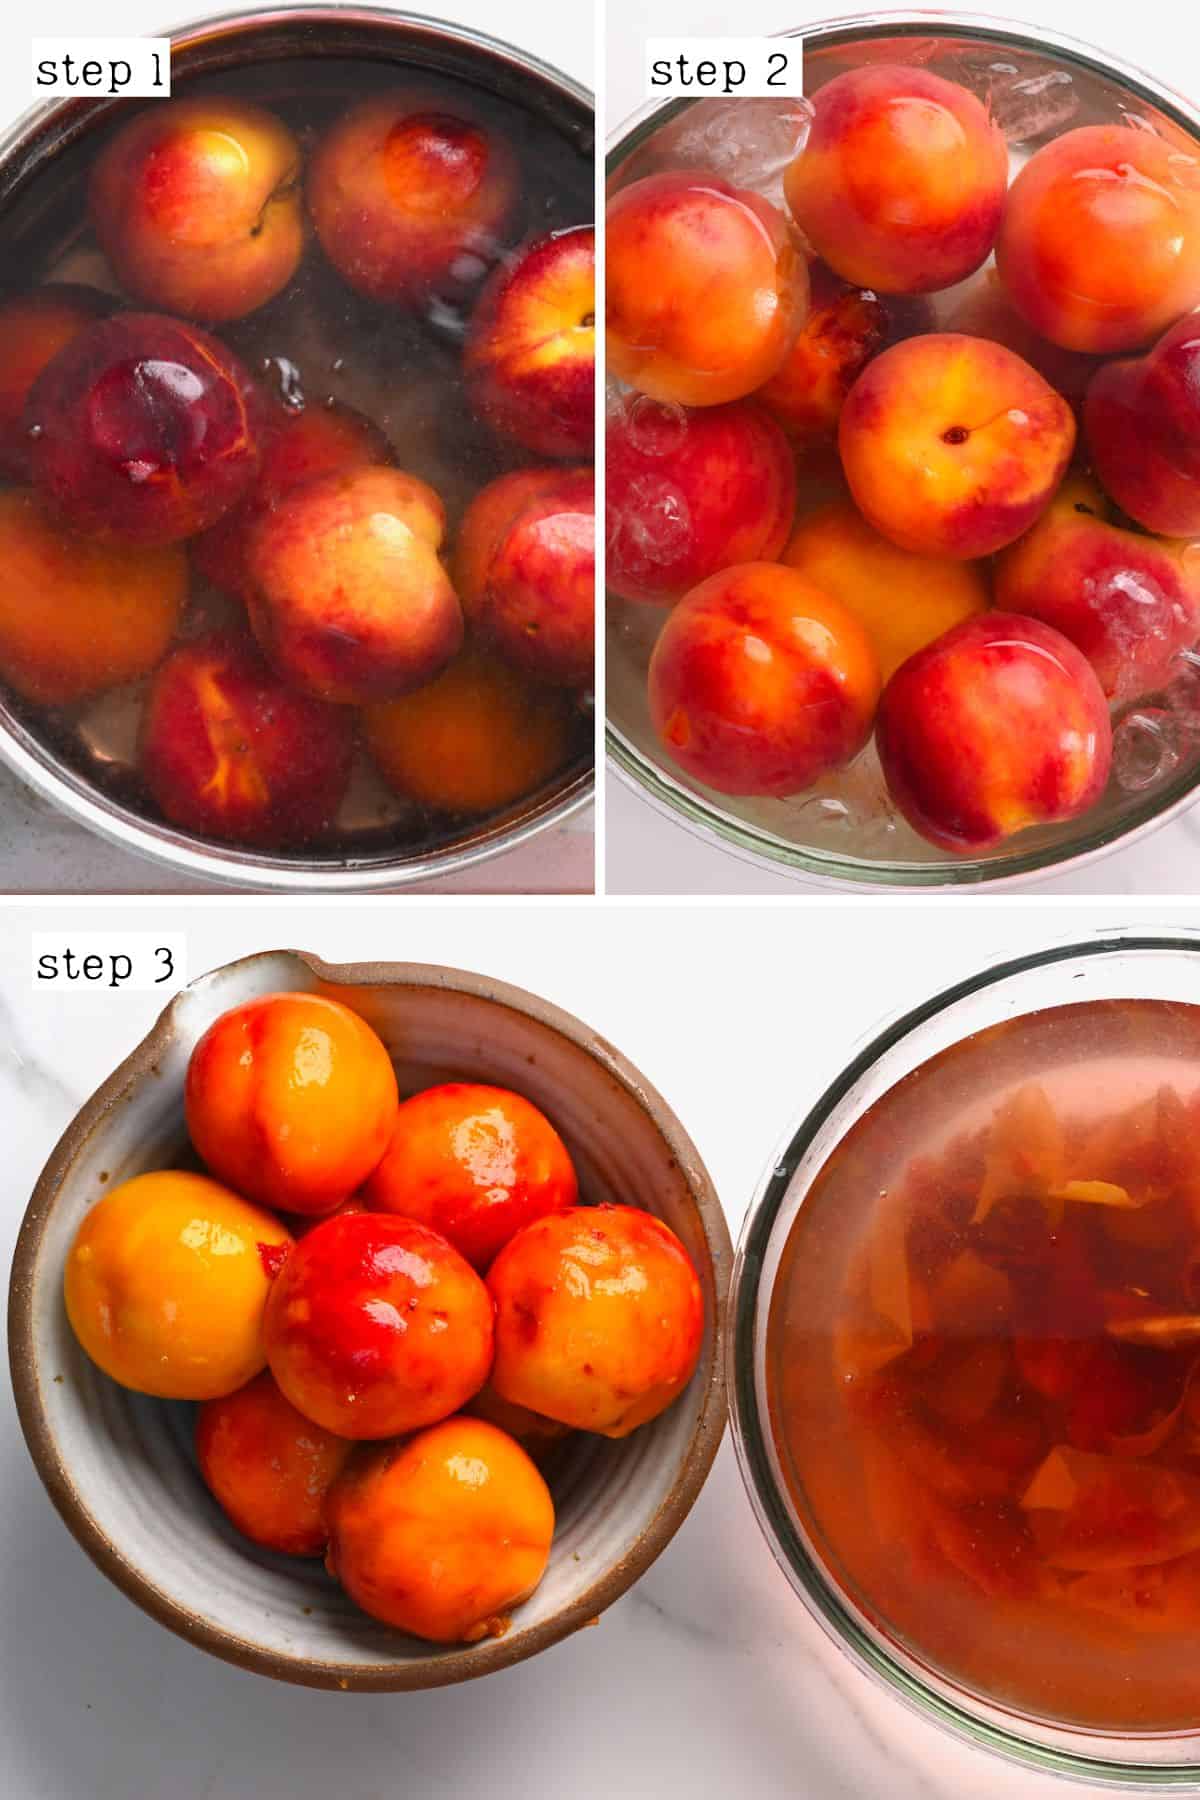
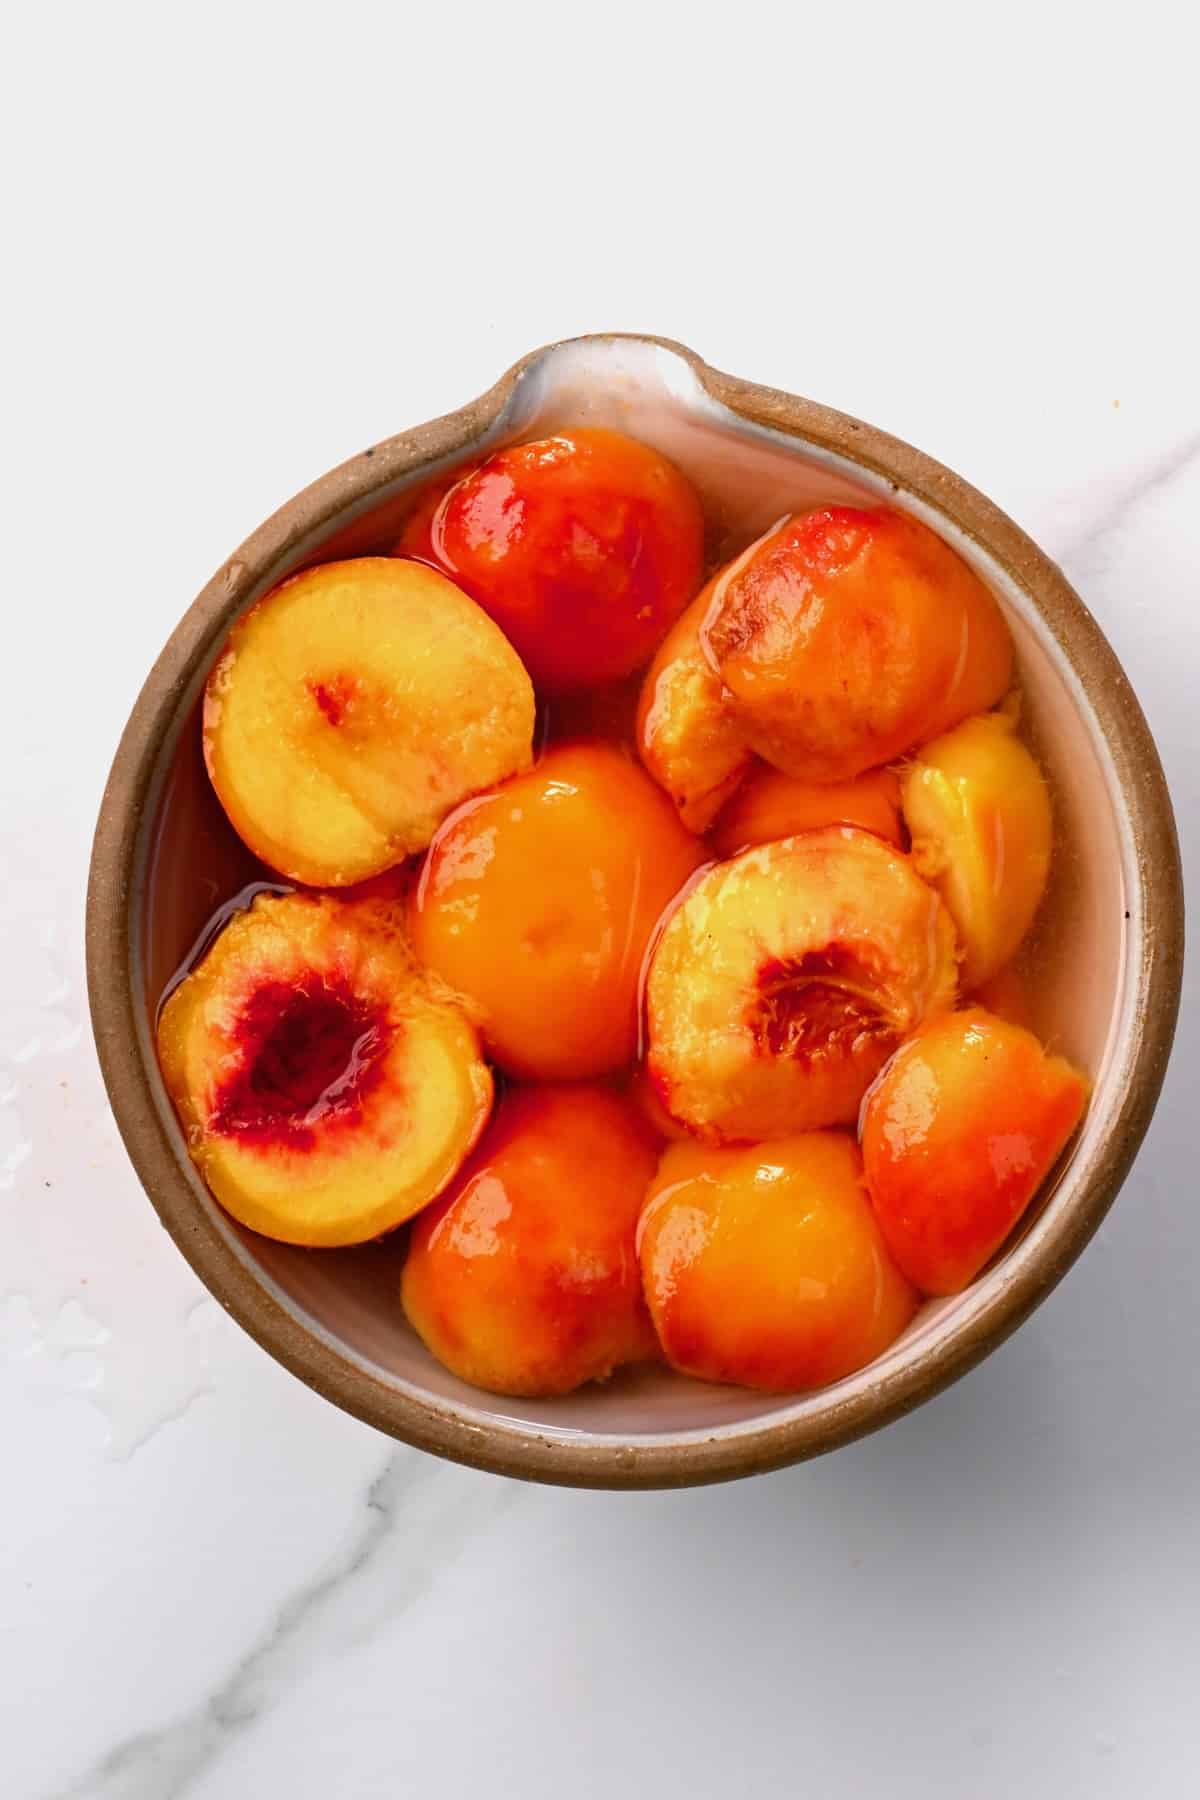
First, rinse the fruit. Then use a small paring knife to cut an X on the bottom of each peach, just thick enough to pierce the skin but not go too deep into the flesh. Then, transfer the peaches to a large heavy-based pan of boiling water and boil for 30 seconds. Immediately, remove them from the water and transfer them to a bowl of ice water for just enough time until you can easily manage the peaches. Then, it should be easy to peel them from the X mark. Next, cut all the peaches in halves (or make canned sliced peaches), removing the pit from each peach as you go.
How to Keep Peaches from Browning While Canning
To avoid too much oxidization, which will brown the peaches, they’ll need to be treated with citric acid or, more readily available, lemon juice and water. Combine four cups of water with ¼ cup of lemon juice in a large bowl/dish. Mix well and add the peaches to it, leaving them there while you prepare the following steps.
How to Make Light Syrup
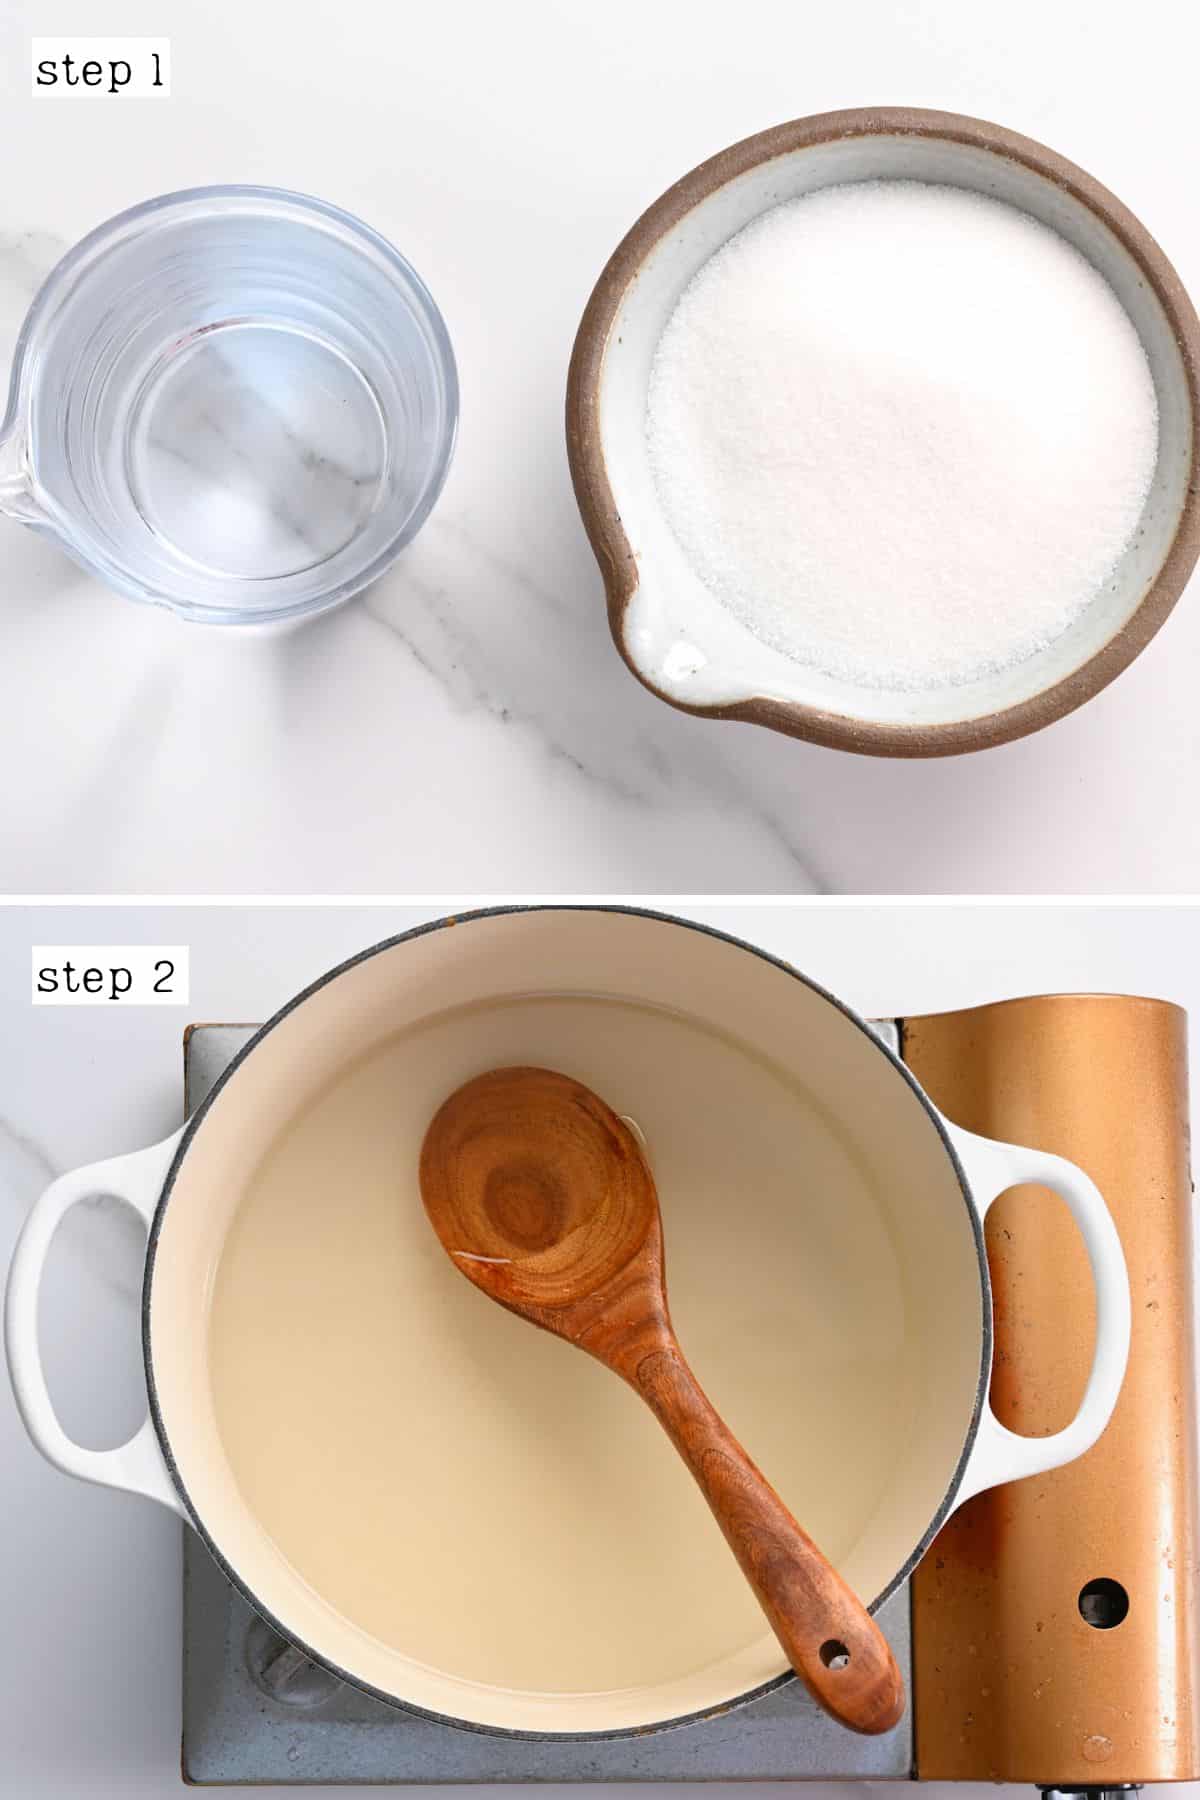
In a medium stainless steel saucepan, combine the sugar and water, and bring to a boil over medium-high heat. Stir the mixture often until the sugar dissolves (about 5 minutes). Then, reduce the heat to low to keep the syrup warm.
Assemble the Jars of Canned Peaches
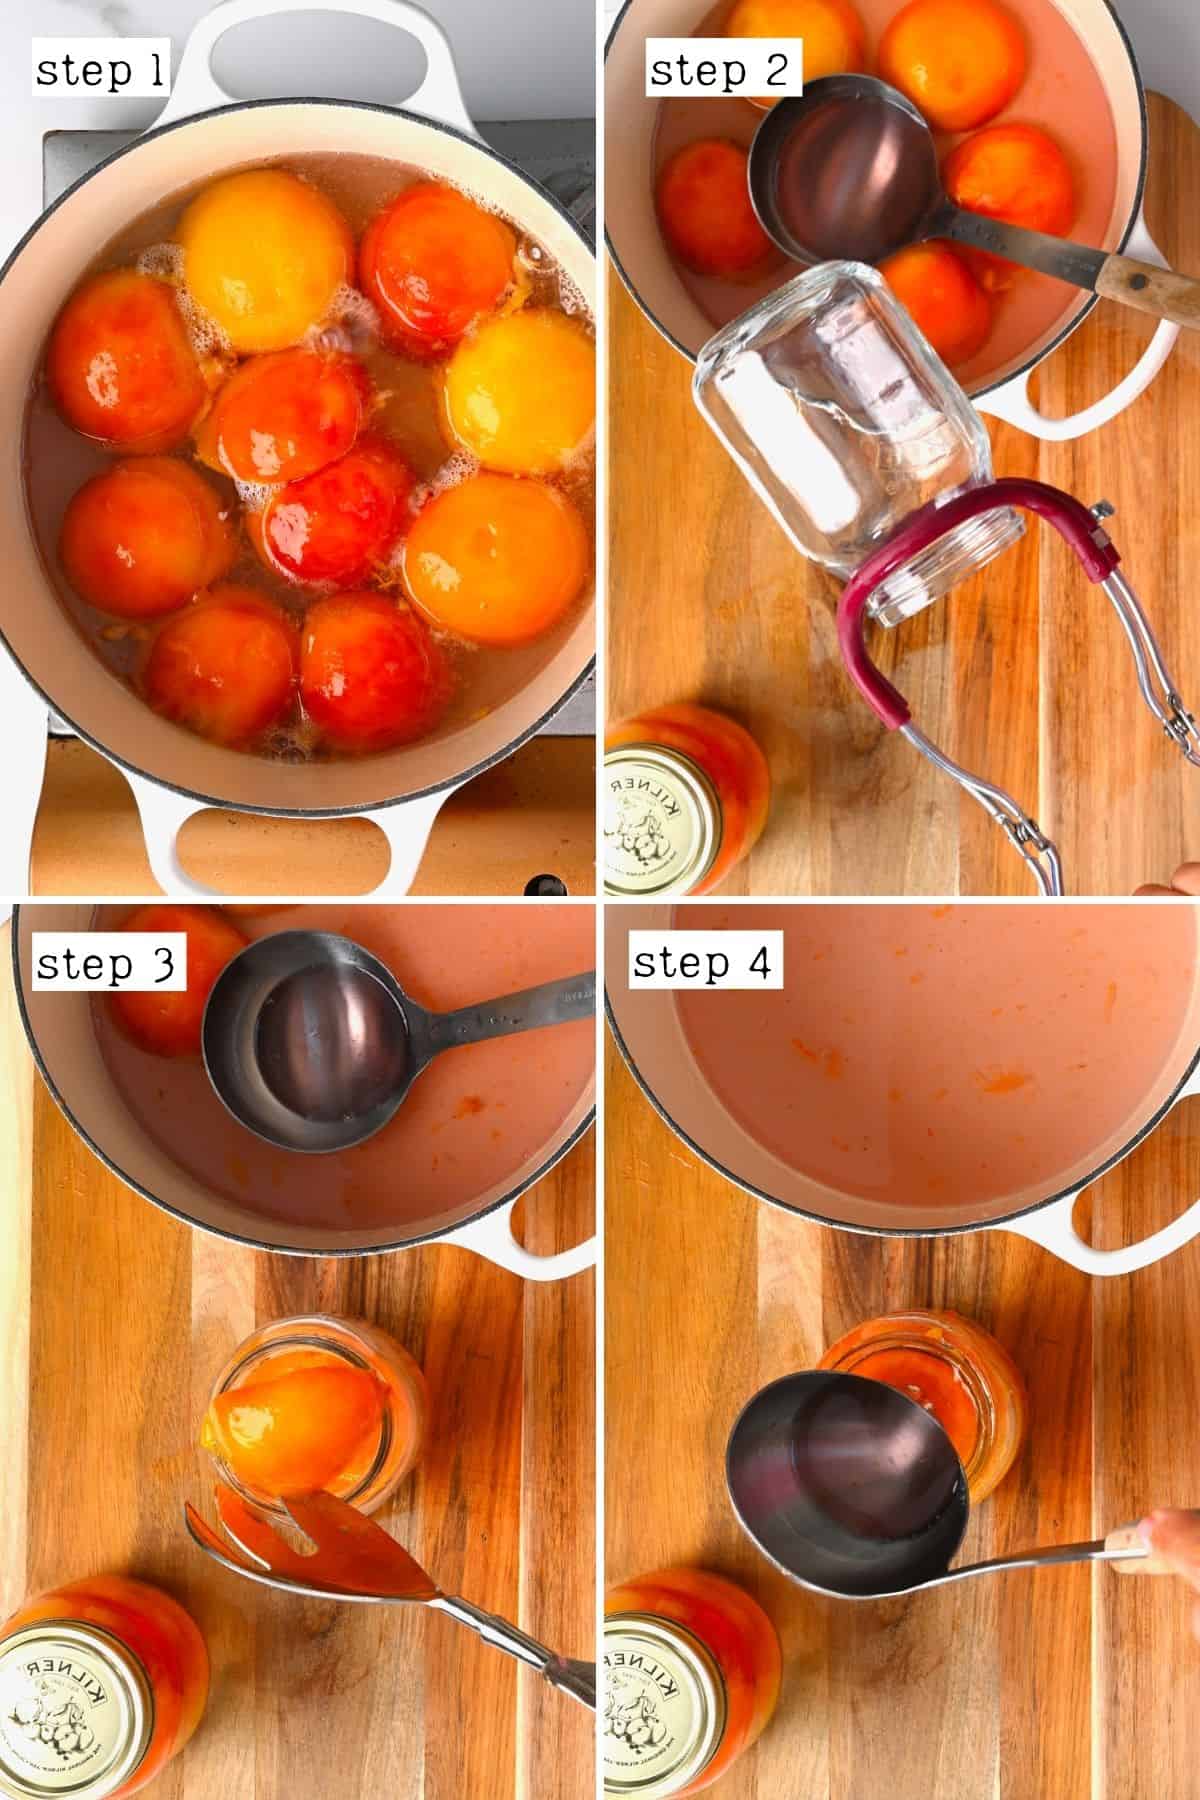
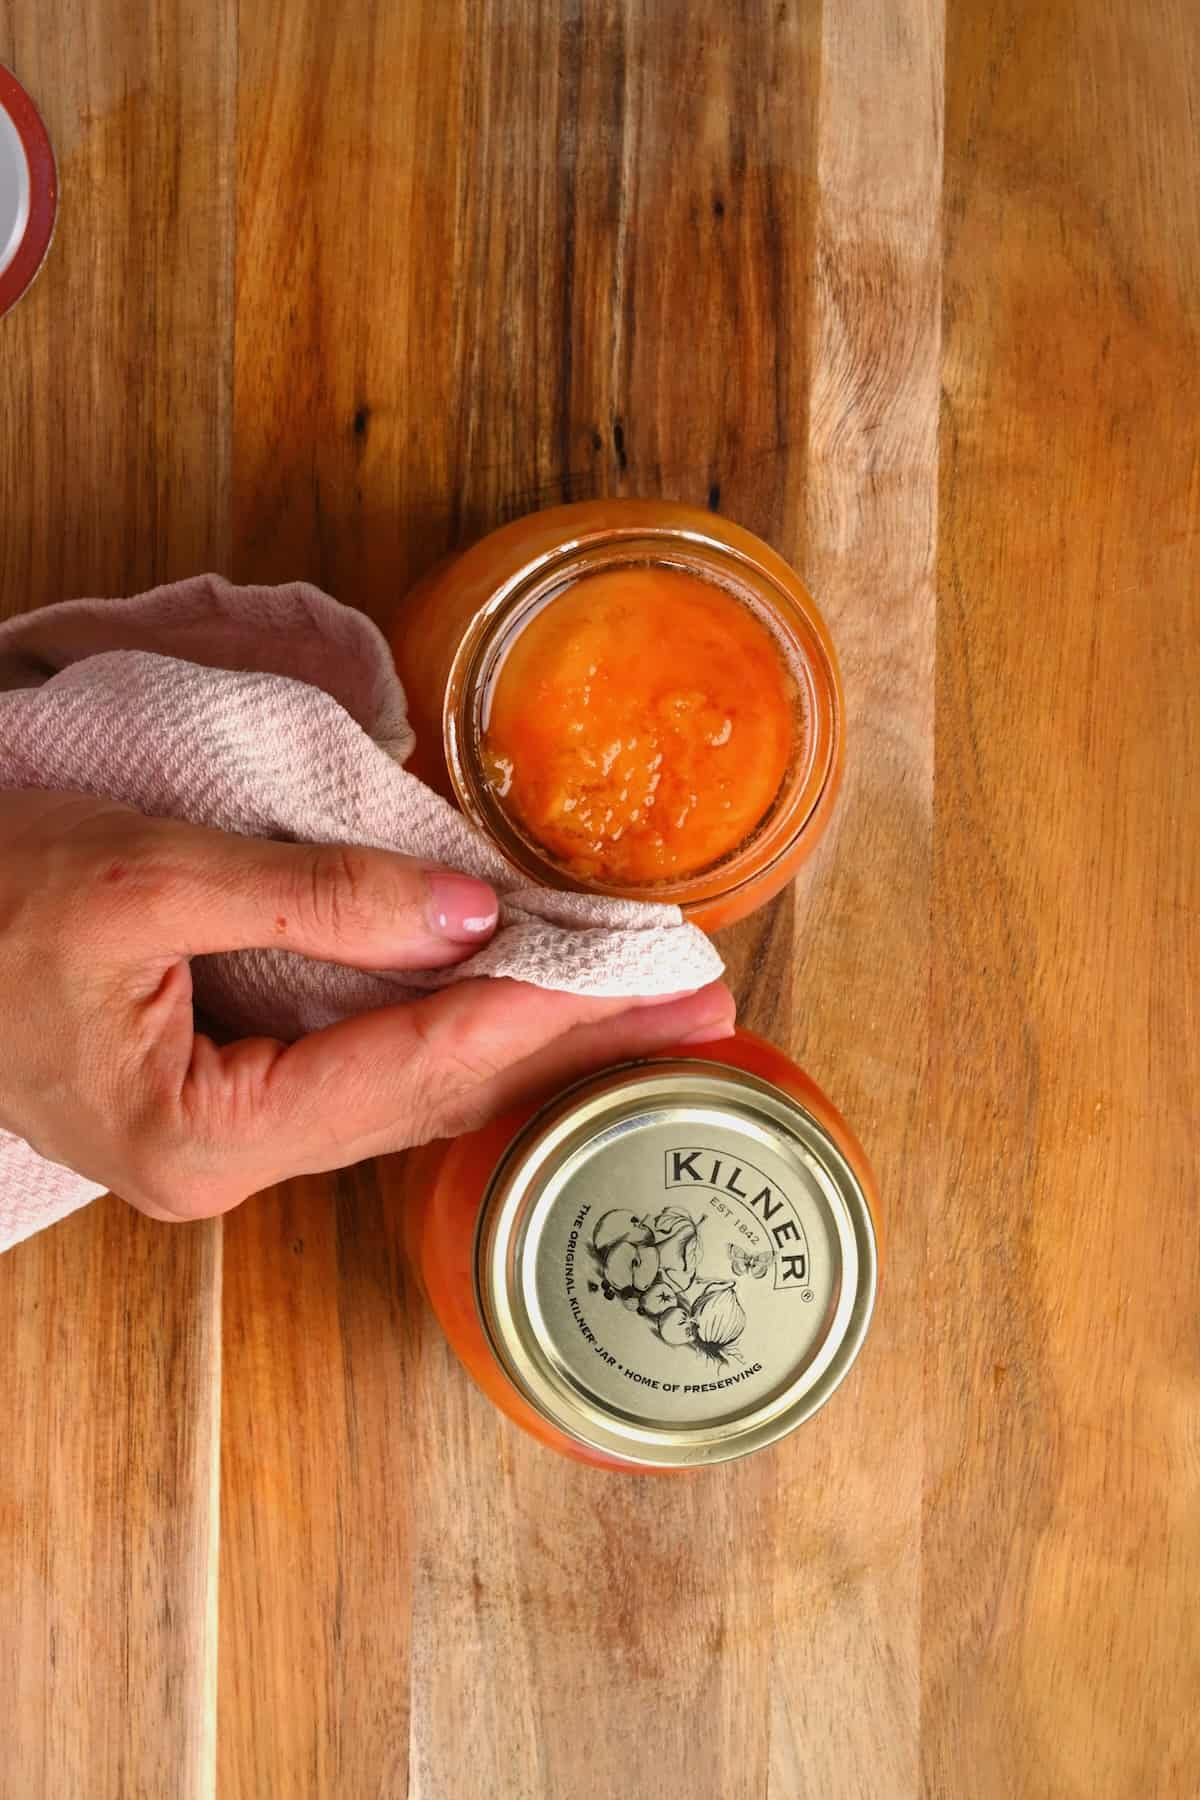
First, place a trivet at the bottom of a canner or large heavy-based pan (like a stock pot). Then, fill it with enough water to cover your jars (you can test this in advance with your jar of choice). Then, bring the water to a boil over medium-high heat. Meanwhile, increase the syrup heat to medium-low and transfer the peaches from the lemon mixture (draining excess liquid from the pieces first) into the syrup. Repeat with enough peach to form a single layer in the pan and allow to cook for 1 minute. Then, use a sterilized slotted spoon or tongs to transfer those peaches in a jar, packing them tightly, cavity side down, and leaving ½-inch headspace. Repeat with the remaining peaches stacking them in the remaining jars. Then, pour the hot sugar syrup over the peaches, leaving ½ inch of headspace in the jars but ensuring the fruit is entirely submerged. It can help to use a wide mouth funnel for this step, if you have one, to reduce mess. Carefully tap the jars on your counter to remove any air bubbles. Or use a butter knife or chopstick to run inside the outer rim of the cans to loosen any air bubbles. Top up the syrup if needed. Then wipe the rim of each jar with a clean cloth, and close the lids until finger tight.
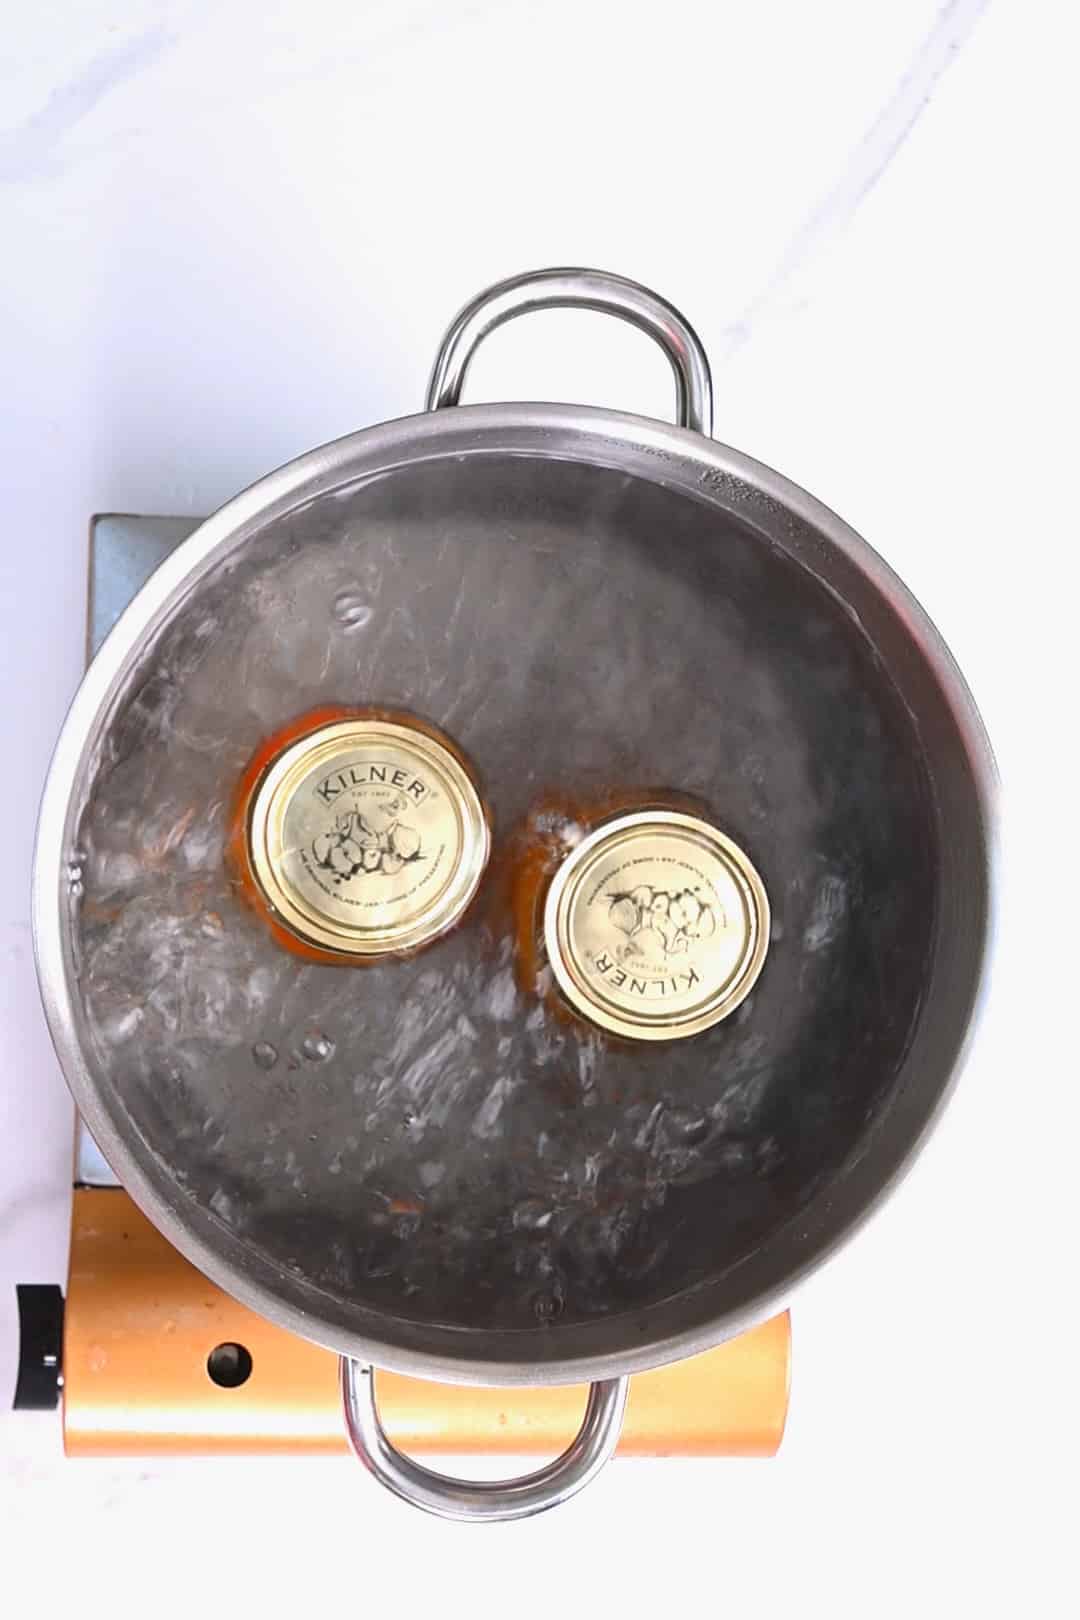
How to Hot Water Bath Can the Peaches
Once the water in the canner is boiling, carefully transfer the jars to the water bath canner. Ensure they’re fully submerged with at least an inch of water above. Then add the lid and allow the cans to process for 20 minutes (1pint jars/1/2 liter jars) or 25 minutes (2 pints/1L jars) if you live in altitudes up to 1000ft. Once ready, remove the lid and let the jars sit in the water off the heat for 5 minutes. Then, carefully remove the jars from the water, using the canning tongs to keep the jars straight. Transfer them to a thick kitchen towel-lined surface (don’t place them straight onto a cold surface, or the jars may smash). Leave them untouched to cool for 24 hours. To test the jar seal, button lids will be depressed in the center of the lid and taut. If you use ring lids, remove the ring and check that the cap is sealed by pressing on its center to ensure there’s no give or wobble. Check any unsealed jars for food or chips in the rim of the jar that may have prevented the seal. Then, either reprocess them within 24 hours (with new lids) or transfer them to the fridge to enjoy within 1-2 weeks.
How Long Do Homemade Canned Peaches Last
Label the cans with their use-by date, then transfer them to a cool, dark location like a pantry or kitchen cupboard. Avoid overly warm (above 95ºF/35ºC) or damp locations. They are now shelf-stable; you can store them for 12 months for the best results, up to 18 months. If you notice any mold, discoloration, or a foul odor when opening the jar, these are signs of spoilage, and you should discard the contents. How long after preserving preaches can you eat them? As soon as the jars have cooled! How long do opened canned peaches last? Once opened, transfer the jar to the fridge for up to 2 weeks. The amount of sugar in the syrup will affect the shelf life.
How to Use Canned Peaches?
Not only are these old-fashioned canned peaches perfect for eating straight from the jar, but you can also use them to:
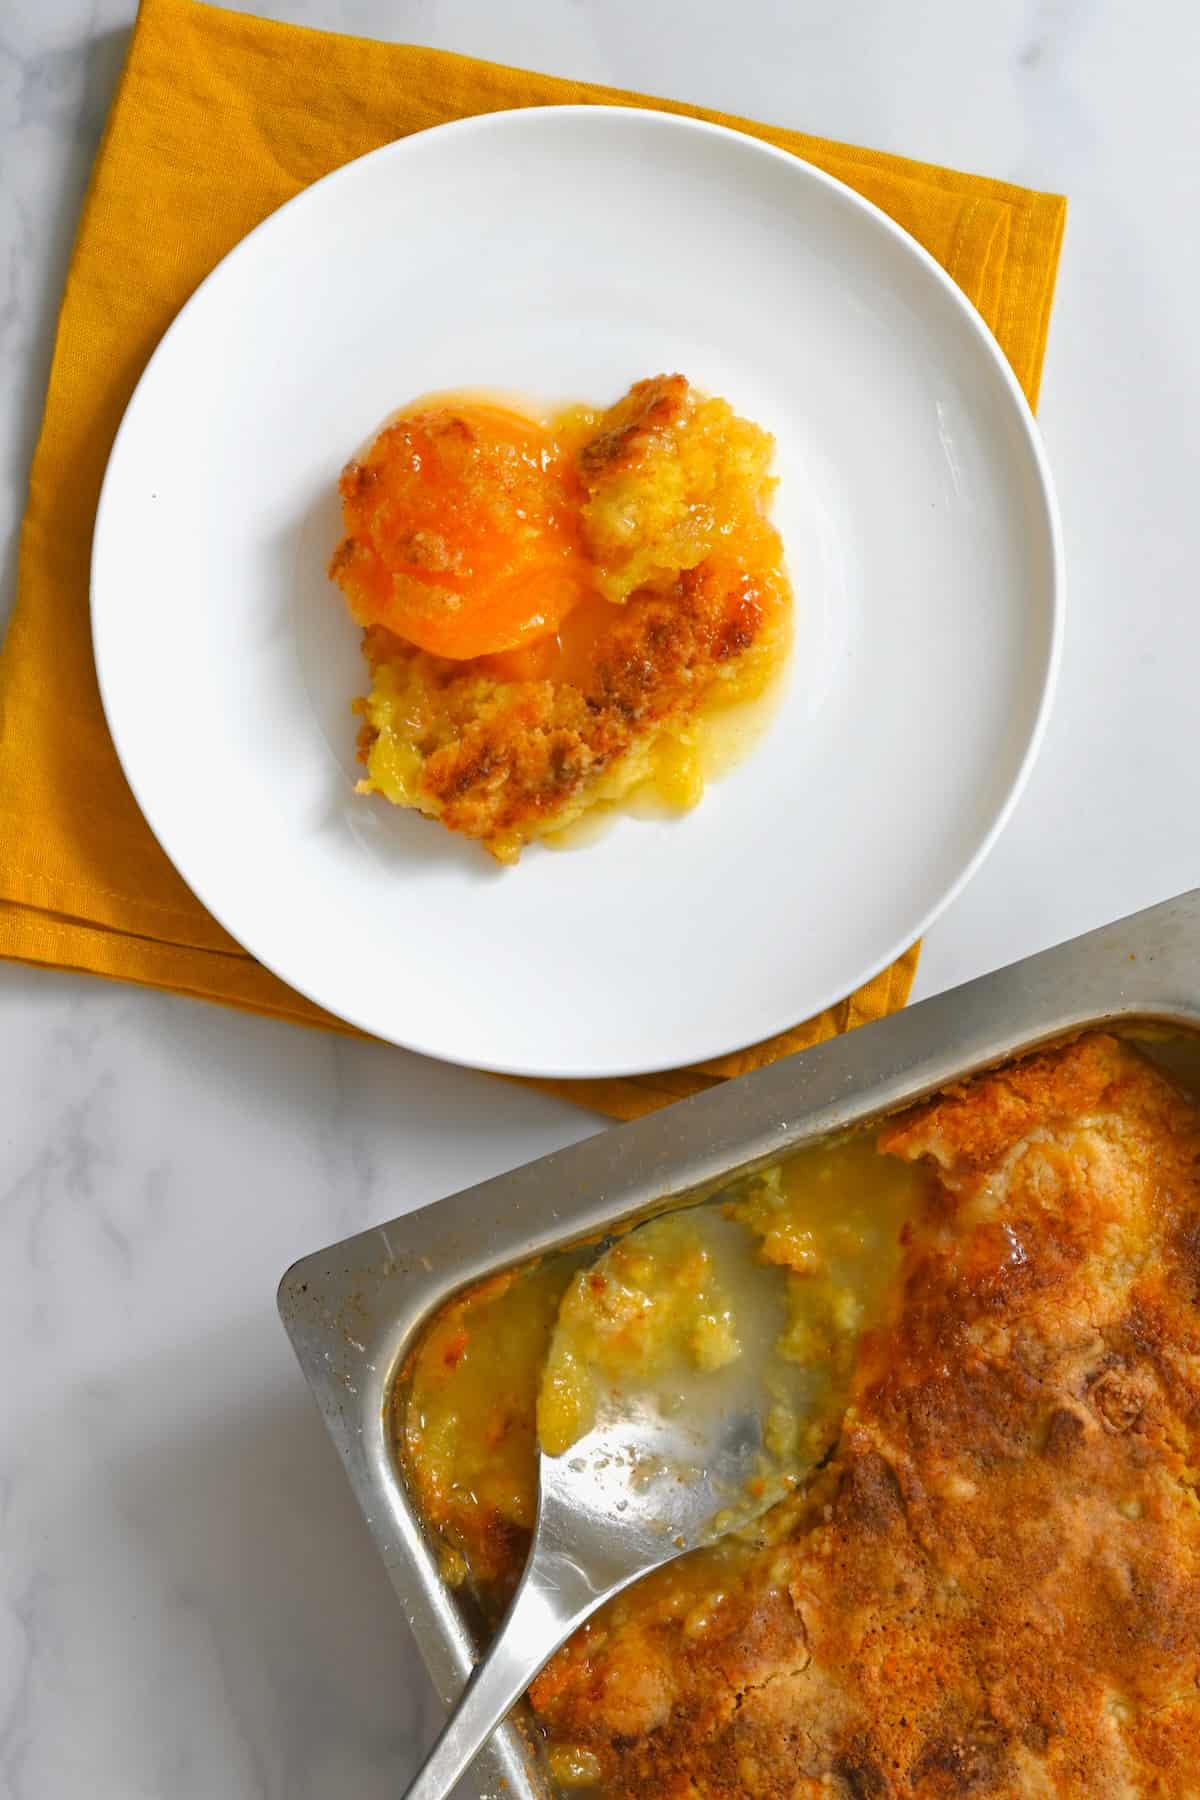
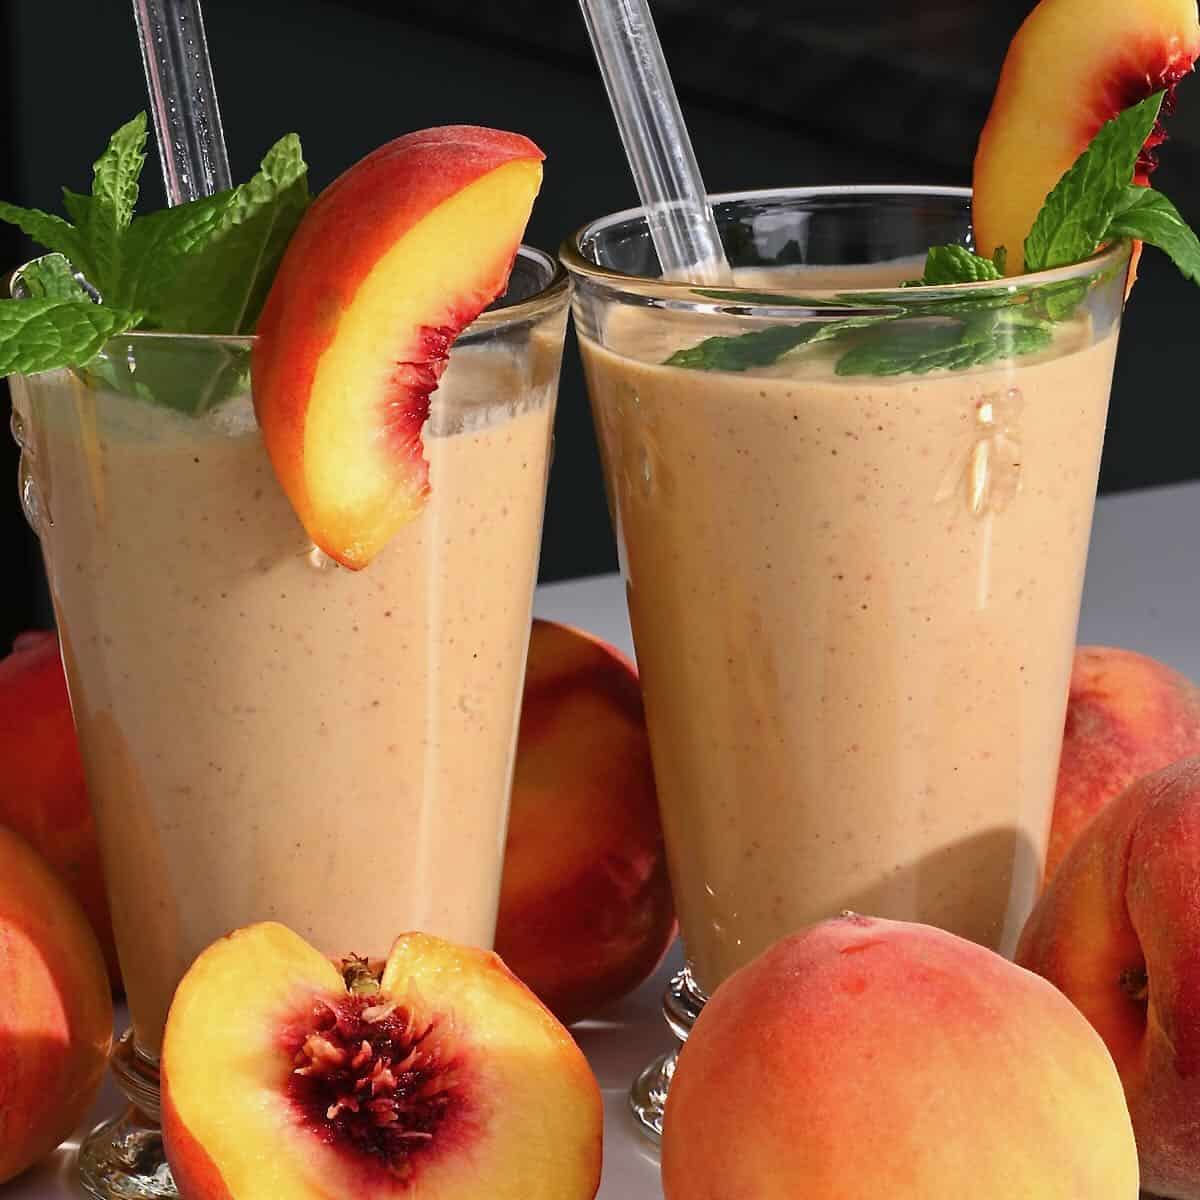
Make peach cobbler using canned peaches, or make crisp or crumble Add to smoothies and milkshakes Mix into muffins, quick bread, or cakes Spoon over ice cream or yogurt. Add to oatmeal or overnight oats Top pancakes, waffles, or French toast
More Peach Recipes
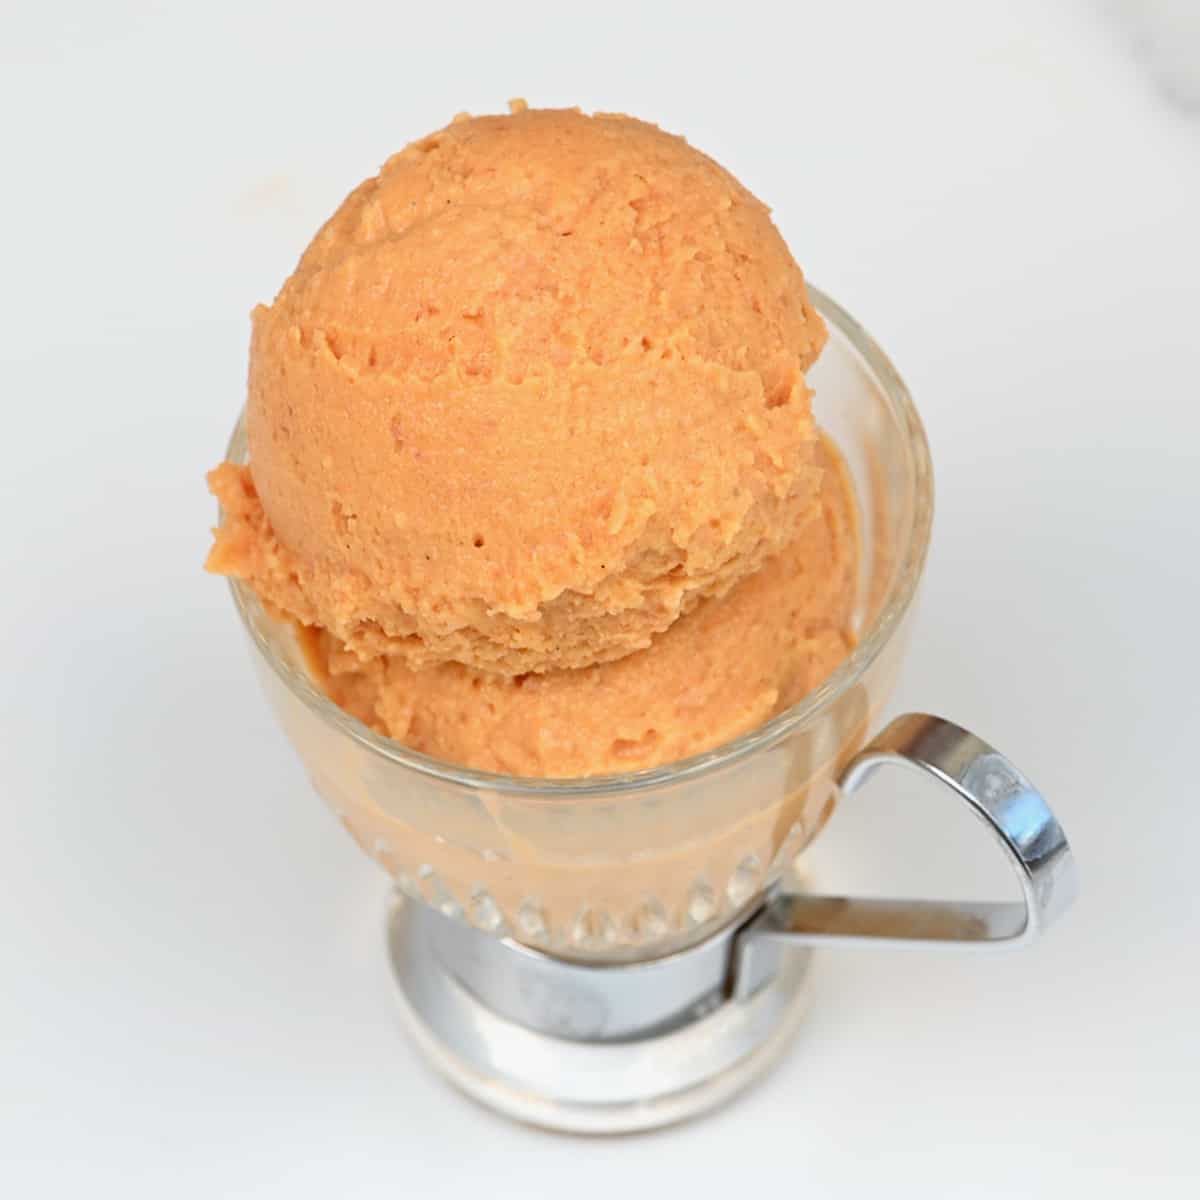
Peach Smoothie Recipe How to Make Peach Iced Tea Peach Ice Cream Two-layer Raspberry Peach & Lemon Tart
If you try this easy home-canned peaches recipe, I’d love to hear your thoughts/questions below. Also, I’d appreciate a recipe card rating below, and feel free to tag me in your recipe recreations on Instagram @Alphafoodie!