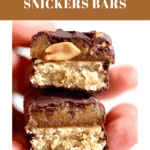
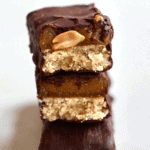
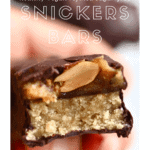
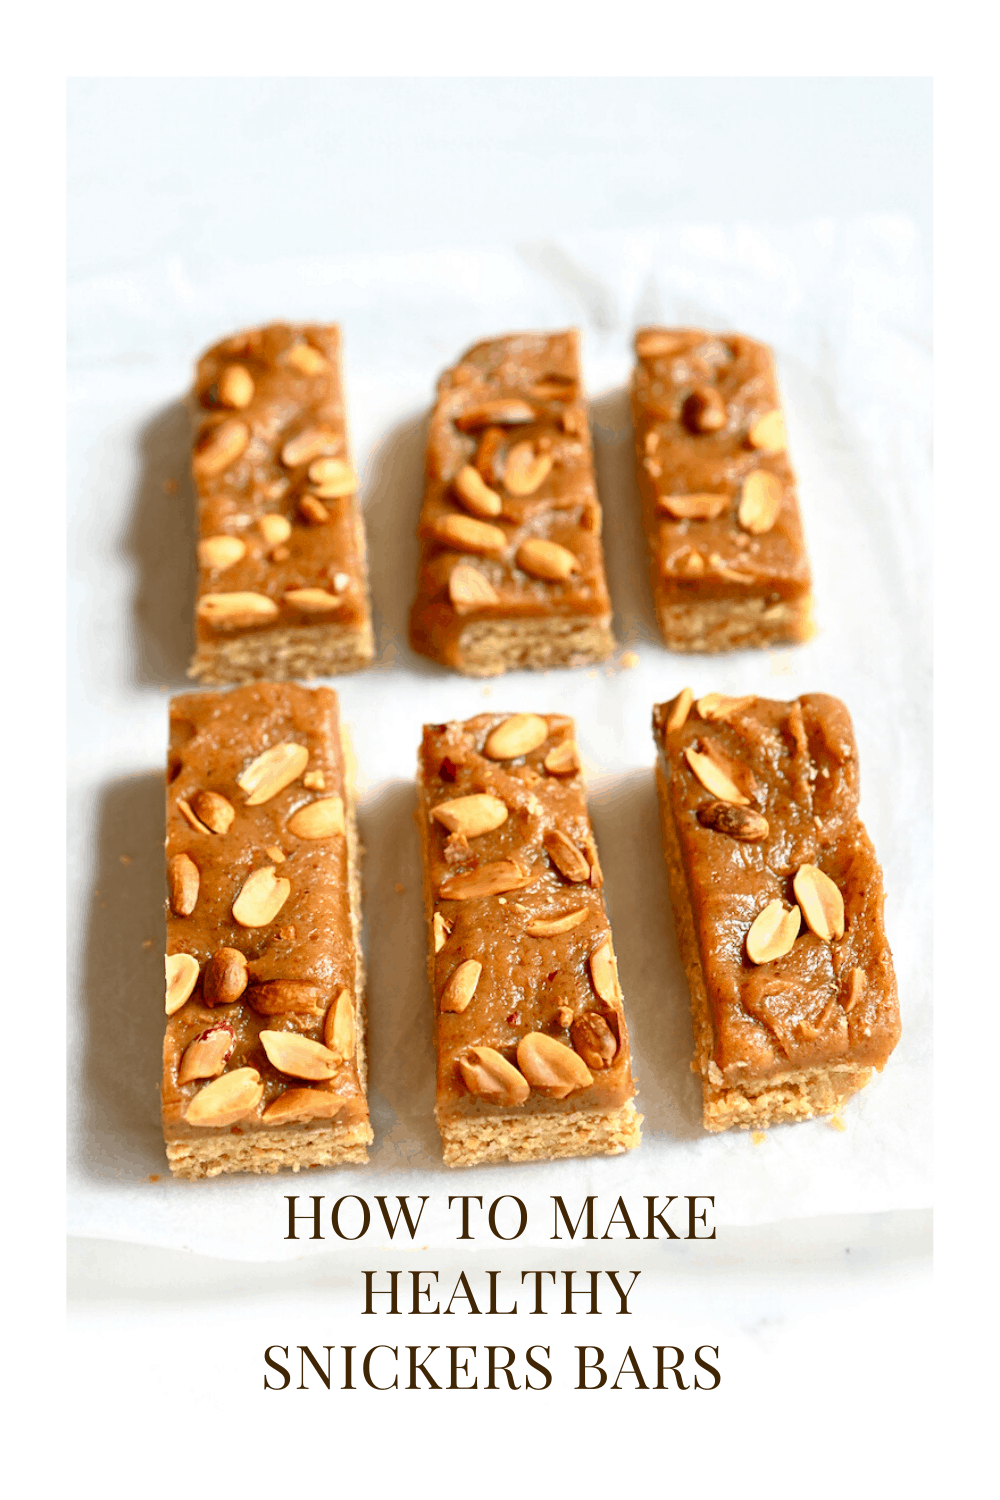
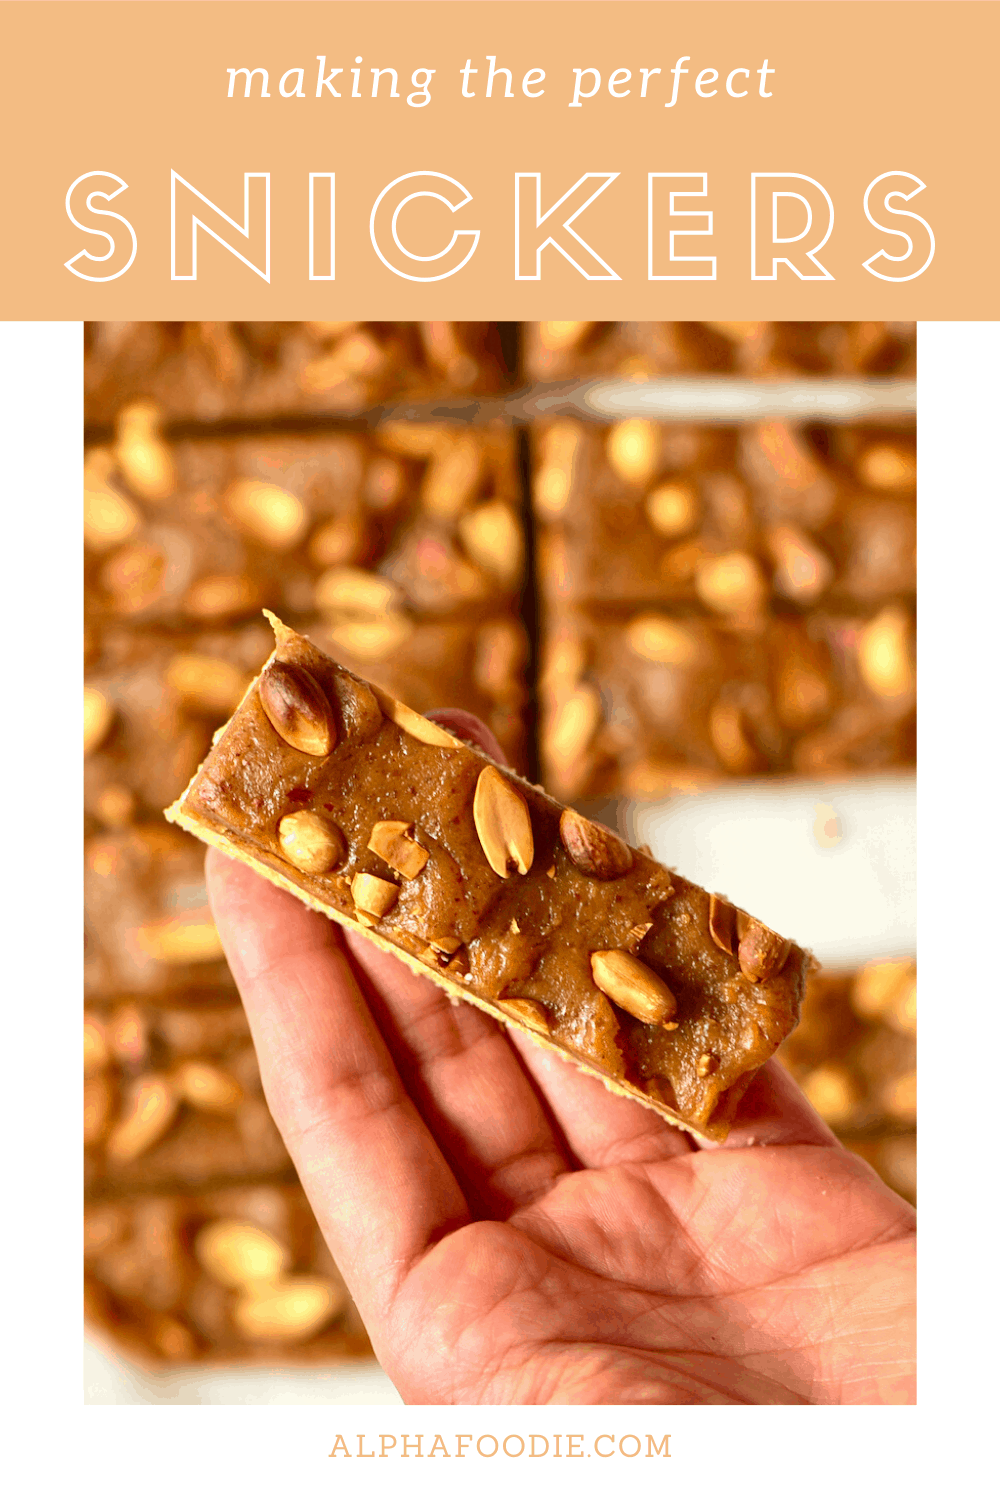
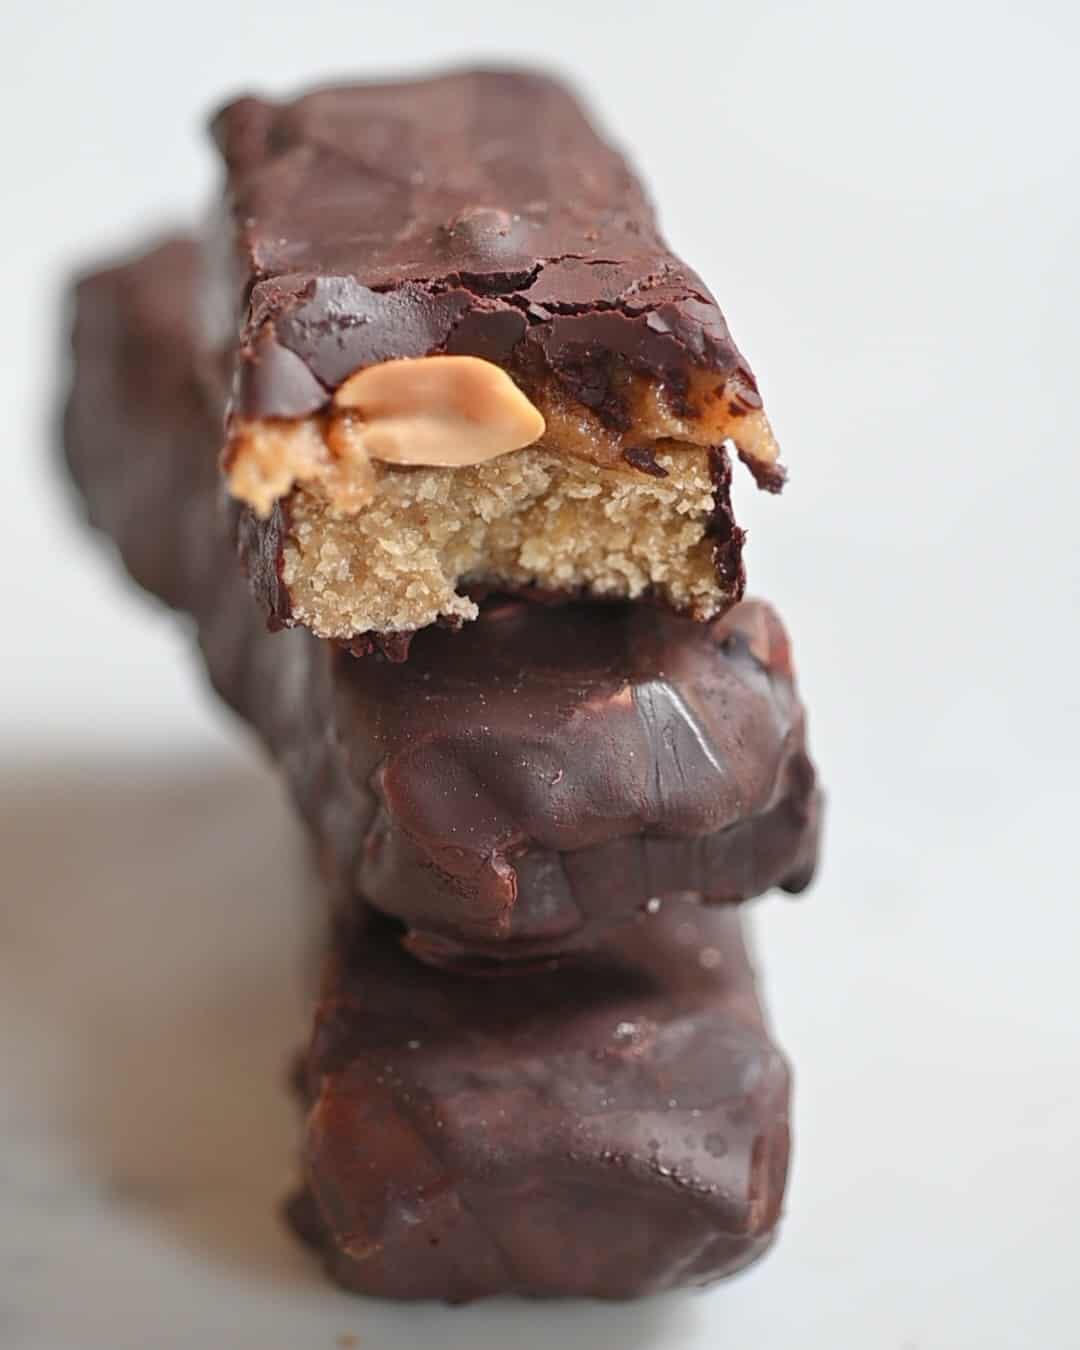
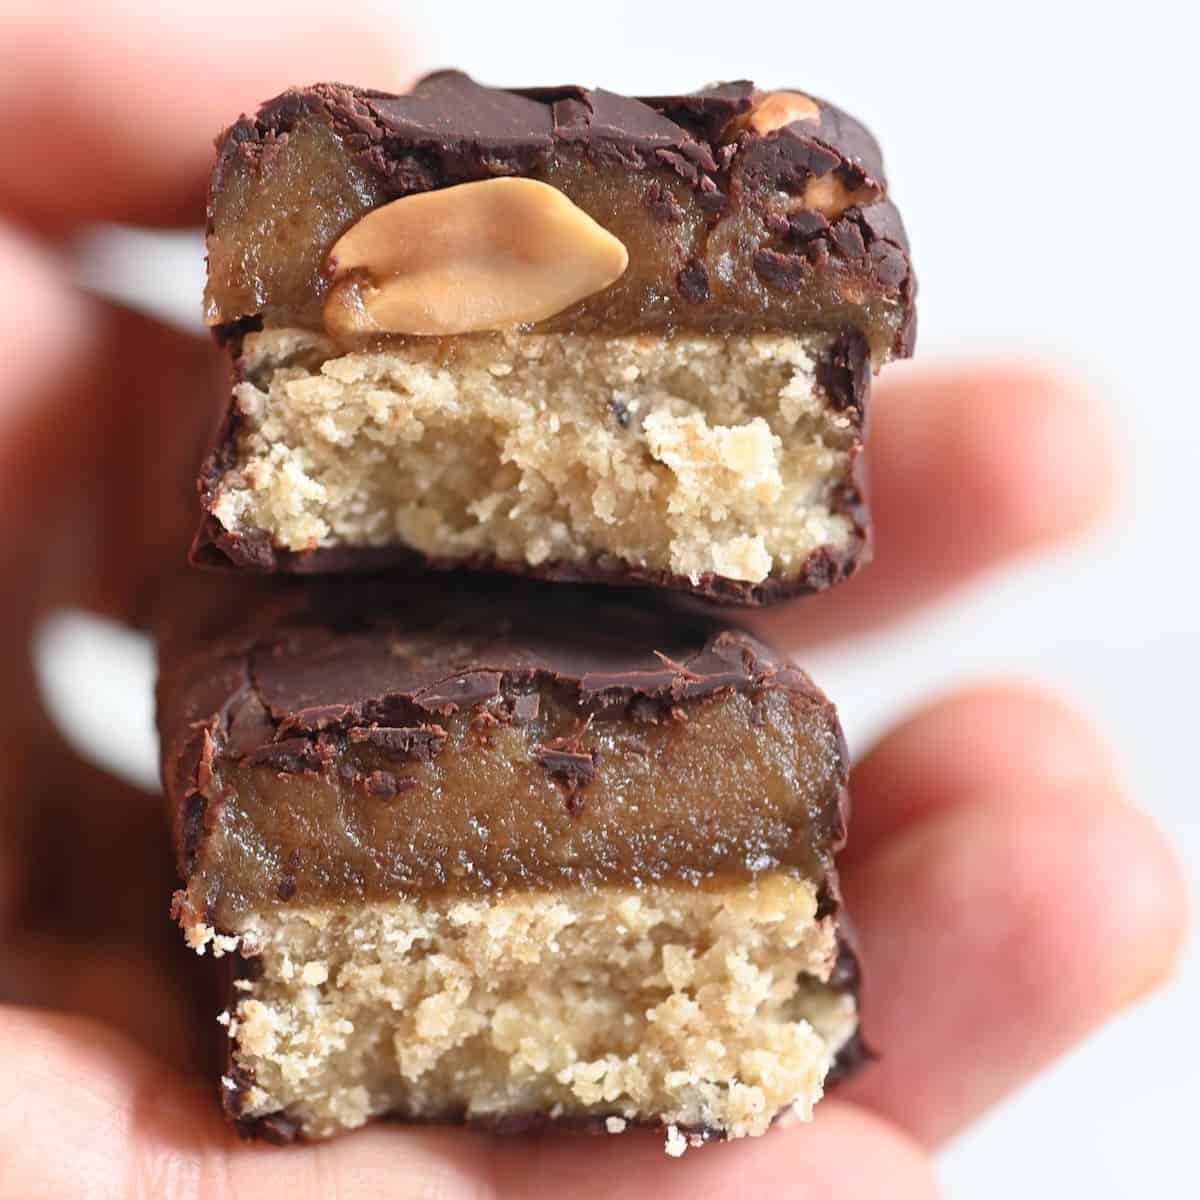
Swap traditional sniker bars with these healthier date snickers. This recipe combines oats, dates, peanuts, and peanut butter, all wrapped in a tasty chocolate. The caramel is made entirely from dates, providing a nutritious alternative. You likely have these ingredients at home, making it easy to prepare these treats anytime you crave something sweet. And, if you’re craving more homemade treats after enjoying these date bars, check out my recipe for healthy four-ingredient stuffed dates for additional inspiration.
Date snickers video
How to make date Snickers
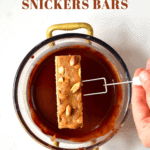
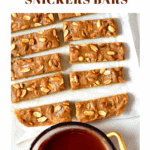
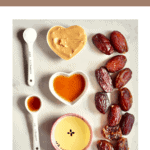
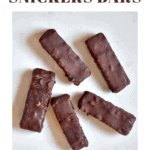
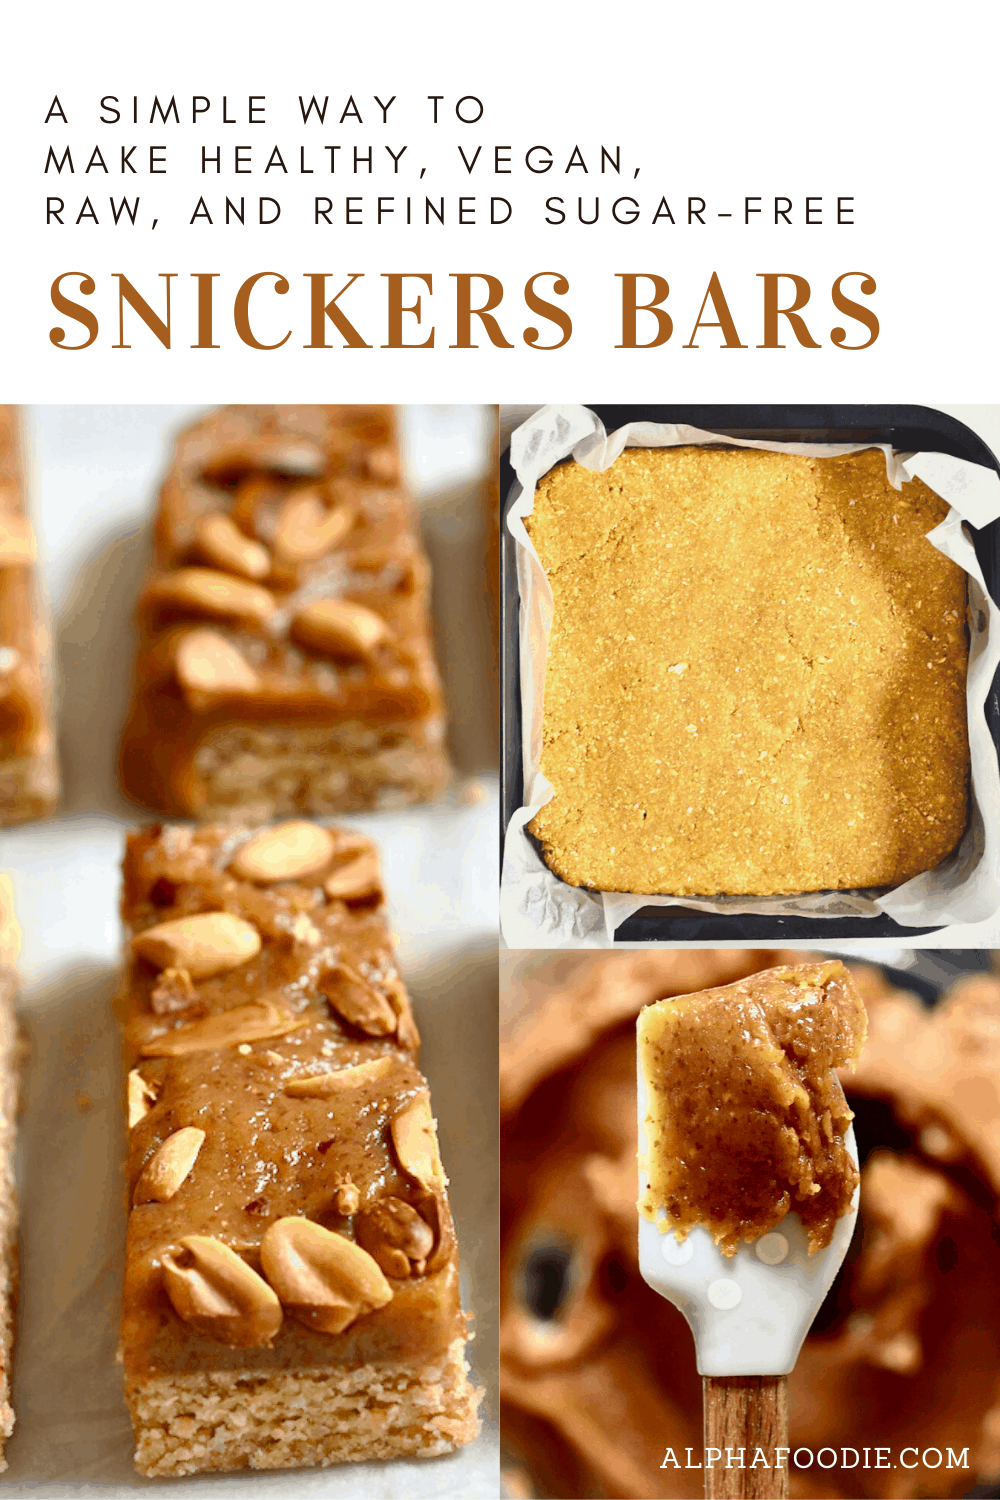
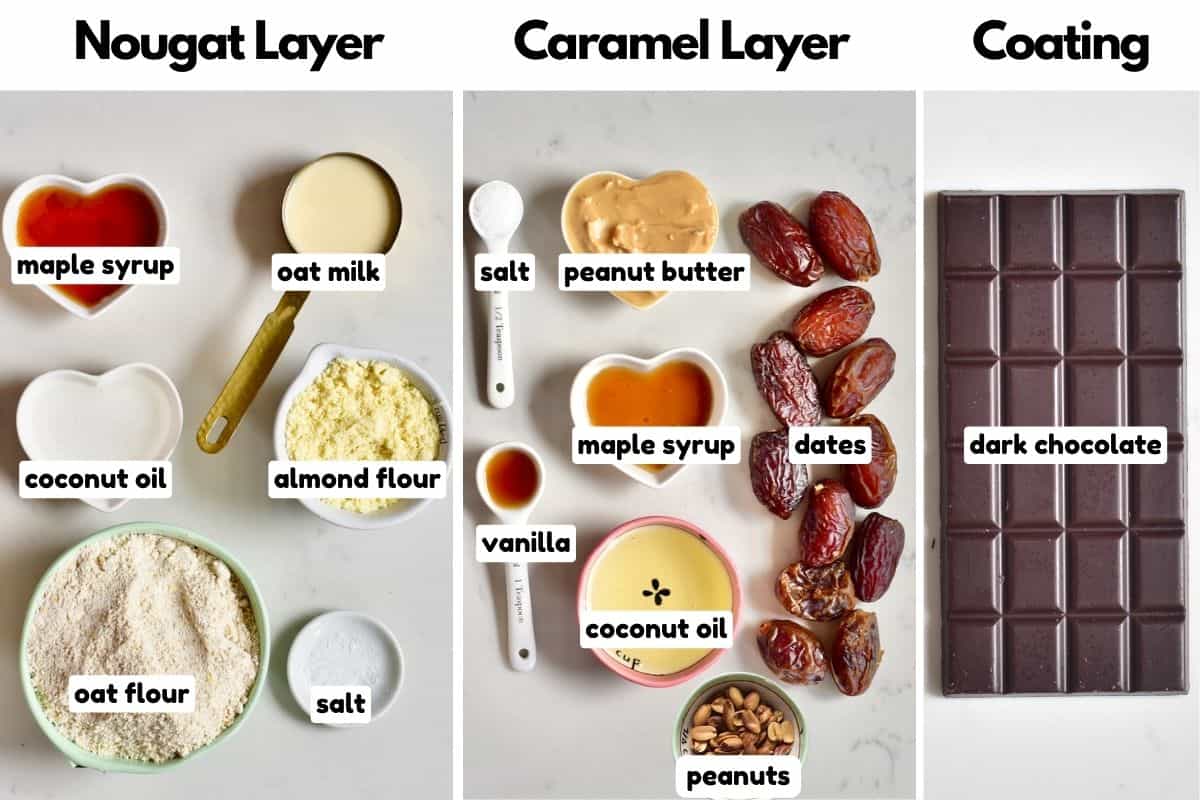
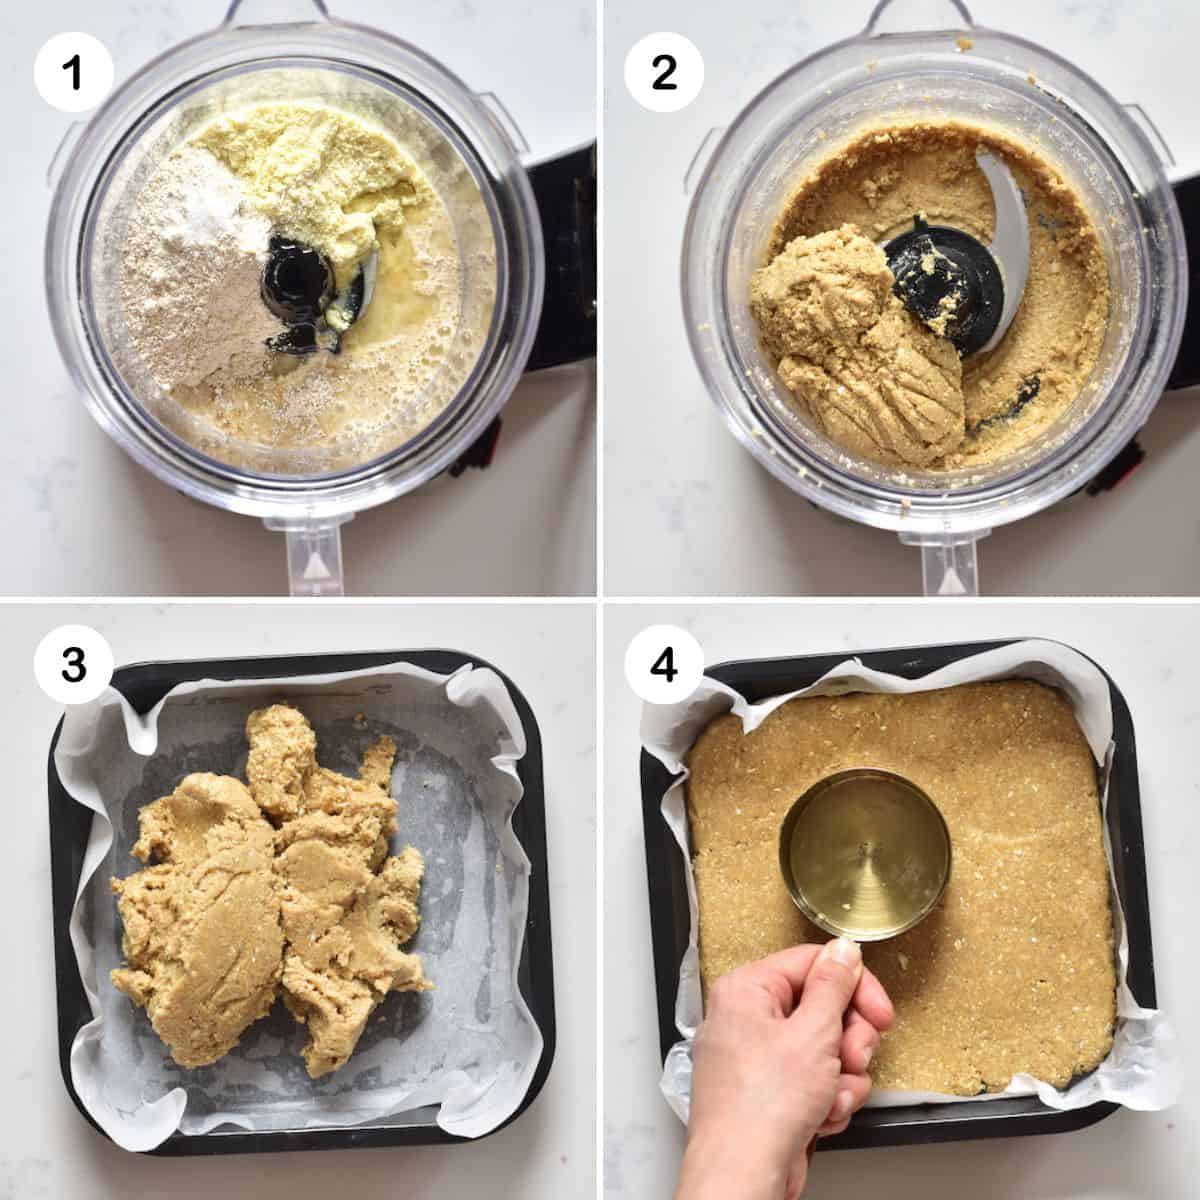
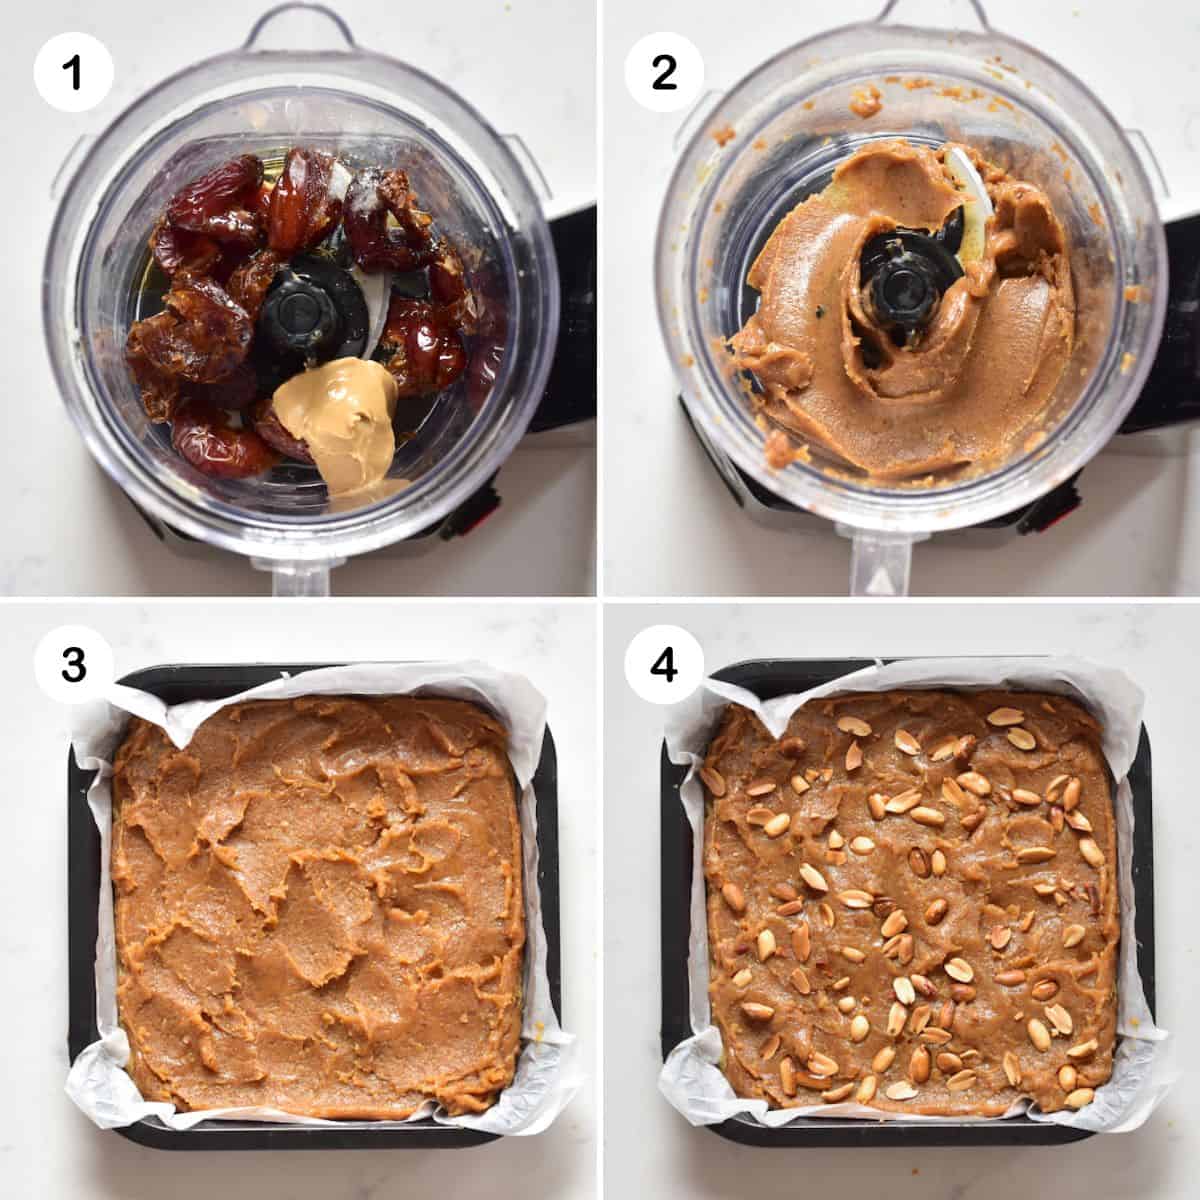
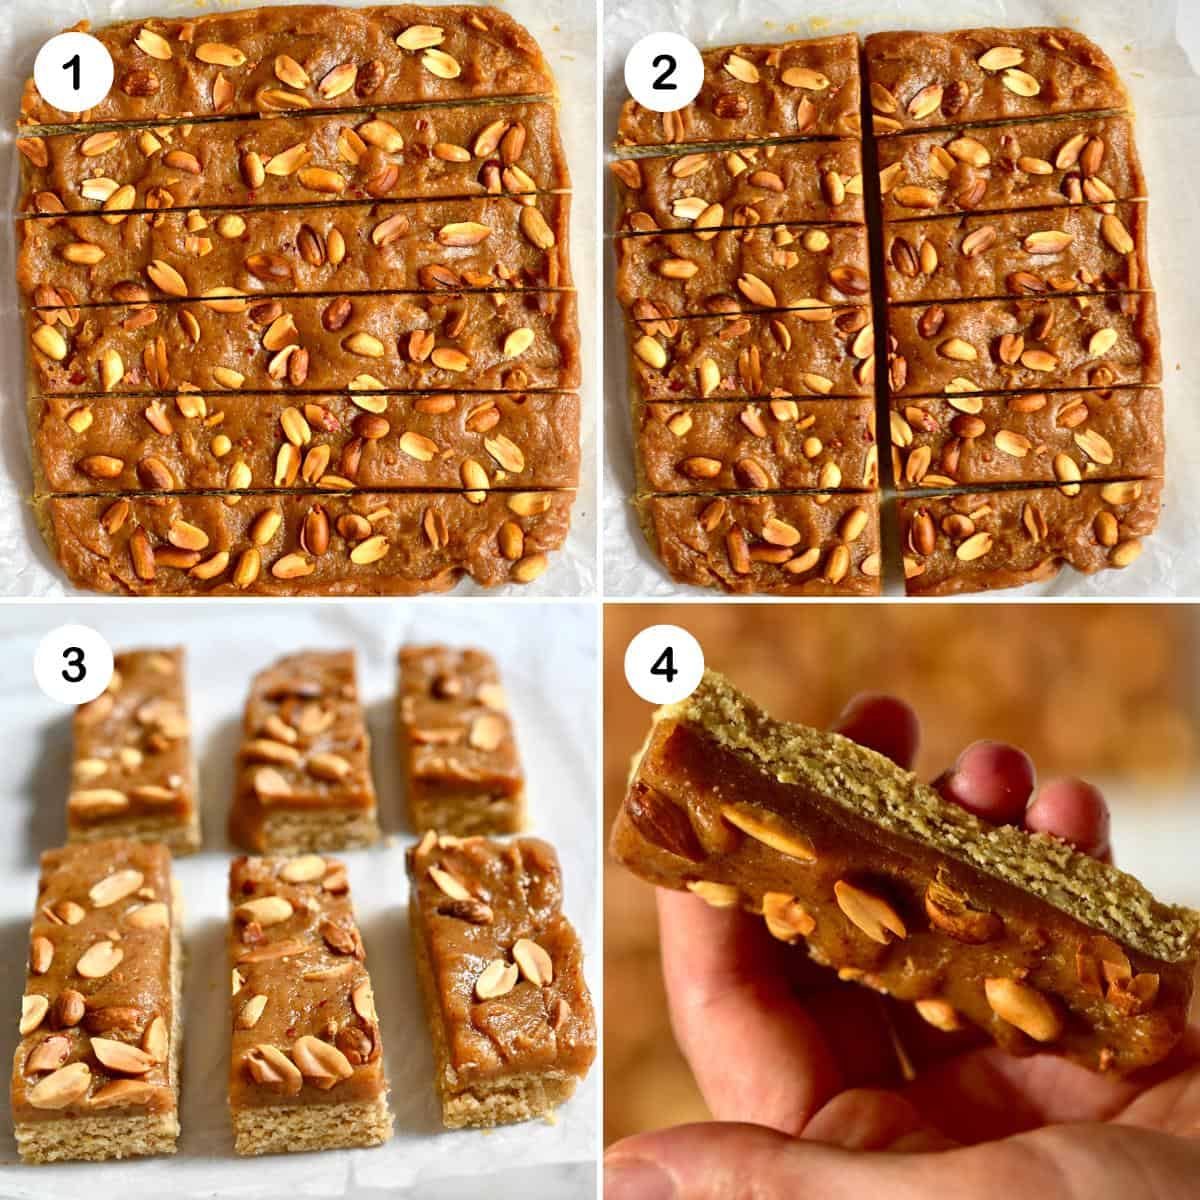
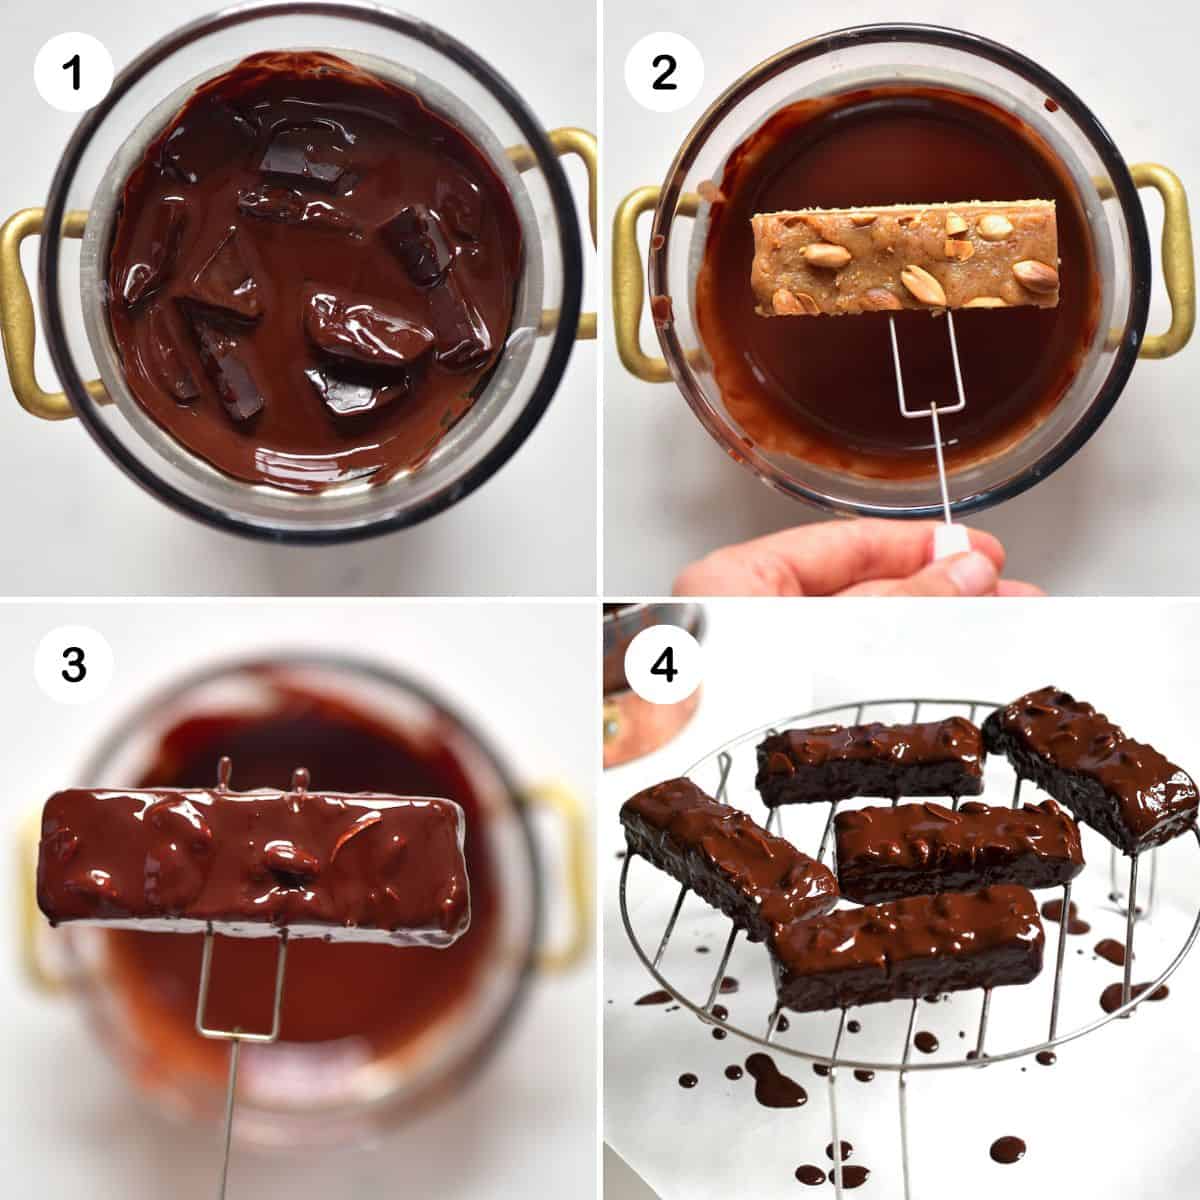
Make the nougat layer Start by creating the nougat layer for your date Snickers. First, if you don’t have oat flour, process oats in a blender until they turn into a flour-like consistency. Next, add and mix the rest of the nougat ingredients into this oat flour until thoroughly combined. For the assembly, choose between two options: spread the mixture into a large dish for a tray bake or use a silicone bar mold for perfectly shaped bars. If using a tray, line it with parchment paper and press down the nougat base evenly with the bottom of a cup or glass. If using a mold, press the mixture evenly into each cavity with your fingers. After shaping the nougat, place it in the freezer while preparing the caramel layer. Make the caramel layer Begin by inspecting the dates for the caramel layer – if they are too dry, soak them in hot water for about ten minutes to soften. Next, blend the moistened dates with the other caramel ingredients, excluding the peanuts, in a food processor until you achieve a creamy, sticky consistency. Remove the nougat layer from the freezer and generously layer the date caramel on top. After adding the caramel, sprinkle on peanuts to your liking. Put the tray back in the freezer and wait until the mixture is completely hard. This makes the date Snickers bars cold and solid, which helps when you need to coat them with chocolate later. Cut into bars Once the layers have set, remove the Snickers from the tray and cut into twelve or more bars, depending on the size you prefer. If you used a silicone mold for the mixture, just pop out the individual bars. The bars are now ready for dipping in chocolate. Dip bars in chocolate First, melt the chocolate. It’s best to do it over a double boiler, but you could also do it in the microwave in 10-15-second increments. This part can be messy, so I usually do it on a wire cooling rack and use a fork or BBQ skewers (or similar) to press into the bars, to make it easier to dip them. Dip each bar into the melted chocolate and place them aside to dry. If you prefer your Snickers extra chocolatey, dip them again. This second dip helps cover any areas missed the first time. As soon as the chocolate sets and dries, your homemade date Snickers are ready to enjoy. The chocolate shell should feel firm and crisp. If you try this recipe, let me know how it goes in the comments below. I’d appreciate a recipe card rating and would love to see your recipe recreations – tag me on Instagram @Alphafoodie! For those who like to plan ahead or enjoy batch cooking, these bars also freeze well. Pack them in a freezer-friendly container, separating layers with wax or parchment paper to avoid sticking. They can be stored in this way for up to two months.
