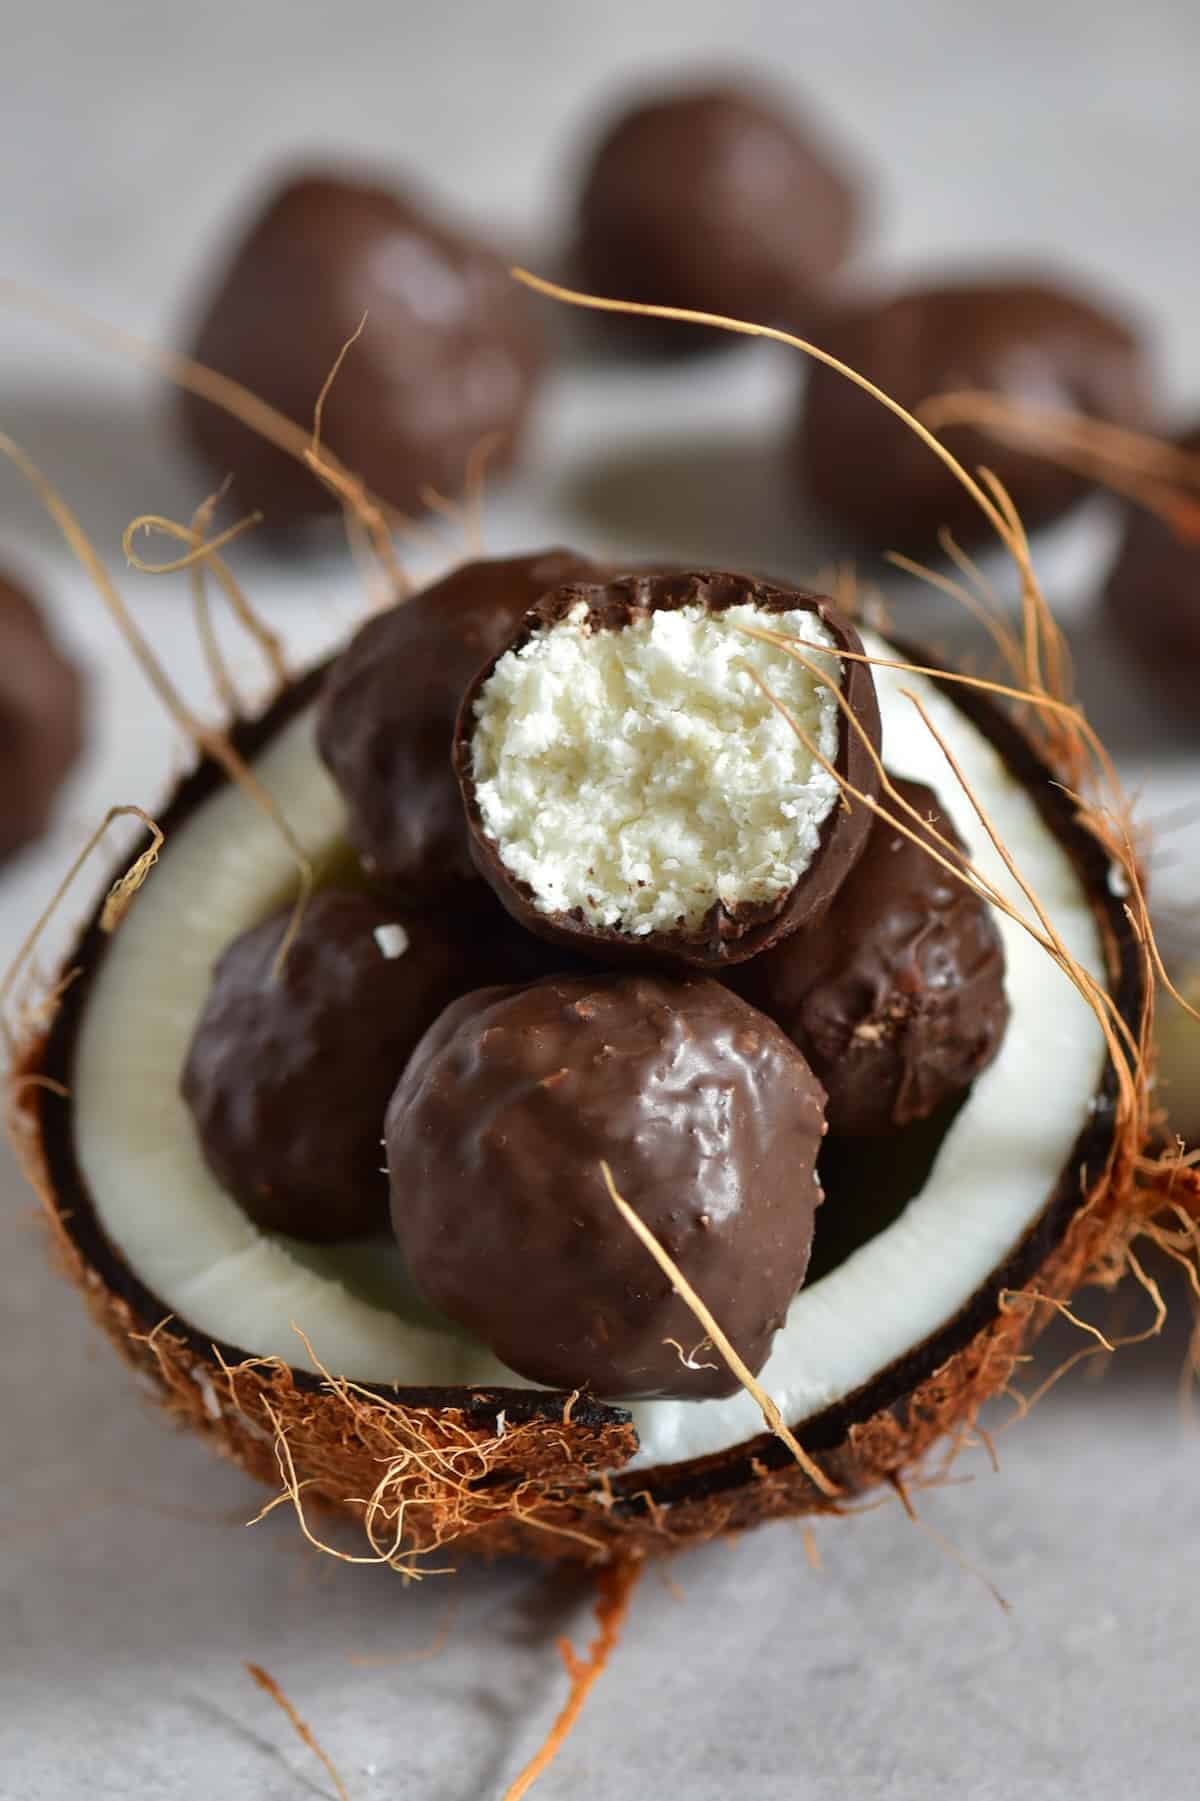
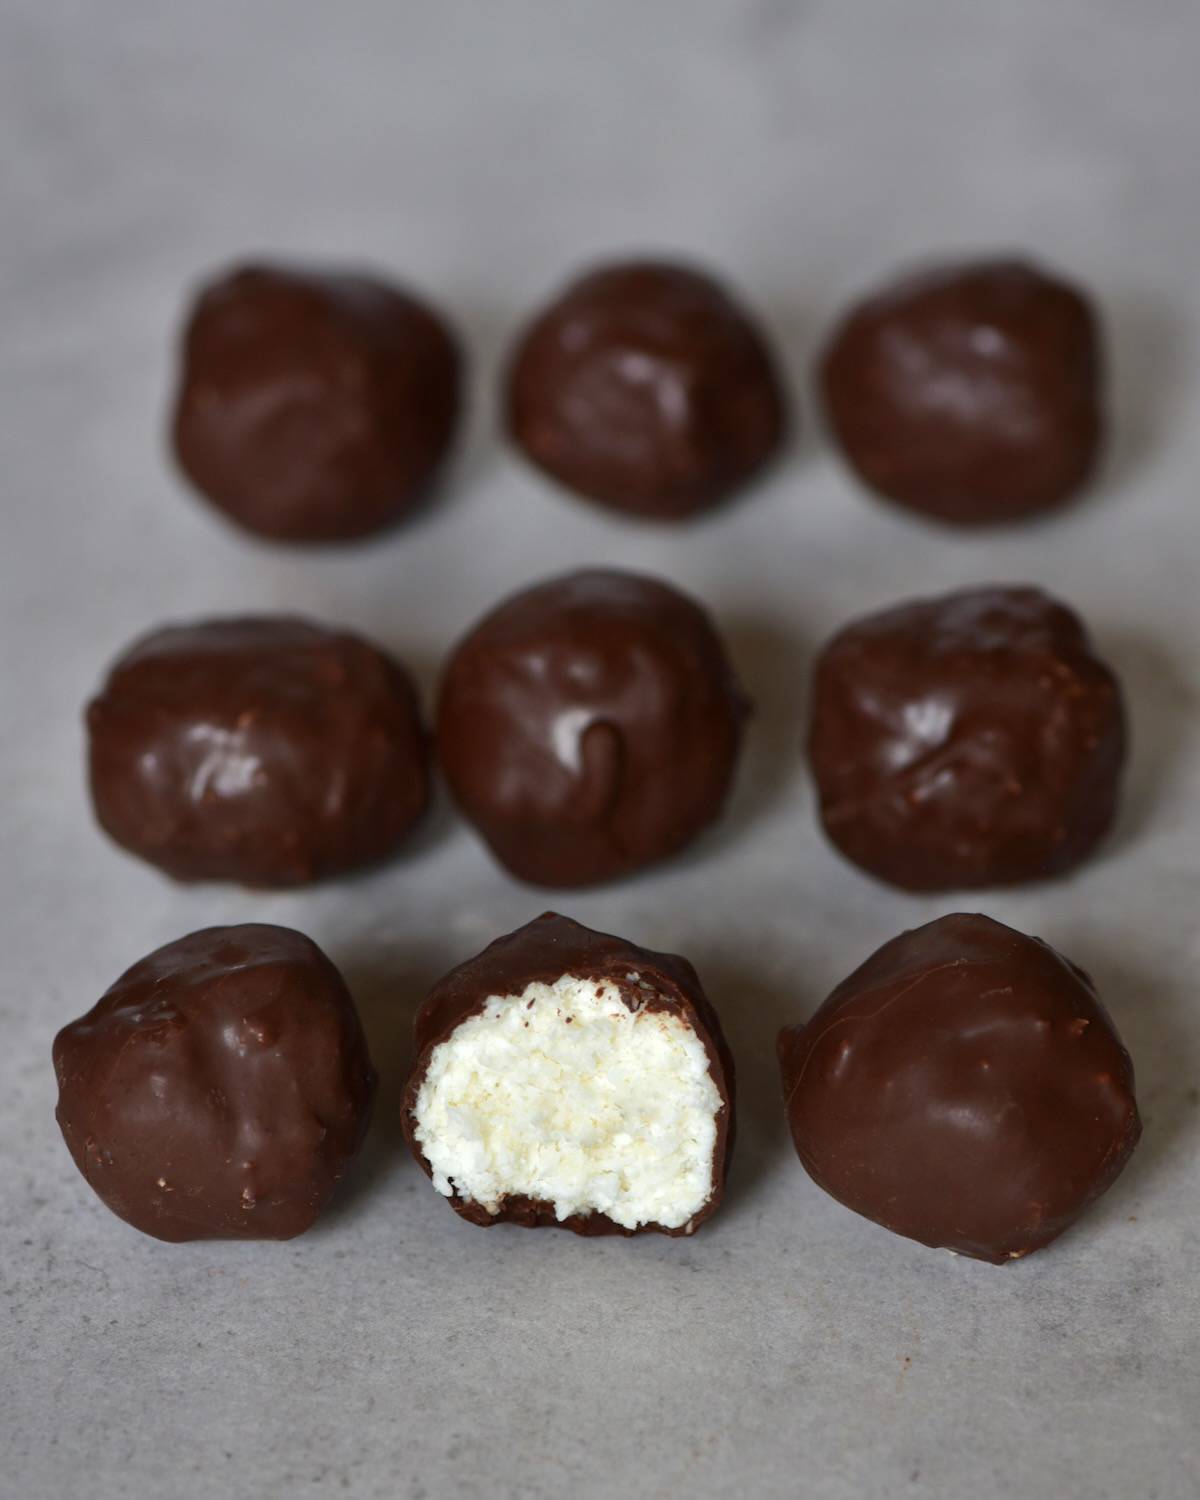
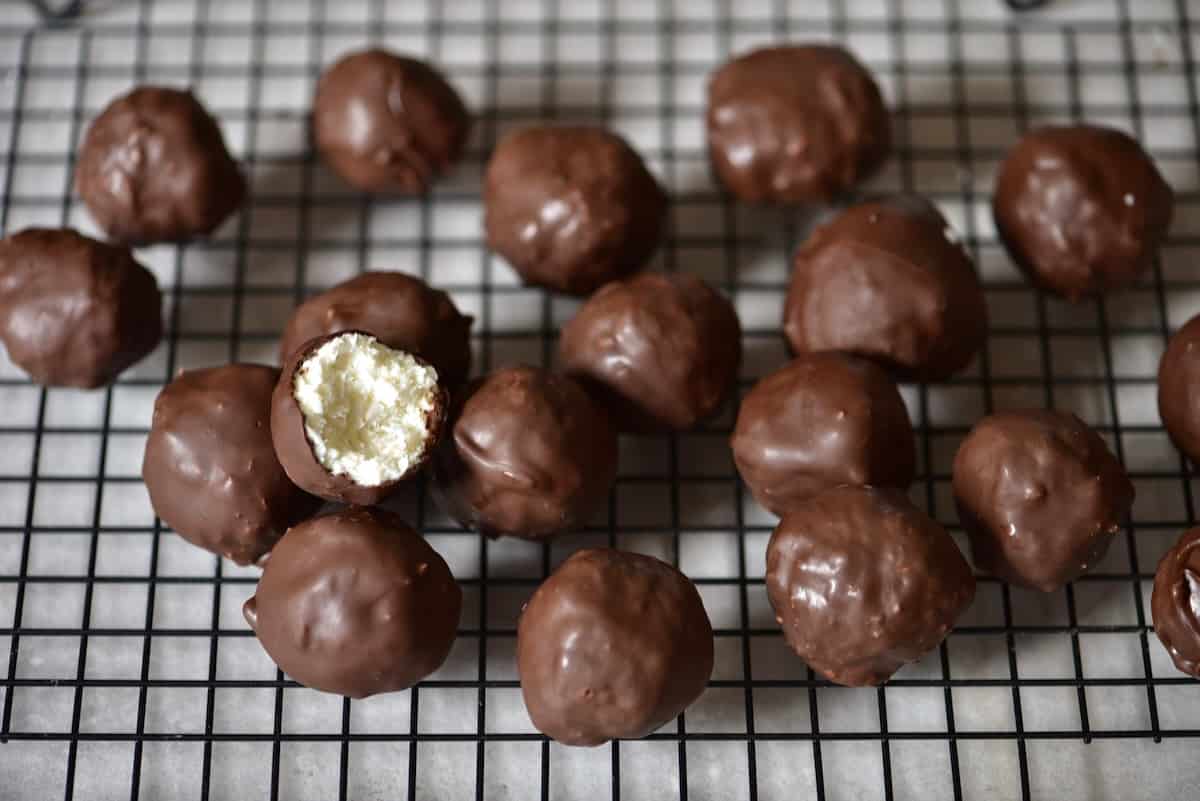
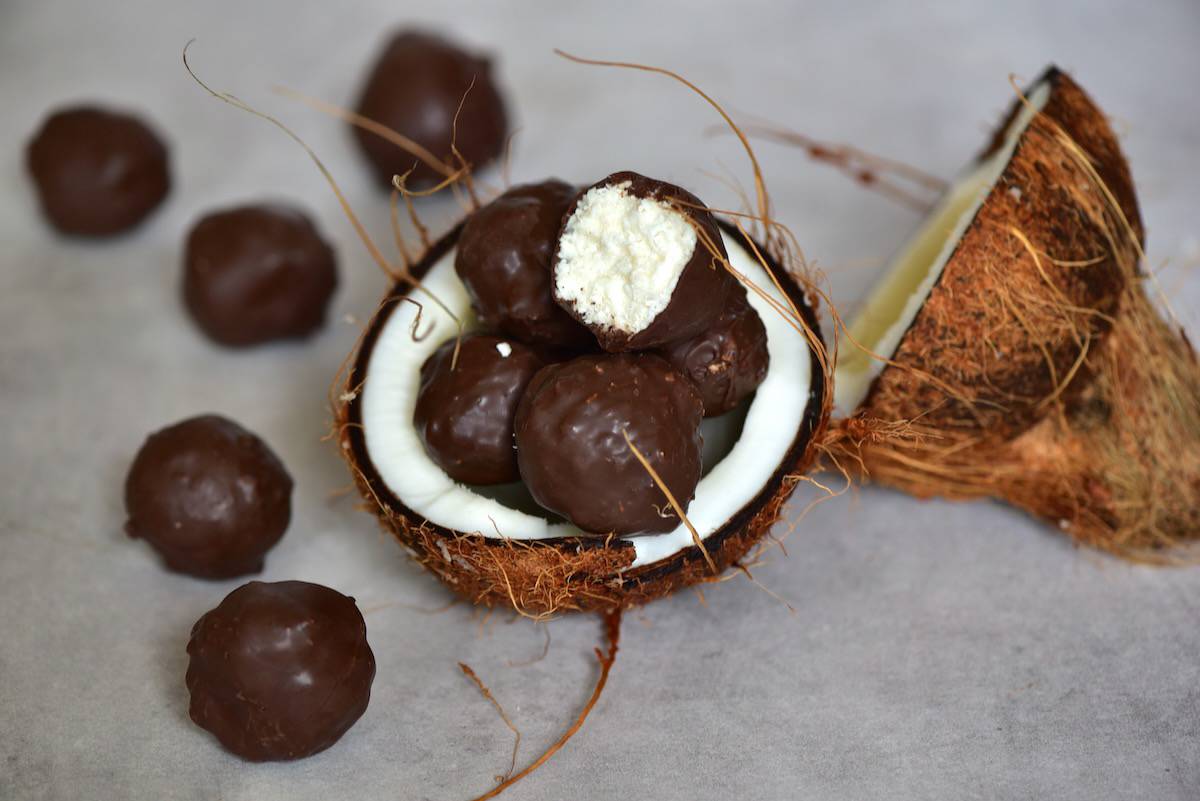
They taste so good, you’d never believe they were good for you – that might be my favorite thing about these coconut bliss balls. My second favorite thing? They’re no-bake chocolate coconut balls, so it’s about as low-effort as making a dessert can get. These coconut balls are a gluten-free sweet treat with a deeply flavored chocolate coating. They make for easy grab-and-go snacks, an excellent treat to gift to friends, or serve as desserts. I’m a big fan of coconut and keeping a batch of these in my fridge has definitely helped keep the chocolate cravings at bay. If you’re looking to upgrade your candy selection, coconut is a great ingredient to incorporate into your recipes. Not only is it naturally sweet, but it’s also a source of healthy fat, helps to keep your teeth and bones healthy, and can even keep you hydrated.
Ingredients
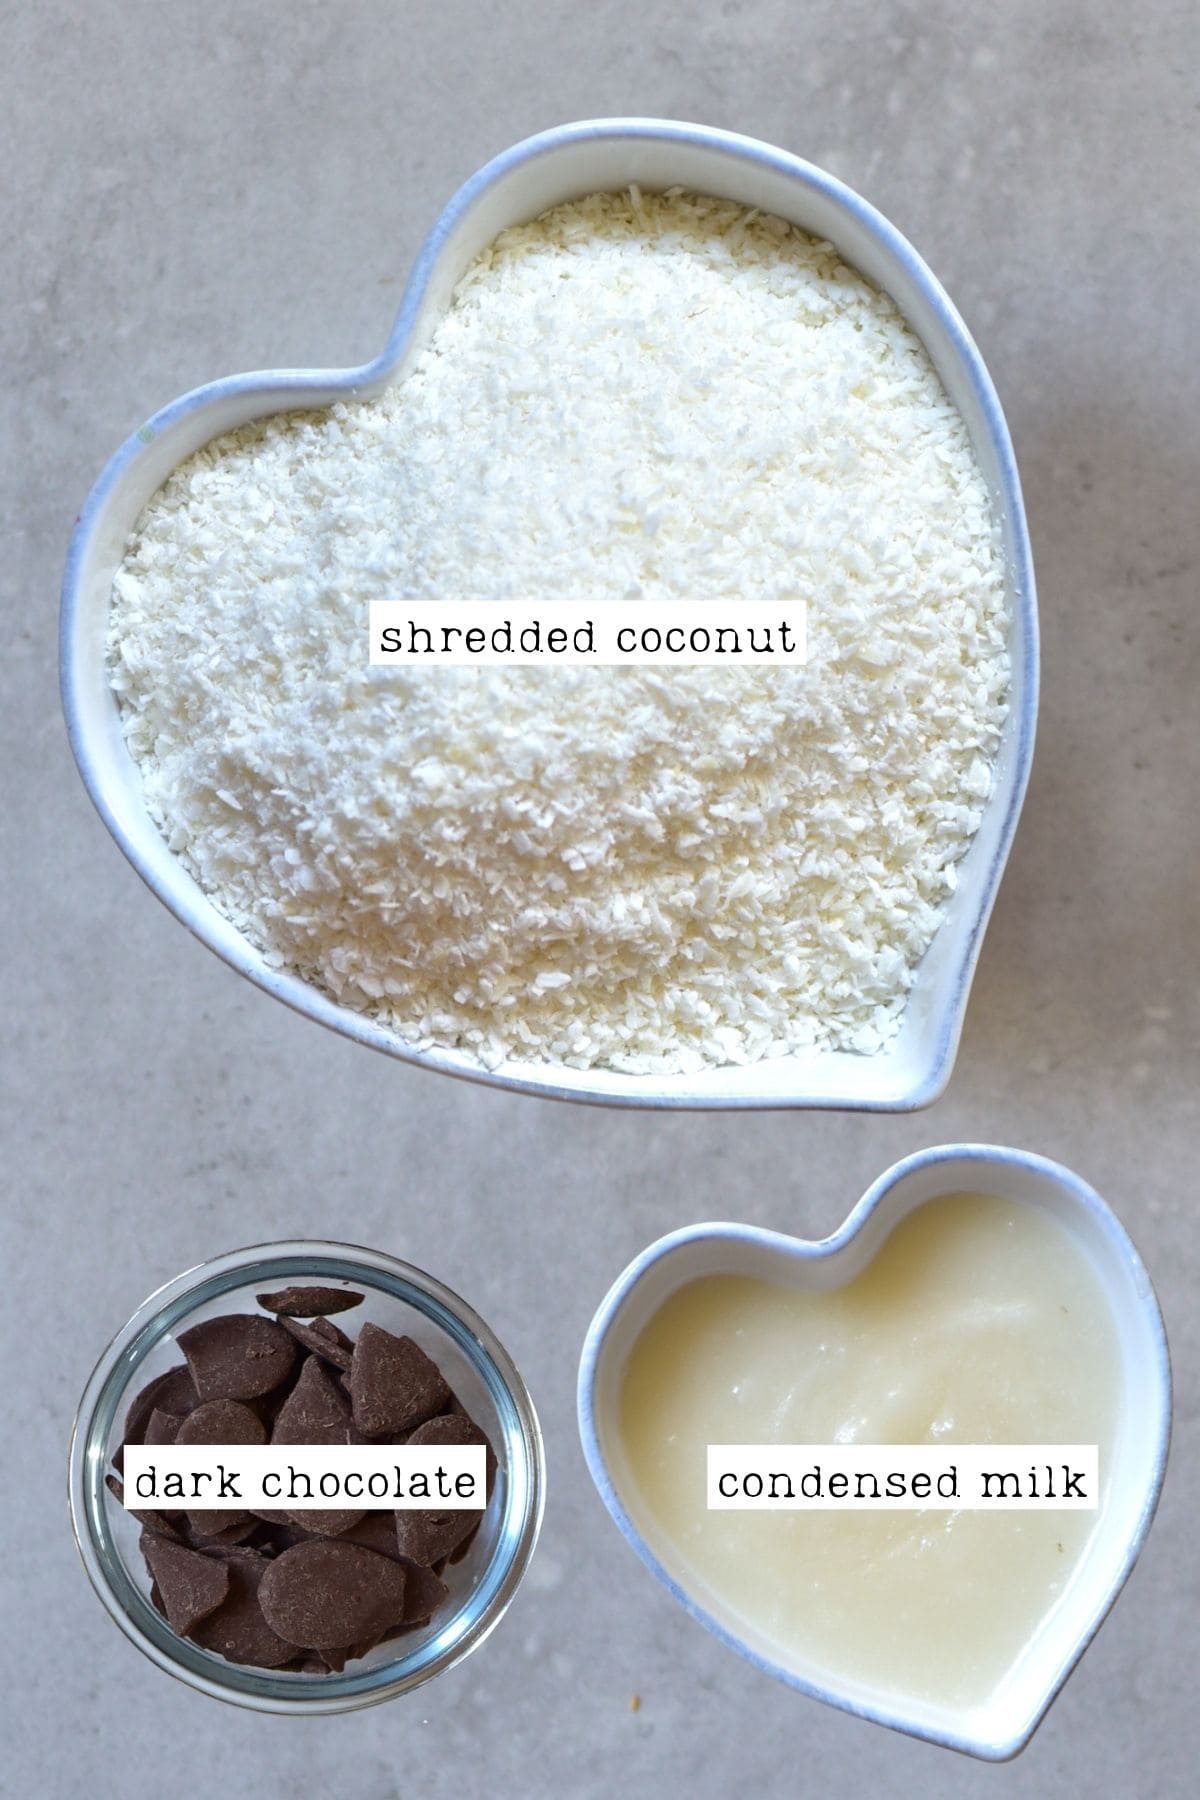
Shredded coconut: I use unsweetened desiccated coconut for these chocolate coconut balls as it’s a lot easier to work with. You can buy these from the store or, if you’re feeling brave, make your own from fresh coconut. Condensed Milk: Canned sweetened condensed milk works perfectly. If you’re vegan or don’t want to use condensed milk, you can use a mix of almond milk and sugar, evaporated milk, coconut milk, or even coconut condensed milk to help bind the balls together. Dark Chocolate: The best dark chocolate is usually between 65-80% cocoa solids, but you can choose how dark you want based on your taste preference. Use a block or semi-sweet chocolate chips – they both work well. If you’re not a fan of dark chocolate, you can use milk chocolate.
How to make chocolate coconut balls
If you’re making your own homemade shredded coconut for these healthy treats, you’ll need to start there. You can follow my easy guide for making your own desiccated coconut here, covering everything from how to expertly open your coconuts to peeling and then drying the fresh meat to turn it into delicious little flakes.
Make and shape the balls
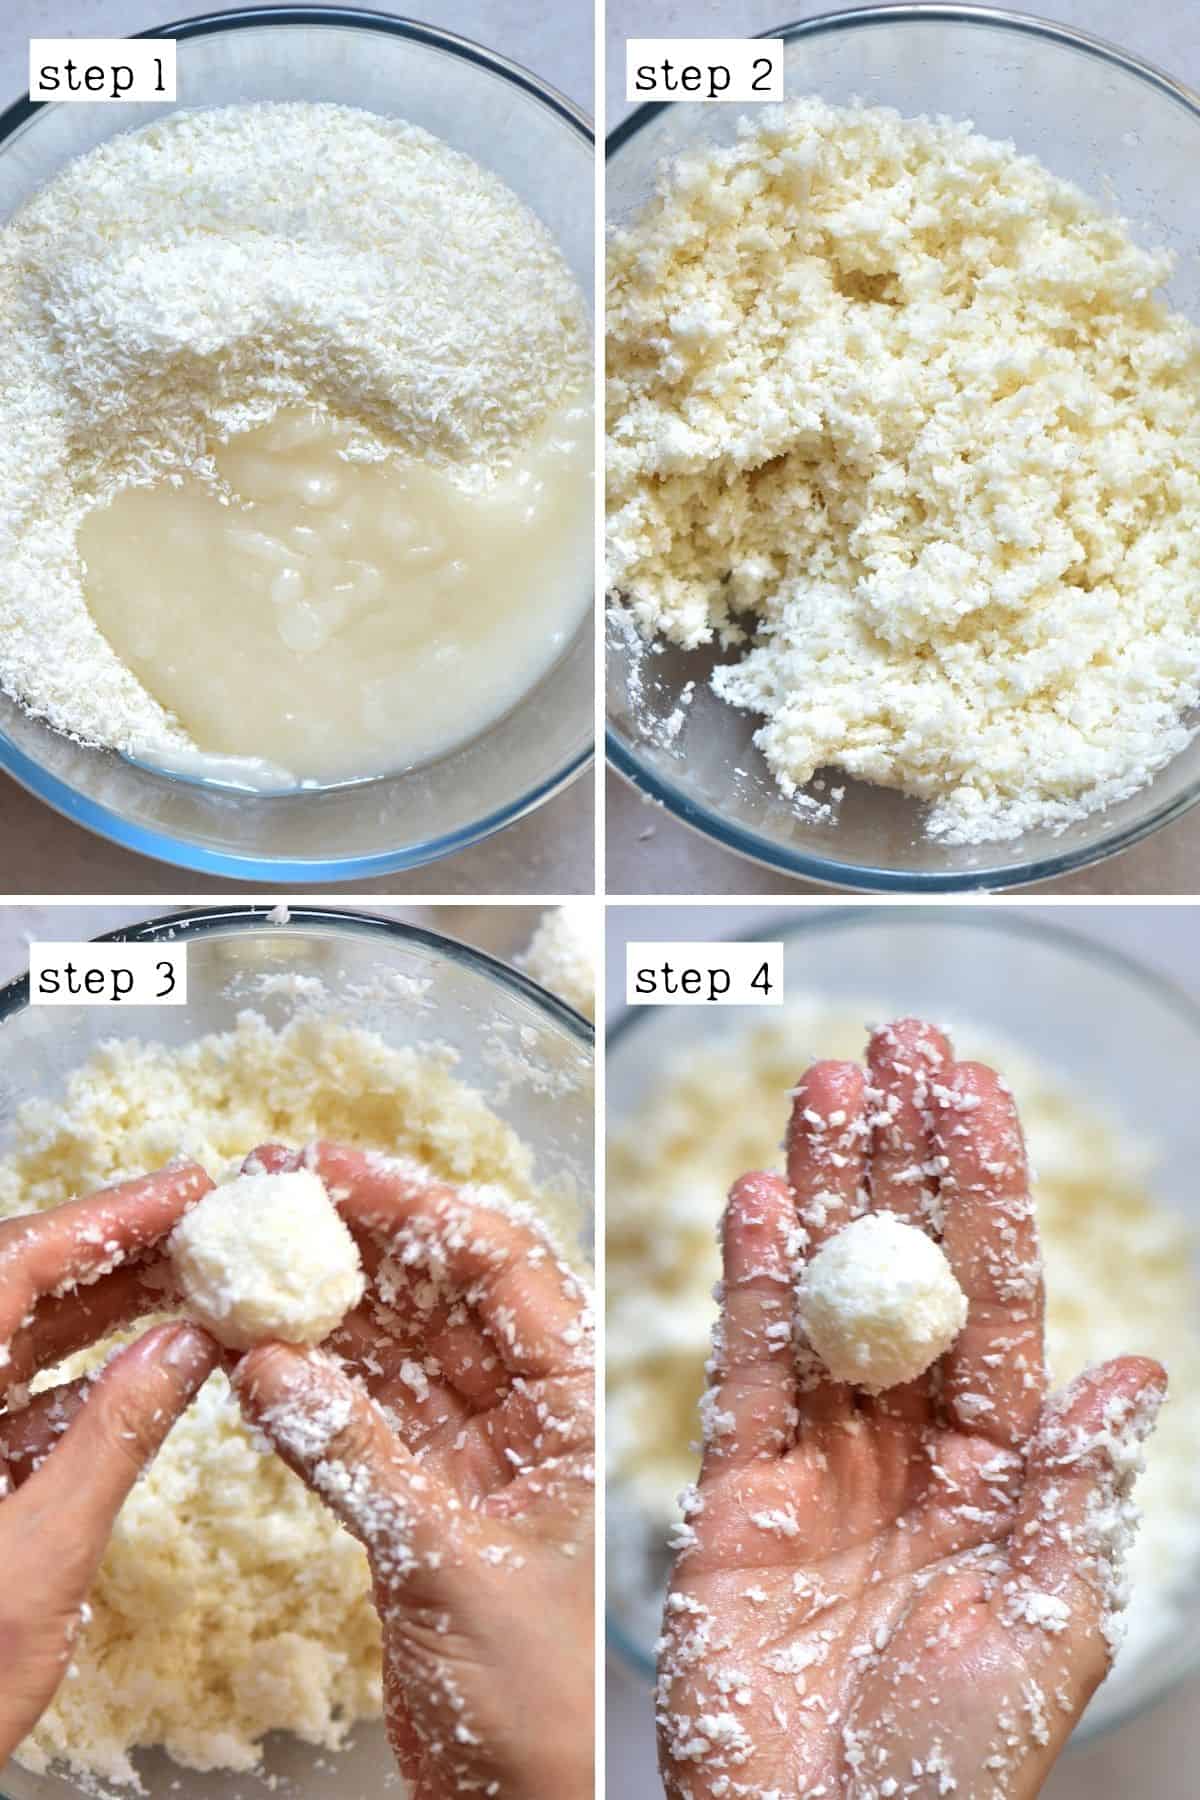
In a large bowl, mix the condensed milk with the coconut flakes. I tend to use my hands to mix it directly, but you can use a spoon or a small cookie scoop. Then, form balls using about 1-2 tablespoons of the mixture. You can make them as big or as small as you like. However, I recommend that they’re around 2-3 bites in size (about 1-inch balls). Place the balls on a lined baking sheet and then in the fridge to chill – I recommend between 15-30 minutes or longer. If you’re in a hurry, you can freeze them for 5-10 minutes. For an even healthier alternative to the chocolate-covered option, you can enjoy the coconut balls on their own. They make for a delicious coconut truffle that is still rich and creamy.
Cover with chocolate
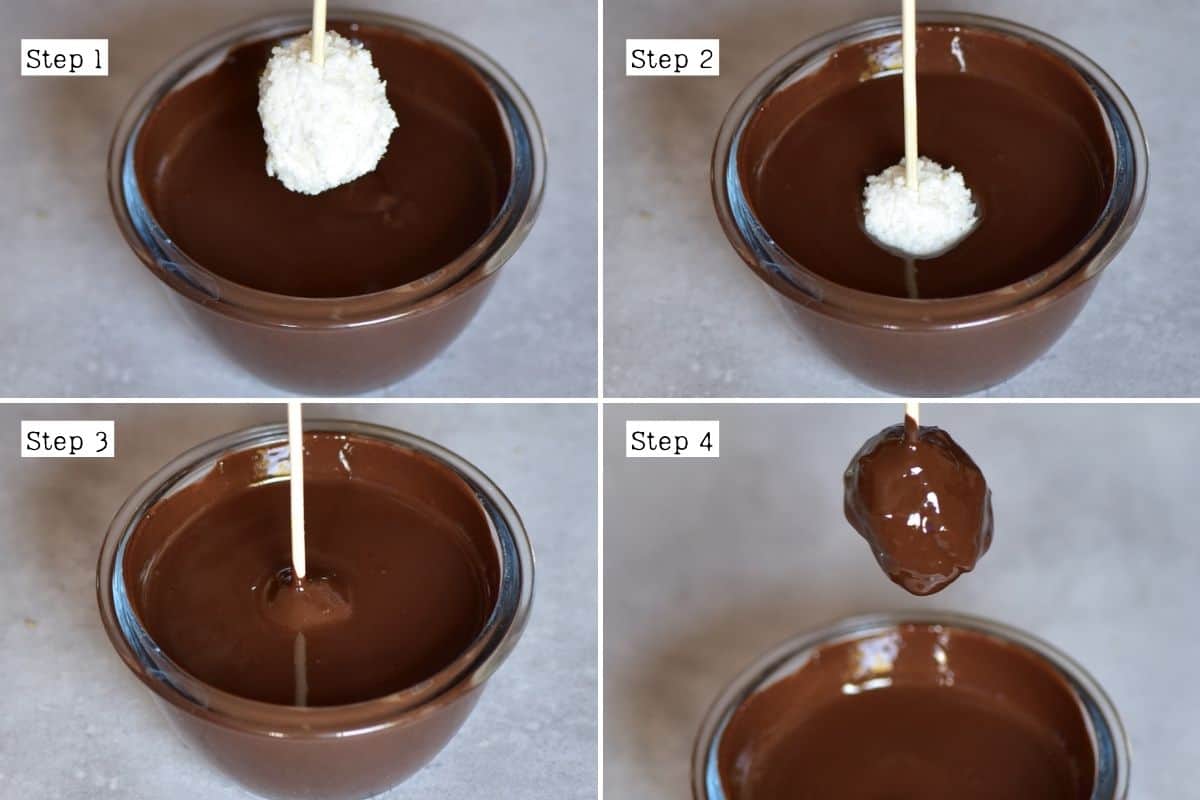
As the coconut mixture is chilling, melt the chocolate in a small bowl. You can either do this in the microwave in 20-30 second bursts until melted (stir in between so the chocolate doesn’t burn) or using a double boiler or the bain marie method. Dip the chilled balls into the melted chocolate. You can use a spoon, fork, or wooden skewers (so they look more like little cake pops) to help you dip them. Make sure to get the coconut completely covered in chocolate. Then, leave the balls to dry on a wire rack. Place a piece of parchment paper underneath to catch any of the extra chocolate drippings. You can leave it as it is or sprinkle it with a little sea salt – this will enhance the chocolate flavor. Finally, transfer to the fridge and chill again until the chocolate has solidified. For a more intense chocolate flavor, why not try double-dipping the chocolate coconut balls? You can even experiment with different colors of chocolate to create an exciting outside pattern. Simply allow the first coat of chocolate to set around the coconut before dipping it into melted chocolate for a second coat.
Storage
You can store these coconut chocolate balls at room temperature because the chocolate will have already solidified. Just keep away from warm places otherwise the chocolate may start to melt! They’ll keep for up to five days like this. In the Fridge: Transfer the chocolate coconut balls to an airtight container once they’ve fully hardened. Store them in the refrigerator. They should keep for up to 2 weeks, but in my house, I’m lucky if they last a few days! In the Freezer: These tasty treats are easy to make in advance and freeze. Once your coconut balls have set, transfer them to a freezer-safe bag or container and freeze. They’ll keep for up to three months. So this is a great option if you make a big batch and want to make your treats last longer. You may want to let it thaw before enjoying it.
More Coconut Treats
Bounty or Mounds Bar Raspberry Coconut Cake Trinidadian Coconut Bake Coconut Cream Cake
If you try these chocolate balls, let me know how it goes in the comments below. I’d appreciate a recipe card rating and would love to see your recipe recreations – tag me on Instagram @Alphafoodie!


